Masks for children are an addition to carnival costumes. They often have to be made by hand, since it is not always possible to find them in a store. You can create this costume detail yourself, having the necessary materials and templates.
Rules for making a mask template
To create a mask, you need to do some preparatory work. Based on what size it will be (for half or the whole face), the template changes. First, you need to take measurements.
Stages of creating a template:
- preparation of materials and tools;
- measuring the length of the mask (measuring the distance between the temples);
- determining the slits for the eyes (fixing the interval between the pupils, and in the case of making a mask for the entire face, the location of the slit for the nose is also determined);
- measuring the width of the product (it does not fall below the tip of the nose if it is half the face);
- cutting out the template.
During the preparation process, it is recommended to think through all stages of the work. This will simplify further actions.
The mask template is drawn on paper or cardboard. Slits are made on it for the eyes (almond-shaped or round) and for attaching the ties. When taking measurements, a sewing tape (centimeter) is used.
Methods of decorating a mask
DIY Masks for Kids are often made of paper or cardboard. Their shape, elasticity and appearance depend on the material. At the same time, decoration can be done for any mask. Different techniques and materials are used for decoration.
| Method of decoration | Features of application |
| Rhinestones | Often decorated with flowers, circles, dots on masks or imitate jewelry. |
| Sequins | A round flat sequin with a hole. Sewn or glued onto fabric or cardboard. |
| Feathers | Decorate with carnival or bird masks. |
| Ribbons | They are used for ties, and sometimes for framing the mask. |
| Lace | Gives the mask lightness, weightlessness and elegance. Glued over the finished template. |
| Beads or beads | Often used to decorate dots on the mask or frame the slits. |
| Decoupage | Pasting a cut-out design onto a mask. These are often flowers, ornaments, patterns. |
If the mask is made on a hard base (thick cardboard, plaster, papier-mâché), you can use many elements to decorate it.
If the material used for it is paper, it is better not to overdo it with decoration. In order not to spoil the result of your work, it is recommended to take light types of decorations.
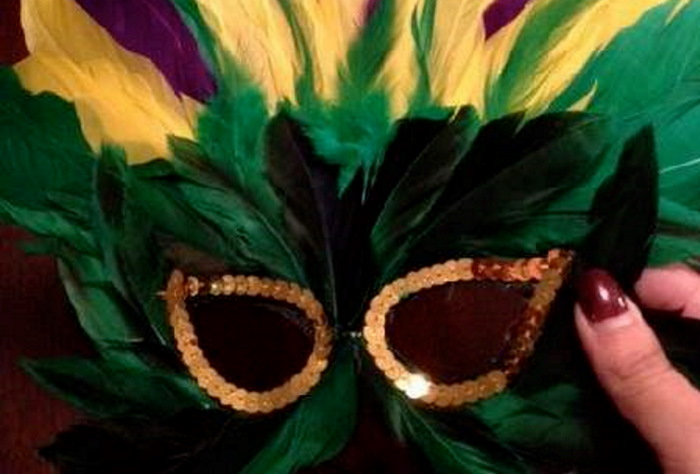
Carnival mask made of cardboard and feathers
It is interesting to make children's masks with your own hands, especially if you involve your child in this activity. You can use many materials for decoration and show your imagination.
An original part of the costume will be a mask with feathers. It will create associations with birds of paradise or the Brazilian carnival.
Before making a mask with feathers, you need to prepare:
- 2 sheets of cardboard;
- feathers;
- elastic, ribbon or tape for ties;
- ruler;
- scissors or a stationery knife;
- an awl or a hole punch;
- eraser;
- pencil;
- glue.
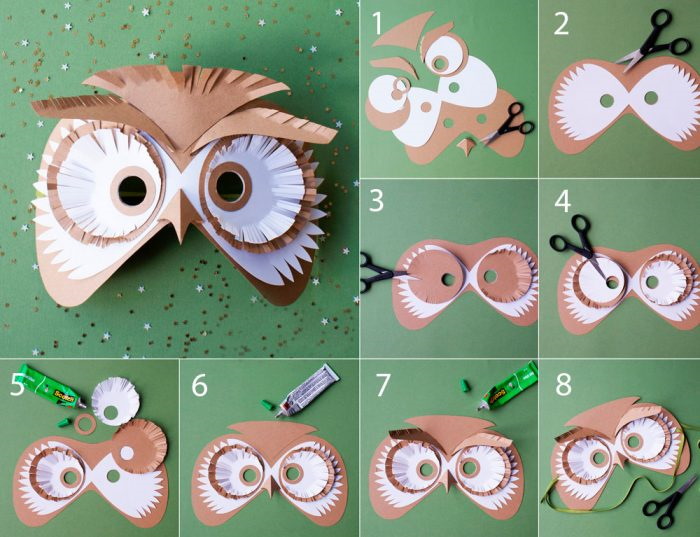
To create a carnival mask, you need to follow the following sequence of actions:
- It is necessary to take measurements based on the template making rules.
- You need to make a sketch on one piece of cardboard.
- Then the first part of the mask is cut out.
- A sketch is drawn using the finished template and the second piece is cut out.
- Glue is applied to one part of the mask.
- Then 2 identical templates are connected together.
- Holes for ties are made on the side parts using an awl or hole punch.
- Glue is applied to one side of the mask in dots and gradually, to which the feathers are attached.
- The holes for the ties should only be covered with decorations.
- An elastic band, thin ribbon or braid is threaded through the slits on the sides of the mask. The knot is made on the inside or on the outside if it will be covered with feathers.
You can make the mask more unique by adding glitter, sequins or ribbons. They decorate the eye slits. This will look more original and will help to use the mask with greater comfort (the feathers will not interfere with the view).
Bright paper mask
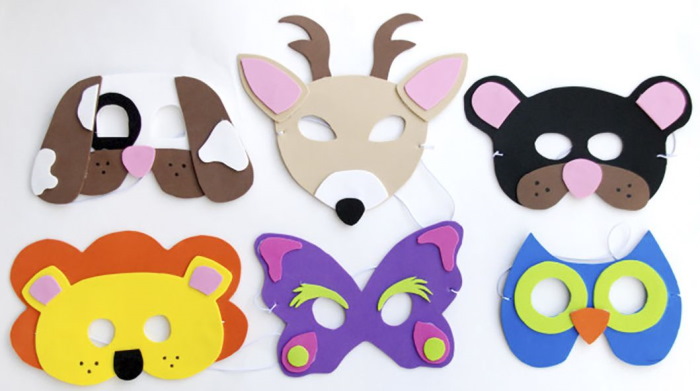
Masks for children can be made from paper with your own hands. All you need is imagination and hard work. Many types of masks can be made from paper. Everything depends only on desire and imagination.
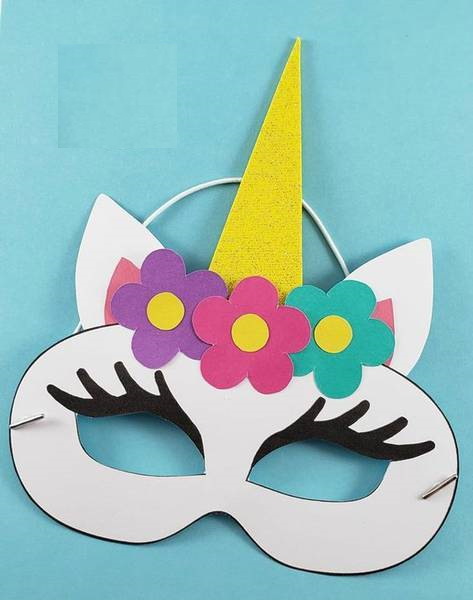
Unicorn mask
Children have long loved mythical creatures because of fairy tales. The unicorn has become a favorite for girls. Therefore, a mask with its image will be an appropriate addition to a festive dress.
To make the accessory you will need:
- black, blue or brown marker or felt-tip pen;
- white cardboard (preferably coated) or Whatman paper;
- paper (preferably cardboard) in bright, but not flashy colors (blue, pink, orange);
- cardboard of any kind (foil, neon, plain) or yellow velvet paper for the horn;
- glitter;
- ribbon, braid or elastic for ties;
- scissors or a stationery knife;
- an awl or a hole punch;
- glue;
- eraser;
- pencil;
- ruler.
You can improvise when creating a mask. But it is better to think through the stages of production in advance so that you do not have to look for tools or materials in the process. You can involve a child in the work. Here he will be able to show creativity and imagination.
Stages of mask development:
- After taking measurements, a template is drawn on white cardboard (Whatman paper), then separately - ears in the form of a triangle with smooth shapes. Pencil marks are made on the back side of the workpiece.
- Holes for the eyes are cut out.
- Flowers with 5-7 petals are drawn on cardboard sheets of different shades. Yellow or orange circles are prepared for their cores. The horn is cut out separately. It is often made of yellow cardboard. But it can be made spiral in a rainbow style or from velvet, foil paper.
- To make a multi-colored horn, you need to create its base from any cardboard. Narrow oval pieces of paper of different shades are glued to it at a slight angle. The bottom and top of the horn are decorated last of all with figures that match the shape of the remaining sections.
- Cut out pink triangles with streamlined shapes that will represent the inside of the unicorn's ear. Glue them on top of the larger white piece.
- On the front part of the mask, use a felt-tip pen or marker to outline the eye slits, and then draw several eyelashes in thick lines.
- Ears and a horn are glued to the back side.
- Flowers are attached to the front in the form of a wreath.
- An elastic band or ribbon is inserted into the pre-prepared holes.

This mask can be decorated in other ways. Here you can use beads, sequins, rhinestones. But glitter will look most appropriate. It is enough to make a small circle of PVA glue on the "cheeks" of the mask's face. Then immediately sprinkle these places with glitter. It will look like a magical blush. A little girl can be delighted with this effect.
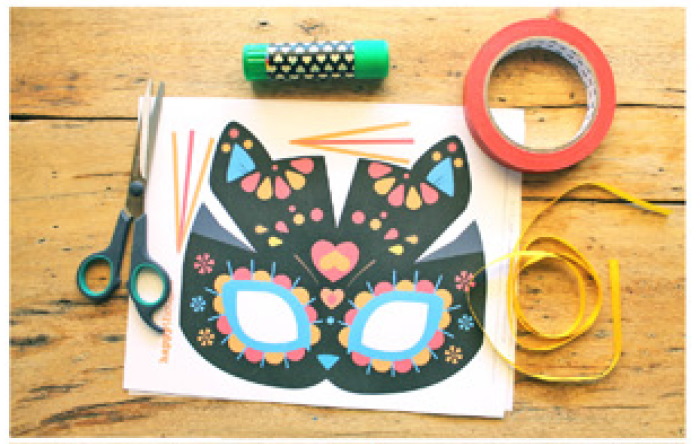
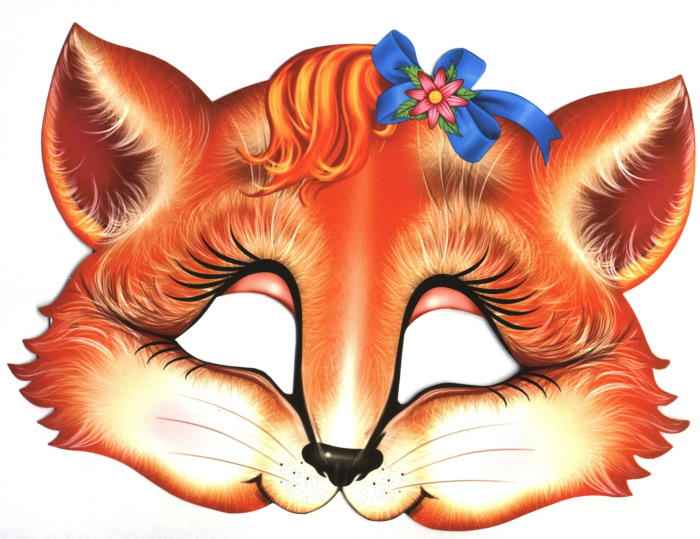
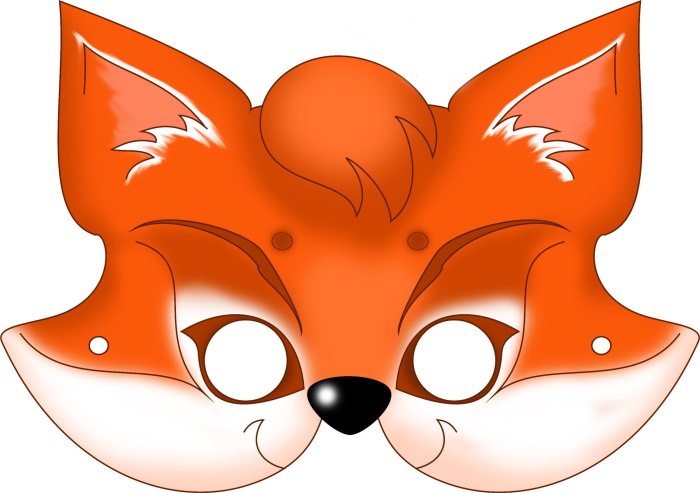
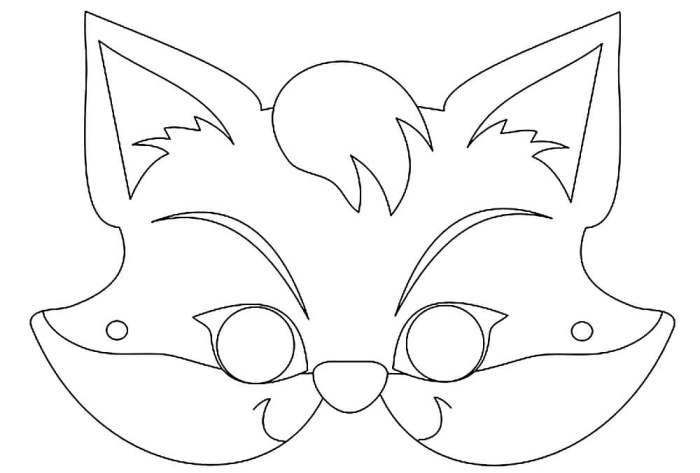
Cat mask
The cat mask has long been popular among children. These animals often evoke affection and associations with elegance and grace. In children's cartoons, representatives of the feline breed often act as the main characters or secondary, but equally touching characters.
The child wants to imitate the creature he likes, so such masks are popular among kids.
For this you need:
- thick paper or cardboard in the color of the cat's fur;
- ribbon, braid or elastic for ties;
- decorations (beads, glitter, sequins);
- colored paper (pink, orange/yellow);
- scissors;
- ruler;
- colored markers, pencils or paints;
- pencil;
- eraser;
- scissors or a stationery knife;
- an awl or a hole punch.
Before making a mask, you should think about its design. The brighter or darker the base color, the more difficult it will be to draw whiskers, hairs, and outline the eyes.
Before making a cat mask, you can show your child an example of a finished version. You need to discuss or even make the mask together to avoid misunderstandings.
To simplify the task, you need to follow the plan:
- After taking measurements, a sketch of the mask is drawn on cardboard (from the back side).
- On pink paper, mark the nose and the inside of the ears.
- Sketches and drawings are cut out.
- The cat's whiskers are made from orange or yellow paper or from fishing line or wire. They are secured with tape or glue (it is better to use instant or hot glue).
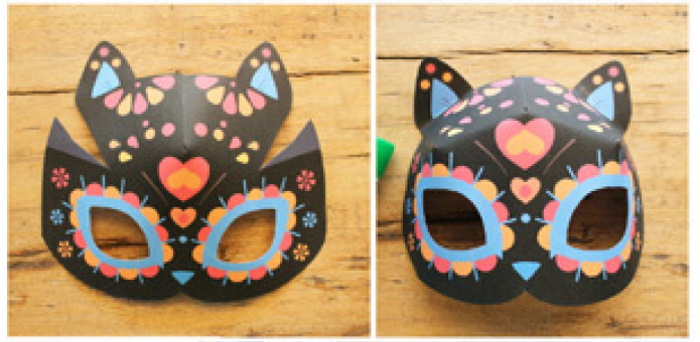
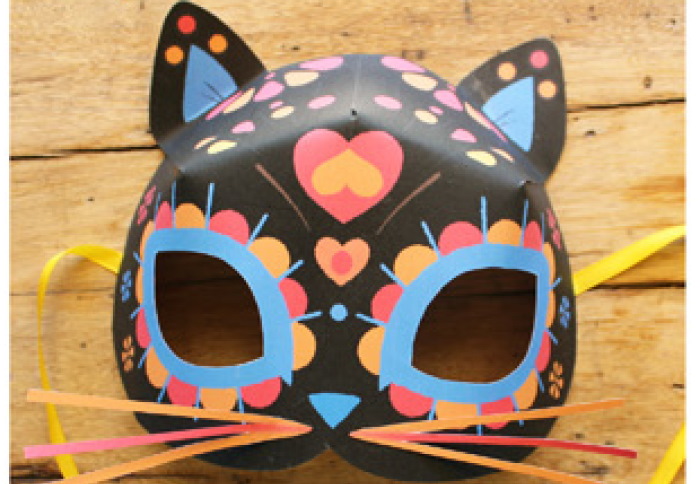
- The cat's hairs and whiskers are drawn on the mask. It can also be decorated with artificial fur for beauty and to create greater realism. Pieces of paper of different shades (depending on the color of the "fur") are glued around the eye slits. They can be outlined with colored markers, pencils, paints.
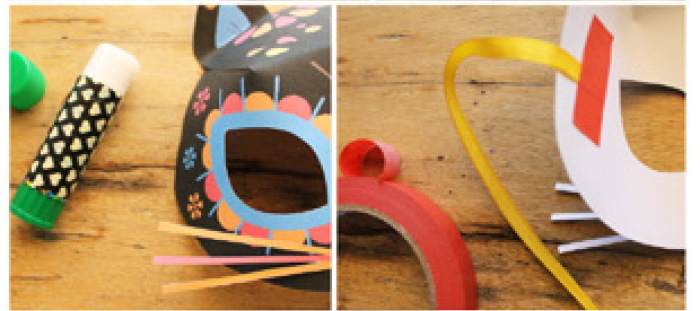
- The rest of the decorations are added to taste. You can smear a little glue on the "cheeks" of the mask and sprinkle with glitter, and also attach sequins or beads along the eyes.
Cats are graceful creatures that know how to win people over. That's why masks with images of these animals are popular with adults and children. There are many variations, and making them takes little time.
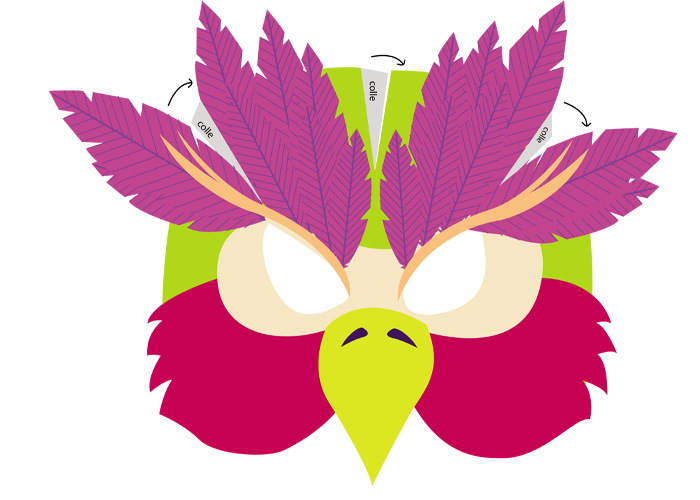
Firebird Mask
DIY masks for children are bright and original. The image of the firebird will add colors to the child's outfit and add a touch of fairy tale and fun to the holiday.
To make it you will need:
- cardboard and brightly colored paper (6 sheets);
- scissors or a stationery knife;
- pencil;
- eraser;
- glue;
- sequins, glitter, rhinestones;
- hole punch or awl;
- scotch;
- elastic, ribbon or tape for ties;
- feathers.
It doesn't take much time to create a mask. Making it will be a fun pastime for children and parents if you use your imagination and follow the step-by-step instructions.
- On the first sheet, a mask template is drawn and then cut out.
- Holes are made for the eyes and ties.
- On the remaining sheets of paper, leaflets are drawn. They are made the full length and width of the format, and then cut out. As a result, 5 pieces are obtained.
- Decorative cuts are made on the sides of the leaves, so they look more like feathers.
- Glue the finished leaves to the back of the mask. One in the center, and the rest symmetrically overlapping.
- Eyelashes are made using glue and glitter.
- Other decorations can be used if desired.
The Firebird mask does not require physical effort or much time to make. Every experienced parent has the materials and tools. The mask can be made together with the child - this will give a lot of positive emotions.
Theatrical mask
Theatrical masks help actors better convey the image of a character. It can be a human face, the head of an animal or a mythical creature. Making such a mask for children is not difficult.
The easiest way is to find ready-made templates and print them on your printer or in a workshop. Then the masks are cut out and equipped with ties. This is how characters for children's plays appear.
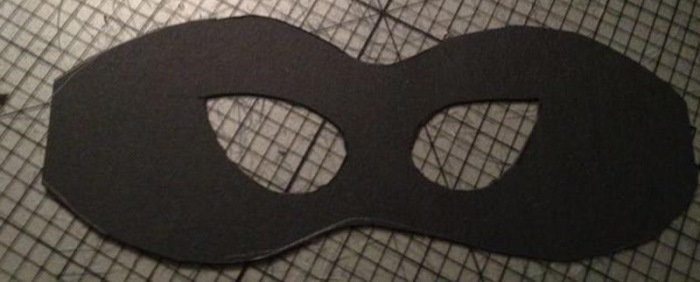
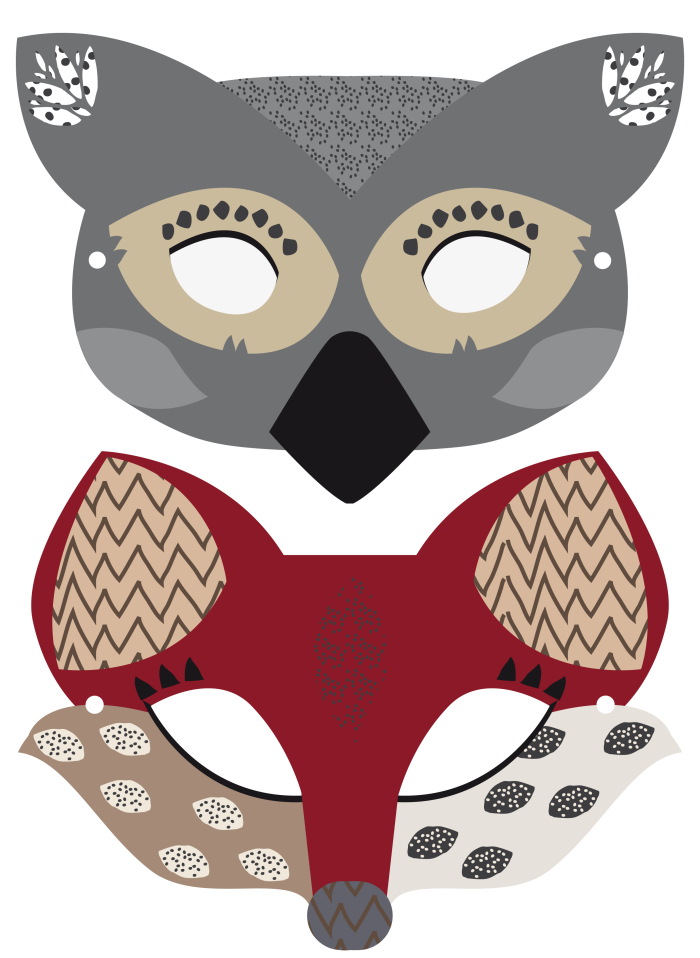
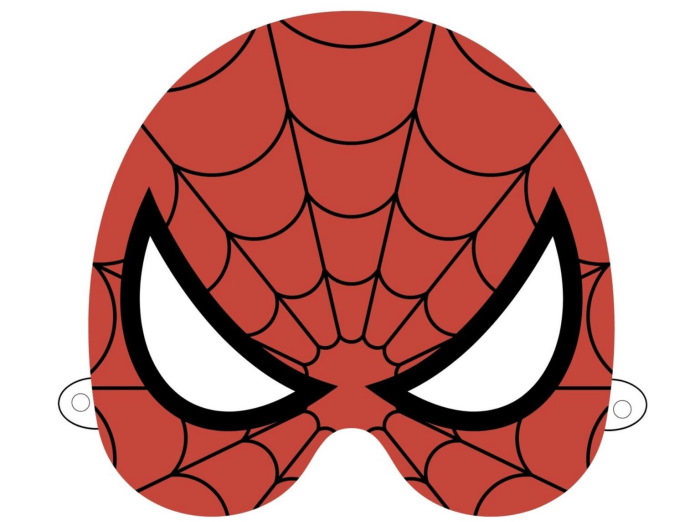
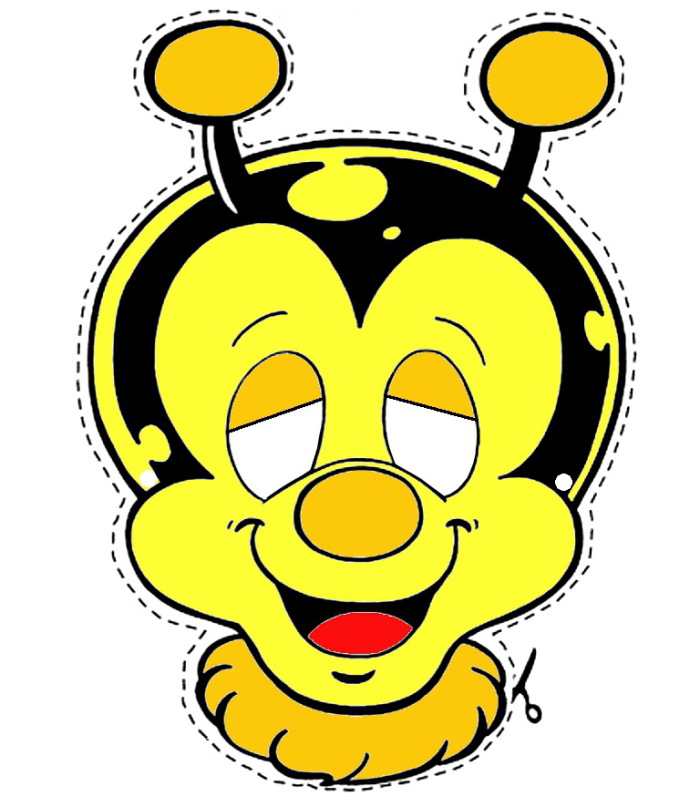
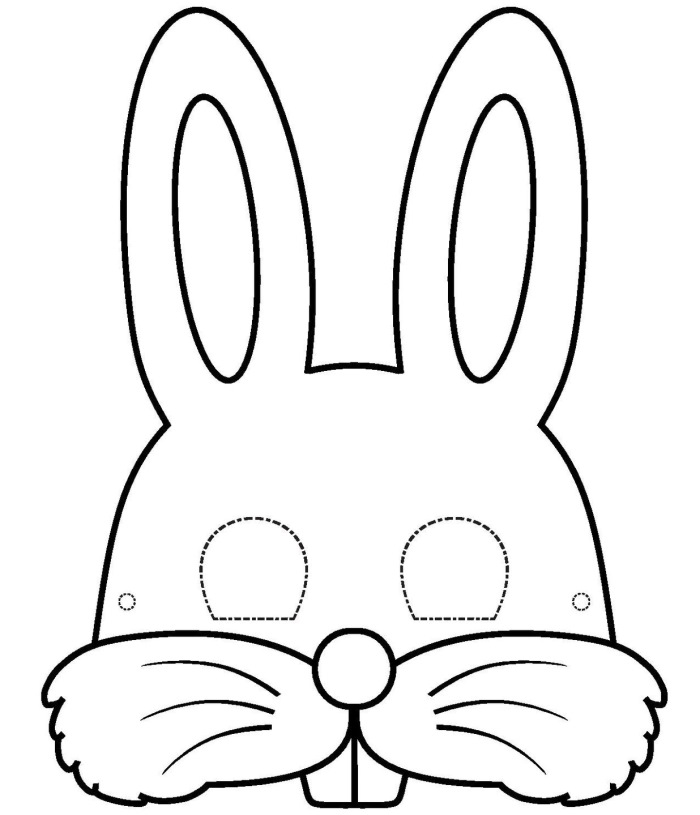
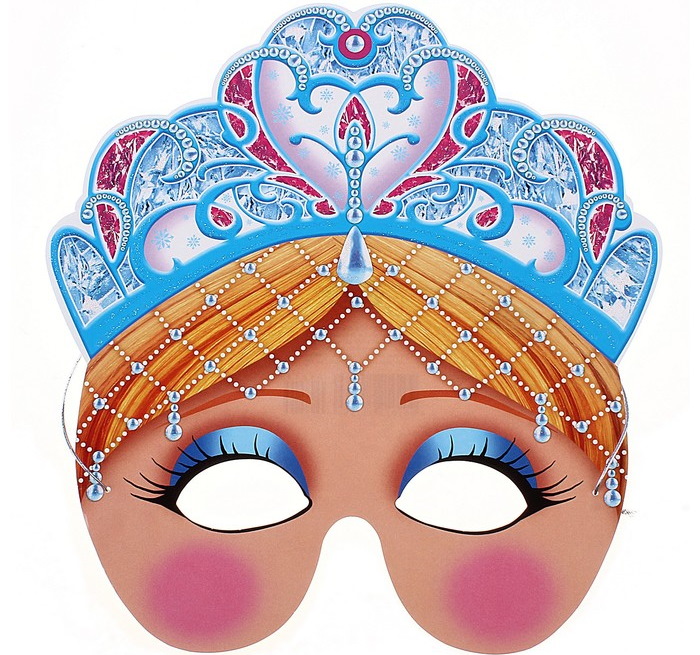
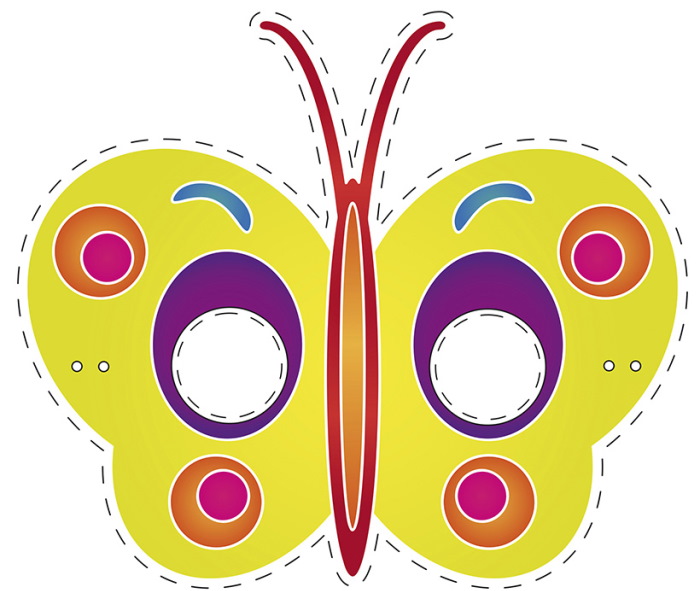
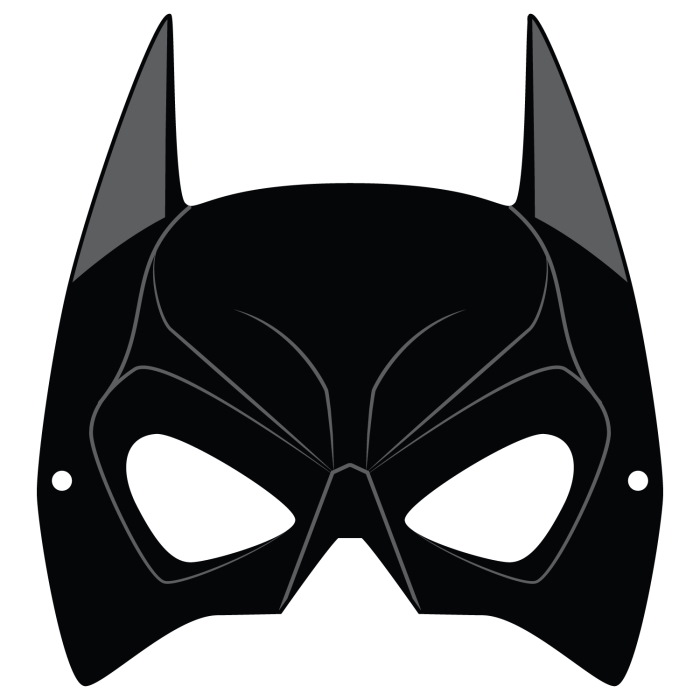
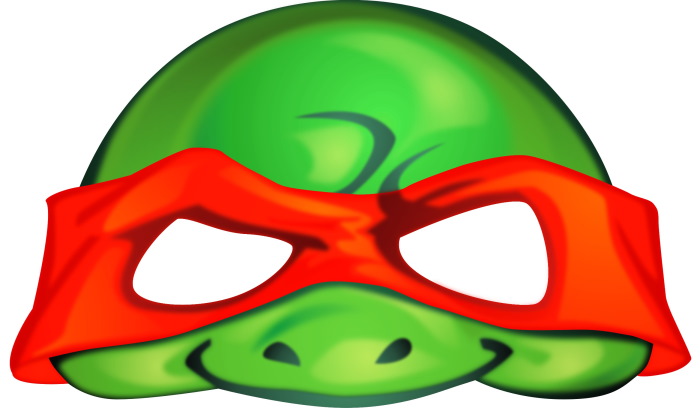
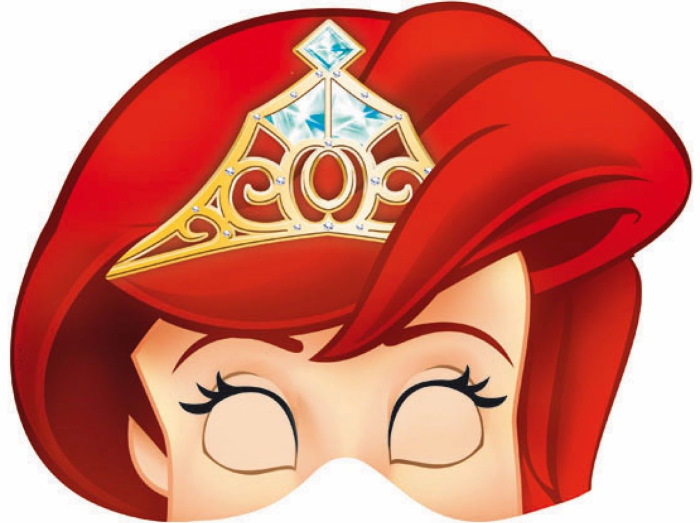
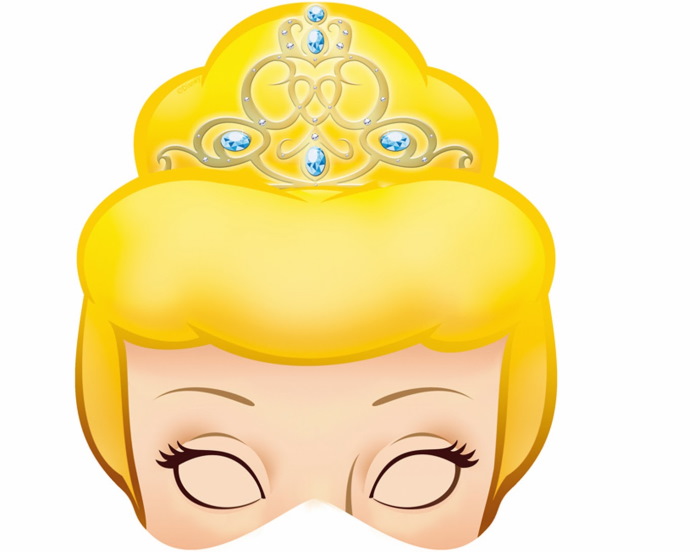
Templates for theatrical masks
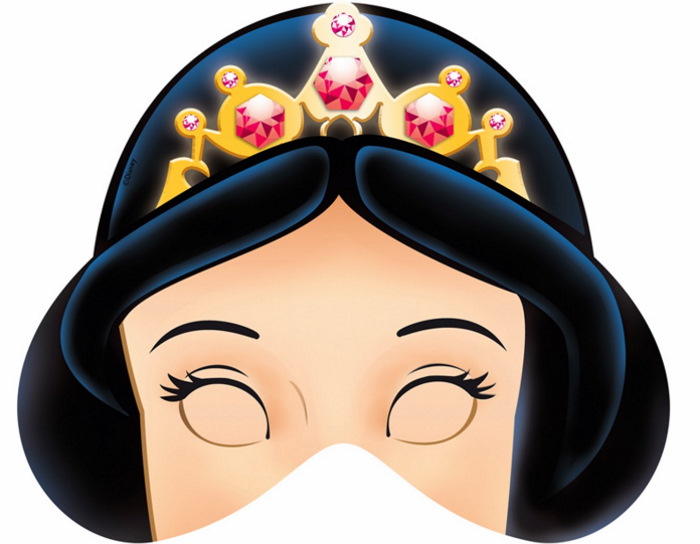
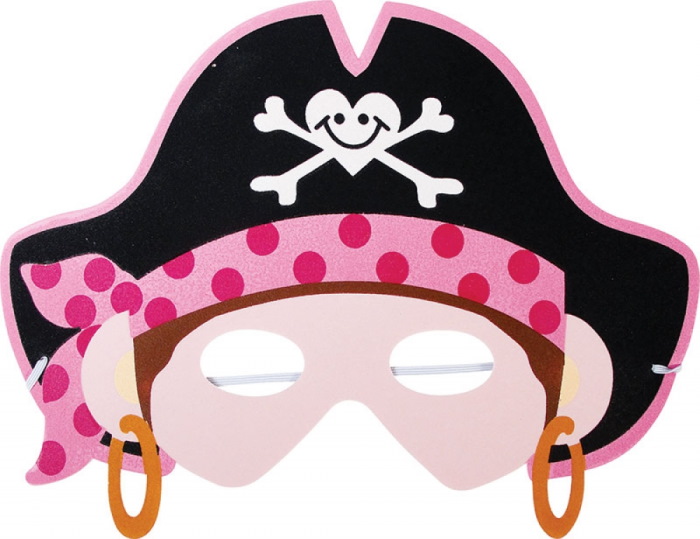
The basis for creating a theatrical mask for a child are characters from cartoons or fairy tales. Disney princesses and superheroes from movies have become popular among children. But theatrical masks often serve only to cover the face, so they may not carry any meaning.
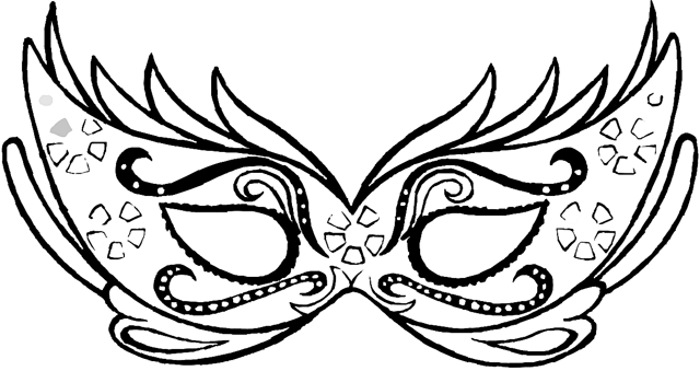
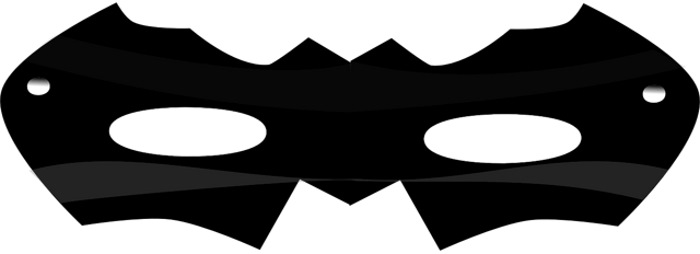
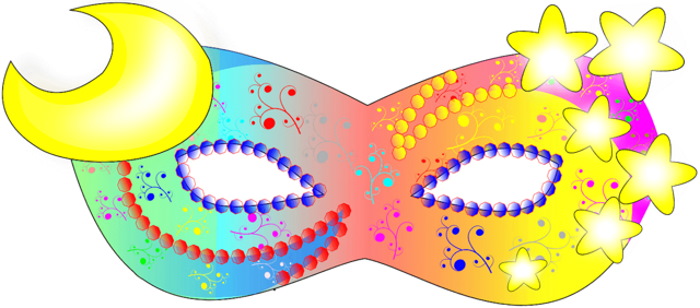
Mask templates
These templates are printed on thick paper at home or in a photo studio. They are cut out and equipped with an elastic band or ribbon as ties. The child will be happy to feel like a favorite character.

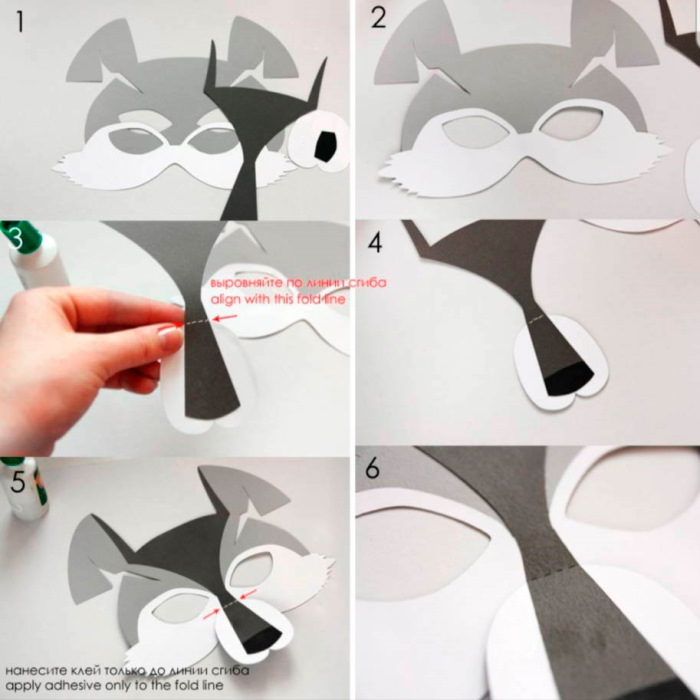
Origami wolf face mask
Origami is an ancient art of making figures based on bending paper at different angles. It can be used to create a quirky souvenir or a children's mask.
Making figures in this style is a complex art, but there are techniques that are understandable even to a child. Using origami, you can make a wolf mask. It does not require much time or physical effort.
But you need to organize a workplace with everything you need:
- paper;
- elastic band or ribbon for ties;
- decorations to taste (faux fur, sequins, glitter);
- gouache, watercolors or other coloring media;
- ruler;
- scissors or a stationery knife;
- an awl or a hole punch;
- eraser;
- pencil;
- glue.
Before creating a wolf mask, you also need to imagine the result. This is necessary to understand what decorations will be needed.
It is necessary to follow the algorithm of actions:
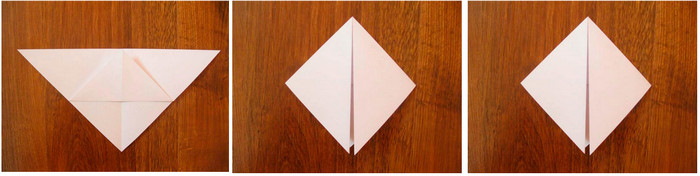
- After taking measurements, you need to prepare a square of white or gray paper. It should be approximately twice the length of the mask.
- Unfold the square so that it becomes a rhombus. The sheet is folded in half by combining two opposite corners. The top of the resulting triangle will be at the bottom. Its corners are combined, the fold is ironed. Then the previous shape is returned.
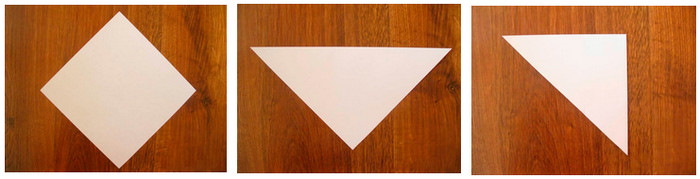
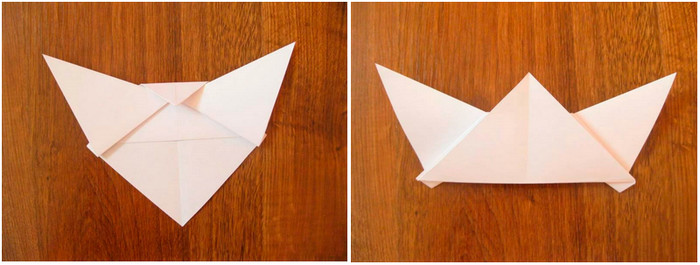
- The top of the triangle (one side of the paper) rises up to its base. The corners of the triangle are aligned with the top, and as a result of the fold, a rhombus appears again. The ears of the mask are indicated. It is necessary to symmetrically almost completely bend back the corners that were bent to the top in the previous step.
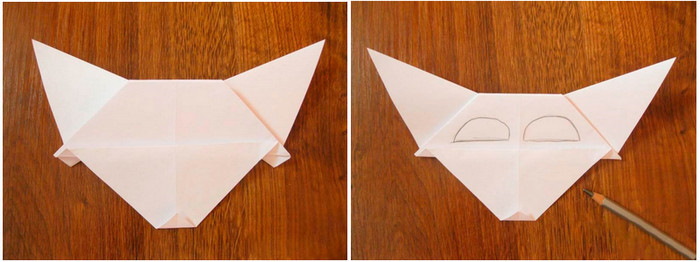
- The small protrusion between the mask's ears bends downwards. To create the shape of the wolf's muzzle, the former apex of the triangle must be bent upwards from the back as much as the mask's ears allow.
- Next, in the same place, an indent of about a centimeter is made. A new fold is made along this line. The lower corner turns into the wolf's nose. It is bent a short distance upwards. Then slits are made for the eyes.
- On the sides of the mask, holes are marked and pierced with an awl or a hole punch. Ties (ribbon, elastic) are inserted into them.
- The protruding elements (nose, ears, fold of the muzzle) are glued to secure them.
- The resulting muzzle is painted with details drawn in.
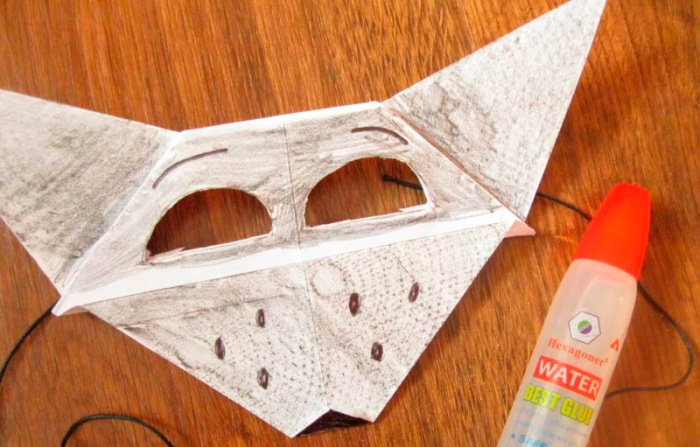
If the mask was made of white paper, you can give it a gray color for greater realism. On the muzzle, you should draw dots indicating the whiskers. Sometimes glitter, beads, and beads are used for this. You can also add the whiskers themselves from fishing line or wire.
The blanks are fixed with one- or two-sided tape or glue (omental or hot glue). The product can be decorated with artificial fur for beauty or to make it more realistic.
How to make a voluminous mask? Tiger mask
Volumetric paper masks are often made using the papercraft technique. The figures in this style are original with geometric shapes. The manufacturing process is fascinating, despite being slightly more complex than other methods.
The tiger symbolizes strength, talent and grace. Not only an adult, but also a child wants to be in the image of such an animal.
For a papercraft mask you will need:
- ruler (preferably metal);
- glue;
- scissors or a stationery knife;
- ballpoint pen (without ink);
- paints, markers, pencils.
During production, questions may arise, but if you follow the algorithm of actions, the process will become easy and interesting.
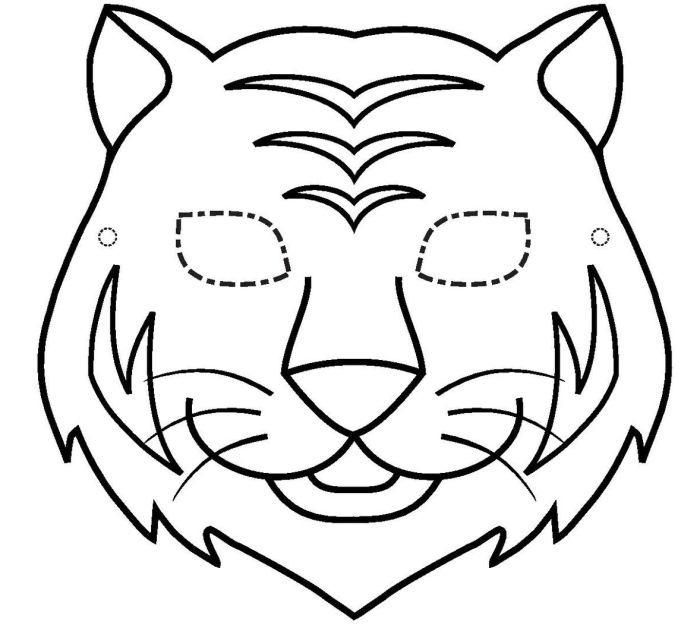
Stages of work:
- Print the templates on thick paper of the same format (at least 180 g/m2)2).
- Cut out all pieces along the solid lines.
- Make folds. If the line is dotted, then inward, if it is dashed-dotted, then outward. To make the folds straight, you can first draw along the ruler with the sharp part of a ballpoint pen.
- Then the assembly of the model begins. It is necessary to connect the parts of the parts marked with one number (1-1, 2-2, 3-3) and glue them together.
- Once assembly is complete, you can paint the resulting figure.
A mask made using the papercraft technique turns out geometric and voluminous. Many children like to help in their creation, because the result of their own work is more pleasant to wear. Such masks are still rare, so they are guaranteed to be a sensation at the holiday.
Tips and tricks for making masks for kids
DIY masks for children often have to be made at the last minute. Everyone is familiar with the situation when late in the evening a child says that he needs to prepare a craft, an essay or a costume for a holiday by tomorrow.
For this purpose, experienced parents usually keep materials at home that may be needed:
- colored paper;
- decorative elements (sequins, glitter, rhinestones);
- cardboard;
- paints and brushes;
- felt-tip pens.
The tools needed to make masks are often found in the home where the child lives. These are glue, scissors, pencils, as well as a ruler and tape. Therefore, the news about the preparation of the product will not be a strong test for parents.
If you need to create a mask for a child, the main thing is to calmly think over its design and prepare all the materials and tools in advance.
Most children's masks have a simple algorithm for creating them with your own hands. You can offer your child to participate in working on the image. This will become an exciting adventure for him. The child will also acquire new skills, learn to work and be independent.
Video on how to make a mouse mask in 10 minutes
In this master class you will learn one of the ways to make a mask from cardboard and colored paper in the form of a mouse's face. Making such a mask will take on average no more than 5 minutes if you prepare all the necessary materials in advance and follow the step-by-step instructions below.