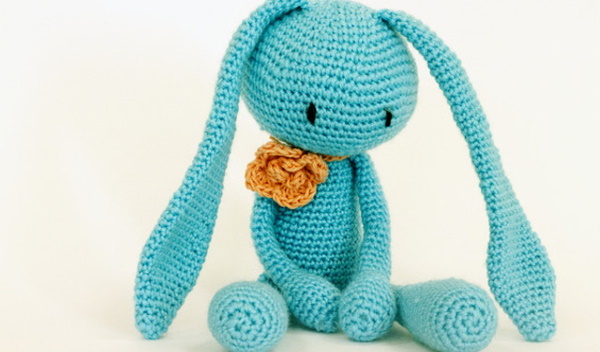
A small hare with long ears can be crocheted in just a few hours. The toy can become an interior decoration, a gift for a child, in the form of an animal you can make an original pillow for sleeping. Yarn for knitting is selected taking into account how the craft will be used.
Choosing yarn for work
The following yarn is suitable for knitting the toy:
- Cotton in combination with acrylic (55% and 45%). These threads are used for knitting soft toys. They are soft, do not twist, do not stretch when knitting. The fabric is dense, holds its shape well. The yarn is resistant to abrasion and fading.
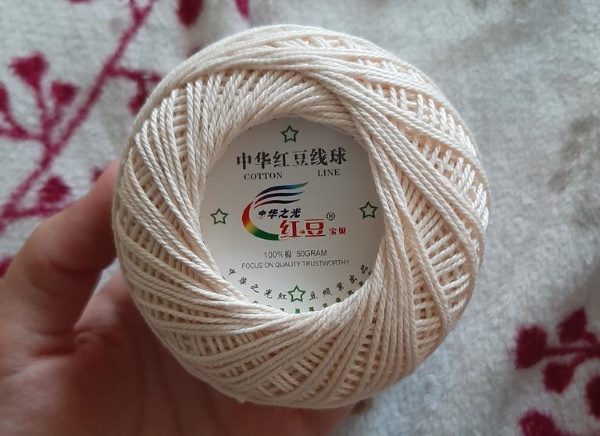
- 100% cotton yarn. The structure of the thread is smooth. The fabric from it is even and dense. The material is suitable for knitting pillows, since the yarn does not irritate the skin.
- Stretch cotton (contains 2% lycra). The thread stretches and is convenient for knitting. Toys made from such yarn should not be stuffed tightly, as excess filler can deform their shape.
- Yarn "Grass" (65% cotton in combination With 35% polyamide). The thread is used for knitting fluffy toys. It is suitable for experienced needlewomen, since the loops are poorly visible at the beginning of the work and there is no way to count the number of knitted rows due to the uniformity of the fabric.
- Plush yarn (100% micro-polyester). The toy is soft and pleasant to the touch. The thread can be difficult to work with, as the small pile makes it difficult to count the loops.
- Acrylic yarn. It is convenient for knitting, it is easy to unravel in case of a mistake. The thread holds its shape, retains its properties for a long time and does not fade.
Yarn containing wool is used for knitting toys that are combed afterwards. It is not suitable for children's toys because they are prickly and hard. Among inexpensive yarns, there may be uneven thread with knots and thickenings, which can subsequently spoil the appearance of the finished toy. Defects in the material will make the product look sloppy, and sometimes can even deform the toy.
Which hook to choose for knitting amigurumi?
To prevent the toy from being see-through and the filling from coming out, it is necessary to achieve a high knitting density. To do this, you need a hook that matches the yarn. The thinner the yarn, the smaller the tool number should be. Toys are often knitted with a small diameter hook: from No. 1 to No. 2.5. The exception is items made of plush yarn, which require a hook No. 4-5.
It is better to choose a tool for work from materials:
- metal;
- bone;
- plastic.
Wooden hooks do not provide normal thread sliding on the surface of the tool. Beginners can use them to prevent the yarn from slipping off the hook during work. Experienced needlewomen should give preference to metal hooks. The tip of the tool should not be too sharp or round. You also need to check the size of the cutout on the hook. If it is small, the thread will constantly slip off.
Materials for knitting a hare with long ears
In addition to yarn and a hook, to create a toy you will need:
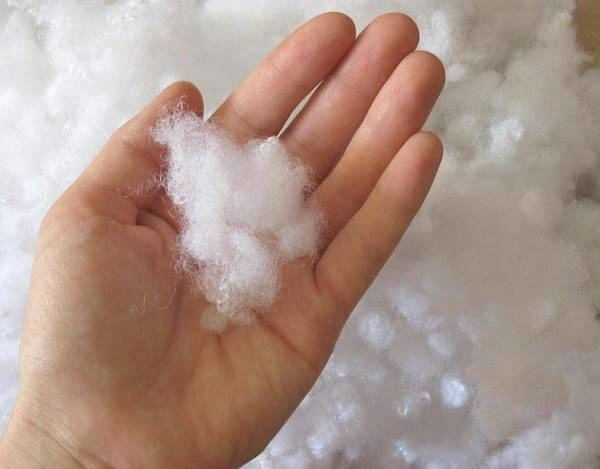
- filler (it is more convenient to work with holofiber);
- accessories (plastic eyes, nose and other decorative elements);
- needle.
You can use plastic joints if you need to make moving parts of the toy's body.
Abbreviations in knitting patterns
The following abbreviations are used in instructions and master classes:
| Abbreviation | Transcript |
| R | Row |
| P | Loop |
| BP | Air loop |
| SS | Connecting post |
| SBN | Single crochet |
| PS1N | Half double crochet |
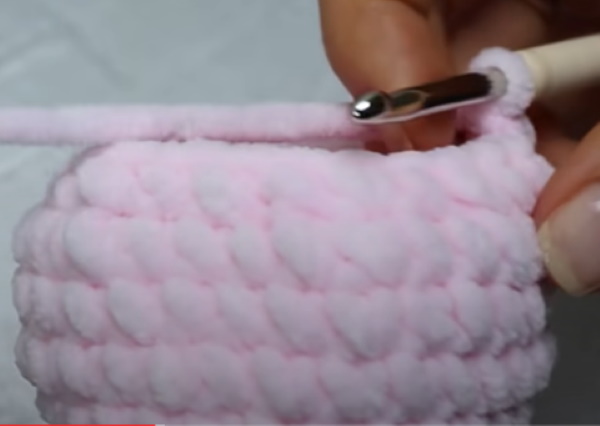
Master class for beginners on crocheting a hare with long ears
A hare with long ears, which even beginner needlewomen can crochet, is made using the following materials and tools:
- 1 skein of yarn "Children's novelty" from the manufacturer Pekhorka;
- hook No. 2.5;
- 150-200 g of holofiber;
- 2 plastic toy eyes or buttons, large beads.
If you can’t find the “Children’s novelty” yarn, you can replace it with other yarns with similar parameters: 200 m per 50 g per skein.
Hands of a hare
Knitting of the toy begins with the hands:
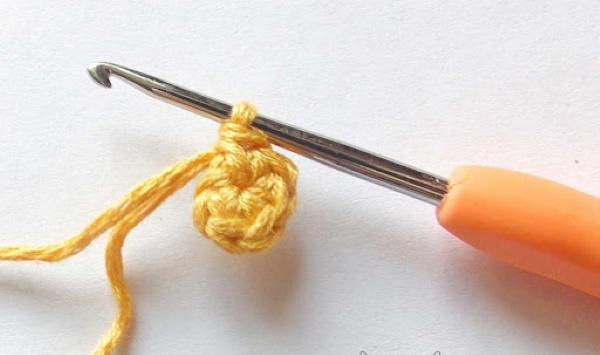
- Make amigurumi rings, knit 5 sc into it.
- 2 R: in each sc make 2 sc. You will get 10 P in a row.
- 3 R: increase every 1 st: 2 sc in 1 st, alternate 1 sc to end of row. There should be 15 sts in the row.
- 4-6 R: knit without changes.
- 7 R: Decrease every 3 sts. There should be 12 sts left in the work.
- 8 Row: Knit together 2 sts through every 2 sts. You will have 9 sts left in your work.
- 9-15 R: knit without changes.
- Fill the hand with stuffing up to the middle of the piece.
When the first arm is knitted, the thread needs to be secured and cut, its end hidden inside the knitting. Next, you need to knit the second arm in the same way.
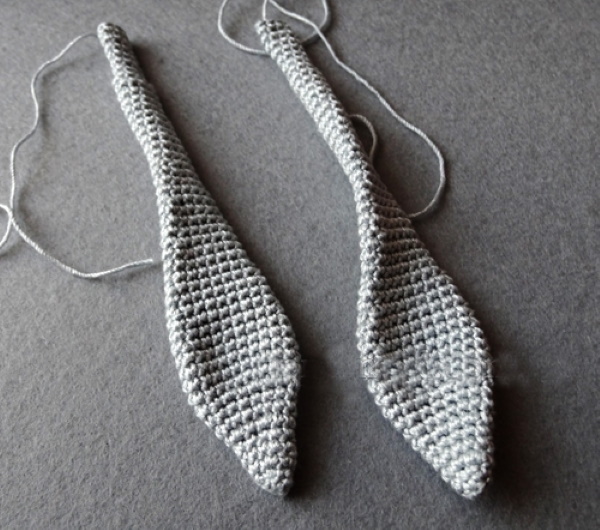
Legs
The second stage involves knitting the hare’s 2 legs:
- Make an amigurumi ring.
- 1 R: make 6 sc in the ring.
- 2 R: make increases in each sc. There should be 12 sc in the row.
- 3 R: knit, alternating 1 sc in 1 P and 2 sc in 1 P. In total, there should be 6 increases in the row through each loop.
- 4 R: increase every 2 sts. There should be 24 sts in the row.
- 5 R: knit 24 sc without changes.
- 6th Row: In the first loop make 2 sc, 11 sc, in the next loop 2 sc, another 11 sc. There should be 2 increases in the row.
- 7-11 R: knit 26 sc without changes.
- 12 R: make 2 decreases at the beginning and middle of the row. There should be 24 sts left.
- 13 R: make 2 decreases at the beginning and middle of the row. There should be 22 sts left.
- 14 R: knit stitches without changes.
- 15 R: make 2 UB: in the first 2 loops and in the middle of the row. There should be 20 P. left.
- 16 R: make 2 UB: at the beginning and middle of the row. There should be 18 P. left.
- 17 R: knit without changes 18 sc.
- 18 R: Make 2 UB in the row again: 1 at the beginning and 1 in the middle. There should be 16 P. left.
- 19 R: knit 16 sc without changes.
- Close the loops, fix, cut and hide the thread.
- Fill the part with stuffing up to the middle of the paw.
The second leg of the hare is knitted in the same way.
Torso
The body of the toy consists of one part:
- Make an amigurumi ring.
- 1 R: 6 sc in ring.
- 2 R: increase the loops by 2 times: 2 sc in each loop. There will be 12 sts in the row.
- 3 R: Knit the first loop with sc, double the second, making 2 sc in 1 P. Repeat alternation to the end of the row. You should get 18 P in the circle.
- 4 R: 2 sc, in the next make 1 CR, continue alternating to the end of the row. In total you will get 6 CR.
- 5 R: make increases every 3 sts. There should be 30 sc in the row.
- 6 R: 4 sc, 1 ch: repeat a total of 6 times. There will be 36 sts in total.
- 7-9 R: knit without changes.
- 10th Row: Knit 1 and 2 sts together, 16 sc, 2 sts together, sc to end of row. There should be 34 sts remaining.
- 11 R: start row with sc, knit 16 and 17 sts together, continue with sc, knit 2 sts, last sts in row, knit together. 32 sts remain.
- 12-13 R: knit without changes.
- 14 R: do 2 times: 14 Sc and 1 UB. There will be 30 P left in the row.
- 15 R: 13 sc, 1 UB, 13 sc and 1 UB. 28 sts remain.
- 16-17 R: knit without changes.
- 18 R: Decrease 1 st from first 2, work Sc, make 1 more UB in center of row, continue Sc to end of round. 26 sts remaining.
- 19 R: make 2 UB: at the beginning and in the middle of the row. The remaining loops in the circle are knitted as Sc. 24 P. remain.
- 20 R: make 2 UB: at the beginning and in the middle of the row. Knit the remaining loops as Sc. 22 P. remain.
- 21-22 R: knit without changes.
- Close the loops, cut and hide the thread.
When the part is ready, it needs to be tightly stuffed with filler.
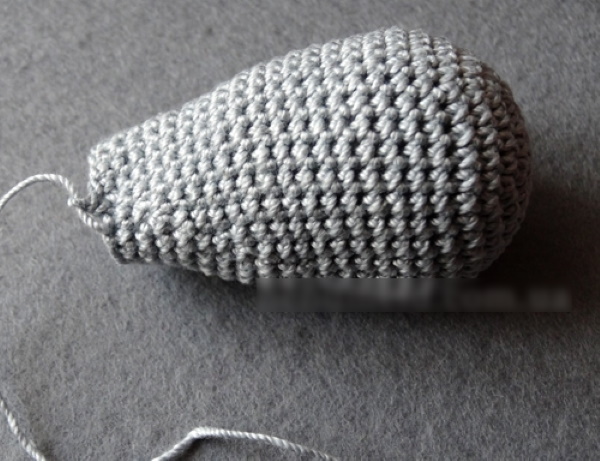
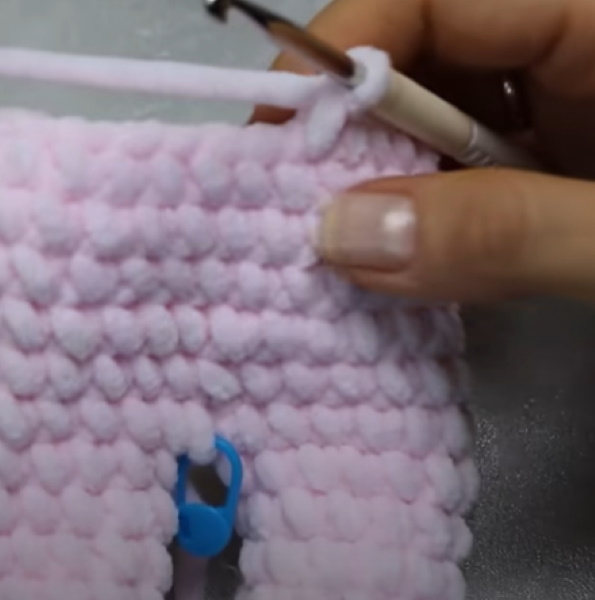
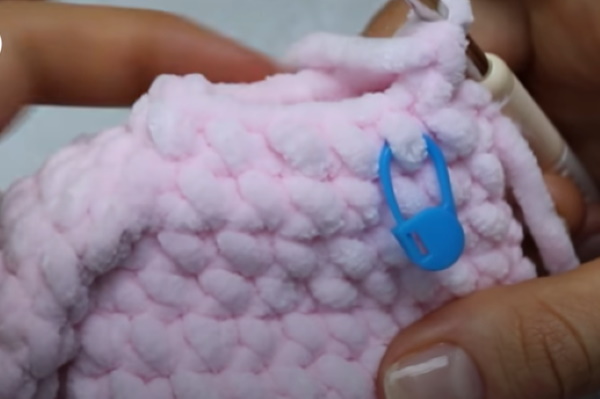
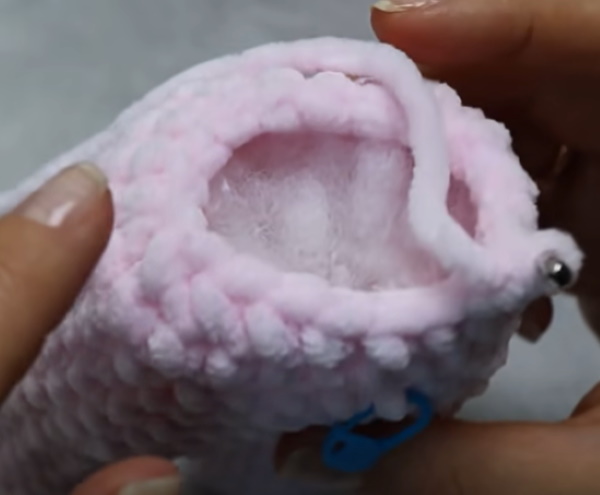
Head
Knitting the hare's head begins with an amigurumi ring:
- 1 R: make 6 sc into the ring.
- 2-10 R: make 6 CR in each row (first 2 sc in each loop, in the next row increase through 1 P, then through 2 P, then through 3 P and so on, until you get 60 P in the 10th row).
- 11-15 R: knit 60 sc without changes.
- 16-20 R: decrease in reverse order of increases: 6 UB in each row until there are 24 sts left in the circle.
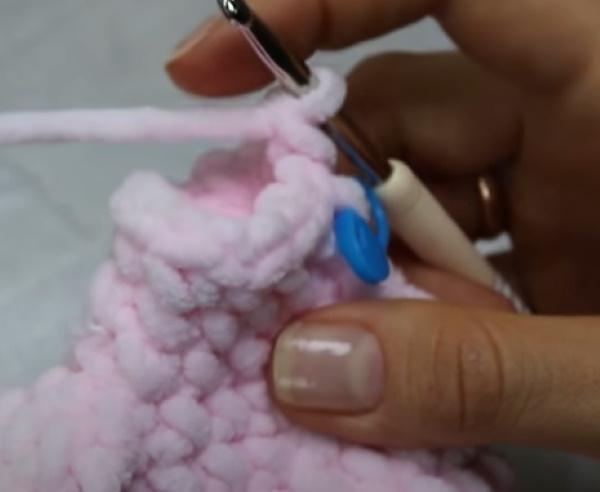
- Close the loops, cut the thread.
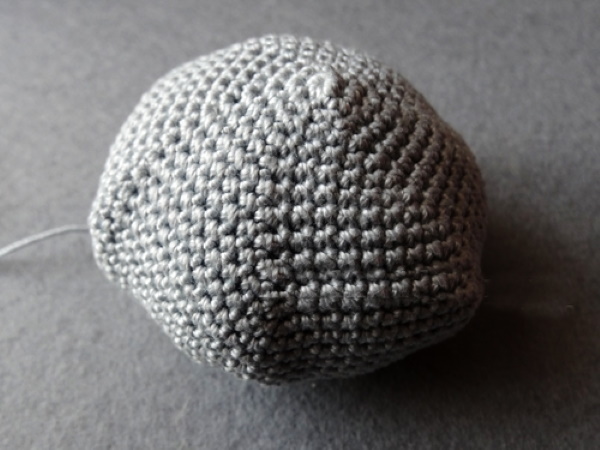
Once the head is tied, you need to stuff it tightly with holofiber.
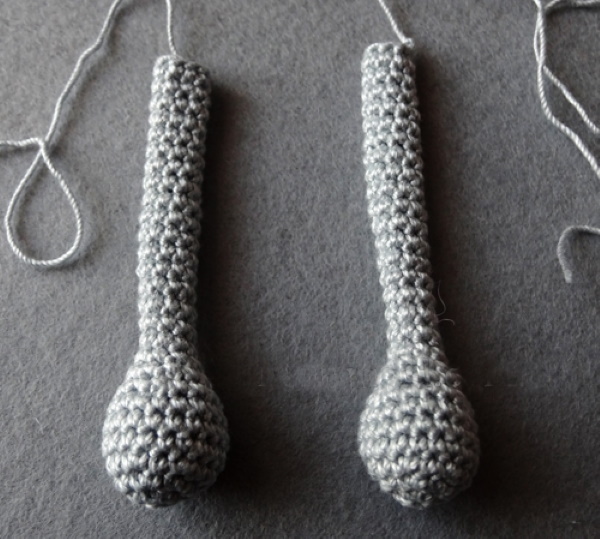
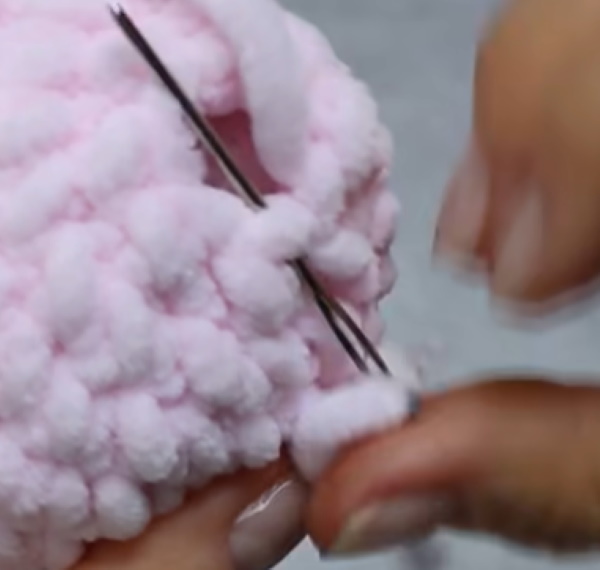
Ears
Knitting begins with an amigurumi ring:
- 1 R: make 5 sc into the ring.
- 2 R: knit without changes.
- 3 R: increase every 1 sc: in 1, 3 and 5 sts. You should have 10 sts in a row.
- 4 R: knit without changes.
- 5 R: increase every 1 sc: in 1, 3, 5, 7 and 9 sts. There should be 15 sts in the row.
- 6 R: knit without changes.
- 7 R: increase every 1 sc: in 1, 3, 5, 7, 9, 11, 13, 15 sts. There should be 23 sts in a row.
- 8-15 R: knit without changes.
- 16 R: make 2 UB: 1 at the beginning and 1 in the middle of the row. 21 P. will remain.
- 17-18 R: knit without changes.
- 19 R: make 2 UB: 1 at the beginning and 1 in the middle of the row. There will be 19 P left in the row.
- 20-21 R: knit without changes.
- 22 R: make 2 UB: 1 at the beginning, 1 in the middle of the row. You should get 17 P.
- 23-24 R: no changes.
- 25 R: make 2 UB: 1 at the beginning and 1 in the middle of the circle. 15 P will remain.
- 26-27 R: no changes.
- 28 R: make 2 UB: 1 at the beginning and 1 in the middle of the row. There will be 13 P left in the row.
- 29-30 R: no changes.
- 31 R: do 2 UB: 1 at the beginning and 1 in the middle of the circle. You should get 11 P.
- 32-44 R: no changes.
- 45 R: make 2 UB: 1 at the beginning and 1 in the middle of the row. 9 P will remain.
- 46-52 R: no changes.
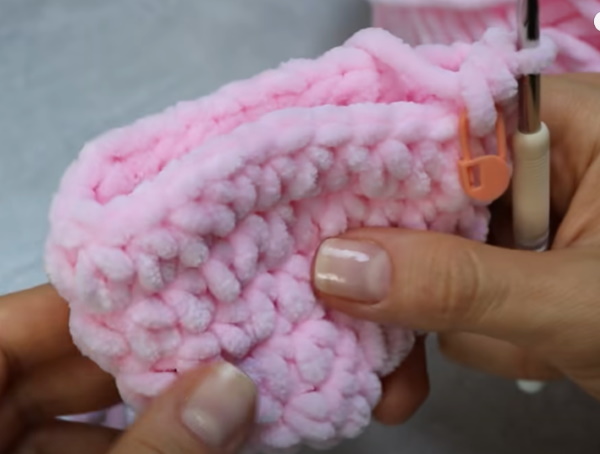
- Close the loops, fasten the thread and cut, leaving a long end so that you can sew the ear to the head.
Knit the second ear in the same way. These parts are not filled with stuffing.
Assembling the toy
A hare with long ears, which can be crocheted in any color, is assembled in parts using the same threads with which it was crocheted:
- The assembly of the hare begins with sewing the head and body. The parts are connected by the wide sides, where they were filled with holofiber through the holes.
- Sew the hare's legs, placing them symmetrically.
- Attach the arms of the toy.
- Sew on the ears.
- Attach the eyes to the muzzle. If there are no special plastic parts, the eyes can be embroidered with black thread.
You can also sew or embroider a nose and mouth on the hare.
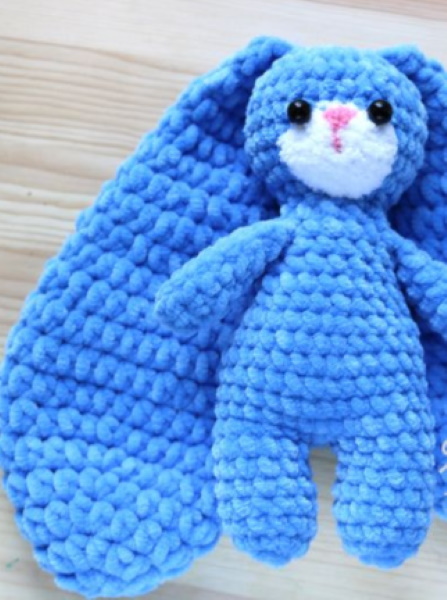
Plush bunny with long ears
A hare with long ears, which can be crocheted by beginners using this master class, will be soft to the touch thanks to the plush yarn.
To knit a toy you will need:
- hook No. 4.5 and No. 3.5;
- yarn Dolphin Baby (Himalaya) 1 skein and Softy (Alize);
- synthetic fluff for stuffing toys;
- plastic eyes;
- satin ribbon for decoration;
- knitting markers.
Instead of synthetic fluff, you can use holofiber. The color of the yarn is not particularly important, unlike its quality and structure. Therefore, it is not advisable to replace the threads in the master class.
Upper paws
Work on the hare begins with knitting the upper legs:
- Make an amigurumi ring.
- 1 R: 6 sc in ring.
- 2 R: Alternate 1 sc, 1 dc 3 times. You should have 9 sts in a row.
- 3-7 R: knit without changes.
- 8 R: Make 1 UB in the row so that 8 P remain.
- Fold the piece in half and knit 4 sc along both sides. Secure the thread and cut.
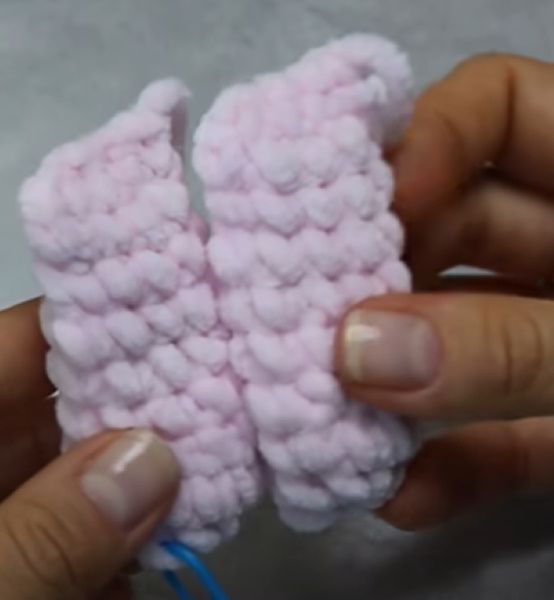
The second leg needs to be knitted in the same way.
Lower paws
Start working with the amigurumi ring:
- 1 R: make 6 sc into the ring.
- 2 R: make an increase in each loop so that there are 12 sc in the row.
- 3-8 R: knit without changes.
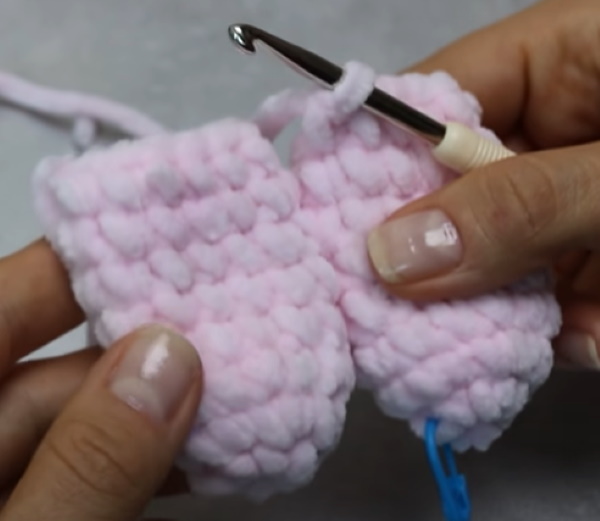
The second leg should be knitted in the same way, finishing the row with a chain stitch, but without cutting the thread at the end, move on to knitting the body.
The body of the toy and the attachment of the lower legs
A hare with long ears, which can be crocheted either in one color or from yarn of several shades, is stuffed with synthetic fluff as the parts are knitted. To make the legs look symmetrical, they should be turned so that the ends of the threads look in the same direction. Before connecting them, you need to knit 6 more sc along the leg with the working thread.
The knitting algorithm is as follows:
- 1 R: VP, 12 sc along the leg, PR into the air loop, 12 sc along the other leg, PR into the VP of the second piece. There should be a total of 28 sc in the row.
- Place a marker in the last stitch to mark the beginning and end of the row.
- 10-15 R: knit without changes.
- 16 R: Repeat 3 sc, UB, then 3 sc 5 times. There should be 23 sc in the row.
- Stuff the legs with stuffing.
- 17 R: knit without changes.
- 18 R: Repeat UB, 3 sc, then UB, 1 sc 4 times. There should be 18 sc in the row.
- 19 R: knit without changes.
In the next row, you need to attach the upper paws. Since the knitting is done in a spiral, the beginning of the row is constantly shifted by 2-3 mm to the right. Therefore, the paws will be located asymmetrically relative to the previously installed marker. They should be sewn so that the ends of the threads are located in one direction.
In row 20, you need to do 4 sc, then another 4 sc together with the first handle. To do this, you need to hook both the body and arm loops at the same time. Next in the row, do 4 sc, then 4 sc together with the second arm and another 2 sc at the end of the row.
Where there are 6 sc between the paws, there will be a back, where there are 4 sc - the front part. If the paws look disharmonious, you can change the number of loops between them. At the end, the thread does not need to be cut, since knitting the head will continue further from the body part.
As you knit, you need to remember to fill the toy with synthetic fluff and move the marker.
Head
The head is knitted from the body:
- 1 R: Repeat 1 sc and 1 UB 6 times. You will get 12 sts in a row – this will be the neck of the toy.
- 2 R: no changes.
- 3 R: Repeat 1 sc and 1 ch 6 times. You will get 18 sts in a row.
- 4 R: 1 sc, then repeat 3 CR and 1 sc 4 times, then 1 CR. You will get 31 P in a row.
- 5-9 R: no changes.
- 10 R: Repeat 2 sc and 1 UB 7 times, then 3 sc. You will get 24 sts in a row.
- 11 R: Repeat 1 sc and 1 ub 8 times. There will be 16 sts left in the work.
- 12 R: perform 8 UB and 1 SS. There will be 8 P. remaining.
At the end, you need to tighten the hole with a needle and hide the end of the thread inside the toy.
Ears
The hare's long ears do not need to be stuffed. They will need to be crocheted as PS1N, unlike the other parts. To make the ears softer and airier, the loops should not be pulled tight with a hook.
Operating algorithm:
- 1 R: make 6 sc into the amigurumi ring.
- 2 R: make increases in each loop. In total there should be 12 PS1N in the row.
- 3 R: 2 PS1N and 1 PR repeat 4 times. You will get a total of 16 P.
- 4 R: 3 PS1N and 1 PR repeat 4 times. You will get 20 P in a row.
- 5 R: 4 PS1N and 1 PR repeat 4 times. You will get a total of 24 P.
- 6 R: 5 PS1N and 1 PR repeat 4 times. There will be 28 P in the row.
- 7-10 R: knit without changes.
- 11 R: 5 PS1N and 1 UB repeat 4 times. 24 P. will remain.
- 12 R: knit without changes.
- 13 R: 4 PS1N, 1 UB repeat 4 times. There will be 20 P in the row.
- 14 R: knit without changes.
- 15 R: 3 PS1N and 1 UB perform 4 times. 16 P. remain.
- 16 R: knit without changes.
- 17 R: 2 PS1N and 1 UB repeat 4 times. There will be 12 P. left in the row.
- 18 R: knit without changes.
- 19 R: 4 times repeat 1 PS1N and 1 UB. 8 P. will remain.
- 20 R: knit without changes.
- Fold the eyelet in half, make 4 PS1N for both walls.
The thread needs to be cut. Its end needs to be left long to sew the part to the head. Make the second eyelet in the same way.
Muzzle
To knit this piece you will need white thread and hook No. 3.5:
- 1 R: make 6 sc into the amigurumi ring.
- 2 R: 6 PR (1 PR in each loop).
- 3 R: repeat 6 times 1 Sc and 1 PR. You will get 18 P in a circle.
- 4 R: Repeat 1 sc and 1 dc 9 times to make 27 sts in a row.
The thread at the end needs to be secured and cut.
Assembling the parts and decorating the hare
To assemble the parts of the toy, you need to sew the ears to the penultimate row of the hare's head, hide the ends of the thread inside the toy. Next, you need to embroider the nose with pink threads and sew the eyes to the toy. After that, you should sew on the white part of the muzzle. Finally, you need to tie a bow of satin ribbon on the neck of the toy.
Since the hare with long ears is made of machine-washable yarn, it is easy to care for. The synthetic fluff will not get lost, and the color of the threads will not fade. Such a crocheted toy is suitable as a gift for a child, since the materials used in the master class are hypoallergenic.
Video on how to crochet a hare with long ears
How to crochet a bunny: