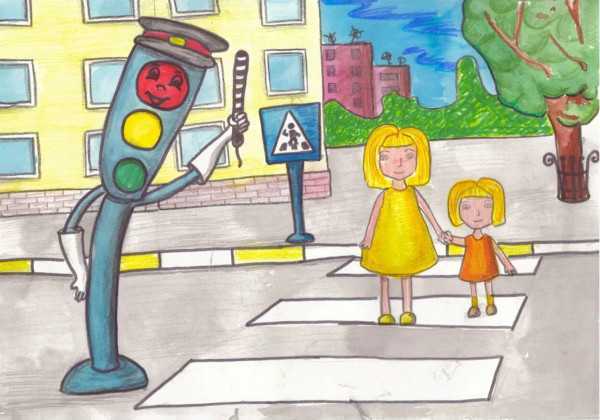
Road safety – following traffic rules. To protect the lives of minors, you should look at the problem through the eyes of children: how they perceive danger, how they react to life-threatening conditions and what they can do when faced with it.
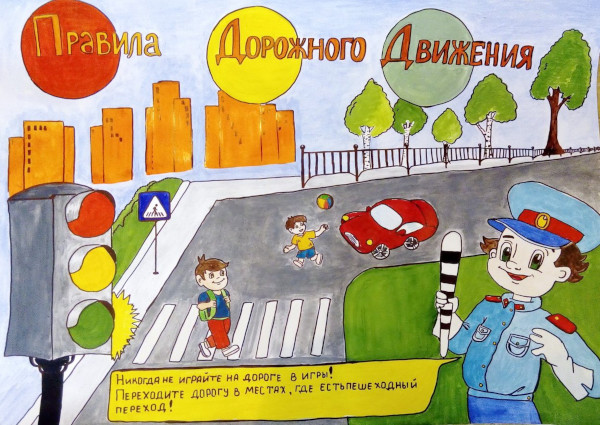
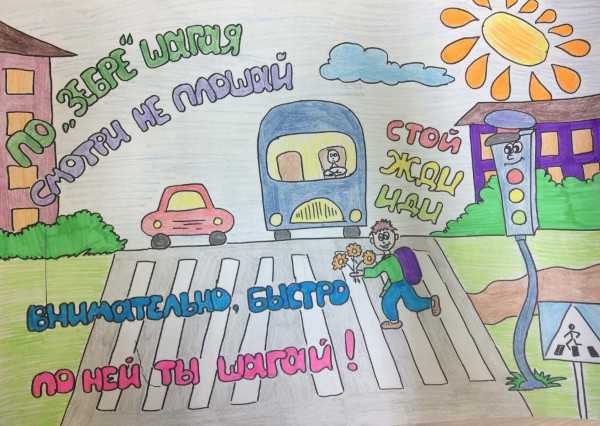
One of the effective ways to help them is to show them visually how to behave correctly on the roadway or when a vehicle approaches. using drawings.
What you need for drawing
The most understandable and accessible way is master classes in the company of adults. Artistic MK are held individually or in a group of children by age. To create drawings, you can use pencils, wax crayons or those tools that are easier for children to work with.
For the master classes described below you will also need:
- whatman;
- simple pencil;
- ruler;
- gouache or water-soluble paints;
- container with water;
- brushes thick and thin;
- scissors;
- colored cardboard;
- glue stick;
- hole punch;
- A4 photo album;
- thick thread or tourniquet.
Road safety through the eyes of children (drawings and illustrations can be hung on a stand in the classroom or at home) in the form of pictures perfectly show how the child has learned the lesson, what he has learned and what nuances should be worked on again. Regular classes in this style help to consolidate the material learned.
If for some reason children cannot use paints, then felt-tip pens or watercolour pencils will do. Instead of Whatman paper, you can use white A4 sheets, thick white cardboard or office paper.
Master classes
Below are three master classes that are suitable for working in a group of children or together with parents. The labor-intensive work involves not only creating a drawing, but also further training on it.
Children can draw small pictures on their own. This helps the child to display their personal attitude to traffic rules, demonstrate their own understanding and realize the importance of the tasks while creating pictures.
Children's safety on the road is the responsibility of parents, but there are social schools aimed at helping to understand the situation that can happen even to small pedestrians.
Danger is seen differently through the eyes of a child due to age and the child’s ignorance of the likelihood of adverse events developing.
When immediate perceptions of road safety are taken into account, children are more likely to listen to adults and notice in artwork what in real life poses a danger to their lives.
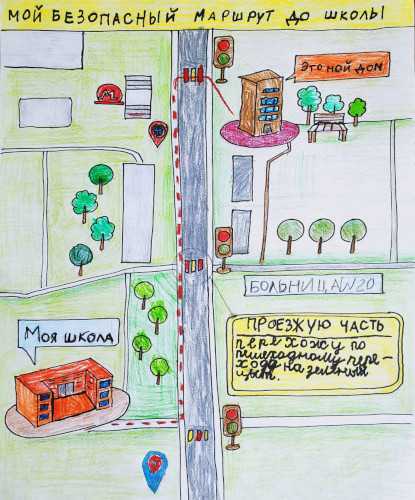
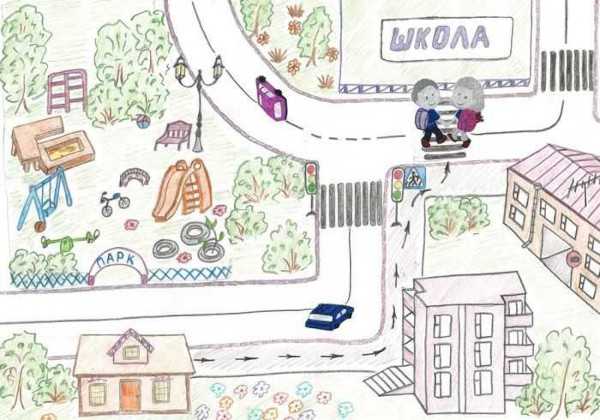
The way from home to school
The master class "The Path from Home to School" is done on a large Whatman paper. The purpose of such work is to visualize the child's journey from home to school.
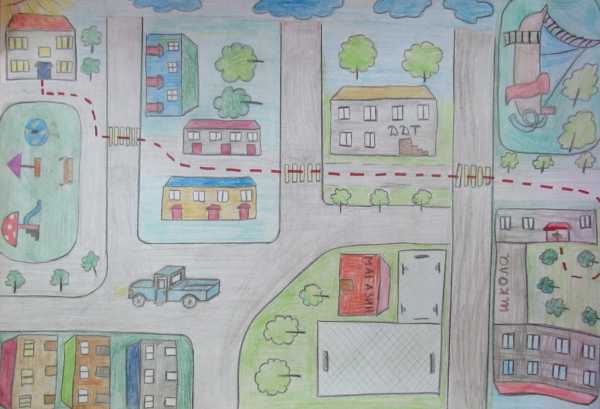
Every day he makes the journey there and back, so it will be interesting if he depicts the places where it is most difficult for him to cross the road. Drawings that depict sidewalks, playgrounds are allowed. They can then be supplemented with adjacent territories, entrances to courtyards.
The master class can be diversified by adding to the drawing in several ways:
- the shortest route to school/home;
- the most difficult, scary, unfamiliar way home (which a child would never choose if he were without adults);
- the easiest section, where there is no traffic (cars);
- the most difficult section/road that you have to cross every day, overcoming obstacles.
If your child drives to school, you can ask them to make a map of the route or draw neighborhoods and houses that they know well. For example, a trip to the nearest store or the road to the playground will well reflect their perception of danger.
Road safety through the eyes of children (the drawings must contain information about the movement of children) will be presented in the form of a path, which is accompanied by the possibility of crossing the roadway or adjacent road to the nearest yard.
You need to create the basis for the future application in sequence:
- Draw by hand the points where the buildings will be located.
- Mark the path the child takes every day. You can color the way to school and home.
- Outline the dots schematically, replacing them with rectangles and squares. These are the buildings that form the intersections.
- Use a black pencil to highlight the edge of the roadway.
- If desired, paint the buildings, give them names and mark the surrounding area with signs.
- Draw the signs “pedestrian crossing”, “pedestrian zone” and traffic light on colored cardboard and cut them out.
- Road signs should be glued to those sections of intersections where the child crosses the road every day. This way he will demonstrate knowledge of the rules for crossing streets.
- Next to the "pedestrian crossing" signs, you need to draw markings. If they are not in the picture, help the child correctly place them where they are needed.
When the illustration is ready, you can additionally draw and cut out traffic signs from colored cardboard to make the drawing as realistic as possible. Then discuss with your child what difficult sections of the road he has to overcome on the way to school or home.
Road safety through the eyes of children (the pictures help to show this clearly) will look ambiguous. The traffic lights that have already been cut out can be glued schematically. Let the children name the rule describing the permitted action for pedestrians, where there is or is not a traffic light, what to do when there is no sign.
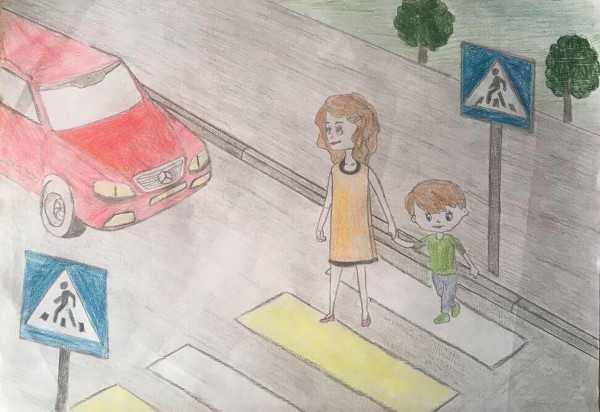
If a child crosses the road at an unregulated pedestrian crossing, you can point out the basic rules for crossing such areas and ask the children to tell you what to do and what not to do.
The story will help to focus the child's attention on dangerous sections of the road. Also, some road signs can be moved without gluing them to the drawing paper. This creates new road situations, new rules for crossing the roadway.
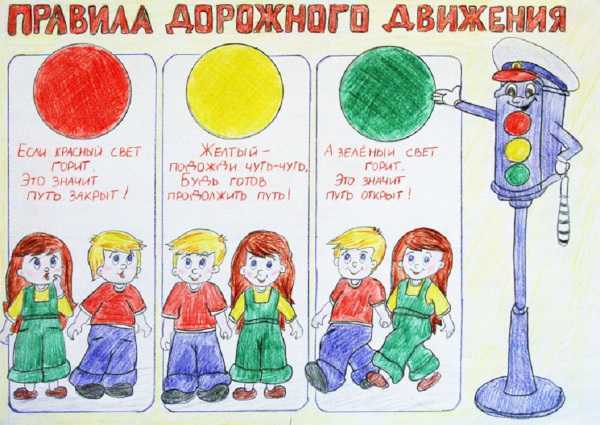
Working and non-working traffic lights
This creative workshop is another way to involve a child in an interesting activity on drawing techniques with elements of applique. The child will also be able to understand the basics and rules of crossing the roadway in a playful manner.
Usually, it is difficult for children to distinguish between a regulated and unregulated pedestrian crossing. In this regard, difficulties arise - how to cross the road correctly, who is right, who should give way.
Thanks to this game in the form of making crafts, the child will learn to distinguish when a traffic light gives him priority and when he should give way to passing traffic.
For the master class you will need:
- colored cardboard;
- scissors;
- glue;
- sheets of white paper.
To create a master class, follow these steps in sequence:
- Cut a sheet of A4 paper to 13*20 cm. Do the same with the second sheet.
- Cut the third sheet to 12*21 cm. This is the movable part that will be located between the other two sheets.
- Both sheets measuring 13*20 cm need to be glued together from the outside. To do this, take two thin strips 2 cm wide and the length equal to the length of the sheet.
- Cut out circles with a diameter of 10 cm from sheets of colored cardboard. You should get 3 circles – red, green and yellow.
- On the glued white sheets, mark three circles on the front side, tracing one of the colored circles along the contour. Cut out the holes exactly along the lines.
- The colored circles need to be glued to the inside of the paper so that the holes for their sizes on the top layer repeat their contours. The colors of the traffic light are in the background, and only the holes for them are in the foreground.
- A free sheet of paper measuring 12*21 cm should be inserted between two glued sheets. It can be moved, covering one or two colors of your choice.
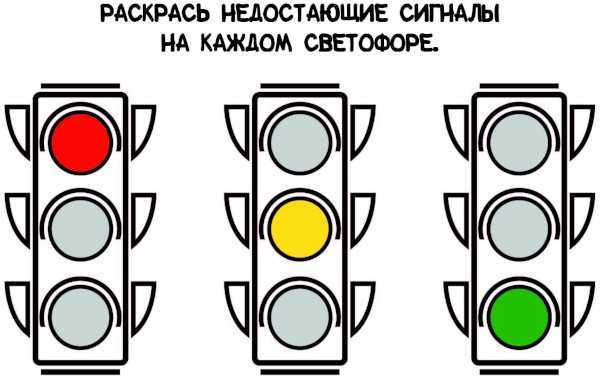
You can check whether the child has mastered the lesson by asking him to show the color of the traffic light that allows you to cross the road. You can also diversify the game by creating some rules that the child might not have guessed about.
Road safety through the eyes of children (drawings and diagrams can be additionally created to diversify the game) also helps parents remember the importance of conducting theoretical and practical classes. They are necessary to understand how children see themselves on the road.
Additional rules can be introduced gradually, each time complicating the task and setting new conditions:
| Terms and Conditions | The traffic light is working | There is a traffic light, but it doesn't work. | There is no traffic light | Traffic controller (policeman) |
| Child's behavior | The pedestrian must wait for the traffic light to turn green to cross the roadway (the child must choose the color that will allow him to continue moving). | The pedestrian must make sure that cars have stopped and that drivers can see pedestrians at the edge of the roadway. The child chooses the color of the traffic light for pedestrians and says what actions need to be taken before crossing the roadway. | If there is no traffic light, the pedestrian is guided by the "pedestrian crossing" sign and road markings. This is a more complex task. The child must say what actions he will perform to cross the road. If the actions coincide with those described in the point about the non-working traffic light, you can ask him to voice the rules for crossing the streets at the "zebra". | In such a situation, no traffic light (working) has an advantage for pedestrians. The task is oral, the child may not complete it. |
| Driver (transport) behavior | The driver makes a service stop to let pedestrians pass (the child answers at what color of the traffic light the driver stops moving). | The driver is obliged to let a pedestrian pass if he is already near the edge of the roadway and he has time to brake to a complete stop. | The driver is obliged to let a pedestrian pass who has made sure that it is safe to maneuver (cross the street). If the driver has to resort to sudden braking, this may provoke an accident for the vehicle behind. | The driver also obeys the traffic controller's signals and continues driving when given a green light. |
If you don't want to use moving elements of the applique in the master class, you can stick colored circles on top of a white sheet and, if necessary, cover up the unnecessary color (the traffic light doesn't light up) with your hand. But usually children are much more interested in interpreting the development of the plot due to moving parts in the applique.
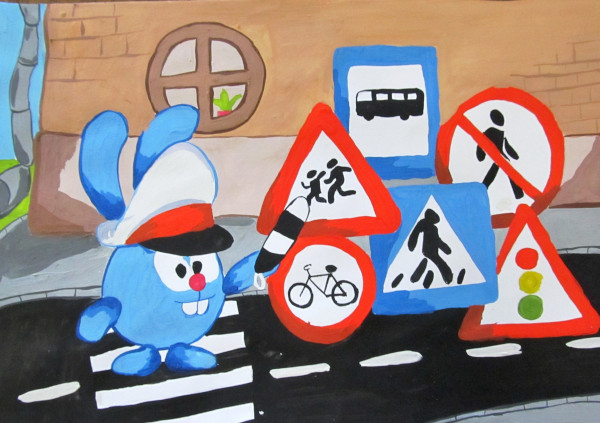
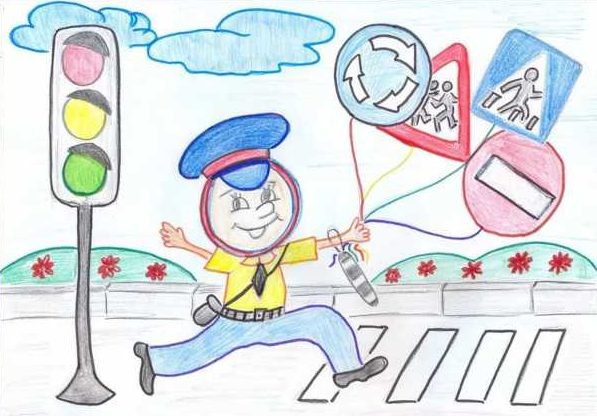
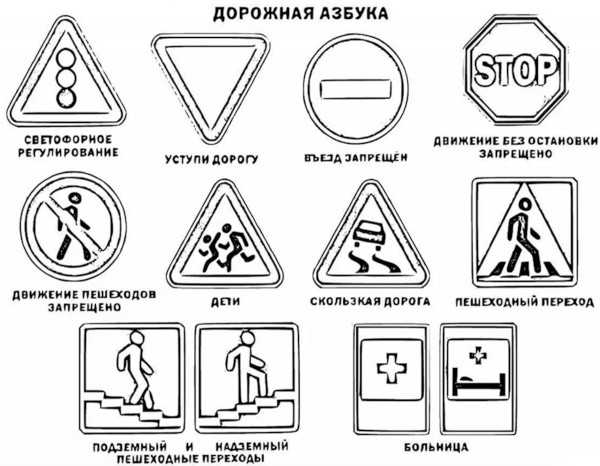
ABC of road signs
The master class "ABCs of traffic" gives free rein to the imagination. Children can draw any traffic signs that they know and remember.
For children of primary school and preschool age the task is as follows:
- Draw traffic signs that you encounter on the way to the store, school, or kindergarten.
- If the child knows their name and purpose, you can label the drawing.
- The drawings need to be arranged in order of importance - this is in any form.
- One road sign, the name and purpose of which the child does not know, must be drawn on a sheet of white cardboard. These drawings will then form the alphabet.
For drawing, you can use white paper, white cardboard, colored pencils or paints.
For middle school children the task will be more difficult:
- Draw all known road signs in blue, red and yellow.
- Divide the drawings into square, triangular and round signs.
- Create an alphabet of road signs by purpose. Here it is important to explain to children what each type of sign is.
| Round signs | Square signs | Triangular signs | ||||
| Color | Red border/lines on white background | Red border/lines on blue background | Black border / lines on white background | Light blue background and white lettering/diagrams | White background with inscriptions of different shapes and colors | White/yellow background, red border with black design |
| Group / Purpose | Prohibitory | Signs of special instructions | Warning signs | |||
| Color | Blue background with white inscriptions, meanings, sometimes with red lines | Dark blue background with white signs/lettering | White background, red border (there are exceptions) | |||
| Group / Purpose | Prescriptive | Informational | Priority signs | |||
The drawings created by children can be sorted by color, shape, and purpose. This way, children can guess or answer exactly what signs they have drawn and what they mean. There are also service signs, signs with additional information (for example, rules for parking a vehicle on the sidewalk), and more.
To prevent your child from getting bored, you can suggest that he or she supplement the master class by creating an album:
- Having divided the road signs by color, create a card index, referring to the table.
- In each card index, indicate the types and subtypes for each category of signs.
- The album sections are named based on the categories of road signs.
- Before each category, insert an A4 sheet with a note – which signs are a priority for memorization, which should be taken into account in everyday life. Let the child study them from an early age.
- All sheets with drawings of signs can be glued together after design. Another option is to stitch the sheets together using a hole punch and a tourniquet.
- To design a personalized children's album, you can use kraft paper, printouts of road signs, and photographs from master classes (if they were taken).
- The cover can be made from cardboard, making capital letters using the papier-mâché technique.
To create an album, you can use a ready-made photo book for A4 photos. The child will be able to play traffic rules with parents, taking out this or that sign from the file.
The advantage of the game is that the album can be supplemented with various drawings - the position of the traffic controller at the intersection and the rules of passage, an outline of situations in the absence of signs before the intersections, a schematic arrangement of objects and elements of the road surface (an imaginary situation is created, giving the child the right to choose how to act in the current situation).
Road safety for children of all ages is the basis of social education. The earlier he learns to recognize danger, the greater the likelihood of avoiding the consequences of wrong actions.
It is important for the child to see himself in an emergency situation with his own eyes and be able to project it onto others. The only convenient and accessible way is drawings, which allow you to study and consolidate the material. According to statistics, most road accidents occur due to the fault of children due to their age, ignorance and inability to predict the emergence of danger.
Video about drawings on the topic "Road Safety"
How to draw traffic rules: