Thanks to the fairy tale about Baba Yaga, The hut on chicken legs is known to almost all preschool children. To involve a child in drawing, you need to offer exactly such pictures from famous fairy tales. Such coloring is often found in pictures for children, because it is simple and multifaceted - it can be drawn in different ways, has many easy elements for coloring.
For older children, it is not necessary to color a ready-made illustration. It is much more interesting to draw it yourself, from scratch, and then color it. To do this, you need to prepare thick white paper, simple pencils, an eraser, and a sharpener.
Step by step guide to drawing a hut
The advantage of self-drawn coloring pages is that the child will be able to come up with something on their own, developing their imagination. The level of complexity of the hut on chicken legs, pictures for children drawn according to schemes, can vary depending on the skills of a particular student.
If a child has difficulty drawing complex geometric figures, it is better to choose minimalistic and simple examples of other people's work. This makes it much easier for children to learn - if they see an example before their eyes.
The sequence of actions is as follows:
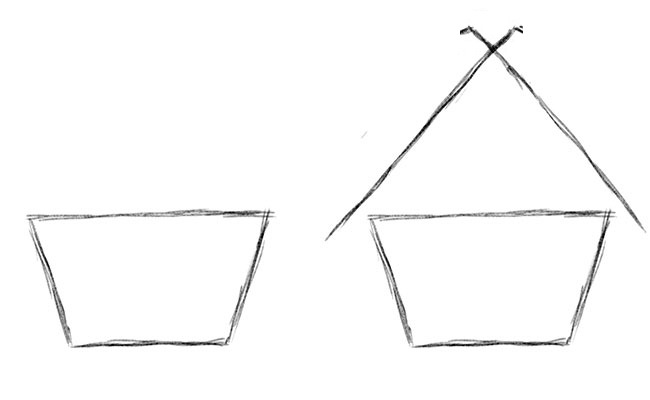
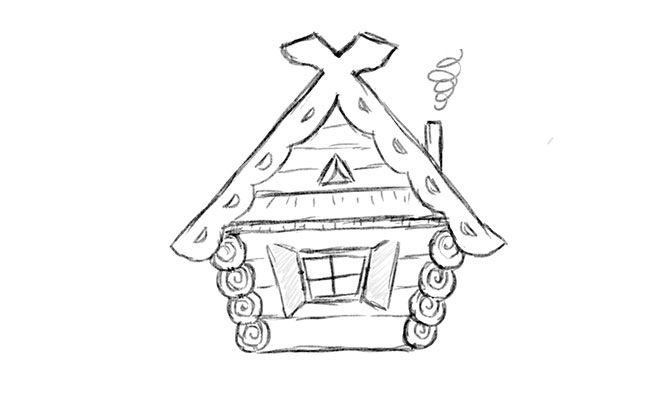
- First, you need to draw several lines on the sheet, repeating the silhouette of the hut. This is drawn by analogy with the house: roof, walls, windows, door. At the first stage, detailing is not needed.
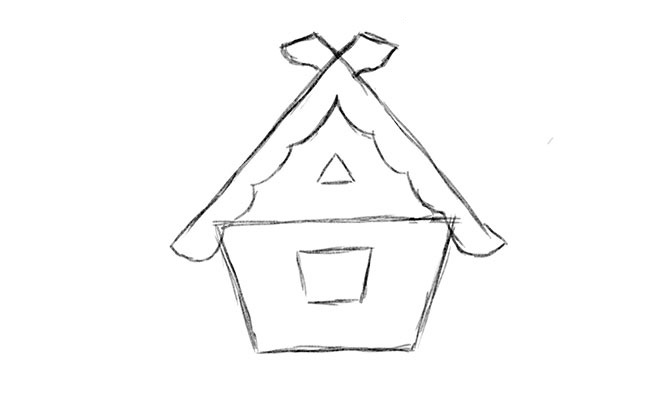
- Next, you need to draw some additional details. For example, the second plan.
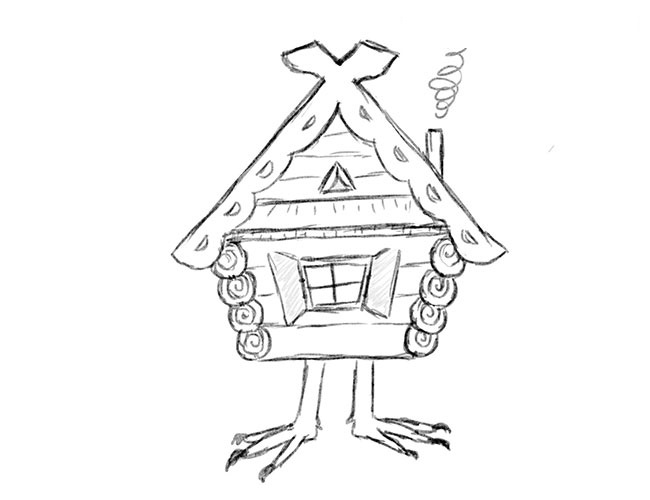
- The legs on which the hut stands, the chimney, stairs, window frames, grass, porch and everything else that the child wants to draw additionally are also drawn.
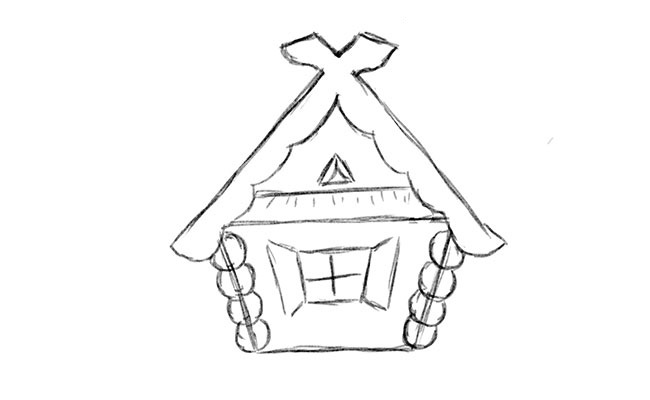
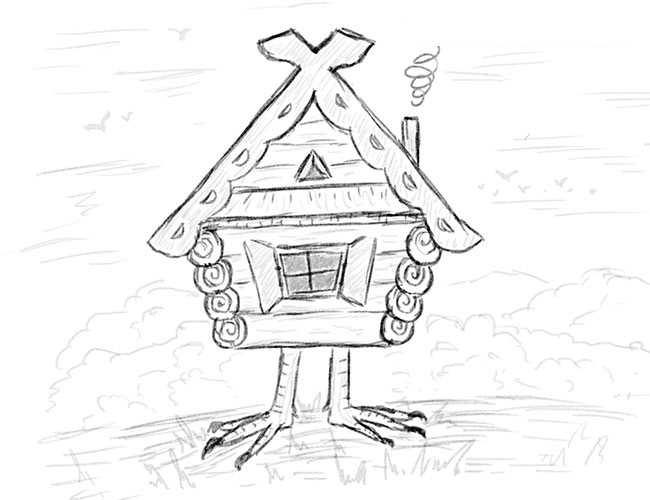
- At the third stage, it is worth erasing the extra lines with an eraser and moving on to detailing the work. You can shade some fragments or leave the picture colorless, so that later you can color it with markers or pencils.

If you want the hut on chicken legs itself, pictures for children, drawn sketches for coloring to be unusual and interesting, then you can experiment with the plot for the illustration. For example, depict the hut in motion, in the air, from different angles or in some atypical setting.
You can also depict any season in the background: winter, autumn, summer or spring. If the child wants to draw with bright pencils, you can depict flowers, trees, animals. Winter is a simpler option for the background, since you don’t have to depict any details, just lightly shade the snowdrifts.
Below are instructions for drawing a hut on chicken legs for children of primary school age:
- First, you need to draw the outline: the house, the roof, the windows and doors, the legs, and so on.
- Afterwards, the background and objects of the second plan are drawn. For example, trees, snowdrifts, and also the exterior of the hut - detailing its appearance.
- The final stage is to indicate light and shadow. The dark side of the hut needs to be shaded, the frame drawn, and small details added.
The end result should be a black and white illustration, not a regular coloring book. At the end, you can outline the outline with a black pen to make the drawing look complete.
This scheme differs from the first one in that it is more difficult to implement. Children should have at least basic drawing skills, understand what volume and perspective are. The instruction is unlikely to help preschoolers, it is designed for third and fourth graders.
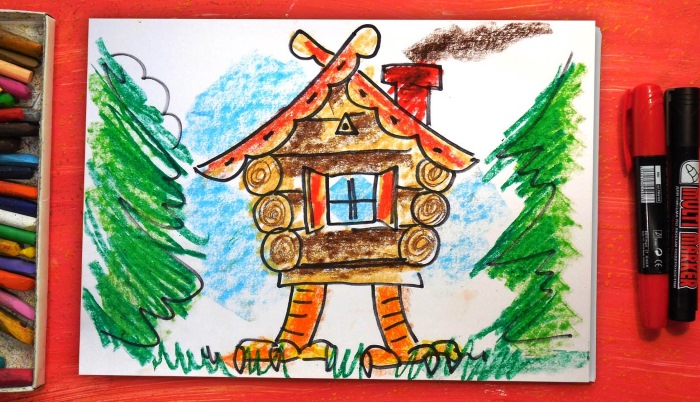
Coloring the hut
The pictures are intended as coloring books for children. The main materials you can choose are gouache, watercolor, wax crayons, colored pencils, felt-tip pens and markers. The latter are very bright, so they are only suitable for thick paper. Watercolor may seem difficult to a child, so he is unlikely to cope without the help of a teacher or parent.
The simplest materials for coloring are crayons and pencils. You can also use colored ballpoint and gel pens.