Small grid drawings in notebooks for personal diaries of girls and budding artists are a quick and easy way to captivate yourself. You can also decorate notebooks with minimalist illustrations by painting them with colored pencils, crayons, and markers.
Learning to draw them is extremely simple - you don't need any skills, knowledge or abilities. The main thing is to have a clean notebook in a grid and materials for coloring.
How to learn to draw by cells
Small drawings on the cells in a notebook for girls, personal diary, beginners - this is a quick and easy way to captivate yourself. If the child can visualize the picture in his head, then it is not necessary to make preliminary sketches at all.
However, in order to simplify the task, you need to mark the outline of the object that the child wants to draw in advance. Another good way is to mark with colored dots those squares that need to be colored. If at the preliminary stage it is clear that the illustration is coming together, it works, then you can move on to shading.
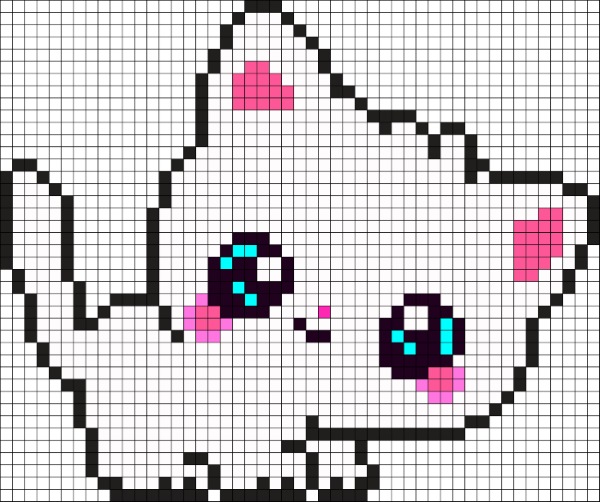
Animals
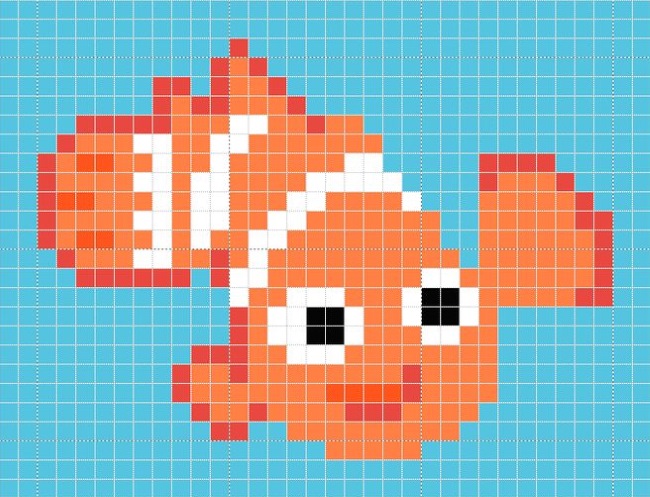
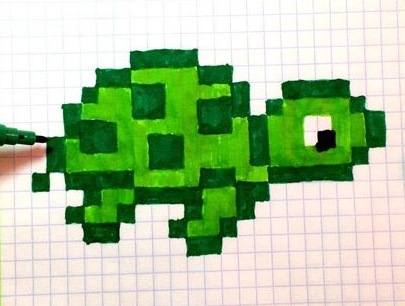
Domestic and wild animals are very common themes for small drawings in personal diaries. Girls and boys draw cats, dogs, hares, bears, sometimes birds and rodents.
For example, you should take the most common and simple coloring scheme. The child can shade the squares using it as a guide, and then, when the skills of drawing on the cells appear, he will come up with pictures on his own. The sequence of actions is as follows:
- You should have a diagram in front of you, or a preliminary layout of colors, drawn out in advance on a sheet of paper.
- It is necessary to take the color that is most abundant in the picture. First, all the cells are painted with it.
- Then move on to secondary shades.
Additionally, shade the squares again so that there are no gaps.
That's it, the work is ready. Animals are easy to draw, and they are learned quickly. If you don't want to use a diagram, but you don't have many ideas, you can do the following: draw a silhouette of a cat, tracing it along the cells. Then paint the cells in one, two or three colors, depending on the color of the animal. For example, two green or two blue cells will be the eyes.
Small details of the drawing on the cells can be left undrawn if desired. For example, whiskers or claws cannot be drawn on the cells, but for this you can take a pencil or gel pen and draw them over the drawing on the cells.
Plants, food, berries and fruits
Often children decorate their notebooks, notepads and personal diaries with pictures related to food, fruits, berries, flowers and so on. The most basic pictures for drawing on squares are strawberries, apples, raspberries and the like. It is more difficult to depict, for example, grapes, since they do not have a clear shape.
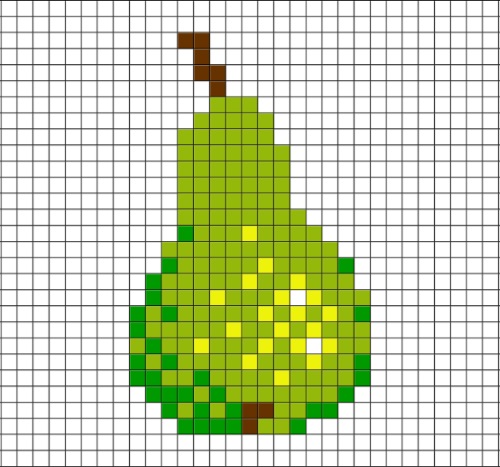
Usually, such simple drawings do not require any diagrams or preliminary drawings. You can color the cells intuitively, trying to maintain the shape of the object.
As for flowers, their outlines can be arbitrary. For example, with a lot of foliage - green cells. With a large core or without it at all - just do not shade the square in the middle.
It is recommended to use bright colors because pastels will not get lost against the background of diary entries and other pictures.
Friends and girlfriends
The theme of friends and girlfriends may be associated with some symbols that are understandable only to specific people. The same applies to common signs - hearts, flowers, etc.
You can also draw 2 girls, depicting yourself with your best friend. However, for this it is advisable to take some kind of diagram as an example, so that it is easier. It is clear that it will not be possible to draw facial features on the cells, so you should focus on some features of the person's face.
For example, if your friend has long blond hair, you should color more cells with a yellow pencil; if she has green eyes, you should highlight them with a pen or shade them tightly with a pencil.
How to Draw a Turtle. Detailed Master Class for Beginners
If you want to learn the easiest way to draw a turtle, then this master class will certainly help you with this. Turtles are very unusual and beautiful animals. They are divided into land and sea. Therefore, before moving on to studying the question of how to draw a turtle, be sure to decide what kind of this creature you will depict.
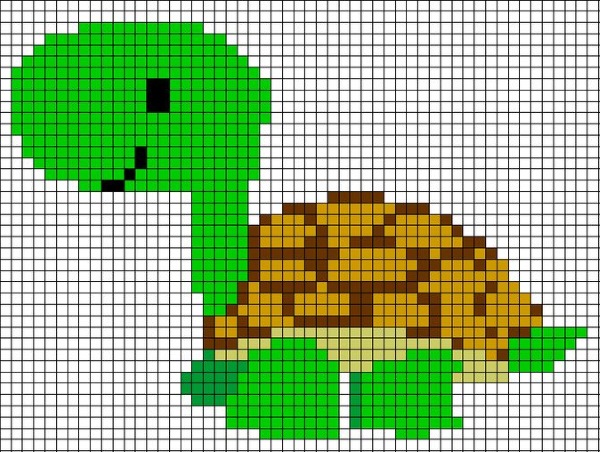
It is best to learn how to draw a turtle from life, for example, by visiting a zoo for this. But if you do not have such an opportunity, do not be upset, but use high-quality photos and illustrations that depict different turtles. You will not believe how easy and interesting it is to draw a turtle. This lesson is quite suitable for the most beginning artists.
So, before you start drawing a turtle and coloring it, prepare everything you need. You will need:
- Pencils of different colors;
- Good eraser;
- Pencil;
- A regular black gel pen;
- A sheet of white paper on which you will draw.
 Once everything you need is prepared, you can begin studying the master class on drawing a turtle:
- First, use light strokes to outline the outline of the animal's shell. The shape of the turtle's shell resembles a mushroom cap. Use lines to mark the location of the animal's front paws;
- Draw the lower part of the turtle's body, mark its neck and head. Draw the animal's front legs;
- Draw the turtle's shell and depict the animal's hind leg;
- Refine the details of the drawing. Draw the turtle's eye and mouth. Draw claws on its paws;
- Draw the fourth leg of the turtle, which is barely visible. Draw a characteristic pattern on its shell. Draw blades of grass around the turtle;
- Now you know how to draw a turtle with a pencil step by step and you see that there is nothing too complicated about it. To make the drawing look finished, it is also worth coloring. To do this, first outline it with a pen;
- Erase the pencil sketch, leaving only the outline drawn with a pen. Color the turtle's eye in black, the claws in gray, and the body in light brown;
- To make the drawing brighter, paint the turtle's body with a green pencil. Paint the shell first with a light brown pencil, then with a dark brown pencil. Paint the ground brown and the grass green.
Now the turtle drawing is completely ready! You yourself can create turtle drawings using a variety of materials, such as paints or felt-tip pens.
Recommendations and tips
Some tips and recommendations will help your child achieve the desired result:
- You need to paint the cells tightly, leaving no gaps. It is advisable to shade them again so that the white color of the paper is not visible.
- If the outline was previously drawn with a simple pencil, it should be carefully erased after the cells have been painted with colored materials.
- You should not use felt-tip pens, as the paper in the notebooks is thin, and the drawing will be printed on other sheets. As for other materials, you can draw with gouache and acrylic, but this is much more difficult, you need certain skills in working with these art materials. In this case, be sure to use a small brush.
- In the case when it is not very convenient to draw on small cells or the child has poor eyesight, you can buy a notebook with large lines. The cells there are much larger, which means you can draw large-scale works.
- If you can’t do what you want, you can color the cells in another notebook, then cut out the result along the outline and paste it into your personal diary or somewhere else.
- It is advisable to use the same pencil. Different manufacturers have different shades, so the picture may not look as intended and may differ in shade.
- It is also not recommended to use too many colors, if the illustration itself does not suggest it. Small drawings on the cells in a notebook for girls, a personal diary, beginners should be simple, otherwise it will turn out completely different from what was originally planned.
- Don't make too big coloring schemes if you can't even do it with small pictures.
Such cute pictures will not only decorate your notebook, but also will not take up space in it. If you write over the illustrations, it will look very unusual and original. Develop your drawing technique with each new drawing!