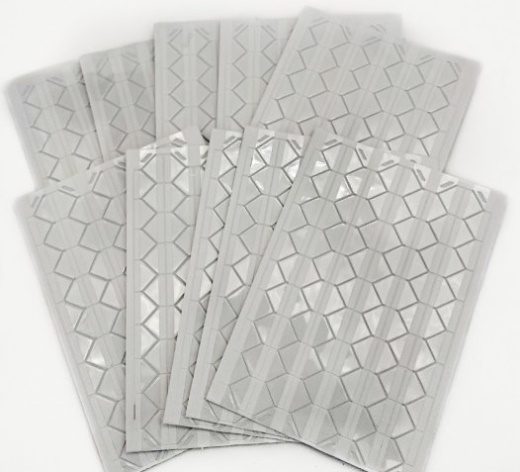
Photo album corners can not only hold images, but also be part of a beautiful design. To learn how to make photo corners yourself, you need to learn what tools and materials you can use, as well as read a few step-by-step instructions.
What you will need to make photo corners
The list of tools needed for creativity, as well as the methods of using them, are listed in the table.
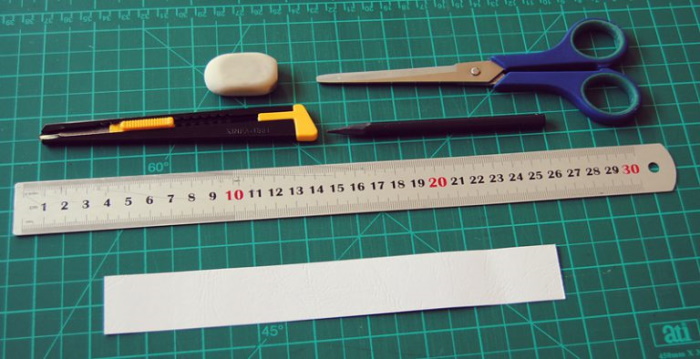
| A simple pencil and a ruler | They are needed to determine the size of the corners, as well as for marking. |
| Scissors and a stationery knife | They are needed for cutting corners. |
| Felt-tip pens, paints | Can be useful for coloring white paper or cardboard. |
| PVA glue and "Moment" | Required to fix corners on photo album pages. |
| Fine art brush | It is needed for applying glue if the bottle does not have a special applicator for metered squeezing of the substance. |
| Figured hole punch | This tool will help you cut out delicate patterns on corners without much effort. |
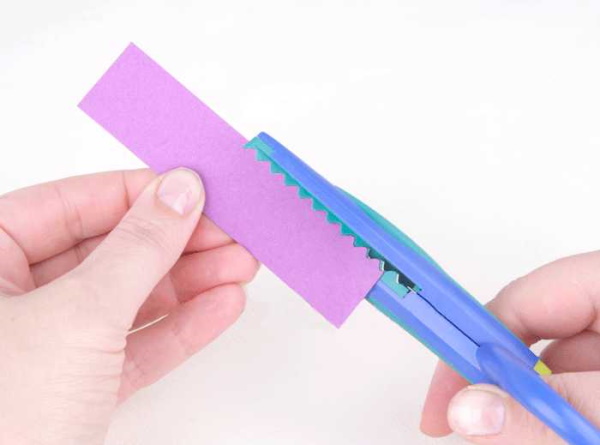
| Curly scissors | These scissors do not leave a straight cut, but a wavy or jagged cut. |
| Foam sponge and thick paper stencils | Using a sponge, you can distribute the paint evenly so that it does not spread beyond the stencil pattern. |
Photo corners should be made of a material that holds its shape well and is resistant to wear. This can be thin cardboard, thick paper or stiff fabric. If the photos in the album will be changed often, it is advisable to choose a dense material that will not wrinkle or tear, such as plastic for laminating documents.
Design ideas and themes
You can create your own photo corners from a variety of materials, but to make the right choice, you should find a suitable theme and design style for your photo album.
Album for a newborn
There are 2 most popular color solutions for decorating a newborn baby photo album. If the pages contain photos of a girl, parents often prefer a design in white and pink tones. For example, white pages and light pink corners for photos, or light pink pages and bright pink corners.
By analogy, they make albums for boys' photographs, replacing the pink color with blue or light blue.
Universal options:
- plain color pages with white corners;
- white pages with multi-colored corners;
- The pages are white and the corners are cut out of paper with a children's print.
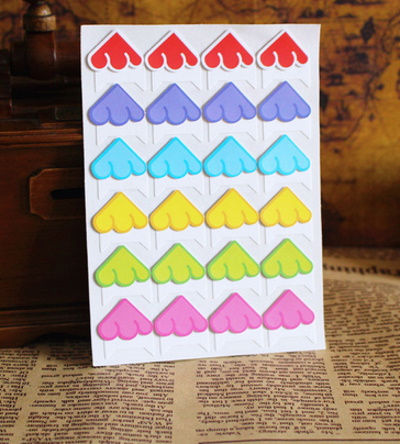
The shape of the corners also often depends on the gender of the child. For a girl's album, you can make semicircular openwork corners using a figured hole punch. For decorating photos of a boy, straight corners with a figured cut made with special scissors are suitable.
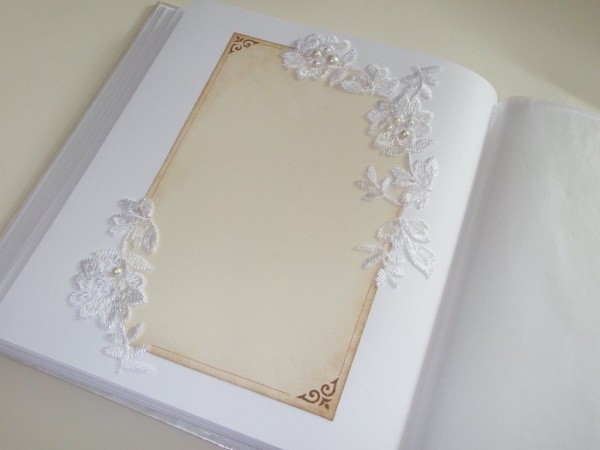
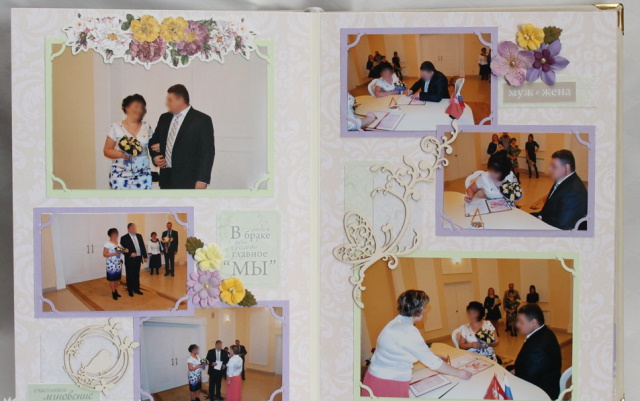
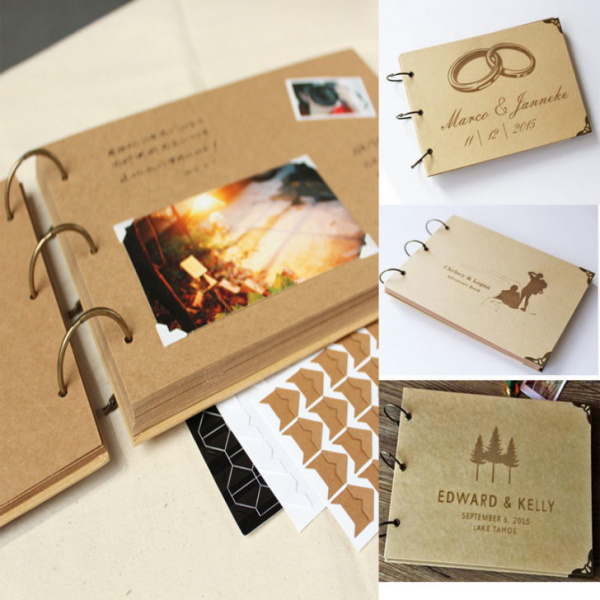
Wedding album
The most popular color for wedding album design is white. Both pages and corners can be white. It is important to be able to highlight the corners so that they do not visually merge with the entire page. For this, you can use textured paper.
Other color options for wedding photo corners that will look great on white pages:
- golden;
- silver;
- metallic (glossy cardboard);
- red;
- purple.
It is better to make the corners of the metal, gold and silver color in a classic straight shape, because they already stand out well enough against the background of a plain white page. They look expensive and beautiful. A figured hole punch can be used for red and purple flowers, symbolizing passion and love. Floral patterns or hearts will look great on such corners.
The pages of a wedding photo album can be decorated with intricate floral patterns using paper stencils and sponges with paints that match the color of the corners.
Patterns can be applied where the photo will be inserted, so that some lines appear to emerge from behind the image, or flowers can be used to decorate the bottom or top corners of the pages to fill in empty spaces.
Family Album
As a rule, family albums contain photos that capture various events. In order not to overload the pages with an abundance of shades and decorations, many people prefer to design such photo albums in a classic style. This means that the colors of the corners and pages should be muted, pastel, not distracting attention from the photos themselves.
A good option would be monochrome. For example, light brown pages and dark brown corners, or light yellow pages and ochre corners.
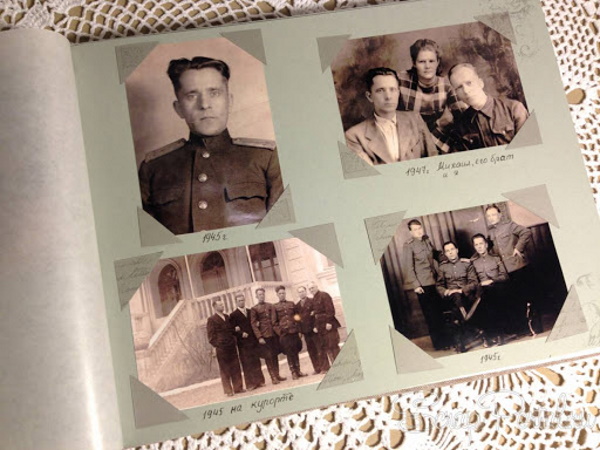
The shape of the corners should be straight or semicircular. They can be made openwork, using a figured hole punch. Laconic floral patterns will look good, as well as round holes of different diameters. You can make straight corners with a figured cut or use glossy cardboard of metallic shades to fix the photo.
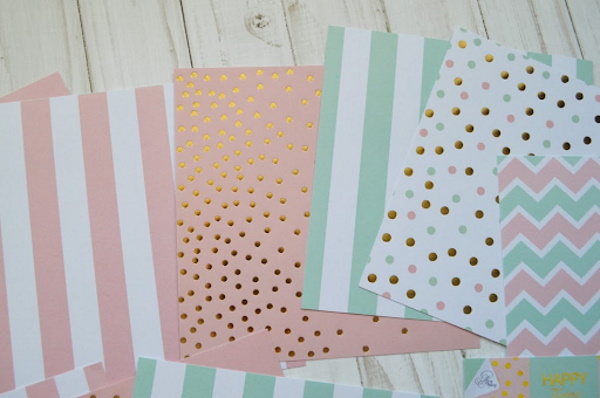
Birthday Photo Album
The album for the birthday boy should be bright, as it will contain photos that remind of the brightest and happiest moments of life. You can make colored pages and white corners with a figured cut, or vice versa, light pages with wide corners made of bright paper.
Thick scrapbooking paper with fun prints is suitable for decorating the corners. To make small pictures visible, you can make unusual corners that will hold the photo not by the corners, but by the upper and lower edges. The edges of such "half-frames" can be cut with curly scissors.
Photos secured in this way will be held securely and can be removed or rearranged without much difficulty.
School or graduation photo album
The color of the graduation album can be any. The pages can be made in a single color, with patterns or small prints. It is advisable to make the corners for school photos small so that they do not cover important parts of the photos, especially in group shots. You can use thin cardboard that matches the tone of the pages.
Cut out narrow strips from it that will hold the photo by the corners. However, the best option is transparent corners. They can be made from document lamination film. This design option will allow you to see the photo well without taking it out of the album.
Journey
An album with photographs brought back from a trip can be designed by combining several styles and using several colors.
For example, pages with excursion photos can be designed in a classic style and green color, and the section where shots from a seaside vacation will be pinned can be designed using pages with pictures of cocktails and palm trees, as well as bright, openwork semicircular corners. Transparent corners are suitable for photos with landscapes or landmarks.
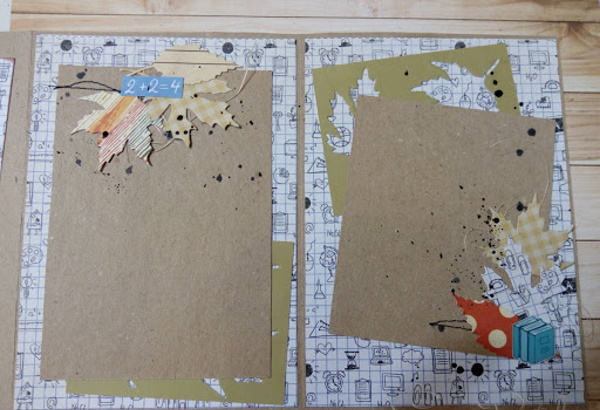
Ideas for scrapbook page design
The pages of photo albums, made with your own hands in the scrapbooking style, are often full of beautiful decor from pictures, dried flowers and lace. In order not to visually overload such an album, minimalist corners are needed. These can be strips of cardboard, matching the color of the main tone of the page, or transparent corners.
A good option would be a cardboard backing cut to the size of the photo. Diagonal slits should be made on its corners using a shaped hole punch. The photo will be inserted into these slits. It will be securely fastened, and the corners will not distract attention from the decor and cover important parts of the image.
How to make photo corners with your own hands correctly and quickly
You can make your own photo corners from at least 7 types of material: thick paper; thin cardboard; textured vinyl wallpaper; thick kraft paper; velvet paper; thin, hard felt; film for laminating documents.
The step-by-step instructions provided later in the article will help you learn how to make photo corners of different shapes and sizes.
Made of thick paper
The density of the paper for decorating corners should be at least 200 g/m2. Such sheets are often used to create drawings. Thinner material will quickly wear out and lose shape. You can find colored versions of thick paper in craft stores, but if you don’t have any, you can tint it yourself using various paints.
How to make photo corners from 2 colors of paper (A and B):
- From the sheet of color A, cut out 4 squares 2x2 cm.
- From color B paper, cut a strip 4 cm wide and 5 cm long.
- Fold all the squares diagonally.
- Fold the strip lengthwise.
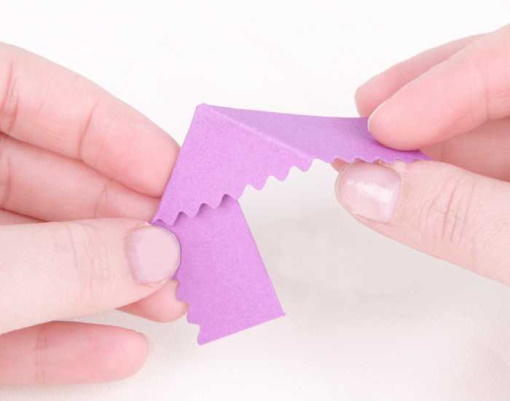
- Insert a strip into one of the corners, make a diagonal cut. You should get a two-color square.
- Make another similar corner in the same way. Glue the different colored pieces of paper together.
- These corners will hold the bottom of the photo. There will be another mount for the top.
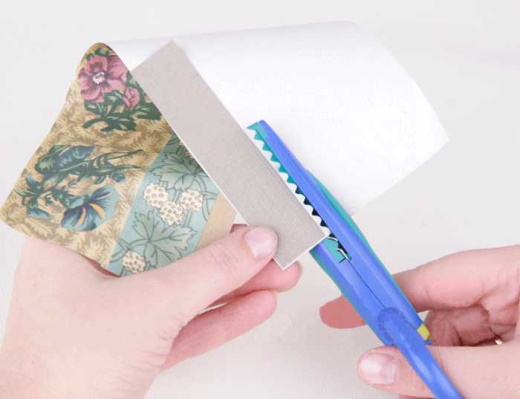
- From color B paper, cut a strip 2 cm wide and the length equal to the width of the photo.
- Cut the top and bottom edges of the strip with decorative scissors.
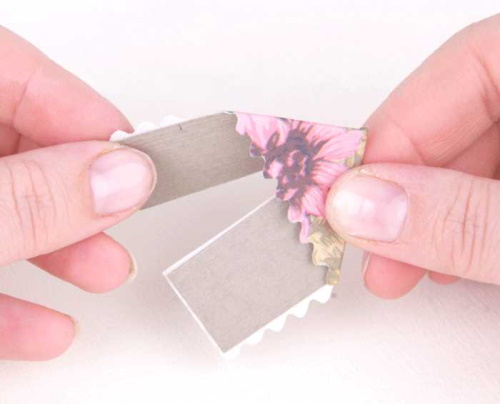
- Glue corners made from squares of color A to the edges of the strip.
Attach the corners and strip to the album page with glue. Insert the photo. The strips can cover the entire photo, but in this case, it will be impossible to pull it out of such corners.
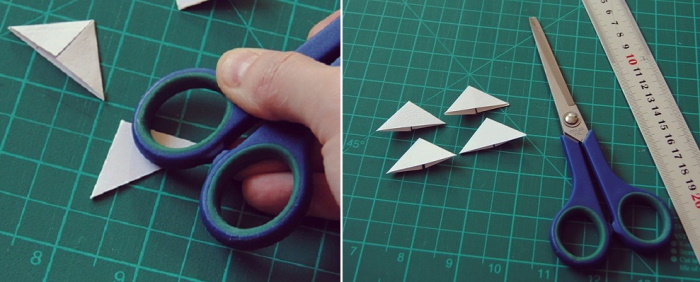
Made of thin cardboard
You can make photo corners yourself from colored cardboard for children's creativity. This material can be matte or glossy. There is also foil cardboard. It has a beautiful iridescent color and a smooth, light-reflecting surface.
How to make photo corners from thin cardboard:
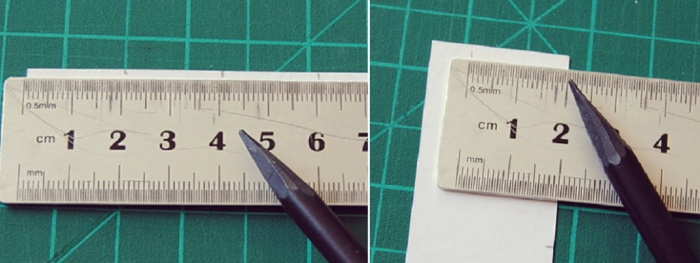
- Place a ruler on the back of the cardboard and make markings, placing large lines every 4 cm and dots every 2 cm.
- Cut the cardboard into 4 parts, using the large marks as a guide. You will end up with 4 identical rectangles measuring 4x2 cm.
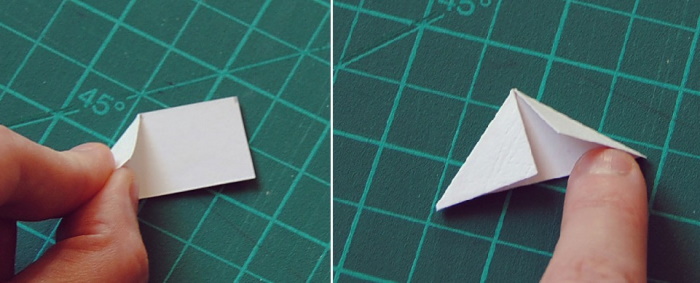
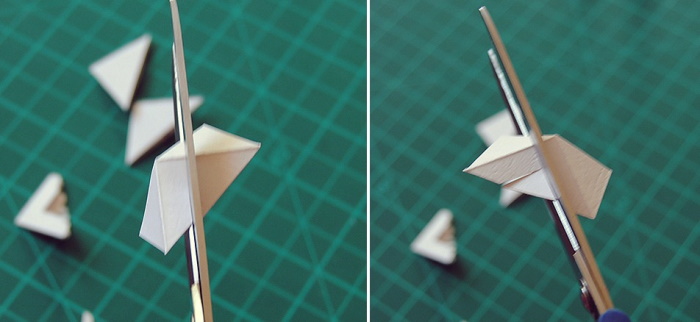
- Take 1 of the blanks. Bend the left and right corners alternately, marking the fold lines, as for a paper airplane. For convenience, you can use a ruler and a knitting needle to press the cardboard harder. The tip should be sharp and even.
- By analogy, you need to fold all the other rectangles.
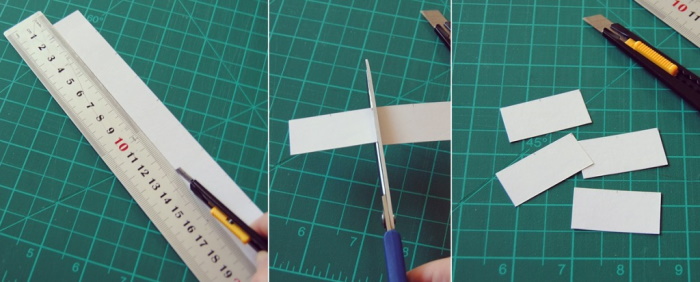
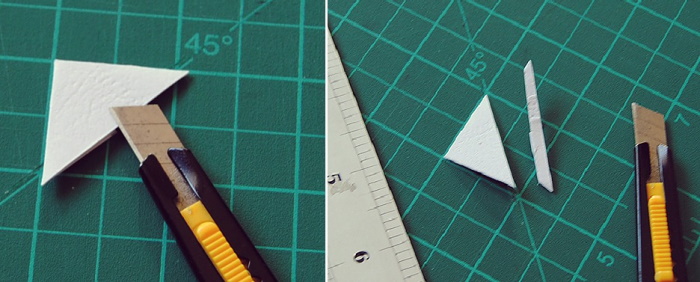
- Turn 1 of the blanks at an angle of 45°.
- Press the ruler, cut off the excess cardboard with a stationery knife. If you don’t have a knife, you can make marks with a simple pencil, and then use scissors.
- In the same way, cut off excess cardboard from the remaining corners.
Now you can glue the corners to the photo album page. Cardboard is difficult to bend, it may not work the first time, so it is advisable to prepare several spare rectangles in advance.
From textured wallpaper
Vinyl wallpaper with a three-dimensional pattern can be painted with acrylic paints in the tone of the pages, or a little darker. If the spraying on the wallpaper is not too dense, but loose, then the corners can be made using the same technology as from thin cardboard, and then make an openwork pattern using a figured hole punch.
You can make corners like these from wallpaper with a voluminous floral or abstract pattern:
- Cut out 4 rectangles measuring 4.5 x 2.5 cm.
- Fold them in half, wrong sides together.
- Unfold the resulting double squares so that the fold line of the lower corners is at the bottom and the upper corners are at the top.
- Take a ruler for drawing circles, choose the desired diameter, and draw semicircular lines on each square. The semicircular lines will go into the photo.
- Using decorative scissors, cut off excess paper, following the markings, on 1 layer of paper.
- Apply PVA glue to the right angles that are coming apart and glue them together. The glue should be applied in a very thin strip.
Attach the corners to the photo album page by applying glue to the uncut side.
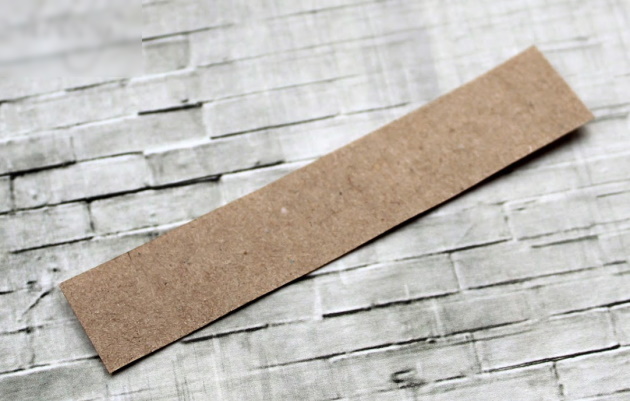
From kraft paper
You can make your own photo corners from thick craft paper. This photo design is suitable for scrapbook pages, as well as for photo albums made in the "antique" style.
Procedure:
- Cut 4 squares 4x4 cm out of paper.
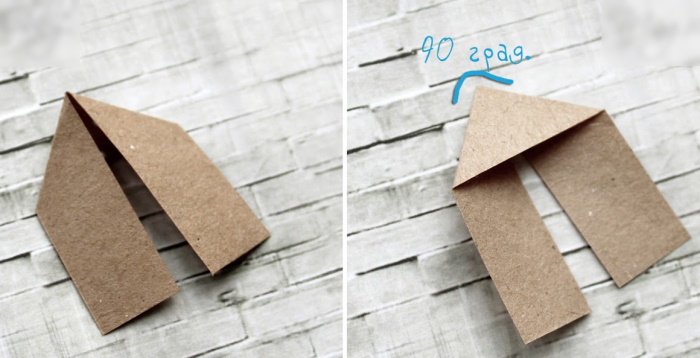
- 1 piece folded diagonally, first from left to right, then from right to left. Smooth the fold lines well with your fingers.
- Unfold the square and fold it in half. Iron the line again.
- Unfold the workpiece, fold it into a double triangle, tucking in the parts where there was a transverse bend.
- Place a drop of glue on one side of the double triangle, inside, to glue the ends. This will be the back side.

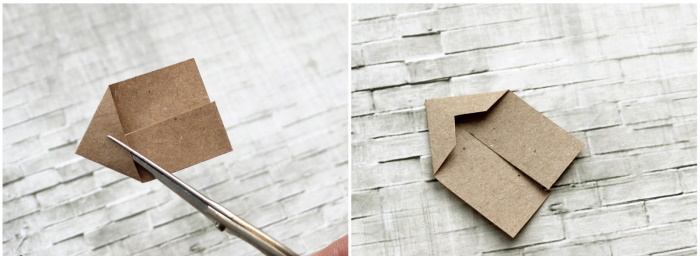
- The resulting pocket is a place to insert a photo.
- Fold and glue all the remaining corners.
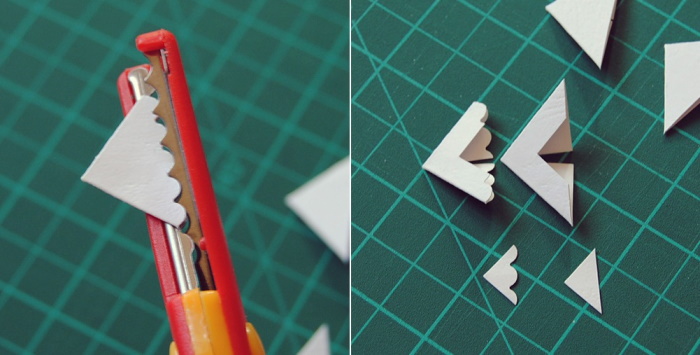
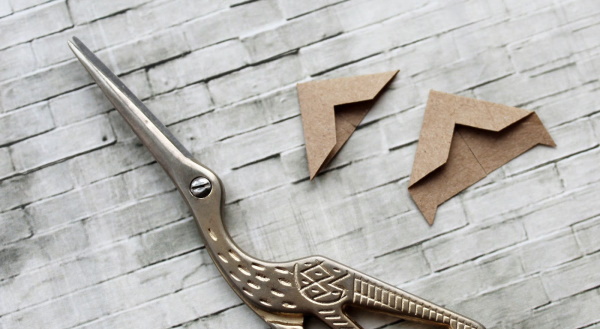
- Use a decorative hole punch to make patterns on the corners.
- Using a thin brush and brown and black watercolor paints, shade the holes made by the hole punch, as well as the edges of the corners, so that they look as if they have faded with age.
Attach the corners to the album page.
Made of velvet cardboard
Velvet cardboard is sold in craft stores. A standard package can contain from 6 to 24 sheets of pleasant to the touch material in various shades. Multi-colored velvet corners can be used to decorate a child's or birthday boy's photo album.
Since cardboard has an unusual texture, corners made from such material should be without unnecessary decorations. You can cut thin strips that will firmly hold the photo by the corners.
How to do it:
- On the back of the cardboard, draw a 2.5 x 2 cm rectangle.
- This rectangle needs to be marked with lines, each 0.5 cm wide and 2.5 cm long.
- Cut the square into strips.
- Place the photo on the photo album page and trace its outline with a simple pencil.
- Remove the photo, glue the cardboard strips so that they can hold the image. For this purpose, you can use PVA or Moment glue. A few drops are enough.
Such corners will look neat and beautiful.
Made of hard felt
You can make your own photo corners from stiff felt. This style of design is suitable for wedding or children's photo albums.
How to make corners like this:
- Using a felt-tip pen and a ruler, draw 4 squares with sides of 3 cm on the fabric.
- Cut out the squares with scissors.
- Draw hearts in each square. Cut them out.
- Make markings inside the hearts for the corners of the photo. To do this, draw a right angle, the tip of which will coincide with the tip of the heart.
- Apply 1 drop of Moment glue on each side of the heart, without going beyond the marking lines. Glue them to the album pages.
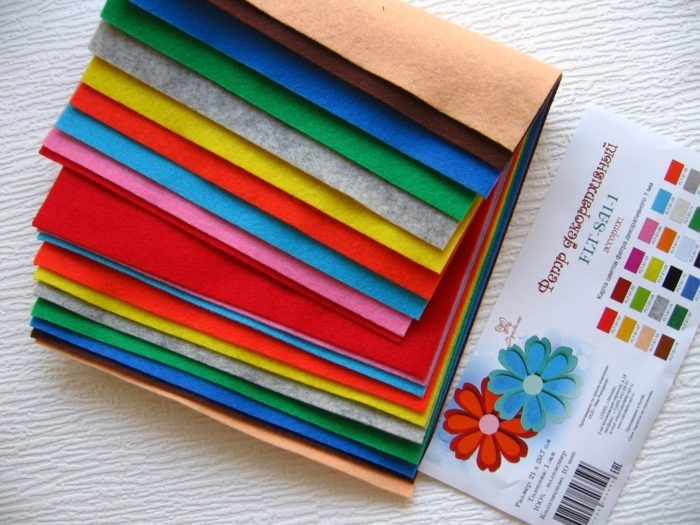
Before gluing the "heart" corners, you need to draw a frame that matches the size of the photo. Felt corners look nice, but they are not recommended for photos that will be changed often or taken out of the album.
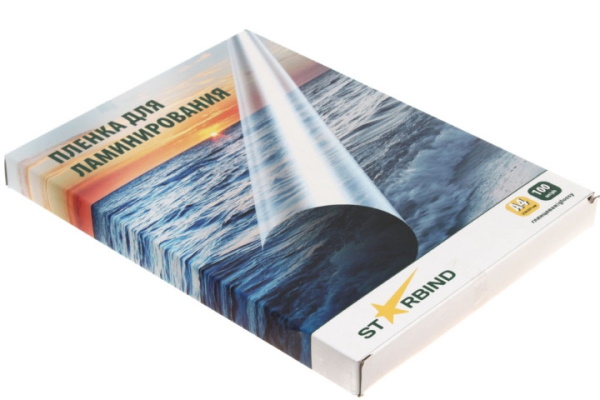
From laminating film
Transparent corners for photos from document lamination film can be made using the same technology as corners from thin cardboard. The work will be neat if you press the folds with a plastic ruler. It is important to be careful not to leave scratches on the film. You need to attach such corners to the album pages using Moment glue.
You can create photo corners of unusual colors and shapes with your own hands. The main thing is that they hold the photo securely, and do not deform or tear when inserting the image. To place each corner on the album page as accurately as possible, you need to first outline the photo with a simple pencil.
Video about decorating
DIY Photo Corners: