Every adult can make a box (or a case) for a child's toys without much expense from scrap materials. Ideas, a detailed list of necessary materials and tools, step-by-step instructions for making with photos are presented below.
Children's toys should not be scattered all over the apartment all the time. From an early age, it is necessary to teach the child cleanliness, careful attitude to things and order.
Constantly putting toys back in their places is tiring, because the child is constantly developing, and toys end up in different parts of the house every day.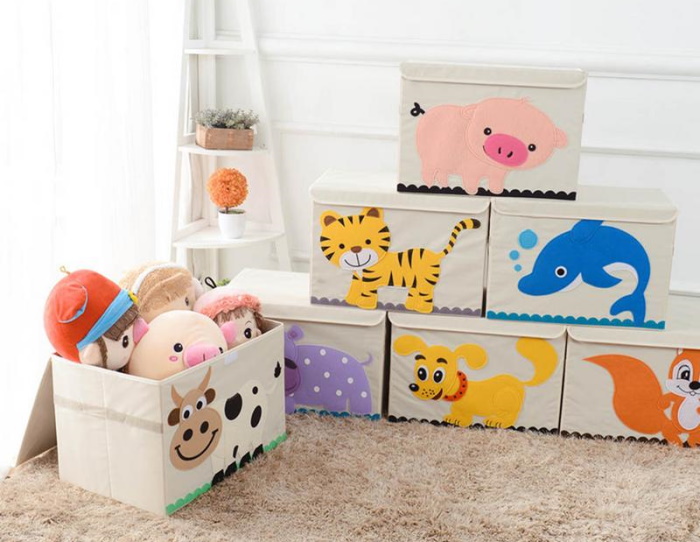
Children are often fidgety, and scolding them for scattered toys is pointless. Containers for toys are most often made of plastic and cost a lot of money. Although plastic is a fairly durable material, this does not stop children. During the game, children can easily break the container, and it will no longer be suitable for use, which means the money is wasted.
It is quite easy to make a cardboard toy box with your own hands without significant expenses. And if the kid does break this box, it will not be such a pity.
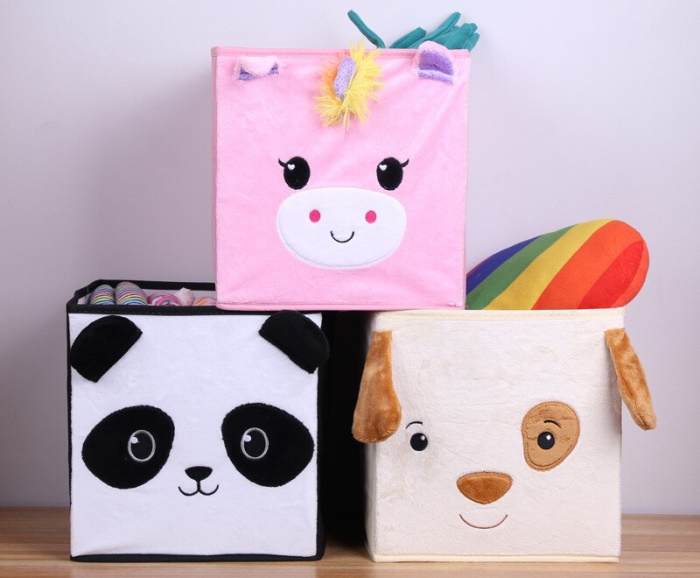
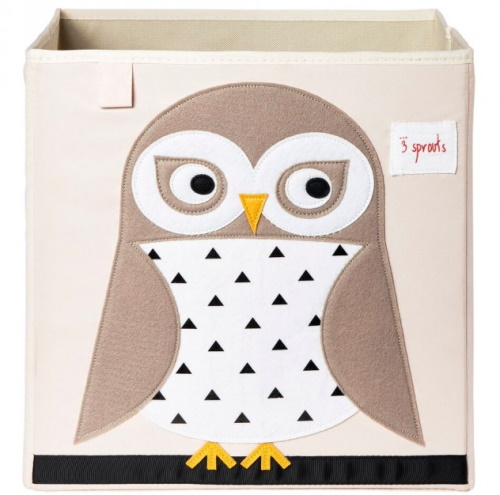
Toy Box Decorating Ideas
A DIY toy box can be decorated and decorated in the colors of the child's room or furniture to better harmonize with the interior.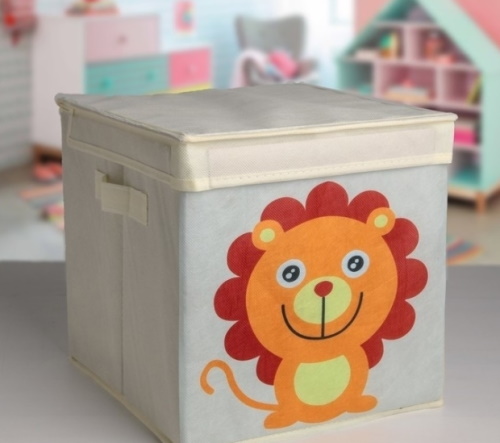
Or you can offer the child to choose the colors for the box's design, and also involve him in the process of creating this piece of furniture, so that the child feels that he also put his efforts into creating the box, and perhaps took better care of it.
Here are some interesting ideas on what kind of toy box you can make.
Toy box for a boy:
- A box in the form of a car on wheels.
- A box in the shape of a house.
- A box in the form of a constructor.
- A box in the shape of a Lego cube.
- A box in the form of a pirate chest.
- Toy box traffic light.
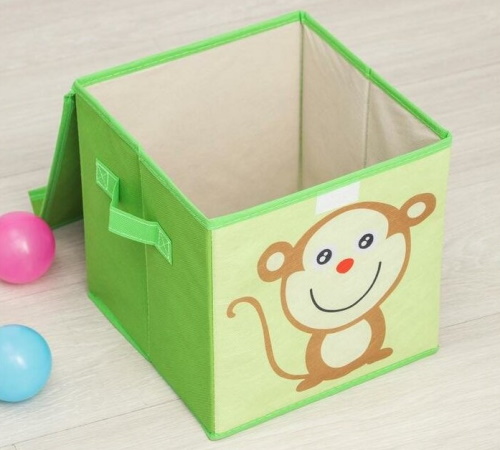
Toy box for girls:
- A box in the shape of a locomotive.
- Box with animals.
- Box of princesses.
- A box in the form of a chest.
- A box in the form of a ladder.
How to Make a DIY Toy Box
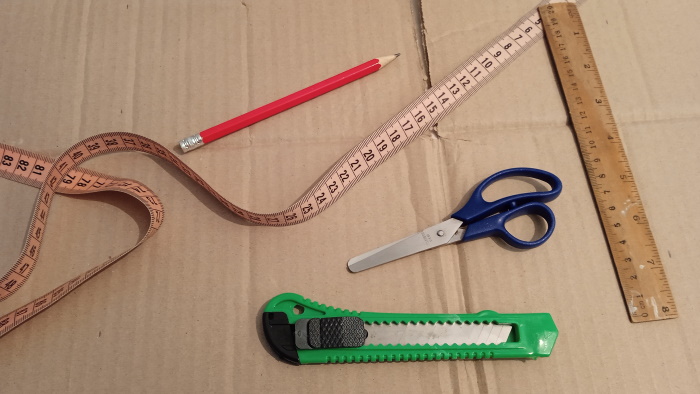
Materials and tools
So, for work you will need:
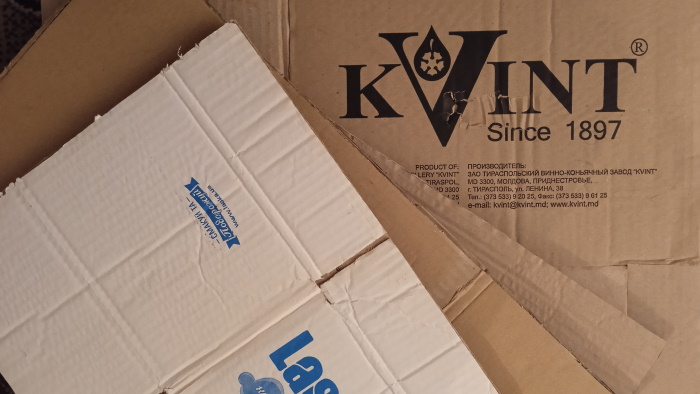
- transport box from large items (microwave oven, multicooker, etc.);
- cardboard;
- glue;
- multi-colored fabric;
- pencil;
- ruler (centimeter);
- paper;
- brush;
- stationery knife;
- scissors;
- self-adhesive film 3.5 meters (or roll of wallpaper);
- masking tape.
If you are making the box together with your child, you will also need to take care of an apron, which will protect the child's clothes from possible paint or glue stains. Once everything is prepared and at hand, we begin work.
Dimensions of the box
A toy box made from a box can be created with your own hands to fit the desired size of the place where it will stand. This is the best option for a small children's room, where every centimeter is especially important.
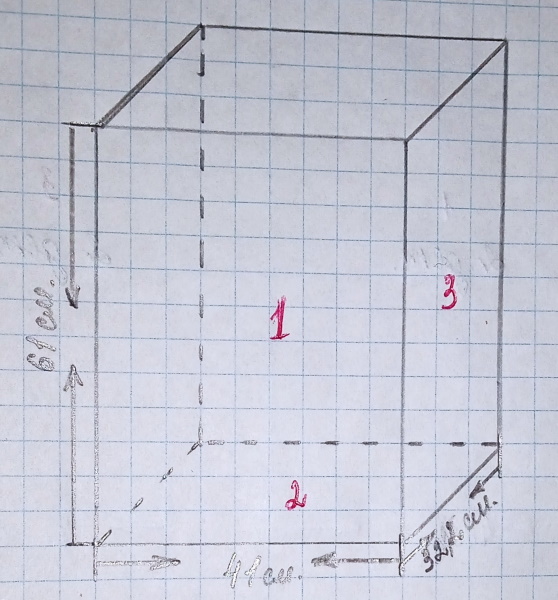
The first thing you need to do is decide on the dimensions of the box. The dimensions given in this article are not mandatory, measure according to your preferences. Once the measurements are taken, you should have 5 (five) separate parts: the bottom and 4 sides.
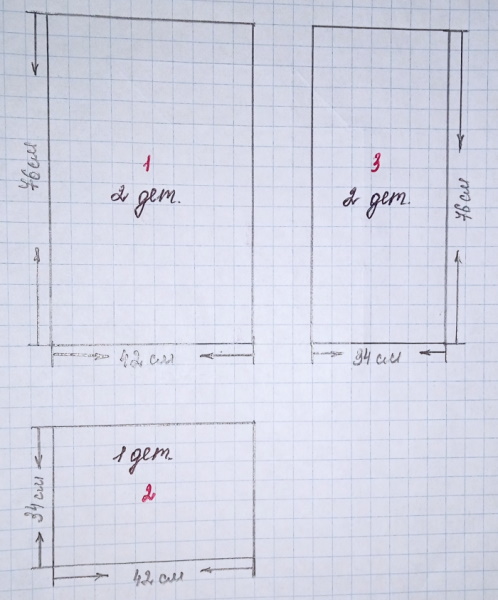
In this case, we make a medium-sized box 60x40x30 cm.
- 2 sides 61 cm high and 41 cm wide;
- 2 sides 61 cm high and 32.2 cm wide;
- 1 bottom 35 cm high and 41 cm wide.
Step-by-step instructions with photos
Step 1
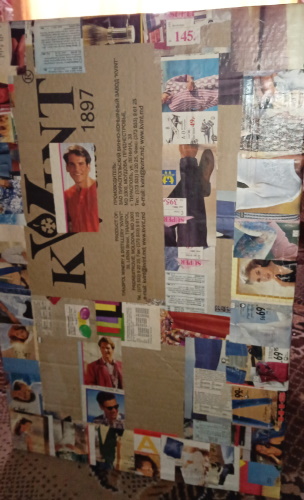
We transfer the previously determined measurements onto cardboard and cut them out. For the strength of the entire structure, it is necessary to thicken each side.
In this case, the sides of the box were thickened in 4 layers, glued together with glue. If you do not have perfectly flat cardboard or its dimensions do not correspond to the measurements of the box - no problem, you can connect all the pieces so that you get solid walls.
Step 2
After the parts have dried, take the paper and cut it into pieces, rectangles or squares, as you like. Coat these pieces with glue, glue all the ends and joints of the walls of the box. This stage is optional, but if you do it, the walls of the box will be much neater.
It is worth paying attention to the fact that when drying, the cardboard can deform, so use a press made of anything, for example, books.
Step 3
The next stage is the formation of the box itself. Masking tape will help with this. Just fasten the walls of the box together in some places. As soon as you have done this stage, take pieces of paper, glue again and begin to glue the sides of the box together.
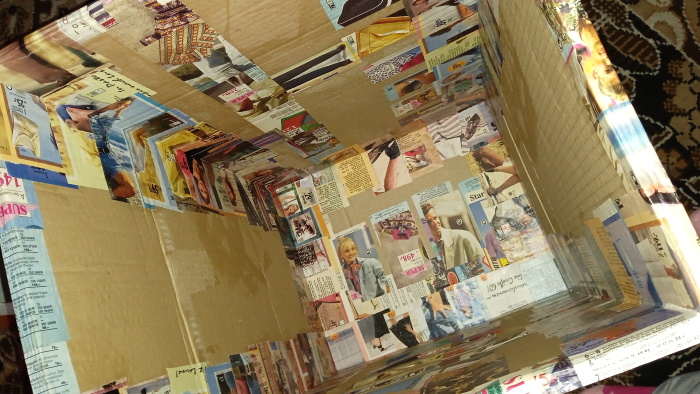
Step 4
After complete drying, we repeat the same procedure inside the box. And here is the box ready!
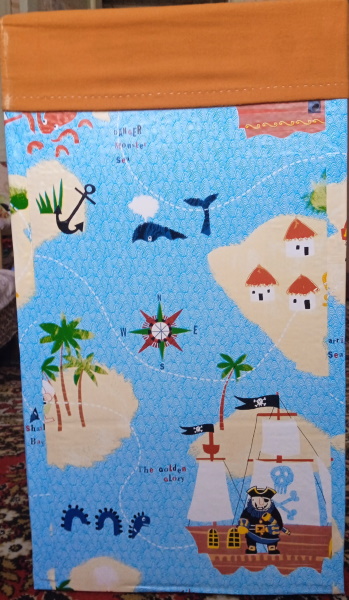
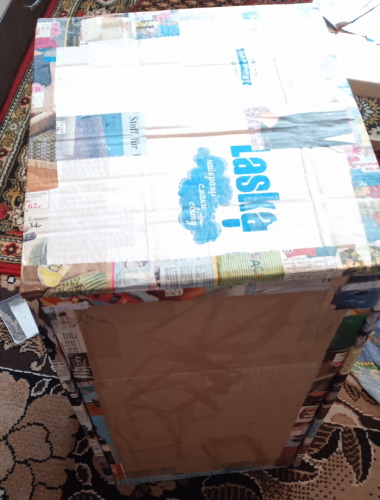
Design and decoration
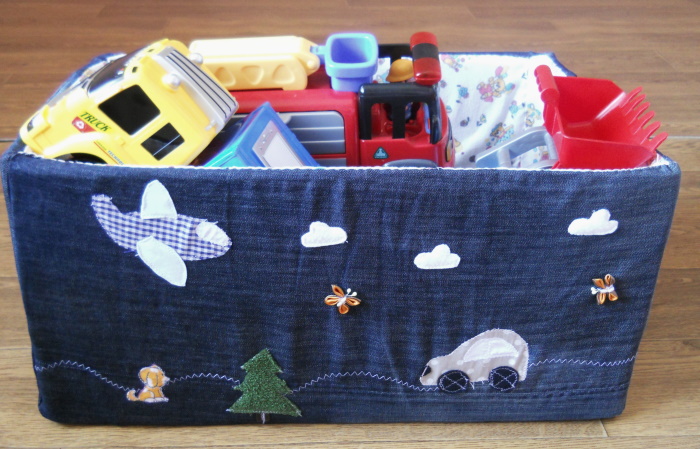
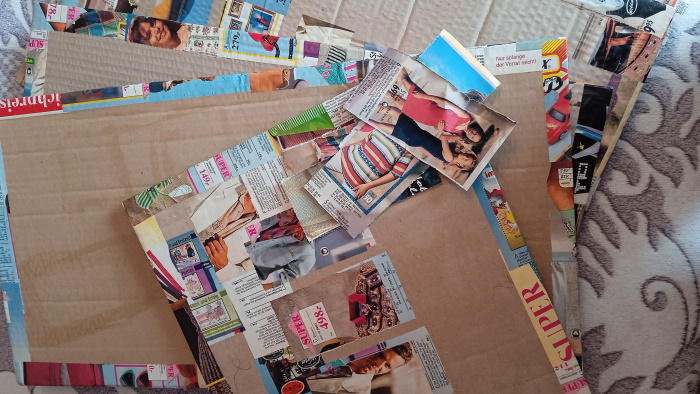
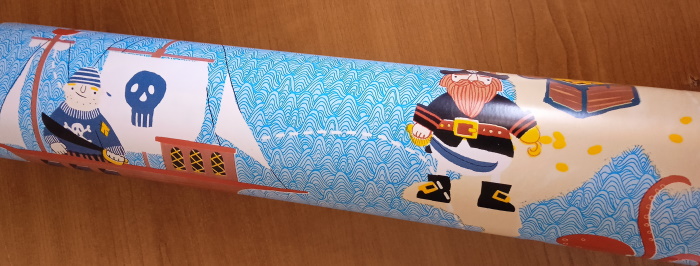
If you have wallpaper left over from the renovation, you can use it for the outer finishing of the box. In this case, a roll of self-adhesive film with a children's drawing was purchased. In any case, you do the outer finishing at your own discretion.
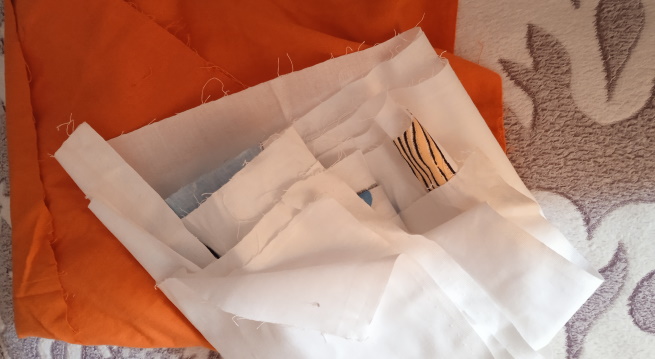
To finish the box, we needed 3.5 meters of self-adhesive film with interest. After the box is completely ready, we start making the bag. Any fabric that you have at home will do for this.
Make a toy box with your own hands, preferably, as much as possible, budget, but bright, beautiful and unusual. So that the child appreciates and takes care of it, and it serves as long as possible.
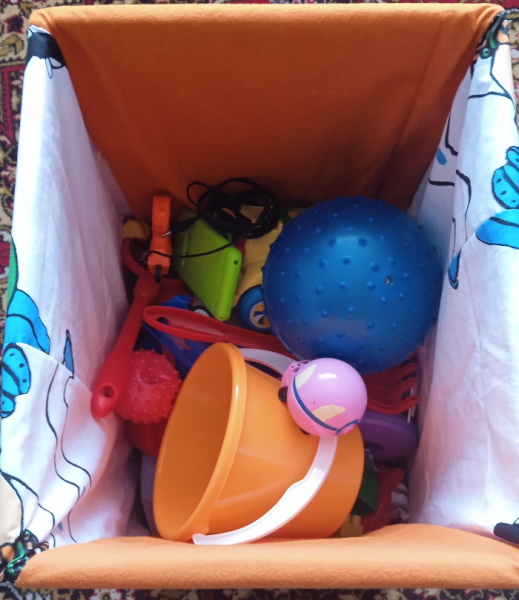
The measurements above already take into account the allowances for the lines. If you have a sewing machine, then things will go faster. But if you don't have one, then no problem, you can stitch the bag by hand. Place the sewn bag in the box and that's it, all the small toys will be stored in one place.
Psychologists and teachers with extensive experience recommend always involving children in creative processes, especially if they directly concern the child. And do not forget to involve children in collecting toys, even if at first they resist. Fostering order, a sense of duty and responsibility are important principles of a good person who will grow up attentive and caring. After a few days of training, the child will begin to put away his toys in his own toy box made with his own hands.
Toy Box Video Tutorials and Ideas
Toy storage box for 100 rubles:
And one more master class on how to make a children's box with your own hands:
It's easy to make a box from a box with your own hands. But decorating it so that the child likes it is more difficult.
The dimensions should be small so that the box can be easily moved and placed in free spaces in the room.