Leaves are popular elements of various. Cutting templates allow you to quickly make a large number of identical parts that will realistically repeat the outlines of real leaves.
Why are templates needed?
The leaf template for cutting out is useful for both children's crafts and adult creative works.
Children can use leaf stencils in the following activities:
- formation and consolidation of cutting skills;
- developing the ability to work with a pencil and color silhouettes;
- making appliques using various techniques;
- making three-dimensional crafts.
Adult craftsmen can use ready-made templates to make various creative crafts:
- postcards;
- photo frames;
- items for interior decoration;
- flat and volumetric compositions for photo zones and themed holidays;
- costume jewelry;
- fabric appliques for decorating textile products;
- airbrushing.
Leaves cut out according to the template can be used in various creative works, which the imagination of the craftsmen will suggest. To do this, you need to prepare the necessary template and select materials corresponding to the idea.
How to get a template
You can draw a leaf template for cutting with your own hands, but in some types of leaves it is quite difficult to reproduce small details.
There are several ways to obtain an accurate leaf silhouette:
- One of the easiest and most fun ways is to trace the outline of a real leaf. To do this, you need to collect a collection of leaves of different types and shapes during a walk.
Then they need to be straightened and dried. To do this, the collected material can be placed between the pages of a thick book for a day. The dried leaves are laid out on a white sheet of paper and carefully outlined with a soft, simple pencil.

After removing the sample, all the lines are outlined again to obtain a clearer shape. The resulting image can be used to make a template or stencil.
- If you can't collect leaves on a walk, you can use ready-made leaf templates. This method is suitable for people who do not have access to printing equipment.
To obtain a template, you will need a sheet of white office paper and a very soft pencil. The image of the sheet must be displayed on the computer or tablet screen, setting the appropriate size. The paper is applied to the monitor, and the image is transferred to the sheet.
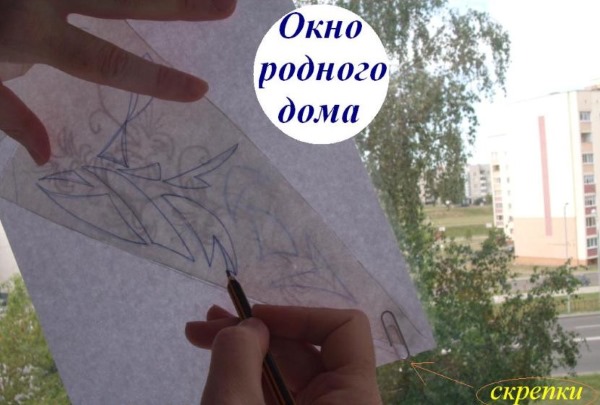
Important! When tracing the outline, remember that pressing too hard on the pencil may damage the structure of the screen. Therefore, the drawing is done as a light sketch, which is given clearer outlines on a hard surface.
- A leaflet template that can be used for cutting out right away is downloaded and printed on a printer. There are several options for working with electronic templates.
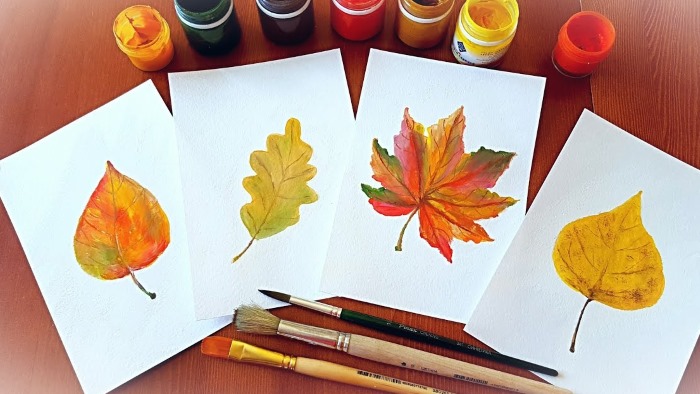
The outlines printed on a white sheet are colored with paints and cut out with scissors. The leaves can be colored before printing, using a special computer program. You can also print colored templates, adding small details with felt-tip pens.
Craft enthusiasts can choose from a variety of options for making templates suitable for their work.
How to Make Strong Templates
A leaf template for cutting may be needed for work several times. In order for such a blank to retain its shape for a long time, it should be made of durable material.
As with making simple paper stencils, there are a variety of methods used to create durable templates:
- The easiest way to make a durable template is to use a plastic corner folder to make it. The paper with the leaf images is placed in the folder and the outlines are transferred to the plastic with a marker.
The plastic sheet is laid out on a solid base (for example, a wooden board) and templates are cut out with a stationery knife. This technique can be used to create not only templates, but also stencils for working with paint. They are easy to clean and fit tightly to the work surface.
- To make a regular paper template more durable, you will need a special laminating film and a regular household iron. Set the device to the minimum heating level.
The paper sheet is placed between the layers of film and carefully ironed over the workpiece. The resulting part is cooled and the excess material is cut off, leaving 3-5 mm from the edge.
- Strong templates are made from cardboard and transparent adhesive tape. Paper templates are traced on thick paper or cardboard and cut out. Each side is covered with tape, tightly connecting the sides. Excess material is cut off, retreating from the base by 1 mm.
- A leaf template for cutting out of fabric should be both durable and flexible at the same time. A part with such properties can be created from greenhouse film or textbook covers.
The easiest way to transfer the image of a leaf to film is to place it on the monitor screen. Using felt-tip pens, the leaf is outlined and cut out along the resulting line. Such a template is easily fixed on the fabric with pins and retains its shape for a long time.

Also very durable templates are obtained from old X-rays. The process of their production is similar to working with plastic folders.
What can you do with stencils
Leaf stencils are used in interior decoration and furniture, clothing, and confectionery.
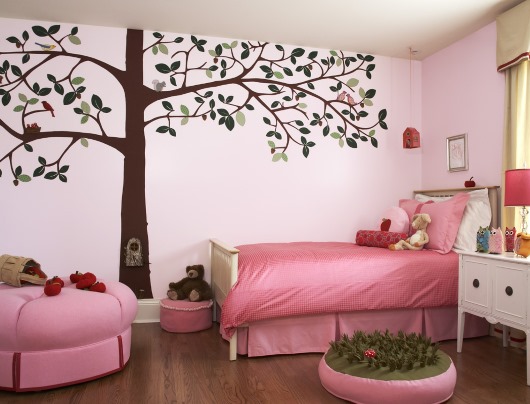
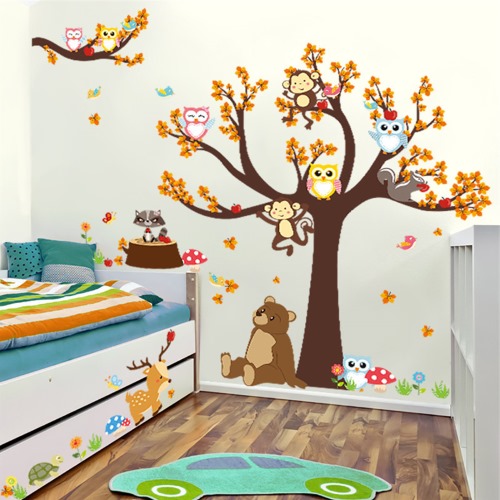
Stencils in the interior
There are many techniques for using leaf stencils in interior design.
They can be used to create panels, decorate walls and furniture:
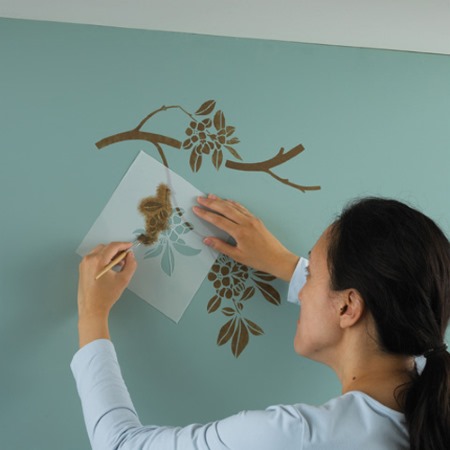
- The autumn tree is made in the form of a small panel or a stationary wall image. A large stencil in the form of a trunk with branches bent by a gust of wind is fixed on a white leveled surface. Such a stencil can be made from greenhouse film with your own hands.
After the base has completely dried, maple leaf stencils are randomly placed on the branches. Using a sponge, the silhouettes are filled with red, yellow and orange paint. If desired, you can draw small details with a thin brush.
- A composite panel of fern leaves is made from thick sheets of paper or white cardboard placed in wooden frames, onto which fern leaves of various configurations are applied using a stencil. A plastic stencil is placed on a white sheet and secured with staples.
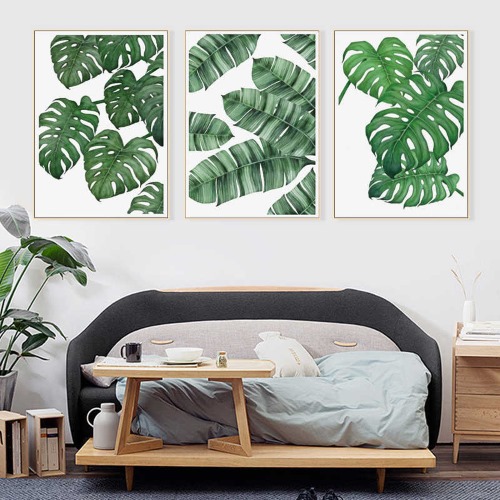
Using a sponge or a brush with hard bristles, the image is filled with green paint. The drawing is dried, covered with a laminating film and inserted into a frame. A panel consisting of 5-7 pictures hung in random order looks beautiful.
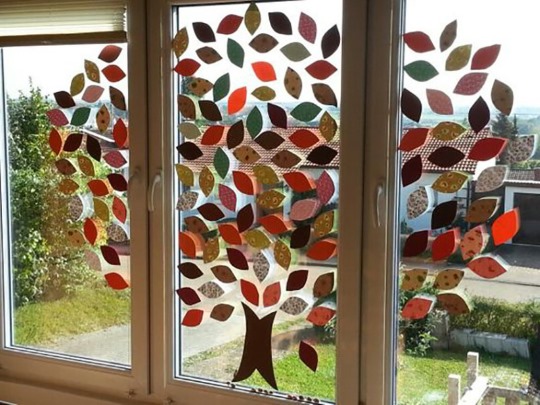
- Usually, glass and mirrors in the house are decorated with snowflakes for the New Year holidays, but using leaf-shaped stencils, you can create unusual autumn compositions. To make them, you will need moisture-resistant stencils, multi-colored gouache and a large, hard brush. Using these materials, you can depict leaf fall on the window and make a beautiful multi-colored frame on the mirror.
Clothing design
Unique clothes with an interesting pattern make their owner stand out. It is very easy to make such a thing at home using a stencil.
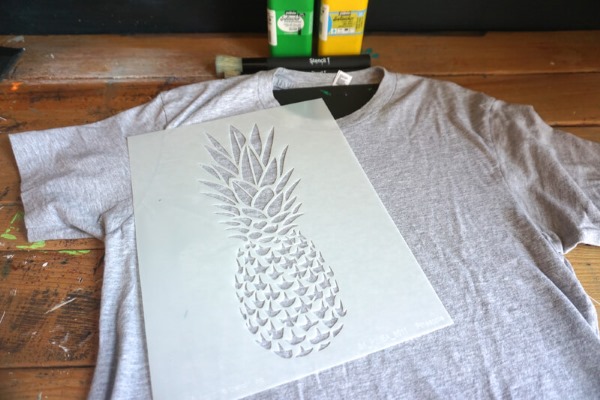
To do this you will need the following materials and tools:
- stencil of a leaf with small details;
- a plain T-shirt (or other item of clothing);
- acrylic paint for fabric;
- brush;
- white paper or cotton fabric;
- plastic sheet;
- iron.
The stencil can be made from film and pinned to the base. But it is easier to print it on self-adhesive paper and stick it to the fabric.
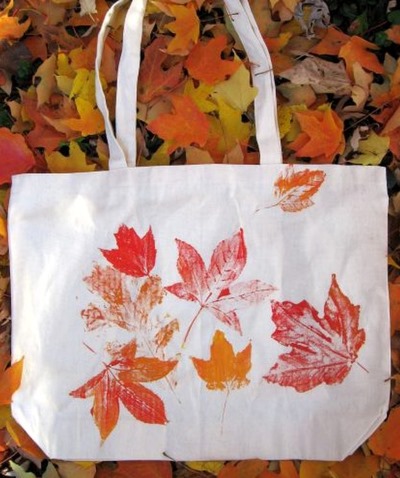
Having prepared everything necessary, proceed to the following actions:
- Smooth out the fabric and lay it out on a flat surface. Place a sheet of plastic under the working side, the size of which corresponds to the selected pattern.
- Using a brush, the design is carefully transferred to the fabric. The intensity of the color depends on the quality of the paint and the number of layers applied.
- The finished drawing is left to dry, which lasts 20-24 hours.
- The dried drawing is covered with a sheet of white paper or fabric and fixed with an iron.
Confectionery
Plant stencils are a popular tool used to decorate confectionery and drinks.
Pastry templates are made from plastic or silicone sheets. At home, they can be made from plastic folders. The stencil sketch is first drawn on paper, then transferred to plastic and cut out with a stationery knife.
Templates for crafts for school
Leaflet templates for cutting are often used in creative activities in kindergarten and primary school. The choice of a suitable template depends on the age of the children and the complexity of the craft.
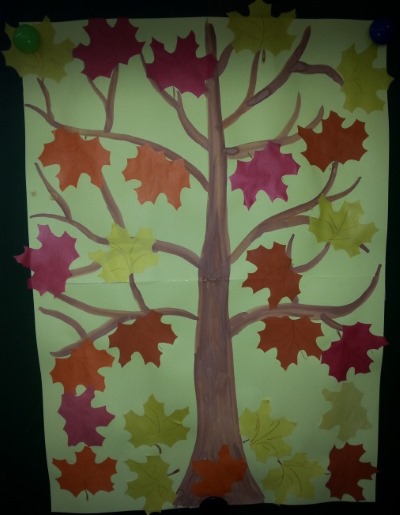
Autumn maple
A tree with colorful leaves is an interesting themed decoration that can be created together with preschool children.
For work you will need the following tools and materials:
- printable maple leaf templates;
- a large sheet of thick cardboard;
- watercolor paints;
- gouache;
- brushes;
- scissors;
- transparent tape;
- double-sided adhesive tape.
A tree with bare branches is drawn on cardboard. The figure is then cut out, forming a rounded crown. The entire surface of the workpiece is covered with transparent adhesive tape. At this stage of the work, children can take part in coloring the tree.
Each child will need 2 ready-made maple leaf templates with drawn veins. Children cut out and paint the leaves themselves in bright autumn colors. After the paint dries, a small piece of double-sided tape is glued to the back of the leaves and they are placed on the branches of the base.
The tree is a universal developmental aid that is filled with various removable elements. Their choice depends on the time of year and the topic of the lesson.
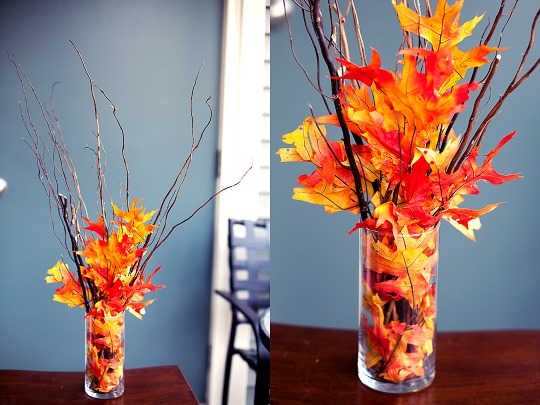
Autumn bouquet
Printed leaves can be used to create an autumn bouquet.
To make it you will need:
- thin dry branches;
- samples of different leaves;
- colored double-sided paper;
- simple pencil;
- scissors;
- glue;
- paper adhesive tape.
Progress of work:
- During the walk, it is necessary to collect thin dry branches with many small shoots. Before starting work, they must be washed and dried at room temperature.
- Each child independently chooses a leaflet template and colored paper for work.
- Rectangular paper squares are folded in half. A leaflet template is placed on them and traced along the outline.
- Without unfolding the paper, cut out 2 identical leaf-shaped pieces.
- Using a felt-tip pen of a suitable color, small details are drawn on the workpiece.
- One of the paired leaves is attached to the branch using a small piece of paper tape.
- The second part is covered with glue and connected to the element fixed to the branch.
- For a branch to look impressive, at least 12-15 leaves are needed, so work with preschool children should be done in groups.
- Fully decorated branches are dried in a vertical position, placed in a vase.
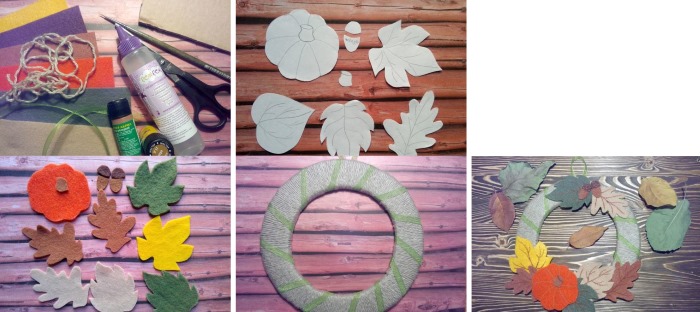
Felt wreath
The leaf template for cutting is used not only when working with paper, but also for making crafts from fabric.
To create a felt wreath you will need the following materials:
- multi-colored felt scraps;
- threads of various contrasting colors;
- scissors;
- sewing needles;
- cardboard;
- glue.
Progress of work:
- A ring with a diameter of 20 cm and a width of 4 cm is cut out of thick cardboard.
- Using a template, images of various leaves are drawn onto the fabric. Each leaf is cut out and smoothed out.
- The veins on the blanks are embroidered with bright colored threads.
- The leaves are attached to the surface of the ring using glue, placing them in rows consisting of 2-3 pieces.
Using this technique, you can make a bright autumn wreath from multi-colored maple, birch, rowan and oak leaves. And also create an elegant Christmas accessory from green holly leaves.
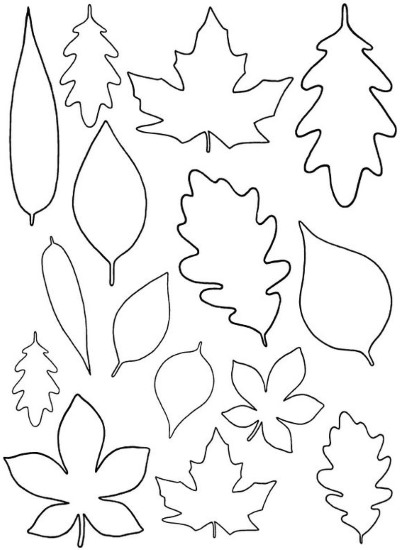
Templates for downloading and printing
To make your work easier and save time, you can use ready-made leaflet samples.

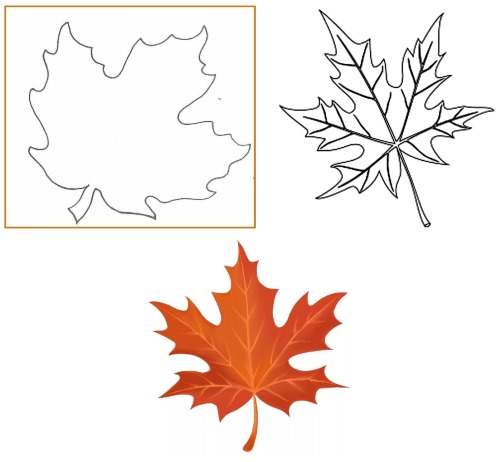
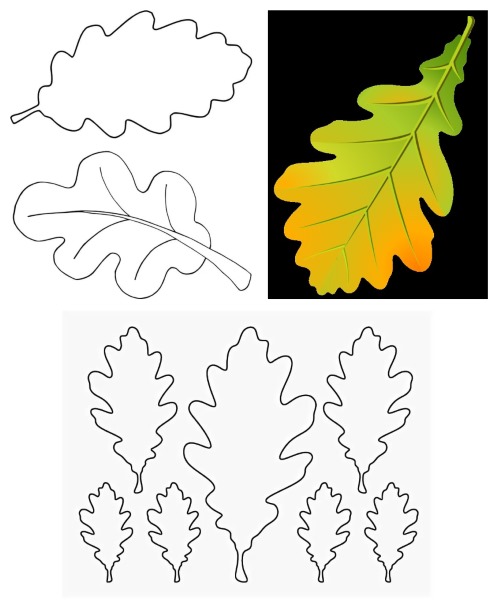
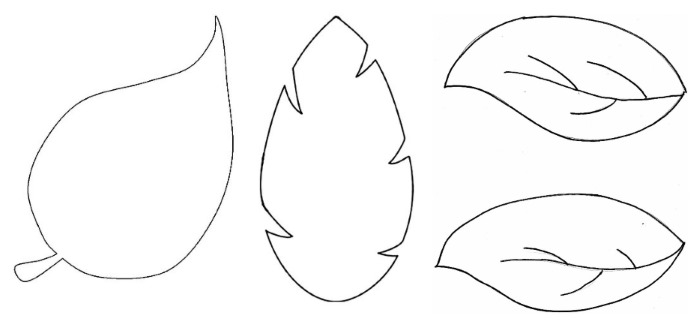
Below are images of leaves that are most often used in children's and adult creative works.
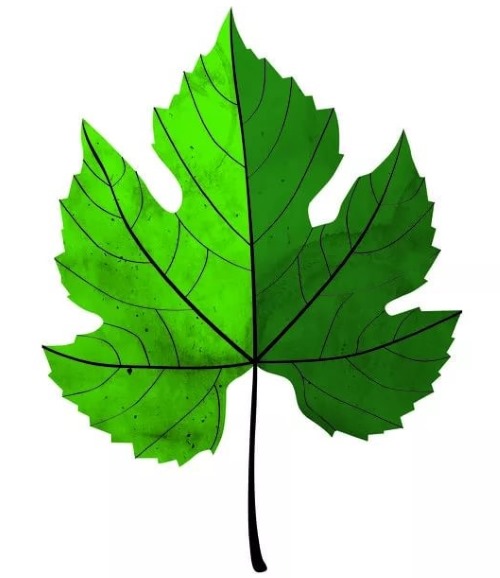
Maple Leaf Template
Oak leaf template
Template of a regular leaflet
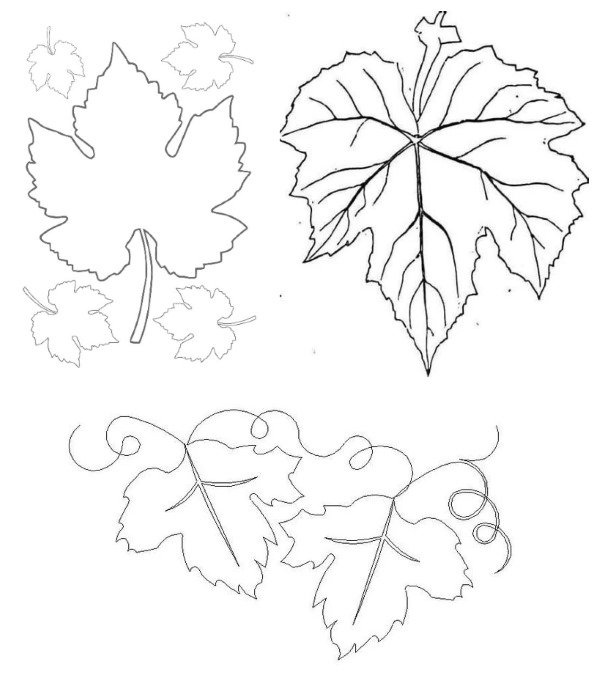
Grape leaf template
Chestnut leaf template

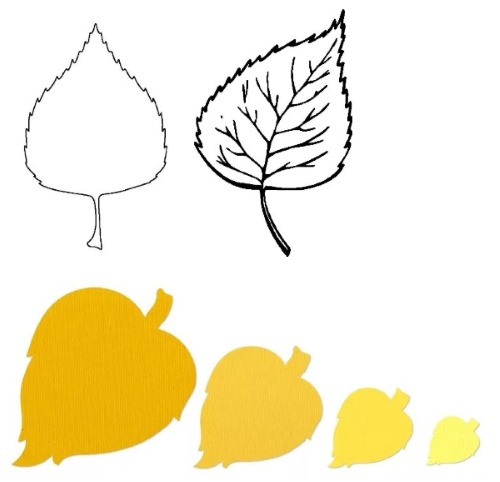
Birch leaf template
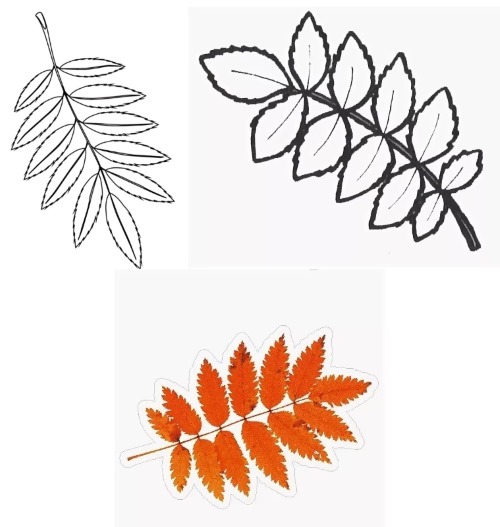
Rowan Leaf Template
Leaf templates are an easy way to create interesting creative works. They can be used to cut out details from paper and fabric, or used as a stencil for interior decoration.
Author: Rudneva Anna
Article formatting:Natalie Podolskaya
Video about leaflet cutting templates
A leaflet template for cutting out of paper is in this video: