Beautiful drawings, created with a marker, may seem difficult for beginning artists due to a number of features of the choice of the working tool, as well as the drawing technique itself. Despite this, you can learn sketching at any age, spending a minimum amount of time on it.
Following the recommendations of experienced artists, a beginner will be able to independently create images that can later be used not only to decorate notebooks, but also in the decor of a living space.
How to learn sketching
Sketching is the process of creating simple drawings that allow an artist to express their current emotional state.
Mastering the skill of creating sketches will be useful for people, regardless of their main occupation:
- students of higher educational institutions (visualization of the main theses of the lecture);
- designers (project creation);
- managers of companies releasing creative products for the modern consumer market (a clear statement of the task for an advertiser, architect, layout designer or builder).
To learn sketching, you need to:
- practice creating images of geometric figures as often as possible, drawing the contours of the drawings with high quality;
- study the details of objects in the surrounding world and remember them for the possibility of further reproduction;
- when creating the first sketches, multi-component images should be divided into simpler drawings (for example, a car is easiest to draw if you depict it by drawing geometric shapes one by one);
- Practice sketching skills whenever possible (it's best to use a compact notebook for drawings so you can have it with you as often as possible).
Basic Marker Drawing Tools for Beginners
Marker drawings for beginners require a basic set of tools to create:
- Sketchbook.
The notebook should consist of tightly bound sheets of single-sided paper with a density of at least 160 g. When using ordinary paper, the drawings will lose their original appearance after 10-30 minutes after the image is created, and the color palette of the markers will be distorted.
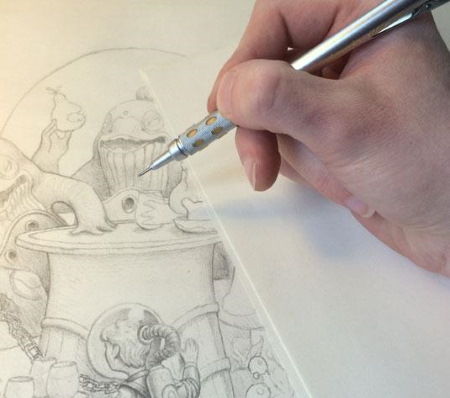
- Simple pencil. The preferred hardness of the tool in question is HB. It does not scratch the surface of the paper and does not smear when in contact with the hand.
- Eraser. It should be made of good quality rubber so that it removes unnecessary lines from the paper, rather than rubbing them away, leaving grey marks.
- Tracing paper. It is necessary to prevent the surface of the sheet from getting greasy from your hands when they are on it while drawing the details of the sketch and coloring the drawing with markers.
- Liners, or capillary pens of various colors. Necessary for drawing the contours of images.
- Markers.
Marker Overview
By choosing the right markers for sketching, a budding artist can make their work easier by minimizing the risk of smudging or distorting the ink color.
The most commonly used brand markers are:
| Name of the marker company | Brief description |
| Copic | 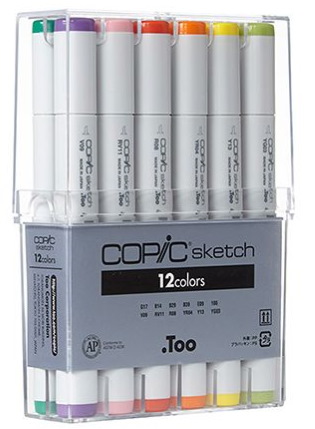 Sketches created with markers from this company are distinguished by the richness of their colours and the resistance of the ink to external influences (for example, direct sunlight). Copic products are double-ended - one end has a soft brush for creating smooth transitions and lines, the other has a hard rod with a beveled edge. Markers of this brand are non-toxic, as alcohol is used in their production. |
| Touch Twin | 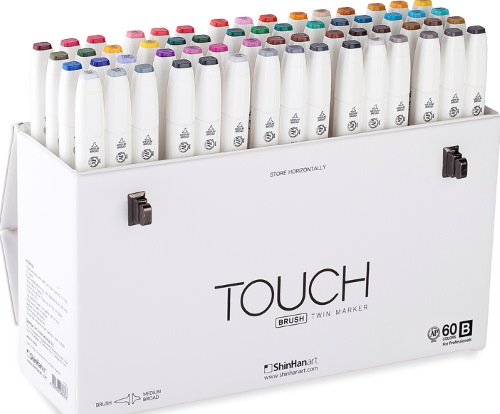
Double-sided markers, the main advantage of which is their ability to interact with each other, thus forming a new shade without streaks and marks on the surface of the paper. |
| Chartpak | 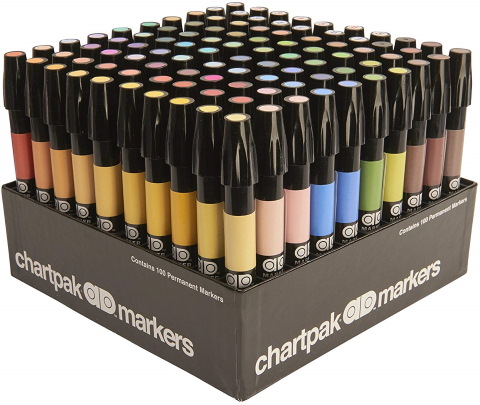
Premium quality soft markers made on an oil base. With their help, you can create a gradient, regardless of the type of surface used for creativity (they draw equally well on paper, plastic, glass, etc.). |
| Finecolour | 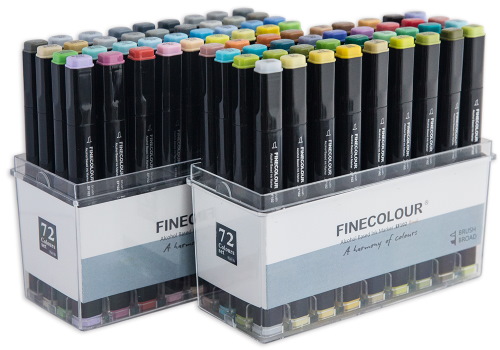
A budget version of Copic markers, which exactly replicates both the appearance of the original (ribbed body) and physical properties (rich colors, different types of tips - brush and pen). |
Tips for Beginners
Marker drawings for beginners should be created in accordance with the basic recommendations of professional sketch artists.
How not to smudge the drawing
Due to careless handling on the working surface when creating a sketch, a greasy mark from the artist's hand or a print smeared from an already painted area of the image may appear.
To minimize the risk of damaging the drawing, it is recommended to use tracing paper during the work process, placing it under your active hand.. If there is no special sheet of paper, it is permissible to protect the surface from skin fat with ordinary paper of the appropriate size.
In work that will result in a large-scale multi-component composition, special devices should be used, such as a bridge or mahlstick. If crumbs from the pencil lead get on the sketch, a special dry brush that does not leave streaks should be used to remove them.
To fix the paint on the paper, thereby minimizing its smearing on the working surface, it is necessary to use a special fixative. Such a composition should be applied in strict accordance with the manufacturer's instructions, locally affecting individual areas of the image.
Texture
Marker drawings for beginners may involve creating a specific texture.
The technique for drawing such sketches can be different:
- vertical lines, varying in length and thickness, ultimately forming a common curve of the strip (to create wood texture);
- strokes arranged in a herringbone pattern in a chaotic manner, the color and direction of which change as the work surface is filled (to create a concrete texture);
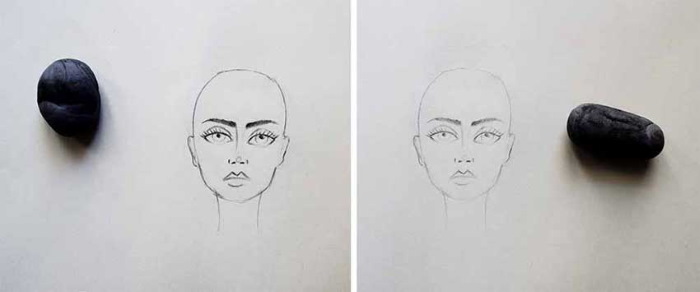
- "driving" paint into the surface of the paper using a rough piece of sponge (to create a stone texture).
Shading technique
When creating sketches, only 2 techniques are most often used - shading and hatching.
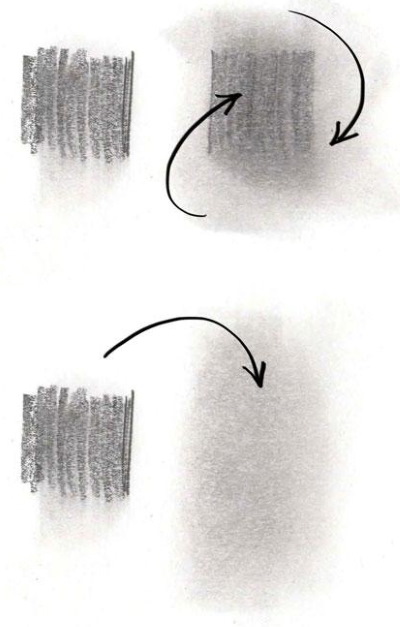
In order for the color transitions during shading to be as smooth as possible, it is necessary to first master the skills of classical shading. The shading process involves rubbing short lines on the surface of the paper, drawn with a thick rod, using a special device, a piece of paper rolled into a tube, or a kneaded eraser to lighten the details of the drawing.
Color shading has a number of specific features:
- use only soft textured materials in the work process;
- move the working tool along the original stroke;
- start shading with darker shades, gradually moving towards lighter ones;
- avoid sharp color transitions and obvious breaks.
Shading allows you to create volume in a drawing and make it more realistic.
Hatching
Hatching is used in sketching to indicate the direction of light, to create the necessary texture, the shape of a component part of the composition, and also when drawing chiaroscuro.
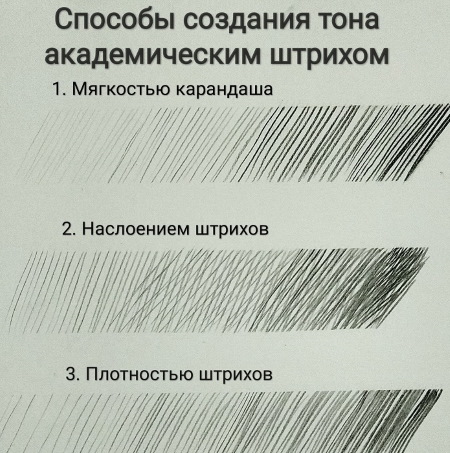
To learn how to hatch, you should study the basic rules of the activity in question:
- the strokes should be separate and located at a distance of 1-2 mm from each other;
- the strokes should be made as straight as possible, avoiding the formation of wavy lines or zigzags;
- observe the color transition from dark to light;
- the strokes should fill the inner part of the composition detail completely;
- when drawing strokes at the intersections of the main contour lines, ensure that the angle of the stroke is minimal;
- to make the shading visually denser and more even, it is recommended to apply it in 3-4 layers (do not bring the edge of the shading to the border of the beginning of the previous row of lines to avoid the formation of a clear “seam”);
- Do not use shading when creating an image that already has shading.
Application of different lines
For beginners, it is important to understand that the main working tool in creating drawings with markers are lines of different types:
- straight or curved;
- simple or complex;
- long or short;
- solid or discontinuous;
- main or auxiliary.
They should be used appropriately, following the recommendations of professional artists:
- do not outline lines several times (regardless of whether they are main or secondary);
- wide lines help the artist to place accents in his composition, highlighting the main elements with their help;
- to make an object heavier, it is necessary to draw it with thick lines; to emphasize the lightness of the image, it is worth using thin strokes;
- use thick lines to indicate the proximity of a particular object, and thin lines to indicate the distance;
- To indicate the placement of light, you need to draw the sketch with thick strokes (if it is in the shadow) and thin ones (if light falls on it).
How to draw
Beginning artists are advised to use generally accepted algorithms developed by experienced professionals when creating their first works.
Silhouettes
The key to creating a silhouette is to define the boundaries of the drawing, rather than to draw the interior of the image. In the classic sense, the interior of the silhouette is filled with hatching or shading, thus creating a shadow. The details of the overall image determine how recognizable or illegible the final drawing will be.
For a pronounced contrast of colors, it is recommended to draw silhouettes with a dark marker on a white sheet of paper, observing the principles of the generalized technique. A similar style of work is also used in creating portraits, architectural sketches and landscape sketches.
To draw a silhouette, you need to:
- Correctly determine the proportions of the object planned for sketching.
- Identify the unique characteristics of the contour.
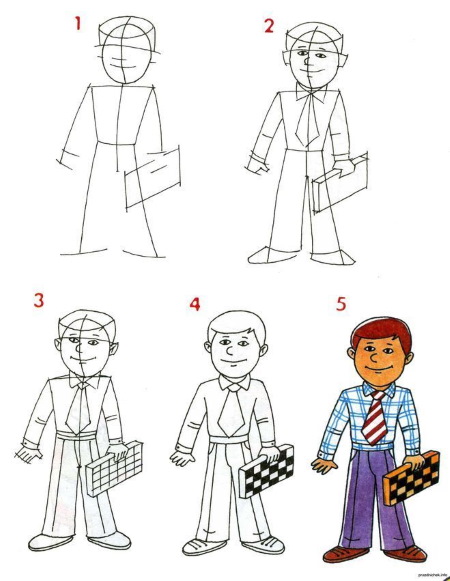
People
You can draw people using the algorithm below:
- Decide in what position the person will be depicted - sitting, standing or moving. Beginners are advised to draw people from the back.
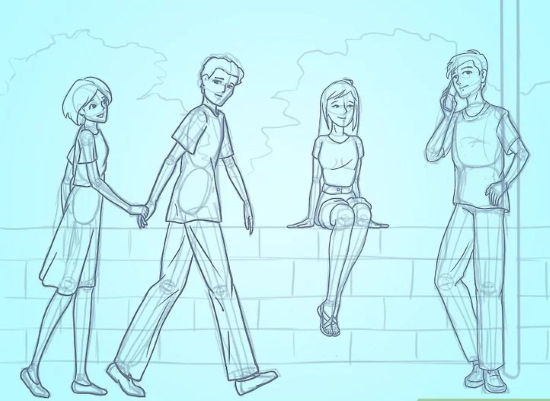
- Represent the figure in simple geometric shapes (circle, square, oval, triangle, etc.). It is not recommended to pay attention to small details of the sketch, prioritizing the sketching of the overall mass.
- Add minor details to the image.
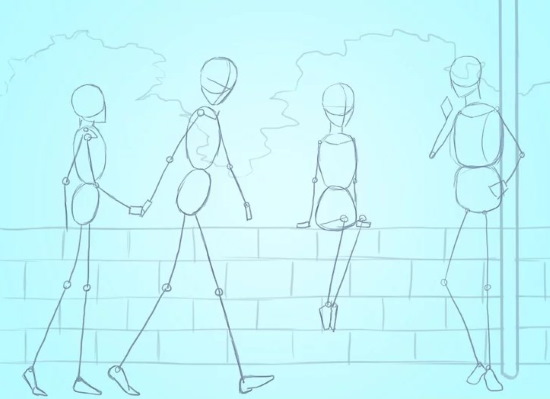
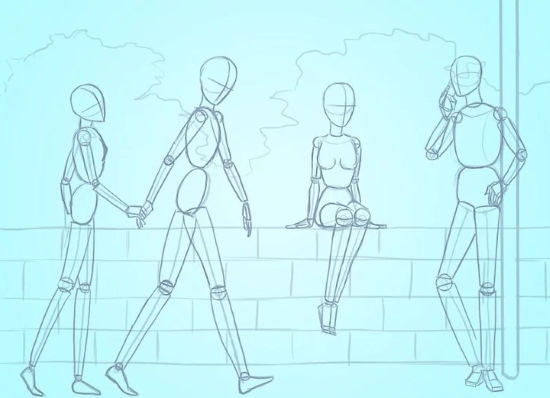
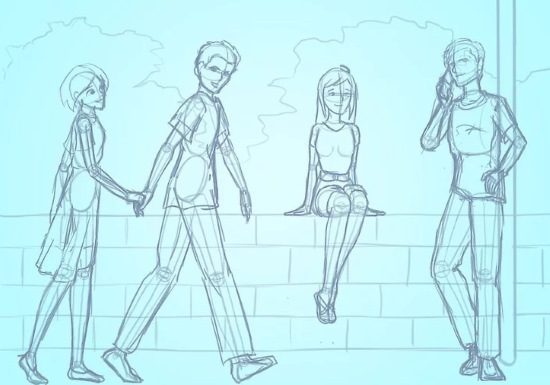
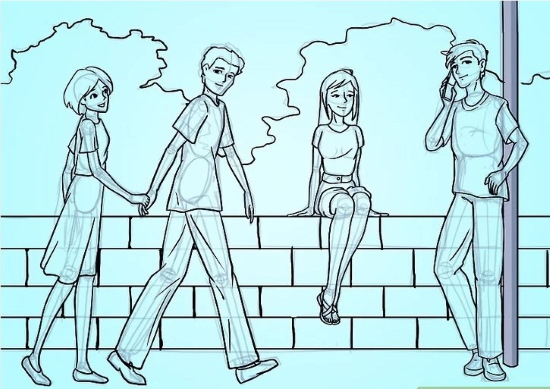

- Create shadows and half-shadows. This can be done using either hatching or shading.
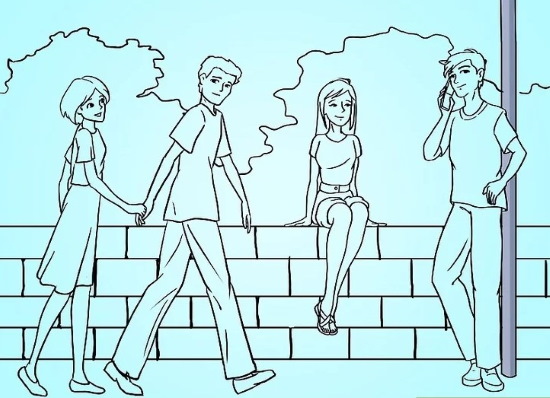
- Finish drawing the surrounding objects.
Face
To learn how to draw a face using sketch markers, you need to study the details of your appearance in the mirror as often as possible. Having acquired the skill of creating self-portraits, a beginner can move on to a more complex task - making sketches of other people's faces.
An algorithm developed by professional artists will help him with this:
- Draw an oval. To make the figure even, it is recommended to use 2 perpendicular lines, taking them as the horizontal and vertical axis.
- The resulting circle is visually divided into 5 areas of different sizes, depending on what part of the body you plan to draw in it: eyebrows, nose, forehead, eyes, mouth.
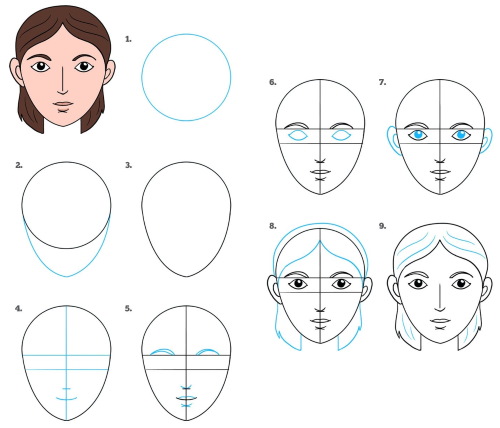
- Sketch the parts of the face schematically.
- Make sure that all components of the sketch are placed at the correct level (for example, the eyes should be symmetrical).
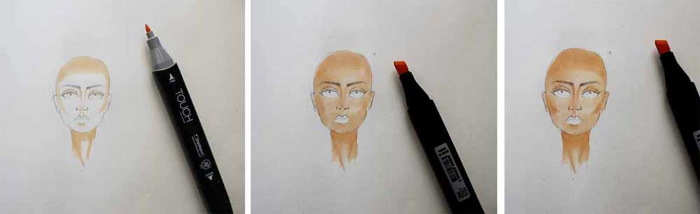
- Draw the main parts of the face (eyes, nose and mouth), visually making them anatomically natural.
- Apply shadows and penumbras using hatching or shading, depending on the artist's skill and preference.
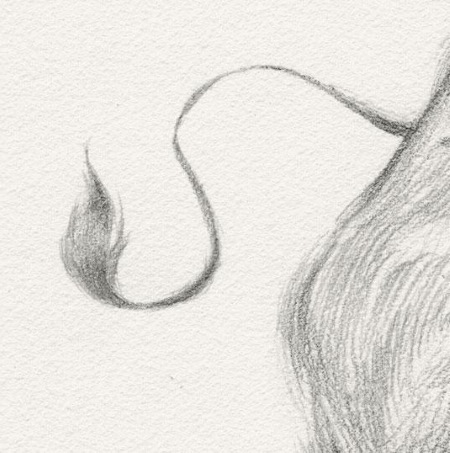
Hair
Technique for drawing hair when creating sketches:
- Draw a semicircle – the outline of the head, placing it in the middle of the sheet of paper.
- Using 2 vertical lines with smooth curves, draw the shape of the future hairstyle, its length and volume.
- Draw the hair bends to the sides, coming out of the intended parting. As an alternative, it is acceptable to depict bangs.
- Mark the inner contour of the hairstyle, clearly highlighting its edges.
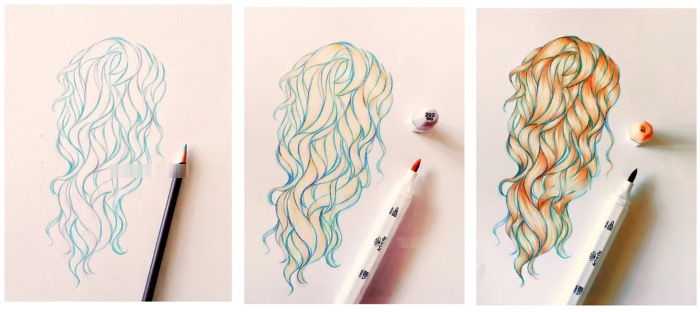
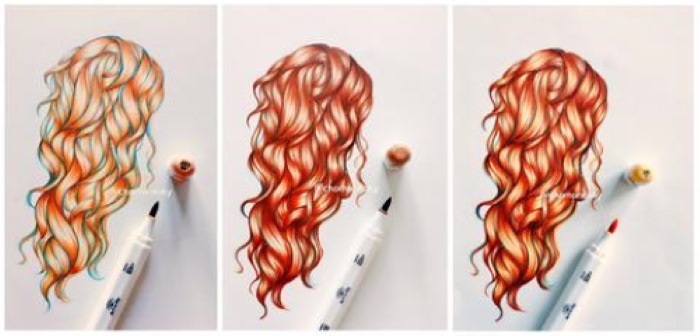
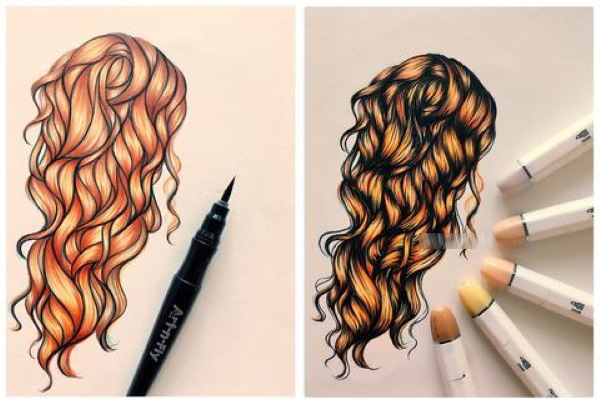
- Draw the secondary curves of the hairstyle with smoothly curved lines, minimizing their number.
- Outline the contour of the hairstyle, making it more expressive in comparison with secondary lines.
- Fill in the empty space between the main curves of the hairstyle, giving the resulting sketch realism.
Scenery
For example, you can draw a summer landscape in sketch style using markers like this:
- Mark the silhouettes of tree trunks (vertical lines) using a marker that is as close as possible in color to the shade of the working surface.
- Paint the area between the verticals green, controlling the smoothness of the transition of shades.
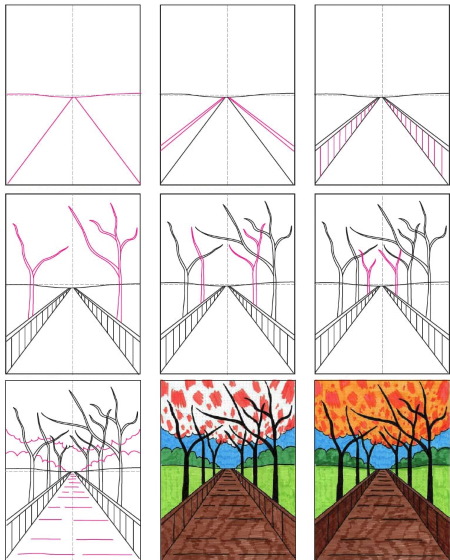
- Draw the trunks in more detail. For example, add horizontal strokes to some of them – a distinctive feature of the birch tree image.
- Draw the foreground of the image (grass, stumps, flowers, etc.).
- At the top of the sheet, use a blue marker to mark the sky.
Beautiful pictures for copying in a sketchbook
In order not to discourage the desire to develop in the field of sketching, beginners are advised to choose pictures for copying in a sketchbook, correctly correlating their skills and the complexity of the upcoming work.
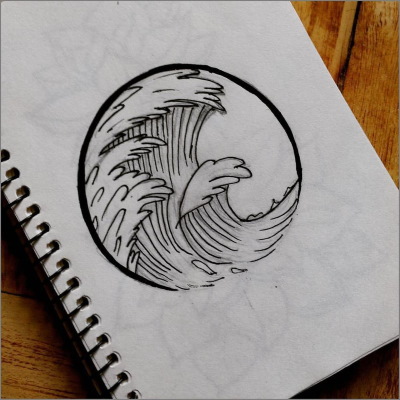
Easy drawings for copying
It is recommended to start with creating simple sketches that do not require much time or special skills:
| Sketch variant | The method of its copying |
 |
|
 |
|
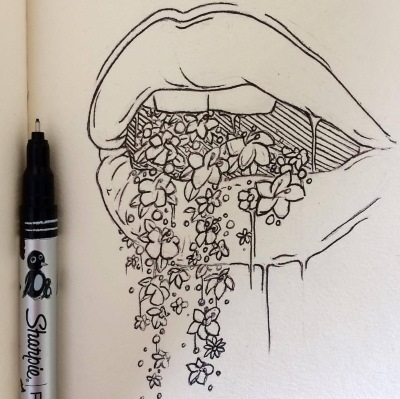
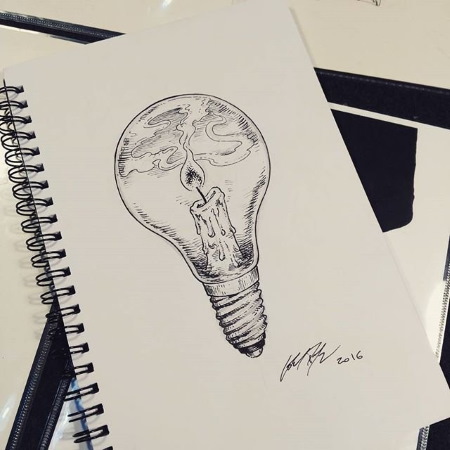
Complex drawings
Having mastered the basic skills of creating sketches, a beginner can draw more complex drawings:
| Sketch variant | The method of its copying |
 |
|
 |
|
With black or colored markers, if chosen correctly, you can not only color a drawing, but also create an image in the style of a sketch. For beginners, it is most convenient to use the recommendations and standard algorithms of experienced artists in the process of creativity in this direction.
Sketching, if the work process is properly organized, will help a person to release overwhelming emotions, thus stabilizing their mental state.
Video about marker drawings
Marker Drawings for Beginners: