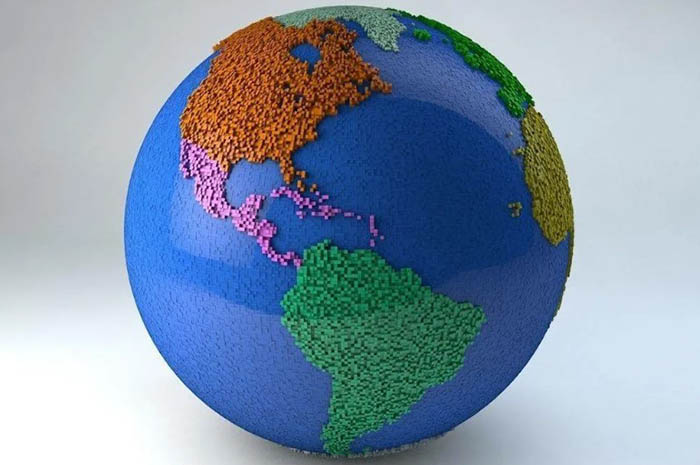
The globe made of plasticine is a beautiful craftIf it is made well, it can be used to visually represent the location of the oceans and continents of our planet in a reduced form.
The resulting miniature model of the Earth can be beautifully painted, and it will take a worthy place in the interior of the room.
Necessary materials and tools
A globe that can be made from plasticine requires a minimal amount of material. The main thing that needs to be prepared is a variety of shades of plasticine.
It is desirable to have the following tones:
- orange;
- yellow;
- red;
- black;
- green;
- blue;
- white;
- brown.
Depending on what the globe is planned to be made of, the following materials are prepared:
- inflatable ball;
- threads;
- wire;
- cereals;
- orange;
- paper or tracing paper;
- paints;
- PVA glue;
- vegetable oil.
All work should be done on a board. It is better to use a plastic knife or special glass for cutting plasticine. Usually, when purchasing such material, they are included in the kit. In addition, you should prepare scissors for cutting paper or tracing paper.
Once the globe model is ready, you will need a skewer or a toothpick to form a relief on it. An old toothbrush can also work here.
Before starting work, it is better to cover the laid board with film or oilcloth so that the plasticine does not stick to the wood. During the manufacture of the globe model, a damp cloth or paper napkin should always be nearby.
Hollow model of a globe made of plasticine
A globe made of plasticine can be made in various ways. One option is to form a hollow model. This is usually done when there is not enough plasticine, but you want to make a larger craft.
Among the shades of plasticine there should be white, blue, brown, green, yellow and light blue tones. It should be known that when mixing a white shade with blue, you get blueness.
The work on forming a model of a hollow globe consists of the following steps:
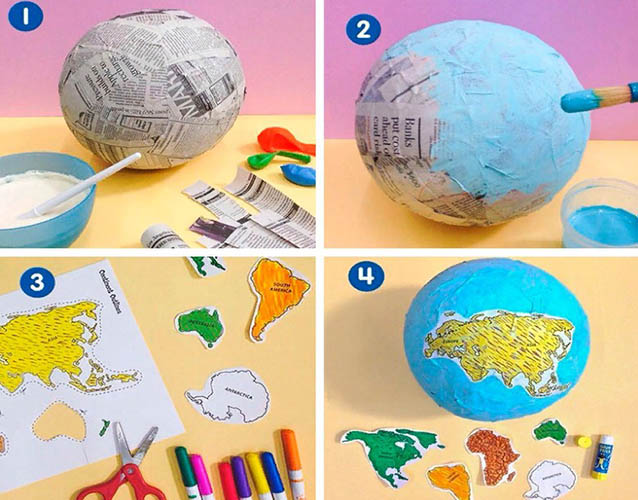
- The rubber ball is inflated and tied tightly. It is necessary to achieve its most correct shape so that it does not get an elongated look. The outer surface of the rubber is lubricated with oil.
- Pre-prepared paper, which can be a newspaper, is torn into small pieces of approximately 2x2 cm. The ball is coated with glue, and cut pieces of paper are placed on top. In the case where a newspaper is used, vegetable oil is used instead of glue. As soon as the ball is completely covered with the first layer of paper, it is coated with glue again and this procedure is carried out first a second, and then a third time. All 3 layers must be laid evenly so that no depressions or bumps form on the surface. Now the semi-finished product must dry. To do this, it is placed in a warm place for a day. Here, a heated radiator can be the best option. After the ball has completely dried, the strength of the surface is checked by pressing on it with a finger. If it is insufficient, several more layers are applied in the same precise way, the number of which can reach 5 or 6 units.
- After the paper has completely dried, the ball is burst and carefully removed. The resulting hole is carefully sealed.
- The resulting globe model must be colorfully decorated. To do this, all the continents and water areas should be placed on it. The territories where they will be located are marked with a pencil.
- The final stage involves using plasticine of all possible colours. To do this, it is carefully applied to the areas drawn with a pencil. In areas where there should be land, brown material is most often used, while water areas are covered with blue. The poles must be marked. Only white plasticine is used here.
\Depending on the need, the globe can be made large. Then there are more opportunities for applying detailed terrain relief. Using a green shade, you can mark the location of forests, and use brown to show mountain ranges. If you have yellow plasticine, indicate deserts.
With core and mantle
The plasticine globe is made using various methods. It can be made as a single piece with the complete structure of the Earth. The core with the mantle can be placed inside, and all the oceans and solid land areas can be outside.
When starting work directly, you should have a variety of colors of plasticine at hand. At the same time, a person may not always be well versed in the internal structure of the globe. In order not to make a mistake during such work, you should familiarize yourself with the information in detail.
The work is carried out in the following order:
- At the first stage, the inner core of the Earth is created. For this, yellow plasticine is used, from which a ball is carefully formed. Its optimal diameter should be from 7 to 8 cm. However, if you want to create a large model, this size can be increased.
- Now it is necessary to form the outer core of the Earth. For this purpose, a number of colors of plasticine are used. Among them there should be shades of: yellow, red and orange. All these pieces are mixed and thoroughly kneaded in the hands. After obtaining a single-color mass, the plasticine is rolled out to a thickness of about 1.5-2 cm, and then the previously made yellow core is placed in it and wrapped.
- Now it's time for the mantle. Its color can be obtained by mixing brown and yellow plasticine in equal proportions. After softening in the hands, the mixture is also rolled out to a thickness of 3-4 cm. The amount of material is taken so that it covers the ball well. After finishing the work, you should smooth out all the unevenness with your hands.
- Now it's time for the earth's crust. The best option is to lay out a brown shade of plasticine, but sometimes it is missing. In this case, you need to inquire about how to make the desired shade by mixing other colors. The resulting mixture, after softening, is rolled out and wrapped around the previously made form.
- After creating the earth's crust, the water space should be designed first. This is done using blue plasticine, which is rolled out and the globe is completely covered with this layer.
- Now, on the blue space, it is necessary to create large areas of land, glaciers and islands of various sizes. Using a ballpoint pen, draw the places where such areas will be located. Then, plasticine is glued to them. It is better to use brown material to depict continents, and a green shade for forests. Yellow colors are superimposed on desert areas.
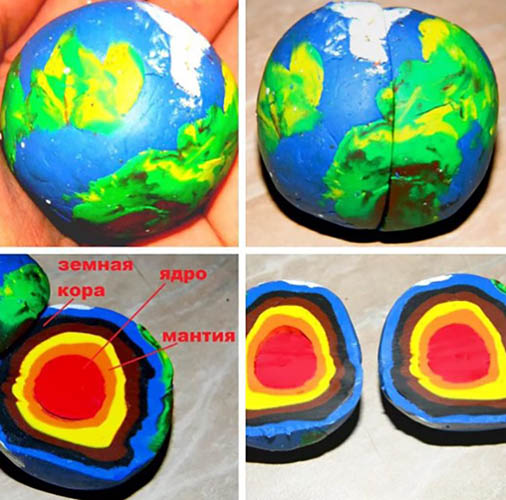
After finishing the work, the globe is cut into 2 parts exactly by diameter. A knife or strong thread is used for this. This is done to clearly demonstrate the structure of the Earth.
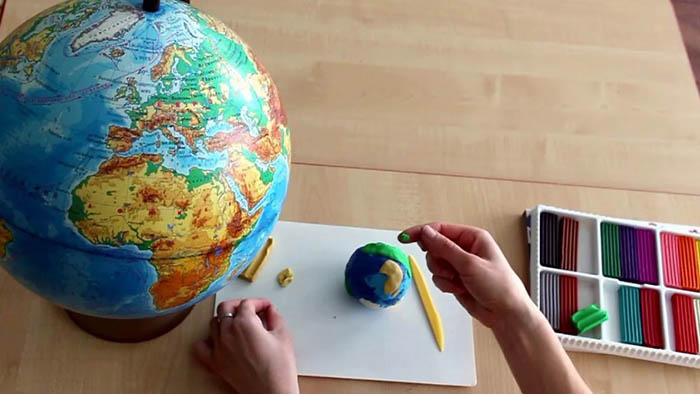
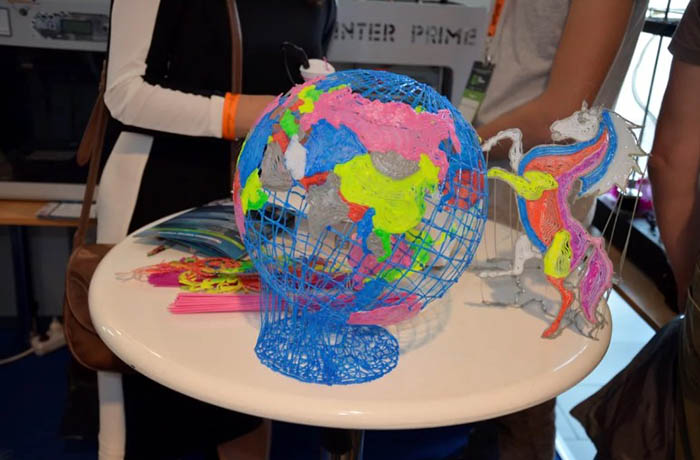
From plasticine and wire
A globe made of plasticine can be made in various ways. If it is not planned to form the internal structure of the globe, then the creation of the model is significantly simplified. In this case, the main component is plasticine. In addition to it, a rigid wire is taken, capable of holding the weight of the model. In this case, it will perform the functions of delivery.
The work is carried out in the following order:
- Since the Earth is mostly water, the most necessary material is blue plasticine. The material is kneaded and rolled into a ball, the diameter of which should be the size of the future model.
- After the ball is formed, the remaining shapes inherent to the Earth's surface are applied to it. It is best to first mark the North and South Poles, as well as Greenland with its centuries-old ice deposits. For this, it is most convenient to use white plasticine, pieces of which are installed in previously marked places.
- Then he begins to form the contours of the continents, which include all the continents of the Earth. For this, green plasticine is used, which will later reflect the location of forests.
- The highest mountains on the continents are marked with brown material. There is no point in marking lower ridges, because they will not occupy such large spaces in scale. This is done only when the globe is made with a very large diameter. Brown plasticine is directly applied to the green material.
- Since there are highlands in Australia, they should also be marked. For this, light brown plasticine is used. As a result, such an area will differ from the locations of large elevations.
- Of all the deserts, the Sahara occupies the largest area, so it is marked with yellow plasticine.
- At the last stage, a pre-prepared wire is used. At one end, a flat section is formed that exceeds the diameter of the ball. Then it is stitched with wire in its central part. The second end of the wire is bent at an angle of 90° and formed into a circle. This place will be the stand.
To ensure that the finished model is tilted, the wire is bent at the optimal angle.
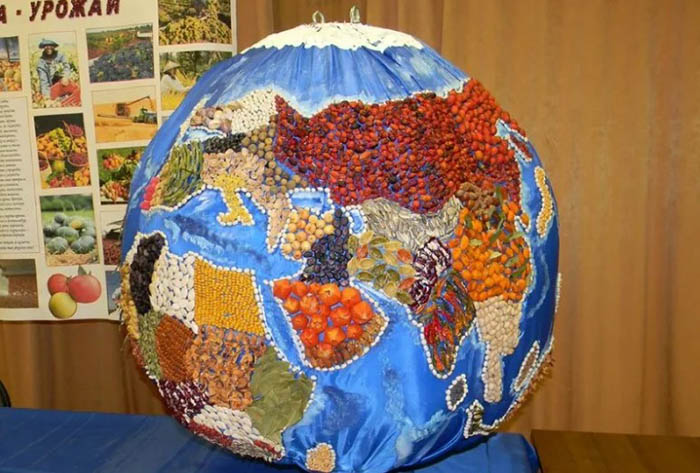
From plasticine and cereals
It is convenient to apply geography to a model made of plasticine using cereals. The main product is made in any convenient way. The use of cereals is carried out at a subsequent stage. Buckwheat and semolina are used here.
The best option is to make a globe from an orange covered with a layer of rolled out blue plasticine so that the water space is automatically formed.
The continents are best formed from brown material, gluing them on top of the blue surface. In the areas where mountain ranges are located, buckwheat should be placed and pressed with fingers. Semolina is poured along the poles of the globe, as well as in the areas where Greenland and other large ice massifs are located.
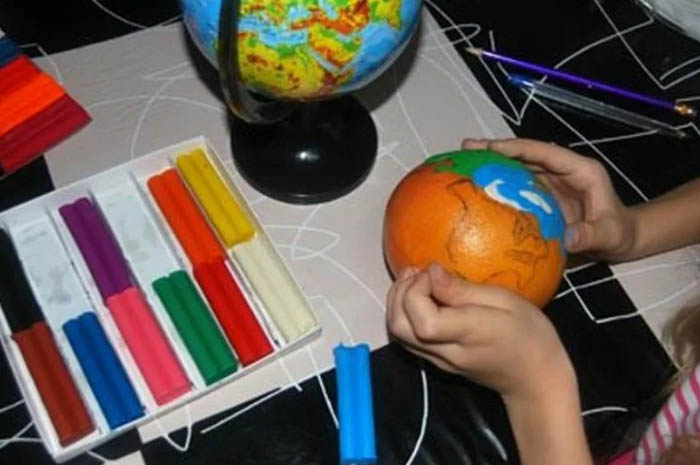
On an orange
It is very convenient to make a globe from plasticine using citrus fruits. The best option is a regular orange. It becomes the basis of the model, and the geography of the Earth is applied to the surface.
The work is carried out in the following sequence:
- First, the orange is washed with soap and then carefully wiped with a clean cloth. This is done so that the surface is completely dry.
- The geography of the globe is applied to the orange peel of the orange. For this purpose, only blue-colored plasticine is used, which is kneaded and rolled out to a thickness of up to 1 cm. The resulting layer envelops the orange. As a result, the citrus product acquires a completely blue color. In the future, this will be the water surface of the globe. To apply the geography of the continents, it is best to first do this on paper. Then, the images cut out with scissors are applied to the surface of the orange and their contours are outlined.
- Continents, hills and forests are formed using plasticine of different colours.
This orange globe needs to be placed on a stand. The most convenient way to do this is to use a sour cream cup. The container is turned over and a hole is made in the central part of the bottom. A stick is inserted into it so that it rests on the table and protrudes above the surface of the cup by a size slightly smaller than the diameter of the orange.
A hole is made in the center of the citrus fruit, and the orange is placed on a stick until it reaches the bottom of the glass.
For beauty, a plastic cup can be covered with blue paper with a red border at the bottom.
What can you decorate with?
Decorating the finished base of the globe is an artistic endeavor.
There are many ways to do this, a description of which is presented in the table.
| Method of decoration | Description |
| With the help of buttons | On a prepared sphere of blue plasticine, the geographic contours of the Earth are outlined. Where water areas will be located, buttons with a blue tint are pressed in. Brown buttons are installed within the boundaries of the continents. According to the same system, green items cover the territories of forests, and white elements fix the poles and indicate the location of Greenland. |
| Interior layout | In order for the plasticine globe to look beautiful in the interior, it is necessary to first cover it with white paper. If a person has the ability to draw, the outlines of the continents are applied to its surface. Then they are painted brown. Seas and oceans are covered with blue halftones. You can also mark the places where mountain ranges stretch with a dark color, and forest areas with green. |
| Using only plasticine | It is possible to color the globe in a unique way using only plasticine. For this purpose, the contours of all the continents present are outlined on the globe. A different color of plasticine is prepared for each continent. For example, Australia can be red, Eurasia green, Africa yellow. Here, everything depends on the person’s imagination. At the same time, the main background of the globe has a blue tint, since the ball must be made of this color of plasticine. Each continent is signed with letters, which are also laid out of the same material. Conventional signs characteristic of a given area can be stuck on each continent. These can be plasticine palm trees or figures of ships. |
| Plasticine stand | In order for the manufactured globe to stand well on the table, it is best to make a stand from the same material. At the first stage, a bracket is molded, which is attached to the two poles of the globe. A round base 2-3 cm thick is formed at the bottom. The globe with the bracket is installed on a plasticine base, the diameter of which depends on the size of the manufactured model. |
The globe, which represents a model of the Earth, is very convenient to make from plasticine. This material has unique qualities that allow you to easily form any desired shape, including a sphere.
An additional convenience is the ability to decorate the model in many different ways. The result is a high-quality product with a very attractive appearance.
Video about making a globe from plasticine
How to make a globe out of paper: