Simple drawings are created using contours, so even a child can draw a cute little carrot. The vegetable has no small details, its outline is created using straight and curved lines, and a varied color palette is not required for coloring.
Basic stages of drawing creation
Materials required to create the drawing:
- simple pencil;
- colored pencils of different shades: yellow, orange, green, brown, black;
- paints;
- sheet of paper;
- eraser.
You can draw a carrot in 3 steps:
| Stage | Description |
| 1 | Making a sketch of the root vegetable itself. |
| 2 | Once the outline of the vegetable is ready, you can move on to the small details, which include:
|
| 3 | Coloring carrots. |
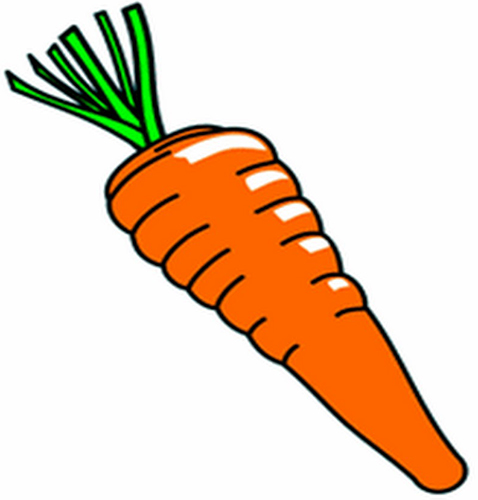
Simple drawing
Carrot (a drawing for children can be very simple) has an elongated shape. To make a sketch, you can take paints, colored pencils, felt-tip pens or a simple pencil.
If you do the work step by step, the drawn picture will turn out beautiful.
- Draw the outline of the vegetable in the form of an elongated triangle. The figure can be placed in a semi-recumbent position.
- The ends of the triangle should be rounded.
- On top of the resulting triangle, draw rounded stems, which are depicted as curved lines of different lengths and directions. It is enough to draw 3 stems, but you can draw more.
- Draw parallel lines across the entire surface of the vegetable.
The sketch should be created with the thinnest possible strokes. The thicker the strokes of the sketch, the harder it will be to erase them later.
To color the carrots, you only need 2 colors - yellow and green.
With a simple pencil
To draw a carrot with a pencil, you need to start the sketch from the top of the vegetable, following the step-by-step stages below:
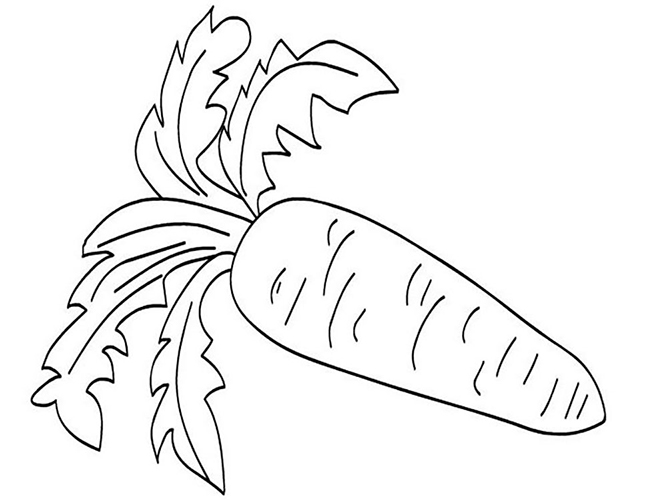
- You should start the drawing by drawing a curved line, similar to the letter "C" facing downwards.
- On each side of the root vegetable, you need to draw several curved lines overlapping each other.
- Curved lines should be drawn, gradually narrowing the vegetable towards the bottom.
- You need to extend the lines until they converge at the tip at the bottom of the carrot.
- To add texture and depth to the root vegetable, draw curved lines on its surface that will cross the carrot in a random pattern.
- To draw the tops, you need to draw short, curved, parallel S-shaped lines from the top of the vegetable. The lines should connect at the top, imitating the broken edge of the greenery.
- To create a voluminous stem, draw several sets of S-shaped lines at the top of the carrot.
- To add texture to the greenery, draw curved lines along the length of the tops, starting at the base.
Using shading
Correctly done shading will turn a sketch into a work of art.
There are 2 types of work with a pencil:
- Hatching. It is done with separate strokes. There must be a gap between the lines.
- Shading. The pencil is smeared over the surface of the paper, leaving no gaps.
Features of shading:
- Highlights tonal relationships in a drawing. Depicts shadows and highlights well.
- To give volume to an object, it is placed according to its shape.
- To make the strokes thin and neat, you need to watch the tip of the pencil. To maintain it in the right shape, you can use sandpaper.
- If you use a pencil with a higher softness, the drawing will become more contrasting. But here you will need more accuracy, so as not to accidentally smear the hatching, making the sheet dirty.
- The rougher the texture of the paper, the softer the hatching. On smooth paper, such as Whatman paper, the hatching is clearer.
- To prevent the outline of the drawing from being too saturated, it needs to be lightened with an eraser.
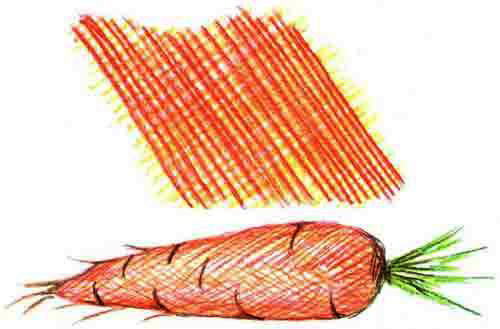
Drawing with a pencil using shading:
- The first thing you need to do is draw a sketch - a triangle in a reclining position.
- Then round off the edges of the triangle.
- Make the edges of the carrots wavy.
- Draw the tops of the sketch.
- Erase all unnecessary details with an eraser.
- Outline the carrot with a thick line.
- Draw several separate lines on the surface of the vegetable.
- Shade the carrots tightly with a pencil.
- Then thicken the shading first on one edge, and then on the other edge of the carrot. Soften the transition a little.
- Shade the carrot's tail.
- Create a small background by shading the empty area below the carrot.
With paints
Carrot (a drawing for children aged 7-8 should be painted in real colours) is a very colourful and healthy vegetable. In order for the root crop to be bright, you need to use paints.
Sequence of actions:
- First, dip your brush in paint and draw an orange cone. The top of the cone should be thick and the bottom thin. Paint the entire cone orange.
- Next, rinse the brush well from orange paint and dip it in green. On top of the cone, draw several upward and sideways lines (4-5 pieces) of green color - these will be the stems of the carrot tops. On each stem, draw many short sticks directed to the sides. You will get a lot of green grass.
- Dip your brush in black (or mix even paint with brown) and fill in the white space around the carrot to the right and left of it, as well as below. This will create the soil in which the carrot grows.
- Using the same brush and black paint, create veins on the surface of the carrot.
Carrot with eyes
Classically, carrots are orange in color, but varieties of this vegetable can be red, yellow, or purple.
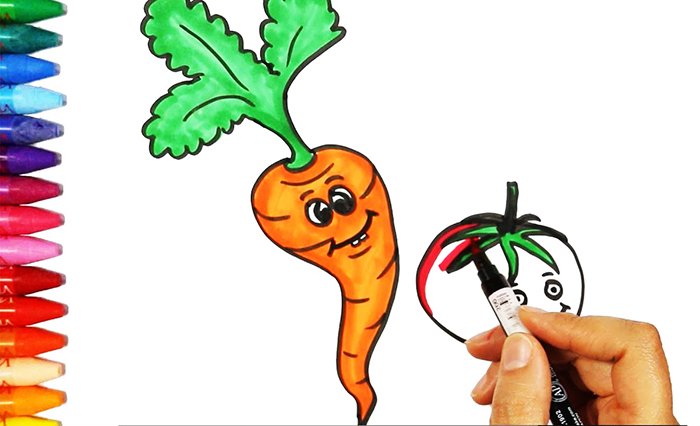
To draw a vegetable with eyes, you need to follow these steps:
- Add a drop of white to the yellow color and mix them on the palette.
- Draw the outline of a carrot on a piece of paper.
- To get orange color, you need to add a few drops of red paint to yellow paint, then stir.
- Color the carrots orange.
- Mix yellow paint with a drop of green paint on a palette and stir well.
- Add the yellow-green tops to the top of the carrots.
- Add more red paint to the orange to make it brighter.
- Draw horizontal stripes on the carrot.
- Using white paint, make 2 adjacent strokes to create the carrot's eyes.
- Take a thin brush and draw the nose, making a small semicircle just below the eyes.
- Using the same brush, place a few specks under the eyes to imitate freckles.
- Draw a mirror image of the arc under the nose, but larger than the nose. This will be the mouth.
- Dip a brush in blue or brown paint and use it to create pupils.
- Load your brush with white paint and paint highlights in the eyes.
- Next comes the work with the background. Draw horizontal stripes in brown – this is the soil in which the carrot is located. The stripes should be of different tones – darker and lighter.
Kawaii carrot by cells
Carrots can be made using a pixelated pattern on cells. Such images are popular among children.
To work you will need a pencil and a sheet of graph paper.
- Mark 2 cells horizontally on the bottom of the sheet, circle and color them.
- Move 1 cell to the left and mark 2 cells up. Do the same on the right side.
- Next, step back 1 cell to the left and paint 3 cells vertically. Mirror this step. This results in a carrot extension in the form of a ladder.
- Now move 1 cell to the left and paint 4 cells upwards. Do the same on the right side - move 1 cell to the right and paint 4 cells upwards.
- Repeat step #4 twice.
- Step back from the vertical left stripe diagonally to the right, mark 1 cell and paint it.
- Step back from the vertical right stripe diagonally to the left, mark 1 cell and paint it.
- Move diagonally to the right from the painted cell, mark 2 cells horizontally and paint them.
- Do the same on the left side, but in mirror image.
- In the next step, connect the 4 cells located between the horizontal lines.
- Draw 2 parallel lines from the outermost cells upwards.
- Color 3 diagonal cells to the left and right of the parallel lines.
- Draw 2 parallel lines from two vertical cells.
- Paint 6 cells diagonally going down to the right.
- Then draw a corner of three cells.
- Move 2 painted cells to the right and make a corner of three cells in mirror image.
- Color 5 cells going diagonally from right to left.
- In the 8th row from the bottom, paint 2 horizontal cells.
- Do the same in row 12.
- Paint 2 horizontal cells on the right in row 5.
- Do the same in row 9.
- A little higher, paint the corner consisting of 3 cells.
- Make the same corner on the right side.
- Paint 2 cells between the corners, stepping back 1 cell below.
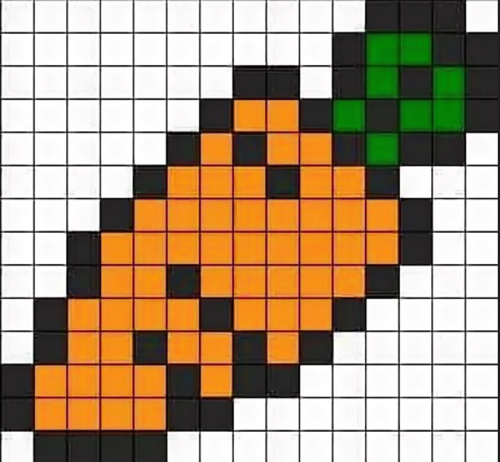
To color the carrot, you need to take red, orange and green pencils.
- Using a red pencil, color 2 horizontal cells under the triangle eyes.
- Complete each triangle-eye to a square, making the outline orange.
- Color the carrots orange.
- Paint the carrot tops green.
Volumetric carrots
The carrot (a drawing for children should be expressive) can be made three-dimensional.
- Draw an oval, which will immediately indicate the size of the future vegetable.
- Next, draw arcs down from the edges of the oval on both sides with the convex side facing out. These will be the edges of the dense and fleshy vegetable.
- Connect the resulting lines from below. This will create a sketch of the root vegetable.
- To give the carrot a natural shape, its edges need to be slightly curved, erasing unnecessary lines.
- Draw short lines on the vegetable skin to show the veins.
- From the middle of the oval that was made in step #1, release the stems upward, forming a lush bunch of leaves that resemble the shape of feathers.
- Make the edges of the leaves cut.
- Add small details to the resulting drawing, giving the carrot a natural look (outline, roots).
If desired, you can add light spots or darker shades to the finished drawing to give it volume.
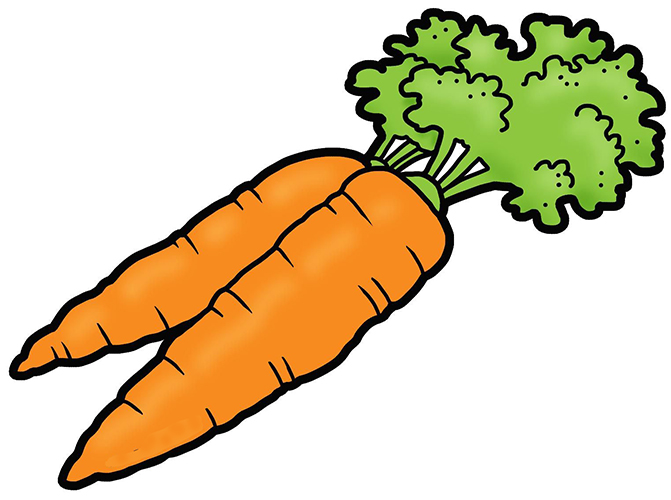
Two carrots
In this case, it is better to place the vegetables diagonally.
- Draw an elongated triangle in the foreground.
- Draw the top of the second triangle, peeking out from above the figure in the foreground.
- Round off the edges of both figures.
- Make the side edges of the future carrots wavy to give them a natural shape.
- Draw short tails of the tops on the left side.
- To get the desired texture of the vegetable, draw short arcs-veins across its entire surface.
- Outline the carrot, making it more saturated.
- Shade the plane on which the carrots lie to remove the feeling that they are hanging in the air.
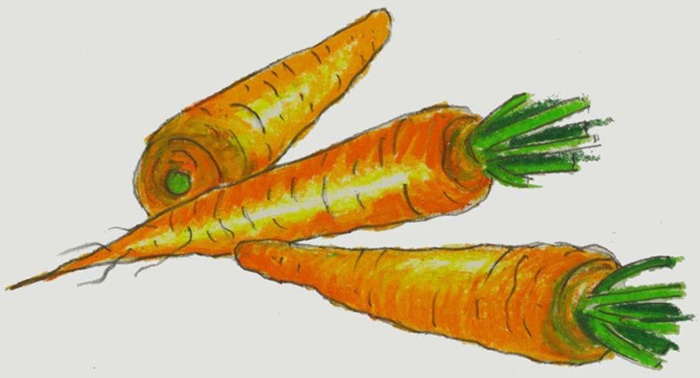
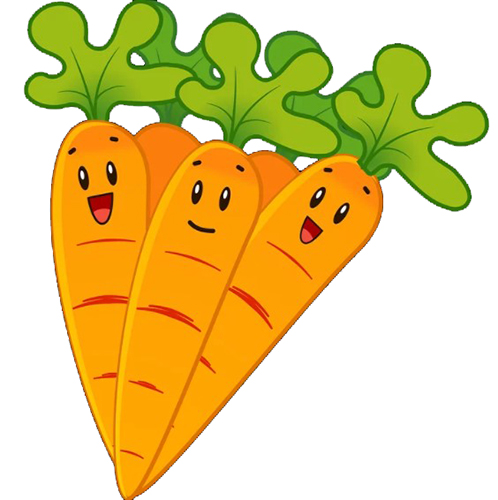
A few carrots
To create a drawing with paints or gouache, you will need a wide flat brush:
- Dip the brush in yellow paint and draw several lines, starting from the wide side of the vegetable. The brush should be held in such a way that as you move towards the narrow part of the carrot, the area of contact with the paper decreases.
- The edges of the carrot should be painted brighter than the middle part.
- Draw the next carrot so that it crosses the first one. The arrangement of the two vegetables should resemble the letter "X".
- Place the third carrot on top of the drawn sketches from top to bottom.
- Place 2 more carrots next to each other on both sides.
- Using a narrow brush, paint thin roots on the bottom and sides of the root vegetable, as well as black stripes on its surface.
- In some places around the carrot, outline the outline with black paint.
- At the top of each vegetable, draw green tops made in the form of stripes connected at the bottom. There should be at least 10 such stripes on each root vegetable.
- Then, using the edge of a wide brush with green paint, you need to make curly leaves by simply poking the brush into the desired place in the drawing.
- Do the same thing by dipping the brush into yellow paint.
Since drawing lessons should be fun for the child, it is recommended to start with 5-10 minutes. If the child does not finish what he started or does something completely different from what he intended, he should not be scolded for it.
It is important not to judge a child's drawing, but to discuss the content. A young artist will be happy to tell why he drew a carrot and what is happening in his picture. This will be a great platform for conversation.
Video about drawing a carrot
The simplest carrot drawings: