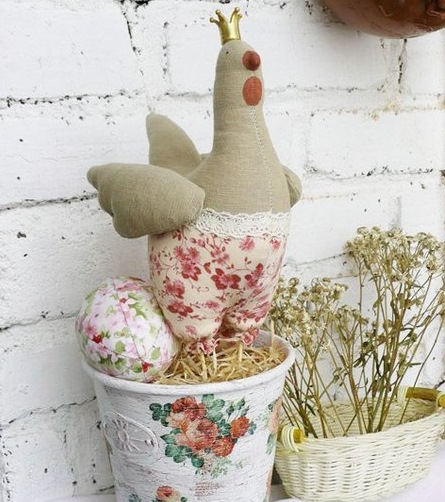
Today we will make together funny interior textile chickens that will look great in the kitchen, veranda and other places. Such chickens can be given as a housewarming gift, because it is not for nothing that the chicken is a symbol of enrichment and fertility.
It is worth taking care of the availability of the following materials in advance:
- lace;
- buttons;
- a piece of fabric (linen and cotton);
- black beads;
- synthetic fluff;
- PVA glue and transparent Moment glue;
- bast, tow, foam plastic;
- wooden skewers;
- tin can with a diameter of 8 mm;
- twine;
- expanded clay;
- threads.
Prepare a jar for work, a jar from corn, peas or something similar can be suitable. Cut a circle out of cardboard, it should be slightly wider than the diameter of the jar, then glue it with fabric using PVA glue. 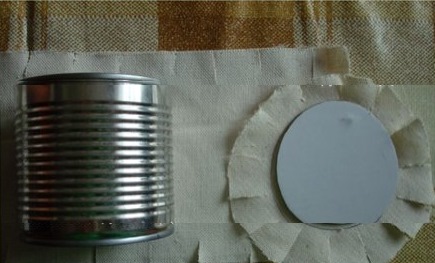 Now you need to cover the jar itself with fabric, after which we connect the circle and the jar together, using Moment glue. The circle will be the bottom of the jar.
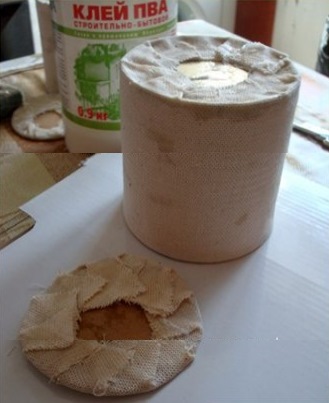
Now we make a pattern for the chicken, first transfer it to a sheet of paper, and cut it out. 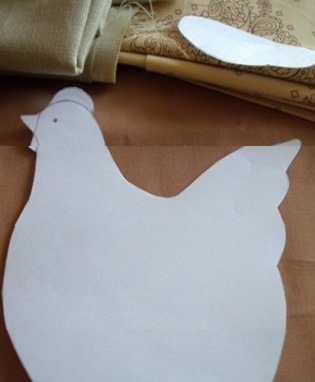 Now you can transfer each detail of the chicken onto the fabric.
 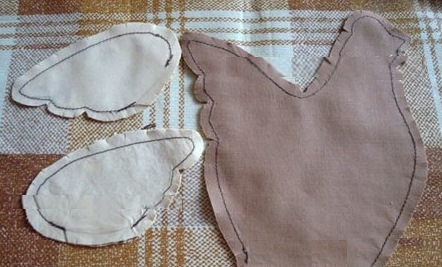 As a result, we get carcasses - 2 parts, wings made of contrasting fabric - four parts.
We cut out all the details from the fabric, leaving allowances for the seams. We sew the details, leaving an opening through which we will later stuff the product with synthetic fluff. We make small cuts on the seams, not reaching the line, so the product will look neater.
We turn each product inside out and stuff it with synthetic fluff, the hole should be sewn up manually with a blind stitch. On the tail and wings we make a relief with stitches.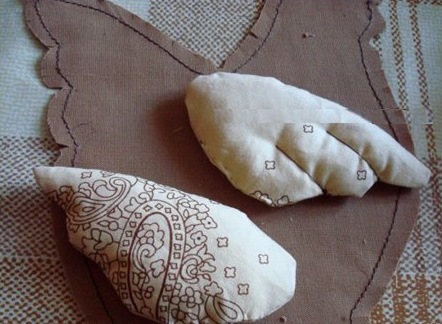
We take the lace, we will need two strips, one to decorate the chicken's neck, and with the second strip we go along the bottom of the chicken, sewing it along the entire axis.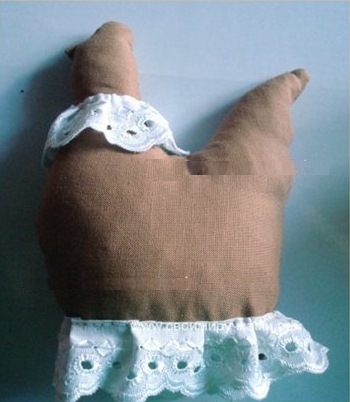
The wings are also stitched, turned inside out and stuffed with synthetic fluff, but not too tightly. The wings are attached to the body using buttons, sewing the button to the body together with the wing. Separately sew the comb and beak with small stitches.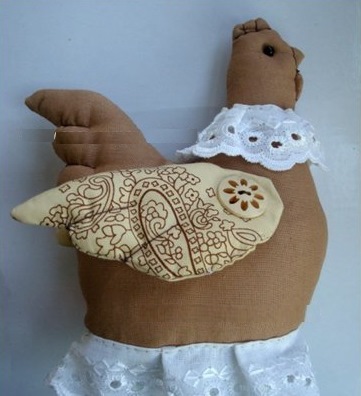
Now take a skewer, the length of which is 15 cm, coat it well with Moment glue. Stick the skewer into the carcass, at the very bottom, the glue should stick well.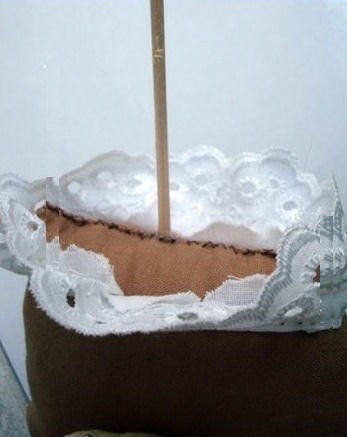
Now we take the jar and put a piece of foam plastic directly on the bottom. 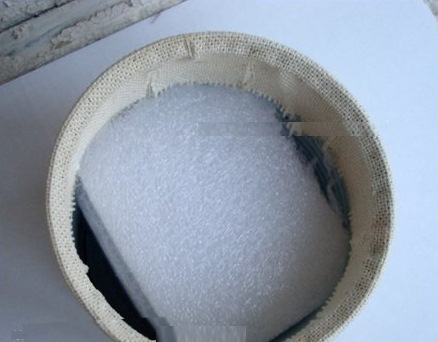 The outside of the jar needs to be decorated with ropes, twine and bast, gluing them to the fabric.
 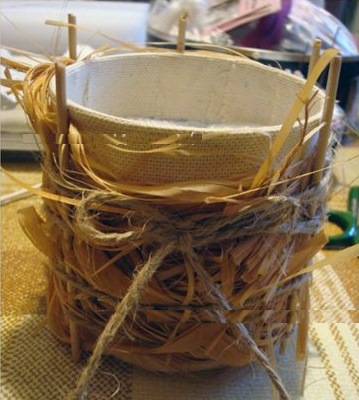 We have a chicken on a skewer, so we stick it into the foam plastic, which is at the bottom of the jar, having previously dipped the tip of the skewer in glue. This way, the skewer will firmly fix the chicken on the jar, everything should dry.
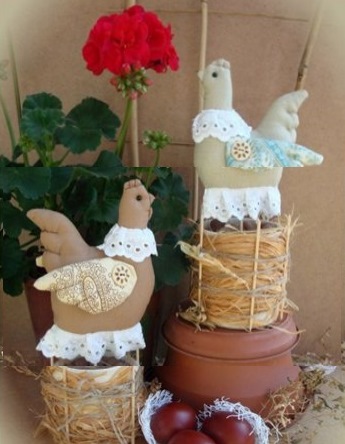
Next, we decorate the foam with expanded clay and tow, and fix them with PVA glue. Now the interior chicken is ready.
See other interesting ideas for creating textile chickens:
Master class "Chicken" in Tilda style: