Any lid for You can make boxes yourself from improvised means, such as cardboard. The workflow algorithm must be selected taking into account the shape and size of the final product, as well as how it is supposed to be attached to the main part of the structure.
Basic materials
A lid for a cardboard box (even a primary school child can make it, but under the guidance of adults) is made using a basic set of tools.
Scroll:
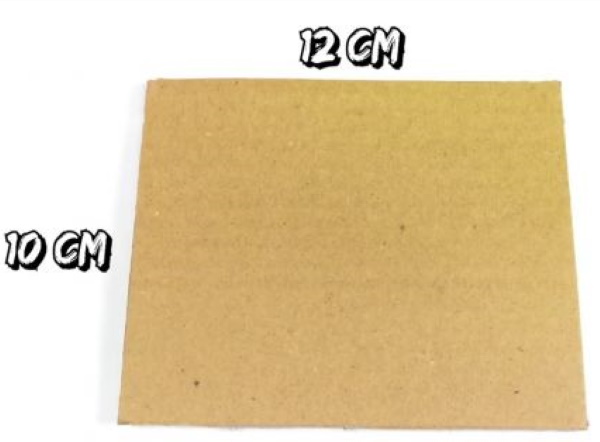
- The main working material (in this case cardboard), which should be as dense as possible and have no visible creases or surface integrity violations. Otherwise, the lid will be deformed, which will make it inconvenient to use it for its intended purpose.
- Glue. If a child is making the lid for the box, it is recommended to provide him with a glue stick as a working tool, which will be much easier to use.
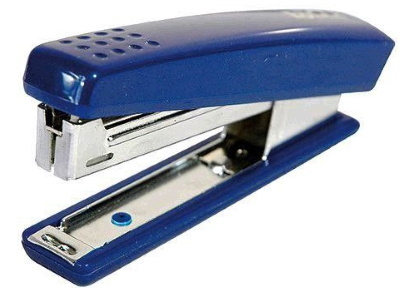
- Stapler. It is necessary for fixing joints that cannot be tightly connected using glue.
- Transparent tape of minimum width. It is best to use narrow tape for working with children, as this will avoid the need to cut it to glue small sections of cardboard. Scotch tape is non-toxic, and there is no risk of it spilling or smearing on the work surface due to its use in excessive quantities.
- Templates. Necessary if the box lid must have a non-standard shape.
- Materials for decorating the finished product. For example, beads, ribbons, tinsel, stickers, and so on.
Tools and Fixtures
To determine which method of fixing cardboard will be most appropriate in a particular situation, it is recommended to study the advantages and disadvantages of each of them before organizing the work process.
Table:
| Method of fixing cardboard | Brief description |
| Glue | The main advantage of using glue is its economical consumption, as well as the reliability of fixation. It is not recommended to include glue in the list of working tools during classes with a young child, since if it accidentally gets on the mucous membranes, even in small quantities, the sticky mass can provoke an allergic reaction in the young creator or cause toxic poisoning. |
| Stapler | The advantage of fixing cardboard with a stapler is the ability of staples to connect hard-to-reach joints. Among the disadvantages are the danger of use by children, high consumption, and the visibility of staples on the surface of the cardboard lid. |
| Scotch | The main advantages include safety of use; low cost; additional development of fine motor skills in the child during the lesson. The disadvantages of using scotch tape include high consumption of adhesive tape, the inability to correct an accidental mistake (a trace of the removed scotch tape will remain), and insufficient strength of fixation. |
In addition to the material for fixing the cardboard, the craftsman will also need:
- scissors;
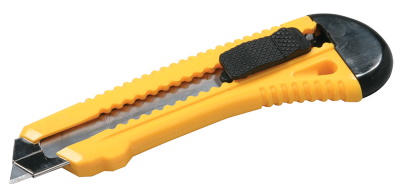
- stationery knife;
- a small piece of paper (to remove excess glue).
Materials for decoration
The most commonly used materials for decorating the finished product are:
- Beads. With their help, you can mark the outline of a cardboard product by gluing them along the perimeter or, for example, lay out a pattern or a multi-component image with their help - a bouquet of flowers, a starry sky, a globe, and so on.
- Rhinestones. A cardboard box lid decorated with rhinestones will look most impressive if you glue the shiny stones over the entire surface of the finished product.
- Multicolored ribbons. They can be glued in a row, placing them as close to each other as possible, or cut into thinner strips, and then fixed so that the intended image or inscription is obtained. It is recommended to use a glue gun to fix the fabric tapes. All other methods of attaching them to cardboard are not reliable enough.
- Tinsel. It is appropriate to use if the box for which the decorated cardboard lid is intended will be used as packaging for a gift for the New Year or Christmas.
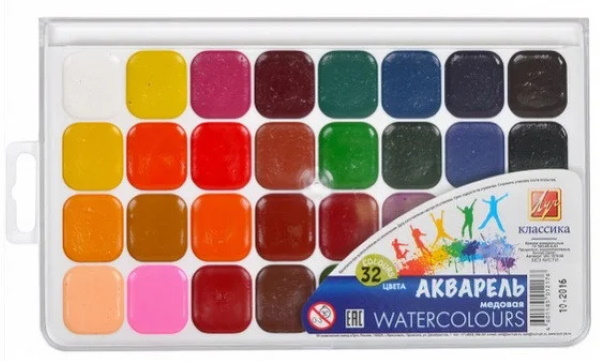
- Paints, pencils or markers. With their help, you can paint the lid in any color or create a multi-component image. If you do not have fine art skills, you can use templates.
- Stickers. The easiest way to decorate a cardboard lid. It is recommended to use it when working with children, after painting the surface of the finished product in a single color.
Assembly
The lid for the cardboard box (it can be made in several ways) should be assembled at the final stage of the work process, after the craftsman has made sure that all the parts have the required shape and size, and also meet all the initial requirements (for example, the side edges can be directed diagonally in opposite directions or be parallel).
Without glue and stapler
You can assemble a cardboard lid without glue or stapler like this:
- Cut out the main part of the lid - a rectangle.
- Cut out 4 strips, the length of which should be equal to the length of each side of the main geometric figure, and the width should be 2-7 cm, depending on the size of the finished product.
- Cut a small piece of wide tape and stick half of the tape to the edge of the main rectangle.
- Place a narrow strip of tape on the free side, corresponding in length to the specific border of the original figure.
- Repeat the steps described in points 3–4, thus making a lid for the box.
Ready.
Fastening with a stapler
To assemble a cardboard box lid using a stapler, you need to use the algorithm below:
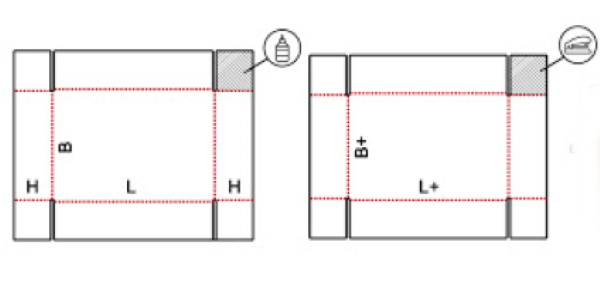
- Cut out the main part of the lid - a rectangle.
- Cut out 4 strips, the lengths of which should be equal to the main edges of the rectangle. It is recommended to calculate the width of the narrow cardboard strips as follows: the main part of the width is 3-7 cm, depending on the size of the final product, and 2-3 cm for the bend to fix the part when assembling the lid.
- Place a narrow strip to the edge of the rectangle, corresponding to its length, having previously folded it 2-3 cm. The additional part (on the fold) should be located on the inside of the rectangle and fixed with staples.
- Repeat the steps described in step 3, thus assembling the lid for the box.
With tape or glue
To assemble a box using glue, you need:
- Cut out the main part of the lid - a rectangle.
- Cut out 4 strips, the lengths of which should be equal to the boundaries of the main geometric figure. It is recommended to calculate the width of the narrow cardboard strips as follows: the main part of the width is 3-7 cm, depending on the size of the final product, and 2-3 cm for the bend to fix the part when assembling the lid.
- Place a narrow strip to the edge of the rectangle, corresponding to its length, having previously folded it 2-3 cm. The additional part (on the fold) should be located on the inside of the rectangle and fixed with glue, evenly applied to the surface of the cardboard.
- Repeat the steps described in step 3, thus assembling the lid for the box.
Small
A lid for a box (it is most convenient to make the product from cardboard, since, due to the availability of this material, if the result is unsatisfactory, it can be redone in the shortest possible time) of a small area can be assembled according to the algorithm below.
He's like this:
- Cut a rectangle out of cardboard, the dimensions of which should be 2-5 cm larger than the area of the hole in the box, which will need to be closed with the finished lid.
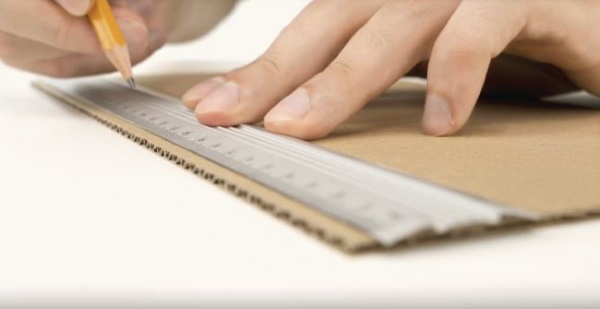
- Measure 2-3 cm from each border of the main figure, depending on the size of the finished product, then mark the specified area with a dotted line (the lines of the subsequent fold).
- Make diagonal cuts from each corner, pointing towards the center of the rectangle.
- Transform the right and left edges of the upper and lower borders into a semicircle. Leave the right and left borders of the lid unchanged.
- Bend the rectangle along the pre-drawn lines, then cover it with fabric or decorate it as you wish.
Ready.
Big
A large cardboard box lid can be made using the same algorithm used to make smaller lids, or a slightly different approach can be used.
He's like this:
- Cut a rectangle out of cardboard, the area of which should be 3-7 cm larger than the size of the hole in the box for which the assembled lid is intended.
- Measure 3-5 cm from each edge of the geometric figure, then use a simple pencil to draw straight lines in the indicated areas (future fold lines).
- In each corner of the rectangle, cut out a small square so that all cuts are equal.
- Bend the rectangle along the pre-drawn lines, and then decorate with additional material at the discretion of the master.
Round
A cardboard lid for a round box can be made like this:
- Cut out a geometric figure (circle or oval) from cardboard, the size of which should exactly match the size of the hole, which the finished product will be used to close.
- Cut out a long narrow strip, the width of which should not exceed 3-4 cm, and the length should be sufficient to cover the entire border of the previously cut circle.
- Wrap the base of the cardboard lid in a narrow line, having previously greased its bottom part with a small amount of glue.
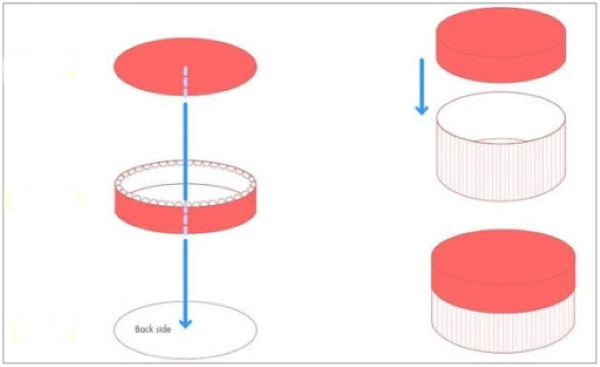
- Press the parts of the future lid tightly, and then fix them in this position for 1-2 minutes.
- After making sure that the parts of the lid fit tightly together and are securely fixed, proceed to decorating the finished product, while avoiding rough mechanical impact on it.
Square
A cardboard lid for a square box can be made like this:
- Cut a square out of cardboard, the lengths of the sides of which should exactly correspond to the size of the hole in the box that you plan to use the finished product to cover.
- Cut out 4 narrow strips, the length of which should be equal to the sides of the main geometric figure, and the width should not exceed 3-5 cm, depending on the size of the finished product, as well as its design.
- Place the strip on one of the edges of the main figure, having first coated its lower part with a small amount of glue.
- Press firmly and fix the parts of the future lid for 1-2 minutes.
- Once you've made sure the pieces are securely fastened, repeat the steps in step 3 for each of the remaining square borders.
- Having assembled the cardboard lid, decorate it according to the master’s wishes, bringing it as close as possible to the design of the box.
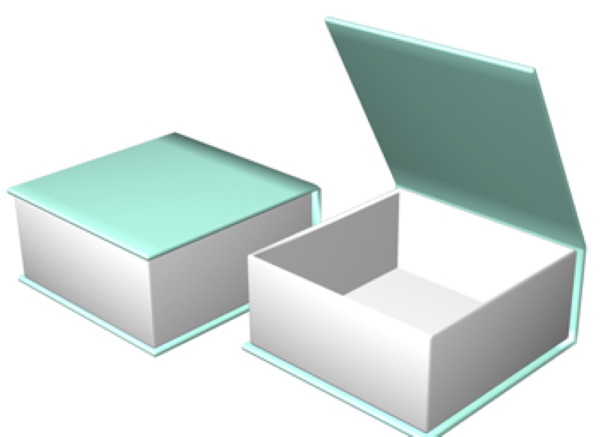
Folding
The easiest way to make a box with a hinged lid looks like this:
- Cut a rectangle out of cardboard, the opposite edges of which should be equal to each other.
- Mark the middle of the geometric figure with a dotted line.
- In the right half of the rectangle, step back 3-4 cm from each edge, then draw a dotted line in the indicated area.
- On the left side of the rectangle, do the same, then cut the cardboard along the dotted lines.
- Assemble the box by bending the base along the dotted lines. The lid, if you strictly follow the above steps, will be hinged.
- After making sure that the sides of the box are securely fixed (if necessary, you can use glue, tape or a stapler to fix them), you should begin decorating the finished product, using any materials at hand.
Ready.
Transparent
To make a transparent lid for a box, you need:
- Cut a square out of cardboard, the dimensions of which should exactly correspond to the length and width of the hole in the box, which the finished product will be used to cover.
- Measure 4-6 cm from each border of the geometric figure, then draw straight lines in the indicated area with a simple pencil. The resulting area must be divided in half again, marking the middle of the line.
- Cut out the inner part of the figure along the outer line, leaving only a frame of the required size.
- From the laminated transparent sheet, cut out a rectangle or square corresponding to the size of the frame (it is necessary to leave a reserve of 1-3 cm).
- Glue the cut out sheet to the inside of the cardboard lid.
- After making sure that the transparent center is firmly fixed, assemble the box lid by bending the blank along the dotted lines.
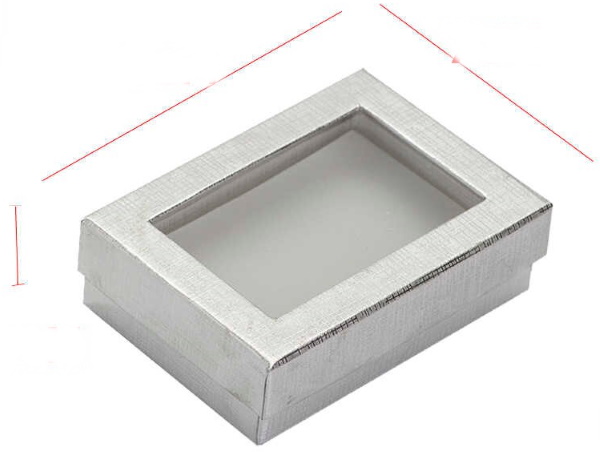
Ready.
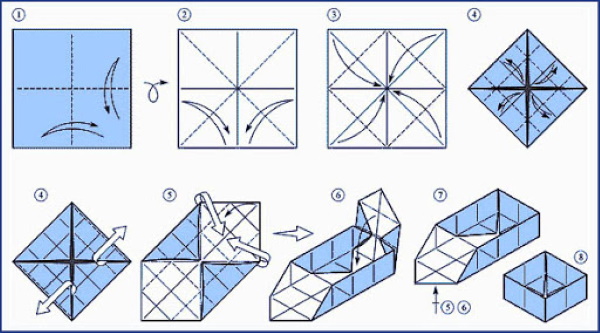
Origami
You can assemble a small box, most often used as gift wrap, in origami style as follows:
- Cut a square of the required size out of cardboard.
- Fold it lengthwise and crosswise, thus marking the central intersection.
- Fold the square diagonally in both directions, thus marking the diagonal intersection.
- Fold each square formed in the area of the corners of the main figure in half.
- Bend each of the resulting corners of the square towards the center.
- Return the upper right and lower left corners to their original position.
- The parts of the original figure that have been returned to their original position must be bent at an angle of 90 degrees, after which the figures must be folded inward along the middle fold lines.
- If necessary, fix the borders of the box, and then additionally cut out another square from cardboard equal to the parameters of the recess that must be covered with the finished product (lid).
- Decorate origami made from cardboard.
It is easy to make a lid for a box of any size with your own hands not only from paper, but also from thick cardboard. Such a product will be more durable, and it will be easier to decorate it due to its greater resistance to external influences when in contact with other materials (glue, stapler, tape, paints, etc.).
Video on making a cardboard box lid
How to make a box and lid from cardboard: