Hemp is a beautiful plant that can grow up to 5 m in height. It is divided into 3 main types: sowing, Indian and weed. It is often used to produce oil, and many birds feed on its seeds. The cake remaining after pressing is used as feed for livestock. The leaf of this beautiful plant can be drawn on paper using a simple or colored pencil.
Drawing tools
Drawing a hemp leaf can be done with just a pencil, which is the main tool for creating images. You can also take several shades of green paint or a green colored pencil for coloring.

An eraser is effectively used to remove excess pencil marks from a drawing. As the canvas on which the drawing will be created, you can use paper from a drawing album, a sheet for drawing or watercolors.
Simple pencil
The pencil is the artist's main tool, which appeared in the 16th century. It was first mentioned in a manuscript by the Swiss scientist K. Geissler. Around the same time, a graphite deposit was discovered on English soil. This material was sawed into pencil rods. However, they had two serious drawbacks: fingers quickly became dirty when using them and the rods broke.
For ease of use, they began to wrap them with tape along their entire length. As the rod was written off, the tape was gradually unwound. The improvement of the pencil did not end there. In the middle of the 18th century, K. Faber came up with a way to strengthen graphite by mixing its powder with antimony and resin. As a result, a thick mass was formed, from which it was possible to cast stronger graphite rods.
At the end of the 18th century, the Czech scientist I. Hartmut began making rods from a mixture of graphite and clay. This mixture was fired before use. This is how graphite rods were obtained, which in their composition and production method are almost completely similar to modern ones. By changing the amount of clay added, it is possible to obtain rods of different hardness and softness.
Around the same time, the Frenchman N. Contier began gluing rods into wooden pencil cases. By the beginning of the 19th century, large-scale production of pencils had begun in many European countries. As a result, the pencil became a perfect tool. The drawings he made have a slightly gray tone, with a slight shine, and lack intense blackness.
Today, simple, colored and copy pencils are produced. All of them are divided into several categories by hardness. Each such category is designated by a letter and a number.
Abroad, the letter "H" is used to indicate the hardness of a pencil, and the softness is indicated by the letter "B". In our country, Russian letters are used for similar marking: T - hardness and M - softness. There is usually a number next to the letter - from 2 to 9. It indicates the degree of hardness or softness. The softest pencil will be the one marked as "9B".
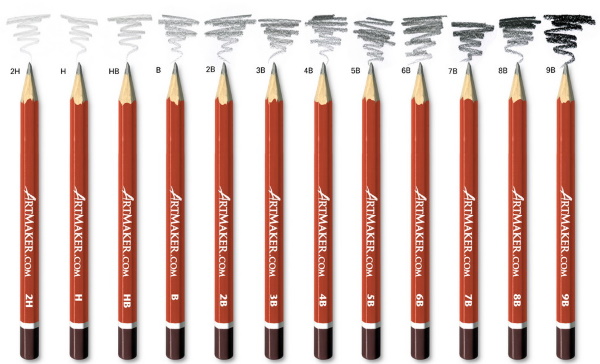
If the letter is the same but the number is smaller, then the pencil is less soft. For example, the "5B" tool is less soft than the "7B" tool. In this case, the first degree of softness is usually simply designated by a separate letter "B", that is, without a unit. The same applies to hardness. Only in this case, instead of the letter "B", the letter "H" is used. Accordingly, if the graphite of the pencil is very hard, then it will be marked - "9B". If it is less hard, then the number is reduced.
For example, a pencil marked "6B" is harder than a pencil marked "4B". The differences in hardness and softness are very important for an artist. For academic drawings, pencils of medium softness are used - B or HB. Then, gradually, the transition to softer tools is made - 2B, 3B.
In order not to make a mistake in choosing a pencil for drawing, it is necessary to take into account the quality of the paper on which the drawing will be done. Also, much depends directly on the creative goal that the artist has set for himself.
For example:
- quick sketches are best done with a soft graphite rod;
- If you are creating a long drawing on Whatman paper, it is best to start with pencils marked “H” or “HB”;
- if the surface of the paper is smooth, it is best to leave marks on it with a soft graphite rod;
- For rough paper, a medium-soft pencil is suitable: for example, 2B.
Colored pencils
The production of colored pencils is similar to that of regular pencils. Only here a pigment is used, which is mixed with clay filler and a binder. Wax is also added to the mixture to ensure smooth sliding. Colored pencils are available in a variety of colors and shapes.
They can be:
- standard;
- water-soluble;
- thick;
- thin;
- solid;
- soft.
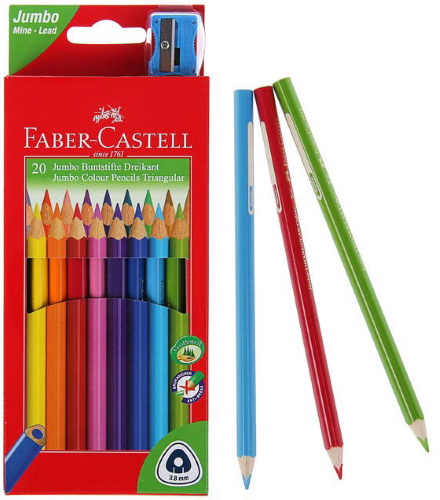
Some of them leave sharp lines, others are softer. You can apply several colors at once to the same area of the surface to get different shades.
Unexpected effects can be achieved by using the same color group of these writing instruments in different sequences. A true artist will certainly conduct many creative experiments to find out what is the best order to create a particular tone.
Charcoal for drawing
The equivalent of a pencil is charcoal, which is used for drawing. It fits well on any paper and is easily removed. Charcoal is great for creating your own drawings. It can even be applied to a rough oil base. You can make charcoal for drawing yourself by using a tall jar to fire the rods. The rods are placed in it and filled with dry sand. The jar is covered with a lid and then coated with clay.

A small hole is made in the lid. The best temperature for firing is slightly less than 300OC. The duration of the firing process itself is about 4 hours. The smoke that comes out of the hole left behind determines when the firing should be finished. After this process, the jar should be cooled for 24 hours. As soon as it cools, you can carefully remove the clay coating and remove the sand.
Pastel
Hemp leaf (pencil drawing can be black and white or color) in color can be drawn using pastels. These are soft pencils of delicate colors and shades.
They contain:
- pressed pigments;
- chalk;
- kaolin;
- white soot.
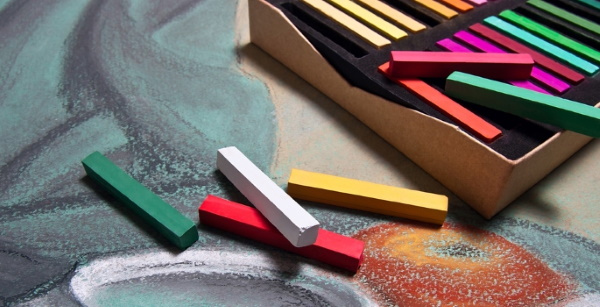
Distinctive features of pastels are matte and velvety colors.
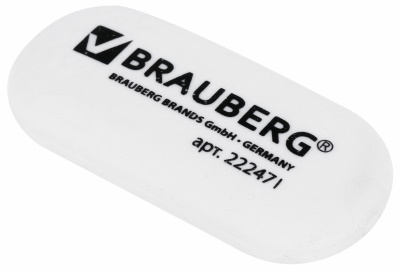
Eraser
If you need to remove a pencil mark left on paper, you will need an eraser. These tools are also divided into several types depending on the substances they contain. According to the main classification, erasers are soft and hard. However, this does not mean that a soft one is required to remove marks left by the graphite of a soft pencil, and a hard one - a hard one.
In fact, all soft erasers are designed to remove pencil lines, regardless of the softness and hardness of the latter. It is not without reason that such erasers are also called pencil erasers. Hard erasers are needed to remove traces of ink. Those who plan to draw with fountain pens should think about buying them. The role of filler in the production of hard erasers is crushed glass. In the case of a soft eraser, this is ground marble powder.
Also, in a soft eraser, the role of filler is played by a special substance - factis. This is the name of vegetable oil, the processing of which was carried out using sulfur. Before erasers were invented, traces of writing instruments on paper were removed with bread. If for some reason it was not possible to prepare an eraser for the upcoming creative work, you can take this into account.
In general, pencil erasers are best suited for cleaning up drawings made with soft 5B and 6B pencils. If graphite leads of a different softness or hardness are used, then it is best to use medium-soft erasers.
Master classes
A hemp leaf (a pencil drawing is very easy to do) can be depicted on paper in several ways.
Simple pencil drawing with straight lines
For a simple drawing you will need 2 pencils – hard-soft (HB) and soft (B). The latter is needed for clean lines.
The drawing process itself takes place in the following stages:
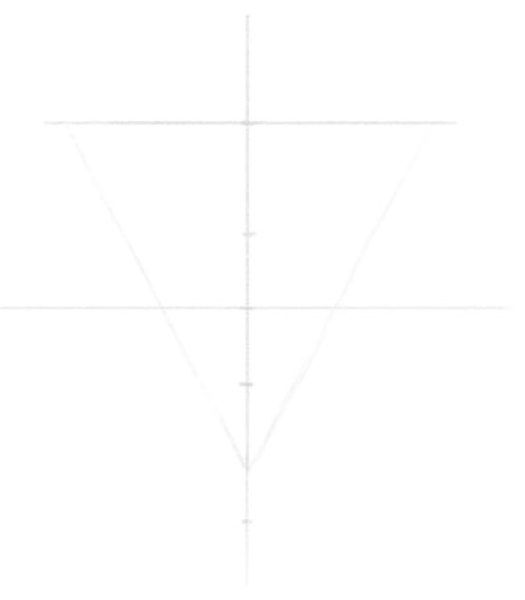
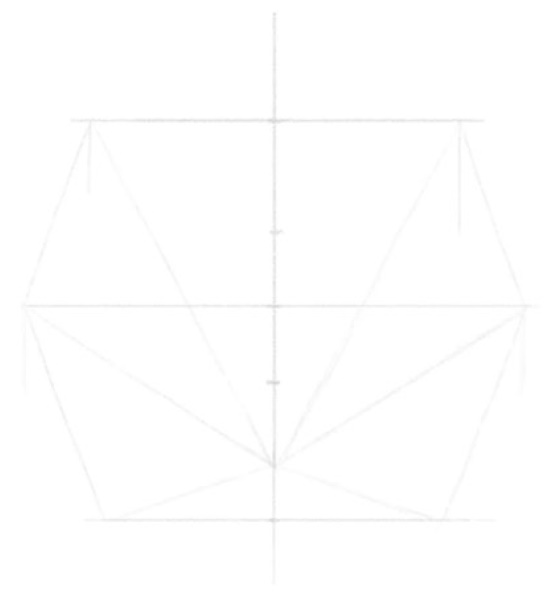
- Draw a vertical line approximately in the center of the paper sheet. It should divide the sheet of paper in half - into left and right parts.
- Divide the vertical line in half: place a dot approximately in its center. The upper part of the vertical line formed as a result of this division should also be divided in half.
- As a result, a vertical line will appear on the sheet of paper, and on it there will be 2 dots: the 1st one is in the upper half, and the 2nd one is in the center.
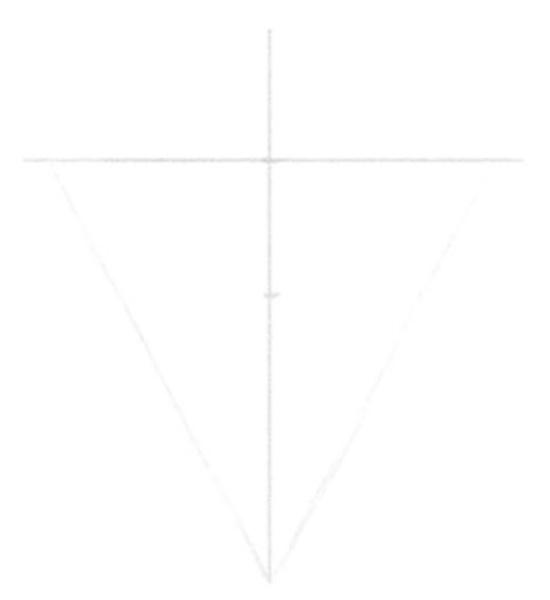
- Draw a horizontal line along the top point. Its length should be approximately equal to the part of the vertical line that will be located below it (approximately ¾ of the entire vertical line).

- Connect the lower end of the vertical line to both ends of the horizontal line. This is done using 2 segments drawn at an angle of 30OThe result will be something that looks like the tip of an arrow pointing downwards.
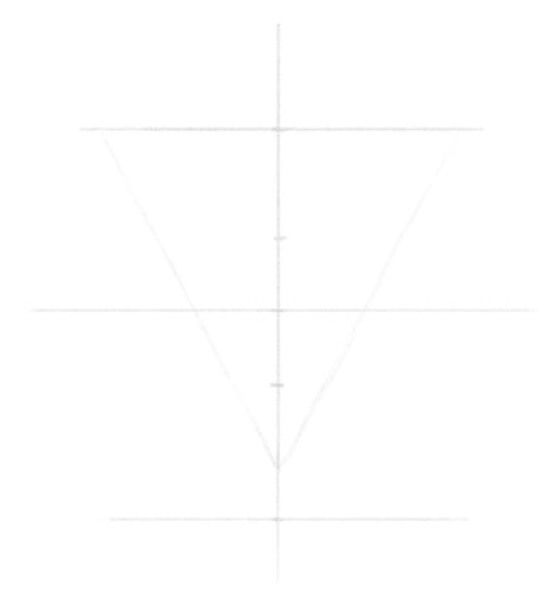
- Divide the lower half of the vertical line into 3 equal parts. Here you need to put 2 more points.
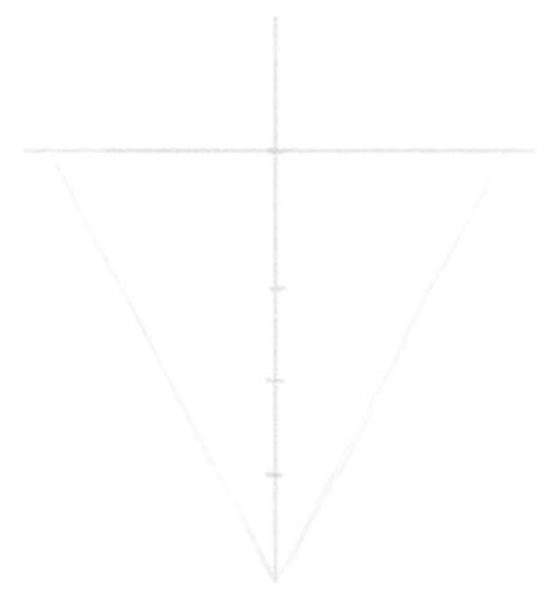
- Draw another 1 horizontal line along the top one, from the 2 points just placed. It should be slightly longer than the previous horizontal line.

- Extend the main vertical line slightly downwards (approximately half of the 1/3 part). Put a dot in the middle of the part of the line that has just been drawn.
- Along the point you just put, draw another horizontal line, which should be as long as the top one.
- Work with the upper horizontal line. Its ends need to be connected to the central horizontal line by drawing segments at an angle of 20O.
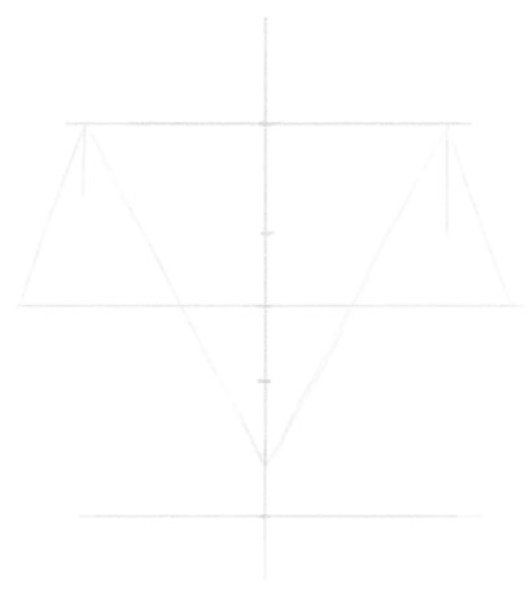
- Similar segments (at an angle of 20O) connect the ends of the middle horizontal line with the ends of the lower horizontal line. As a result, a hexagon should form on the sheet of paper.
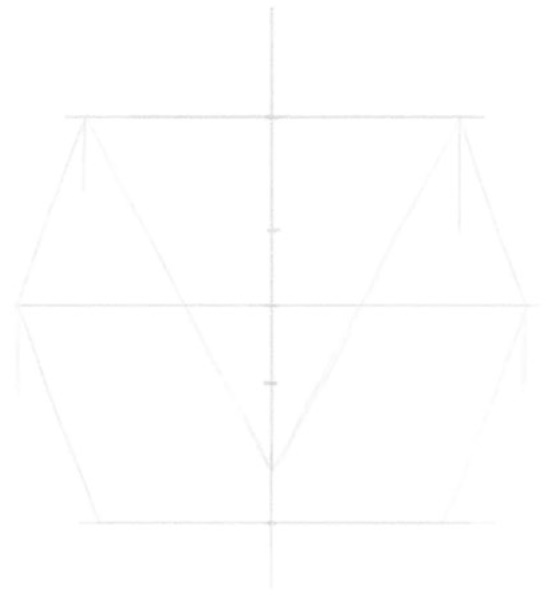
- Continue the work by connecting the corners of the resulting hexagon with the point of the main vertical line, which was its lower end at the very first stage. Since it is already connected to the upper corners, it remains to draw 2 segments in 2 middle corners and 2 lower corners.
- Draw a short horizontal line along the point that was initially (at the first stages) the center of the main vertical line. Similar segments are added on the remaining rays converging in the center. In this case, these segments should be perpendicular to these rays. A total of 7 rays should be formed. Usually, this is how many so-called "fingers" a hemp leaf has.
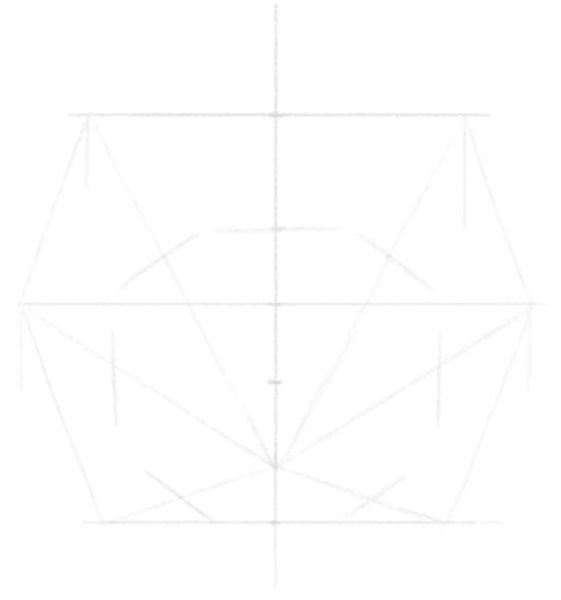
- To get the basic shape of the leaf, connect the upper and lower ends of the rays with the short segments you just drew. This will result in 7 petals. Each of them will have a shape similar to a rhombus.
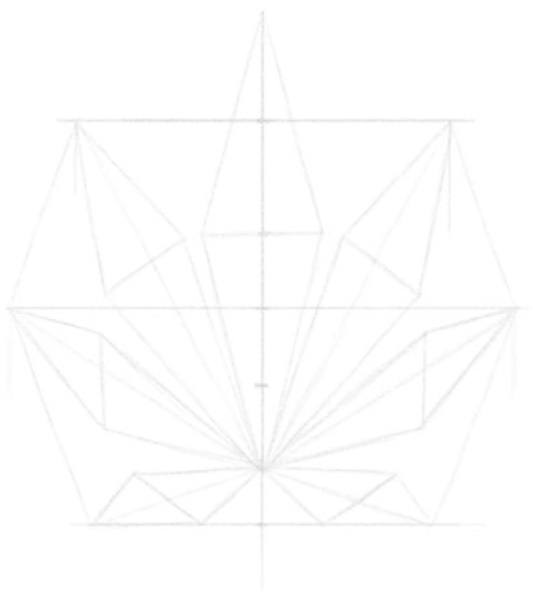
- Make the edges of all petals smoother.

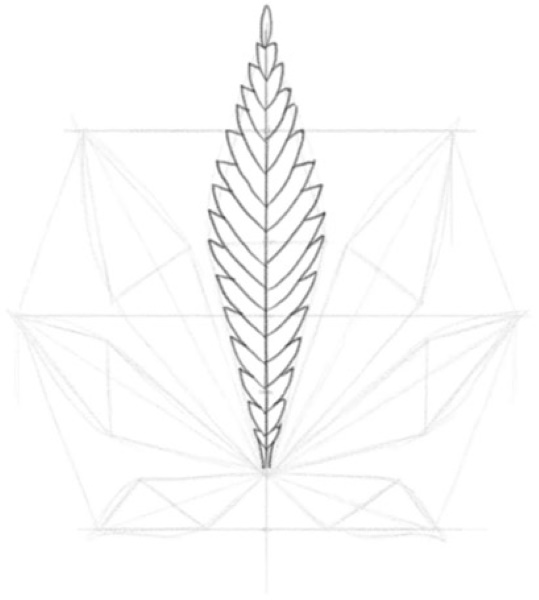
- Start working on the details. It is best to start with the largest (central) petal. On both sides of the central rod, draw 15-20 short arc lines. They should be directed upwards. These will be the veins of the leaf. The result should be a pattern similar to a fish skeleton.
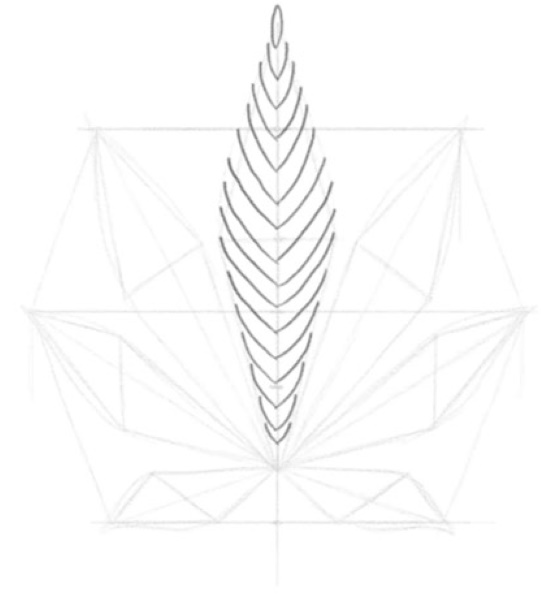
- Connect the upper ends of the lines drawn in the previous step. The result will be a finished hemp leaf.
- Using the same scheme as in the previous stages, detail the remaining 6 petals. However, their sizes are smaller, so the total number of arc lines can also be reduced a little.
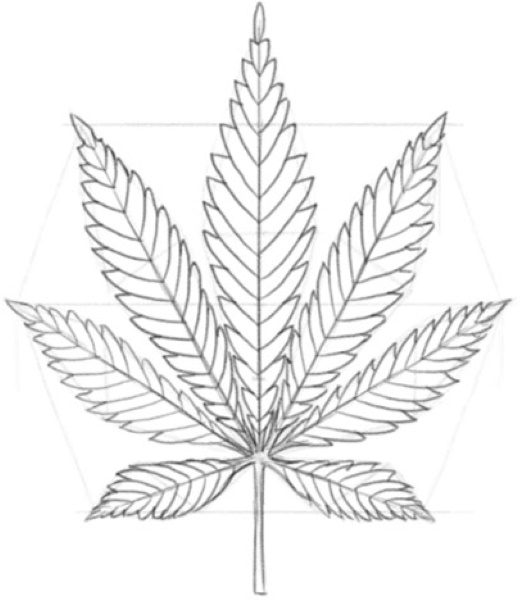
- When all the petals are detailed, finish drawing the stem (giving it volume with another line) and using a soft pencil make all the contours bolder.
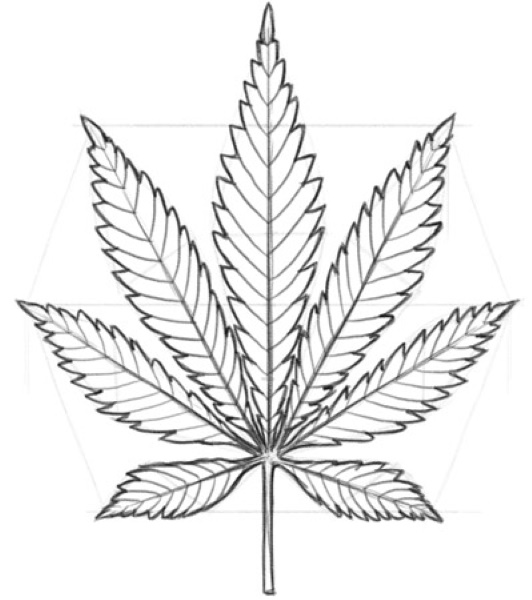
Ready.
Simple pencil drawing on a base grid
A hemp leaf (a pencil drawing can be both simple and complex) using a special base grid can be applied to paper much easier in comparison with other drawing options.
In addition to a simple pencil and eraser, you will need a sheet of paper with exactly this grid. This is the main difference of this method.
You can easily find and print a ready-made basic grid on the Internet. If you can't use a printer, you can create such a grid yourself. For this drawing, you will need to divide the paper into 16 identical squares. To do this, draw 3 horizontal lines and the same number of vertical ones. They should be at an equal distance from each other.
A hemp leaf (a pencil drawing can be done in various techniques) on a base grid can be depicted if you follow these steps:
| Drawing | Stage | Description |
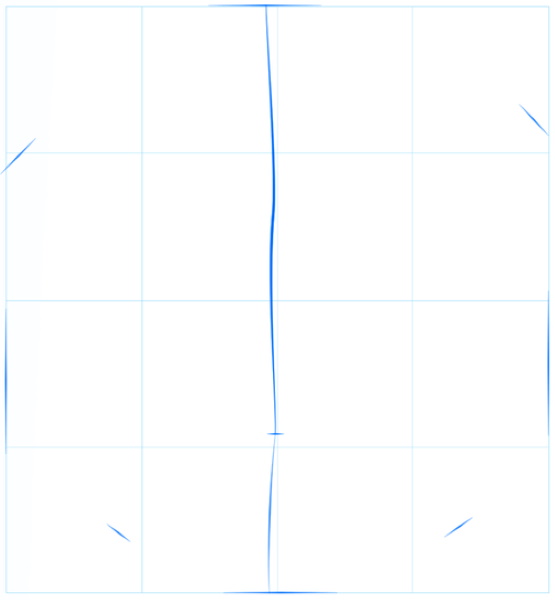 | Initial outline | As in the previous example, draw a vertical line. It does not have to be straight, a wavy line is acceptable. It should go right through the middle of the grid: between the 2nd and 3rd vertical rows of squares. Mark the width and height of the future drawing to make further work easier. The height of the hemp leaf will be equal to the height of the paper sheet on which it is drawn. To mark the required width, mark 4 points: · The 2 top points are located on the left and right edges of the paper sheet between the 1st and 2nd (counting from top to bottom) horizontal rows of squares; · Place the 2 lower dots in the lower right and lower left squares (approximately in their centers, but a little closer to the main vertical line) |
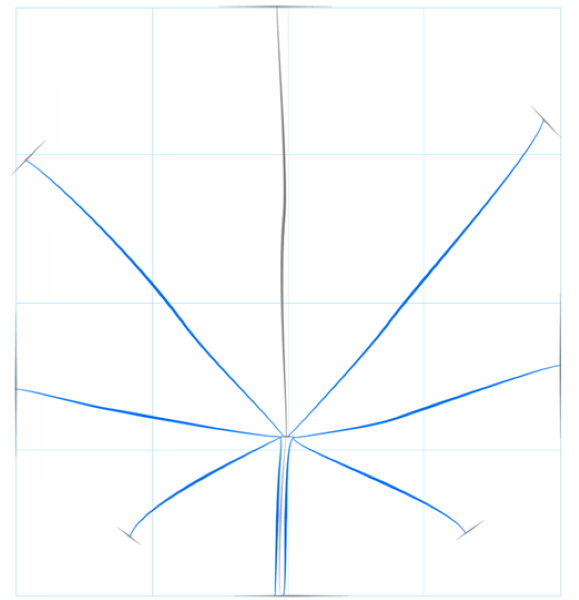 | Outlining the plant stem and the center lines of the petals. | The top end of the stem should be on the main vertical line between the 3rd and 4th (bottom) horizontal rows of squares. All the middle lines of the petals come out from this point.
In total you will need 7 petals: · The 2 lower petals should end at the 2 lower points placed in the previous step in the lower left and lower right squares; · The 2 upper side petals end at the 2 other points set in the previous step during basting; · The 2 middle side petals should end at the edges of the paper sheet in the third (counting from the top) squares; · the central petal rushes upward along the main (central) vertical line to the very end of the paper sheet |
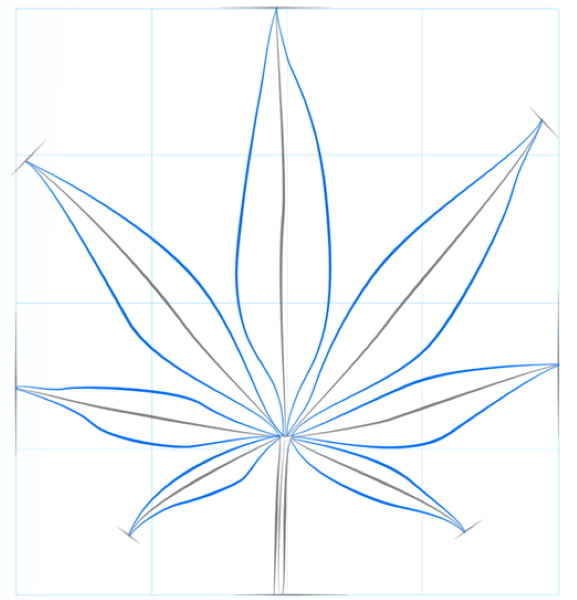 | Outline the general shape of the leaf | Using wavy lines, sketch out the general shape of the leaf, and then work on them. They should be more ribbed. |
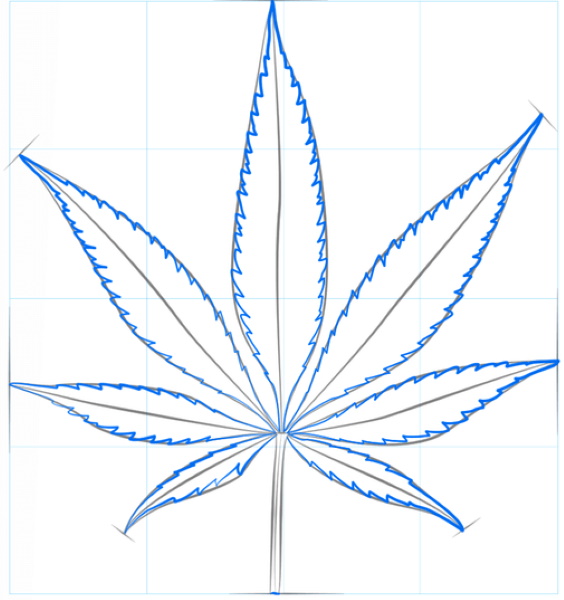 | Image adjustment | Draw the outline, trying to vary the thickness and pressure of the line. Using the eraser, remove all unnecessary parts |
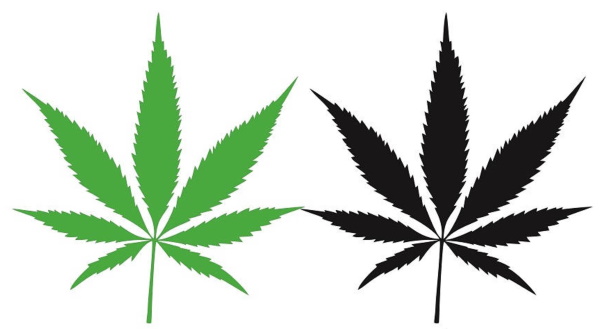
It is not difficult to draw a hemp leaf with a pencil. The simplest materials and tools are used for this. The drawing turns out beautiful, regardless of the chosen method. In addition, it can always be improved. All you need is imagination and a desire to create.
Video on how to draw a hemp leaf
How to draw a hemp leaf easily: