Children, due to their age, are not yet able to fully absorb a large amount of information. Teachers often use artistic techniques: from visual materials to practical activities. The visual activity "How I imagine the tundra in pictures" will allow you to transfer the child's impressions and knowledge of the world around you to a piece of paper.
What you need to draw the tundra
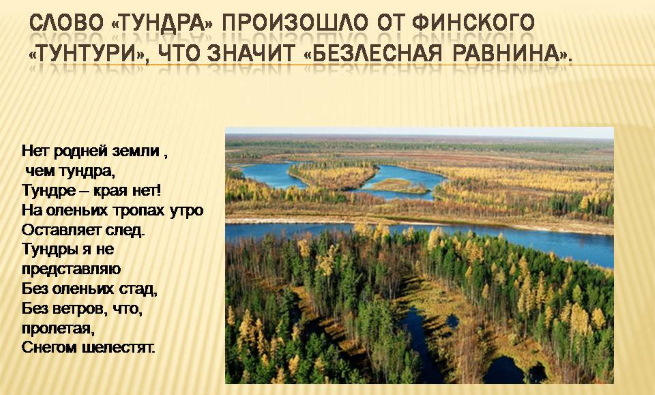
“How I imagine the tundra” is, first of all, a reinforcing activity. The teacher must first tell about this place and show pictures of it for clarity.
You can read poems or short works about this region. This is necessary so that the child creates an image of the tundra in his imagination, and then tries to transfer it to paper.
Preliminary work will help develop the child's interest and facilitate the artistic process. The child will already have formed an idea of the theme of drawing, so he will even be able to independently come up with a sketch of the image. But, it will not be superfluous to leave a few sketches of the tundra as an example.
"How I imagine a drawing with tundra" is not a difficult activity if you choose good drawing objects. It will be easiest for younger school children to draw with pencils.
Additionally you will need:
- The eraser should be white or any other that will not leave marks on the paper.
- Cotton pad.
- A4 paper. No need to take sheets with a glossy coating.
- A pencil sharpener, in case the pencil breaks.
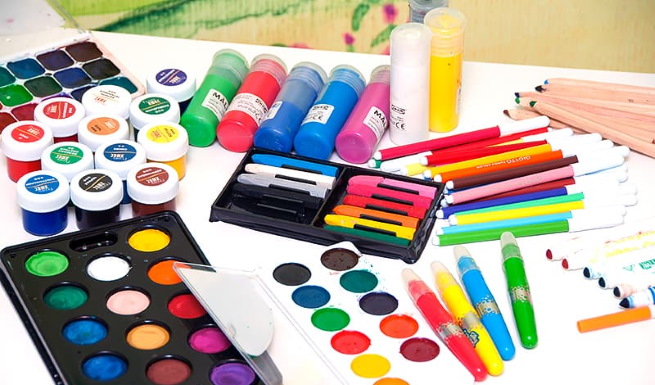
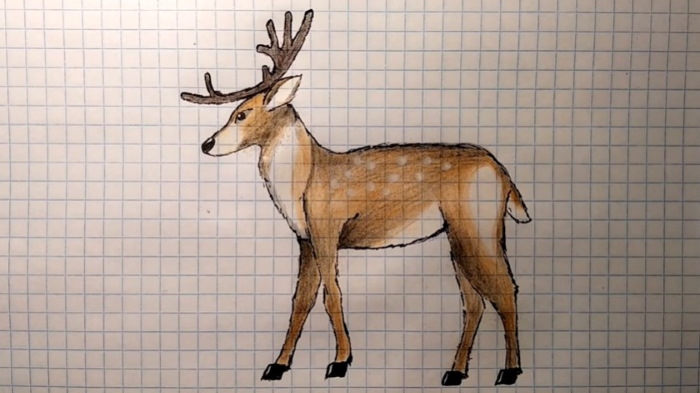
For older children, you can use watercolors. A good option would also be a combined drawing, which combines the dense texture of the pencil and the liquid consistency of the paints. Using pencils, you can give the details a clearer outline or emphasize more significant parts of the image.
Ideas, examples of drawings on the theme of the surrounding world "How I imagine the tundra"
"How I imagine the tundra" is a thematic lesson, because children are given a specific task and an object to draw. You can give the children the opportunity to show their imagination and depict nature the way they want. But, in any case, you first need to familiarize them with examples of drawings.
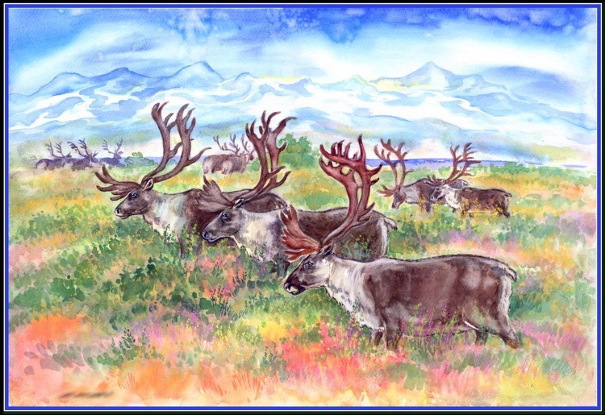
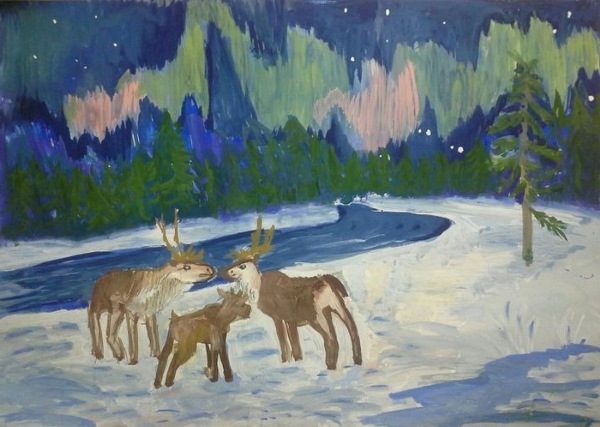
As a visual aid, it is worth showing children images that include deer, the main inhabitants of the northern region. Drawings should not contain complex details or a large number of other characters.
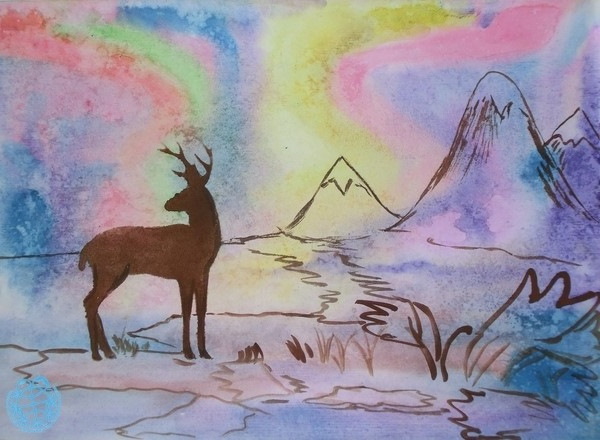
The images may also include the northern lights, a celestial phenomenon that children can easily depict in a drawing by mixing a palette of colors.
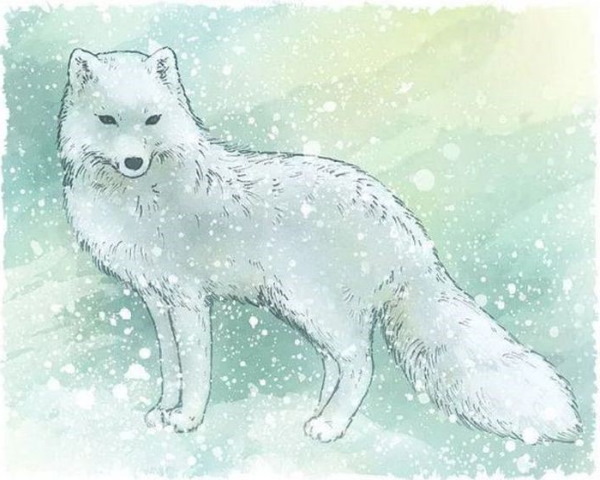
You can show children other pictures that reflect the life of the inhabitants of the tundra. For example, an image of an arctic fox.
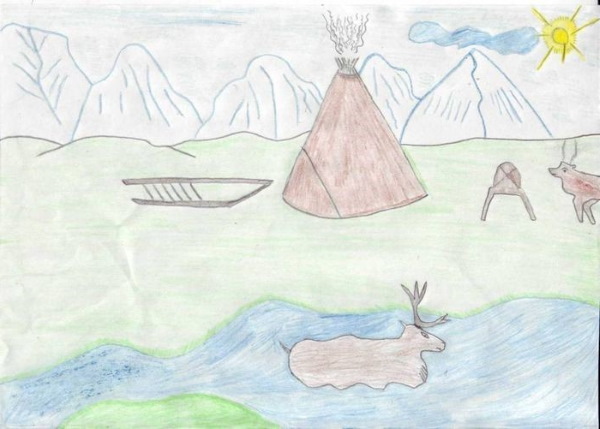
A good example would be drawings not only of animals, but also of people living in the tundra and their yurts.
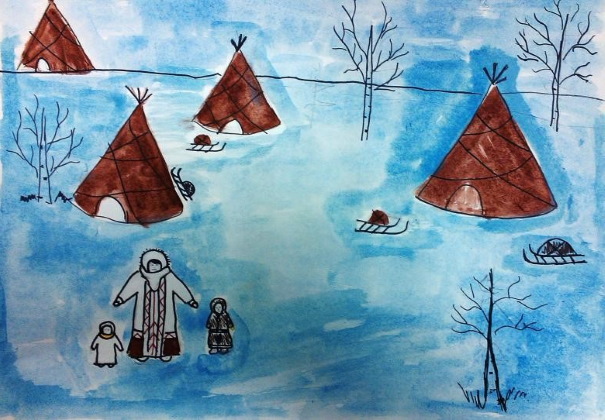
The tundra in the images can be shown at different times of the year: winter or summer. But, it is worth considering that it will be easier for younger students to draw cold landscapes, because such work will require a small set of paints.
Step by step instructions on how to draw tundra with pencil
It is easiest for children to draw one main character, and a natural landscape around him. For example, a teacher can show children how to draw a deer step by step, and then the children will fill in the background themselves.
For this lesson you will need:
- A slate pencil for sketching.
- A4 sheet of paper.
- Palette of pencils for background.
- Eraser.
In addition, it is necessary to prepare an easel on which the teacher will demonstrate the drawing technique. You can use a large drawing paper so that children can get a good overview and easily repeat the movements of an adult.
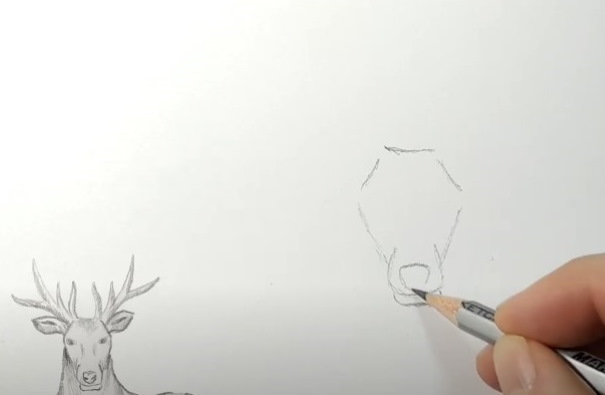
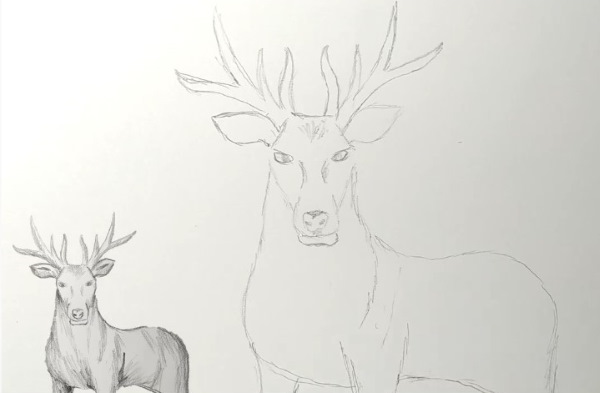
Stage I. Sketching the head
Work algorithm:
- In the middle of the sheet, start drawing the deer's head using a slate pencil. To do this, draw a line at the top. From it, draw 2 lines at an angle to the sides. Lower the lines down - you should get a rhombus, only without the upper sharp corners. The lower part of the deer's muzzle resembles an oval.
- Finish drawing the lip, below the semi-oval.
- A nose is drawn inside the sketch of the face.
- Draw nostrils inside the nose.
- Draw 2 lines inside the muzzle - this is how the highlighted area of the nose and lower lip is obtained. Add 2 eyes to the image.
- Fur is drawn on the forehead, and ears are added to the head.
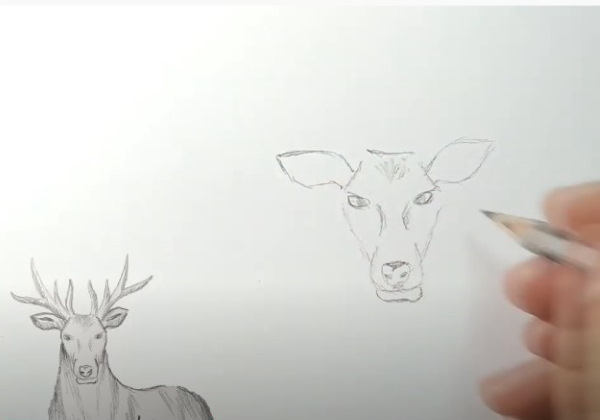
If there are any irregularities, they are corrected with an eraser. At this stage, you can make a clearer outline and outline all the lines with a pencil.
Stage II. Drawing the horns on the deer's head
Algorithm for creating a drawing:
- Draw 2 main horns between the ears, on the top of the head.
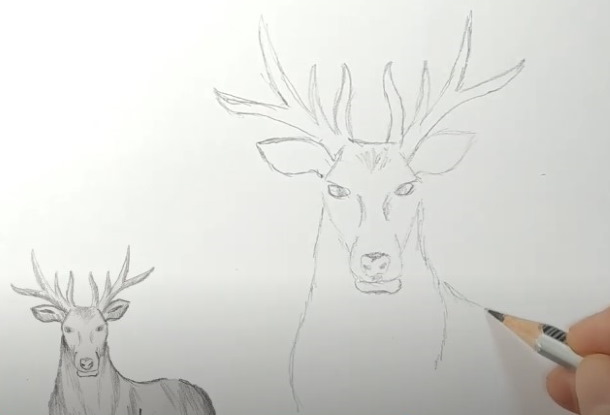
- On the outer side of the horns, additional branches are drawn. Their number can be different. Also, children can depict them in any form.
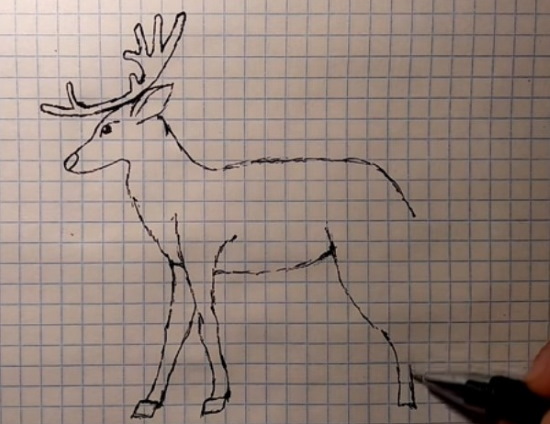
Stage III. Drawing the deer's body
Algorithm for creating a drawing:
- From the bottom of the deer's left ear, draw a curved line down. Repeat the movement on the right side. Then, begin to draw a line going to the side - this will be the body.
- Round off the line that was drawn to the right.
- Connect the lines in the body. Then draw the legs, and erase the extra lines with an eraser so that the limbs look more natural, and not attached to the deer.
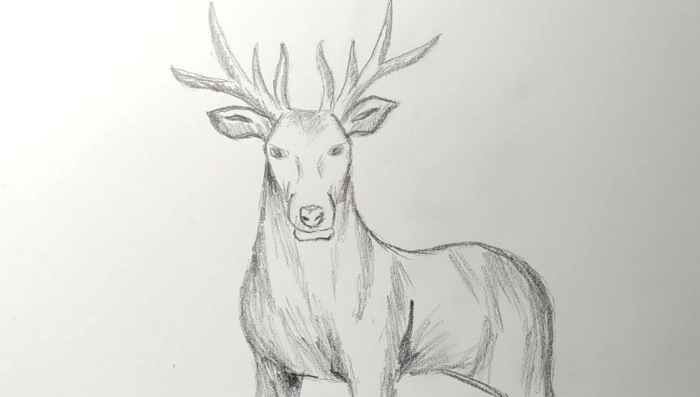
- Shade the deer with a pencil. The children complete the rest of the work themselves. The background of the image can be different - the northern lights, a winter landscape or a summer one. The children must imagine themselves - what kind of tundra they want to show in their drawing.
Pencil drawing of a deer. Option II
Techniques for drawing a deer can be very different. Choose the one that is suitable for children and their level of artistic training.
Algorithm for drawing a full-size deer on a sheet of paper:
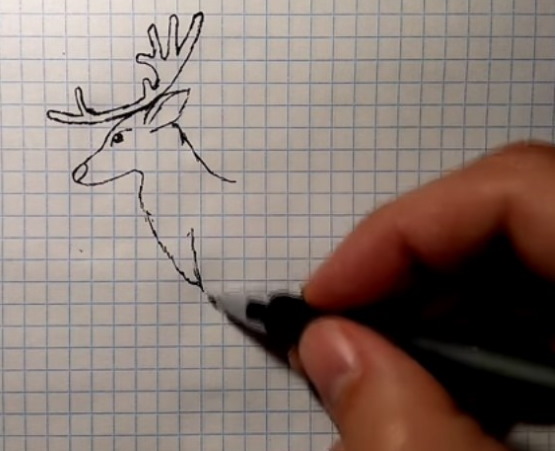
- They draw a face.
- Down from the bottom of the muzzle, draw a curved line - this will be the deer's neck.
- Inside the muzzle, on its tip at the top, draw a nose. Then put an eye on the sheet. Draw a line for the ear.
- Finish drawing the ear by connecting its lines. It should look like a leaf.
- A crescent moon is drawn on the head – these will be the horns.
- Horns and their branches are drawn on the crescent moon.
- Move on to drawing the legs. To do this, start drawing a line down from the deer's neck.
- They draw a leg.
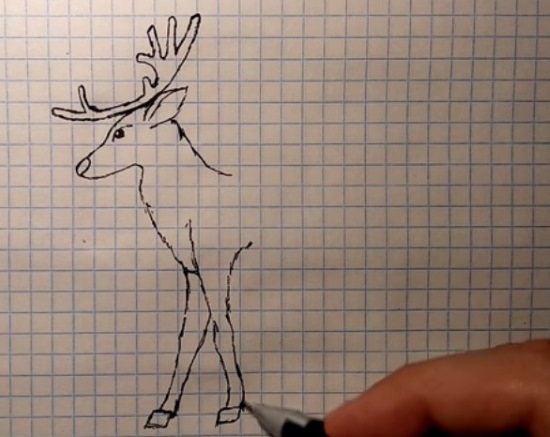
- At the end of the leg, draw a hoof.
- Draw the right front leg of the deer, from its other part of the body. To do this, draw another one to the left of the already drawn limb. It is directed forward, as if the animal is walking.
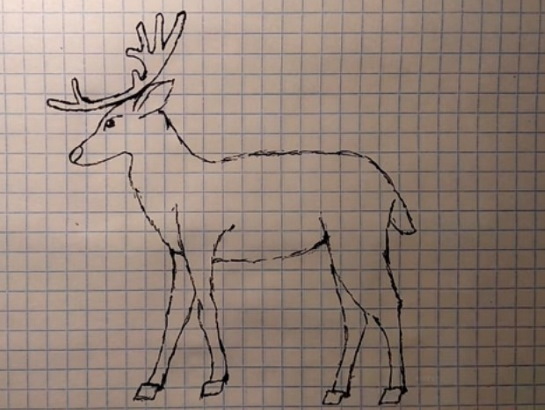
- Draw the back, which will smoothly transition into the tail. To do this, start drawing a line to the right side of the deer's neck, and at the end lower it down.
- Draw the lower part of the abdomen. To do this, make a semicircular line from the leg, with the ends up.
- Draw the back left part of the leg. From the end of the stomach, draw a curved line down, which forms the outline of the limb.
- Connect the line to the body so that the leg is inside the body. This is necessary so that the tail fits smoothly into the image.
- They finish drawing the animal's tail.
- They make the outline of the deer's hind right leg. To do this, they draw another one at an angle to the one already drawn.
- They are coloring the deer.
The basis of the drawing is ready. Now the children will have to fill the empty space on the sheet of paper with a tundra landscape. When the drawing is finished, it is worth taking a cotton pad and shading the entire pencil on the sheet.
This will allow you to erase sharp lines, making the drawing uniform and the transition of colors smooth. In this way, you can draw a herd of deer, which will make the image more beautiful.
Variation of drawing with watercolor paints step by step
Watercolor drawing requires the ability to work with such material. To make it easier for a child, you can make a sketch with a pencil and then start working with paint. It is enough to highlight the horizon line, which will serve as a guide.
To create the image you will need:
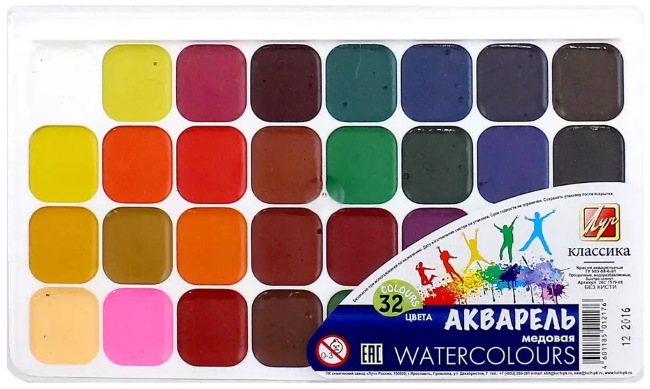
- Watercolor.
- A glass of paint.
- Brushes of different sizes.
- A4 sheet.
Drawing technique:
- Work on the upper part of the drawing. Mix 2 colors: purple and white. Apply randomly with a brush to paper. The strokes should be light and uneven. This will imitate air masses.
- Wash the brush and take a drop of blue paint. Blend it between the clouds to achieve a natural sky color. White can add lightness and separate the blue and purple colors.
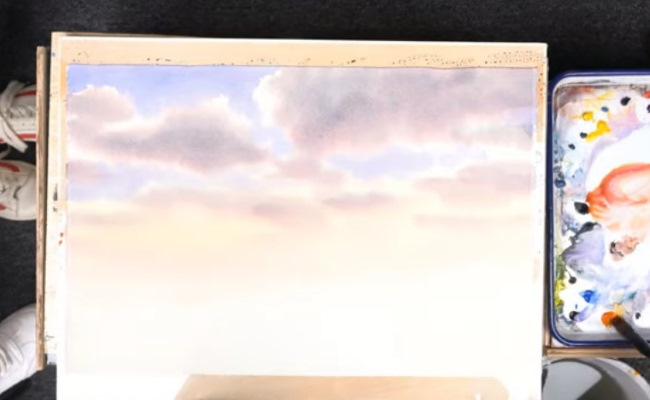
- Under the sky, using a soft pink, almost transparent watercolor, draw the background. It should smoothly transition from the clouds to the empty space on the sheet.
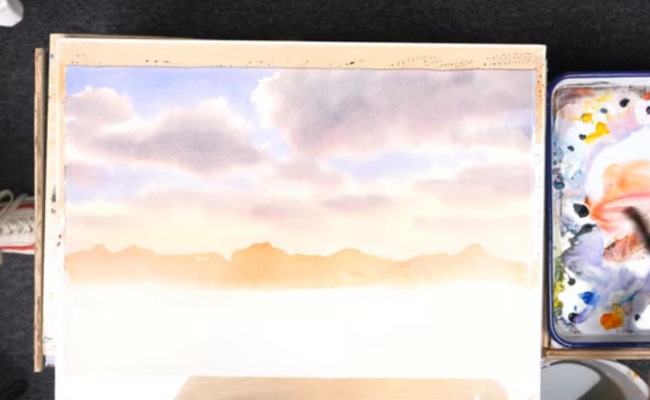
- The brush is dipped into orange paint and, starting from the middle of the sheet, it is shaded in both directions.
- Immediately, on the wet, with purple paint, draw the outline of the mountain range. It will be located on the left side of the paper, right on the orange background.
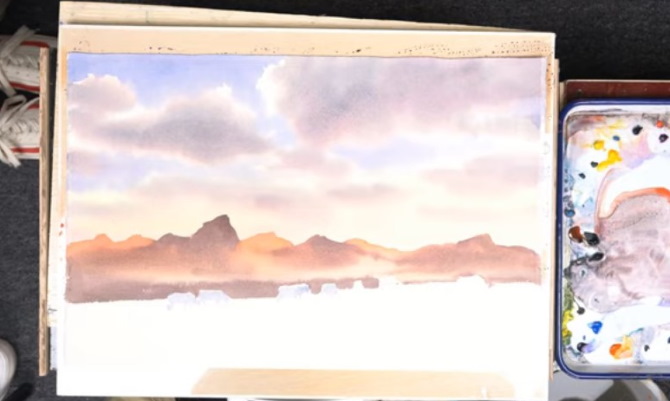
- They finish drawing the outlines of distant mountains with pale purple paint.
- Under the mountains, they begin to draw the silhouettes of a herd of cows. They may be blurry and unclear – it doesn’t matter. The main thing is to convey the main features of the animal. You can replace the animals with deer or a yurt.
- Fill the space under and around the animals with green watercolor. You can periodically mix in a brown shade to give the drawing realism. This will create the effect of unevenness of the ground.
- Darken with green paint.
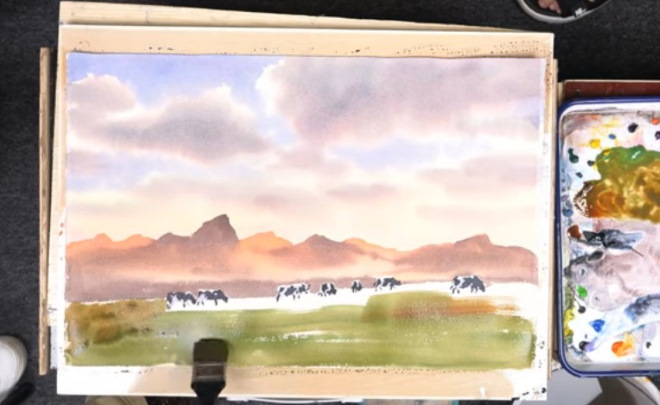
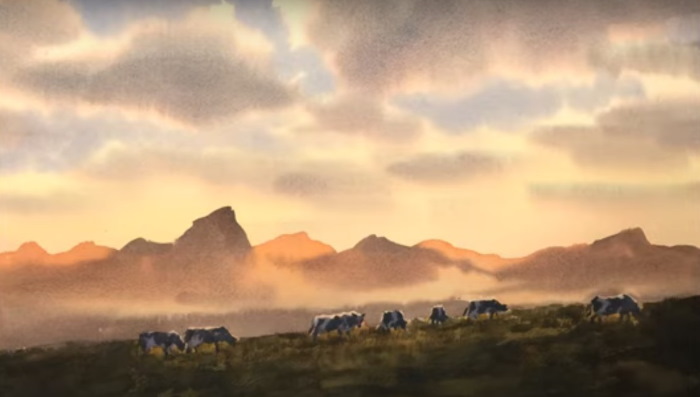
- Using grey paint, quickly apply spots to the ground.
- Play with shadows. To do this, you can add more light or dark shades to the drawing. For example, white will help separate the mountains and the earth. They will be located as if at a distance from the foreground of the drawing. You can drip paint, then add water and shade the pigment.
It is difficult to draw with watercolors, due to their liquid consistency. Therefore, an adult should help the child. To make the work easier, you can not use drawing animals, but limit yourself to just one landscape.
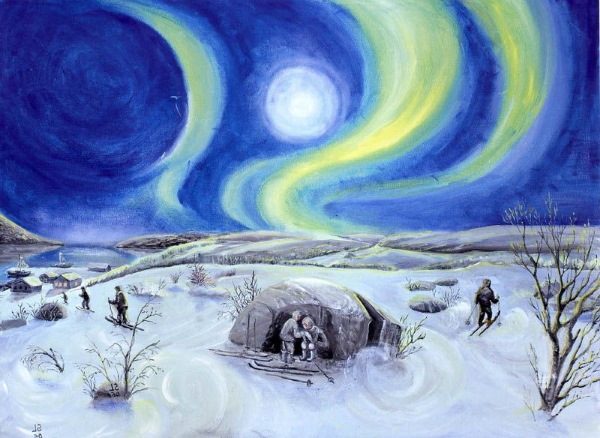
Winter landscape of the tundra
In winter, the polar night prevails in the tundra. At this time, daylight hours are very short. In the drawing, this feature can be conveyed by muted colors.
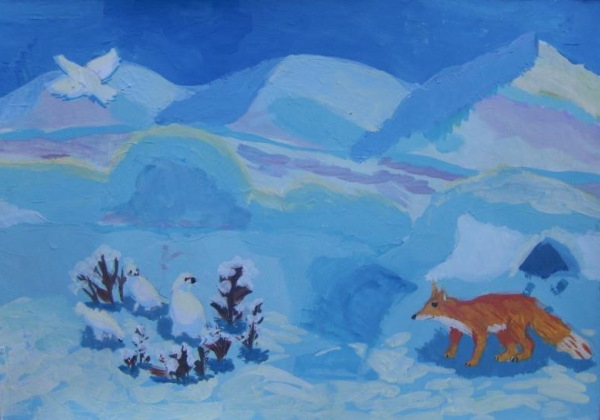
Tips on how to depict a winter tundra landscape on paper using shades:
- Mountain ranges are highlighted with pale blue or white flowers.
- The sky is painted in grey-blue tones to convey the twilight of the polar night. You can mix the colors to achieve the desired color. Brush movements are from top to bottom. The closer the horizon line in the drawing, the paler the paint should be.
- Animals and people are always colored.
- The snow in the picture is made blue.
You don't have to make the whole drawing blue. You have to play with colors. For example, you can paint everything with a single shade, let it dry a little, and then apply strokes of white paint. You can paint wet-on-wet so that the colors mix on their own and form a winter landscape.
It is also recommended to add notes of a faint violet color. This way, you will be able to draw a living, iridescent landscape. The sky can be highlighted with a more saturated blue paint than the snow. This way, you will be able to separate it from the ground.
Autumn tundra step by step
"How I imagine the tundra in autumn" is a drawing that differs from the winter landscape in its large number of colors. Children can use a diverse palette of shades: yellow, blue, brown, green. The most beautiful drawing will be made with watercolors. It will allow you to convey the riot of colors of the autumn season in the tundra.
| What you will need to draw the autumn tundra | Autumn Tundra Painting Technique |
|
|
You can add stems of plants or polar shrubs to the drawing. A simple element would be drawing a cone-shaped yurt.
The drawing "How I imagine the northern tundra" is suitable as a reinforcing technique after studying the material on the relevant topic. You can use different techniques. If children have difficulty drawing, you can simply prepare image templates and color them.
Video about drawing
How I imagine the tundra: