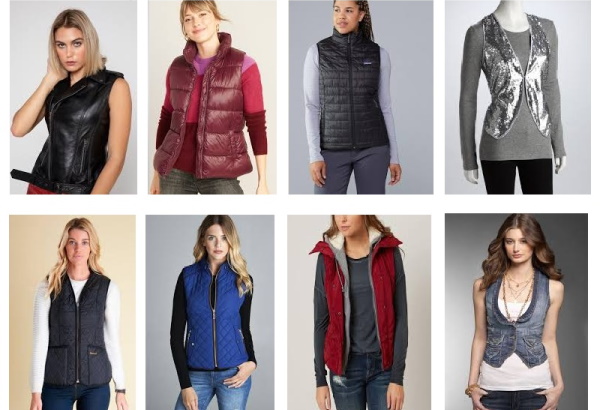
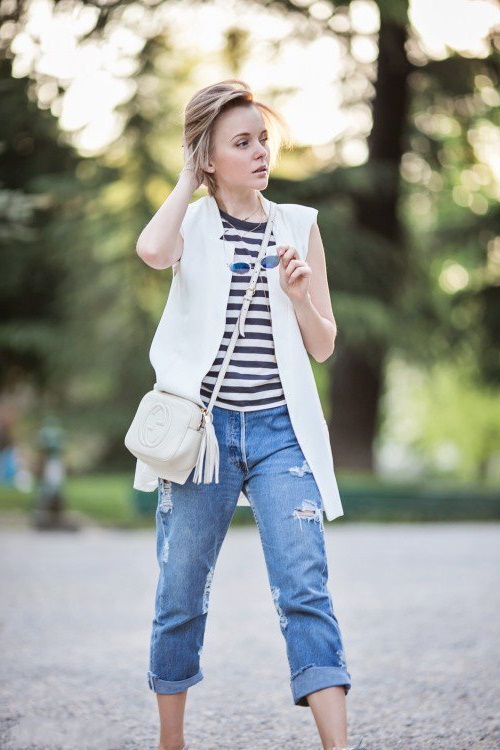
Many women and girls have vests in their wardrobes. They can be completely different in model, texture, color, style. Vests are mainly used as an additional, decorative element to complete the image or to create multi-layering in cool weather.
Today you can find vests for every taste on sale, but it is cheaper to sew such a product yourself, taking into account your own tastes and preferences.
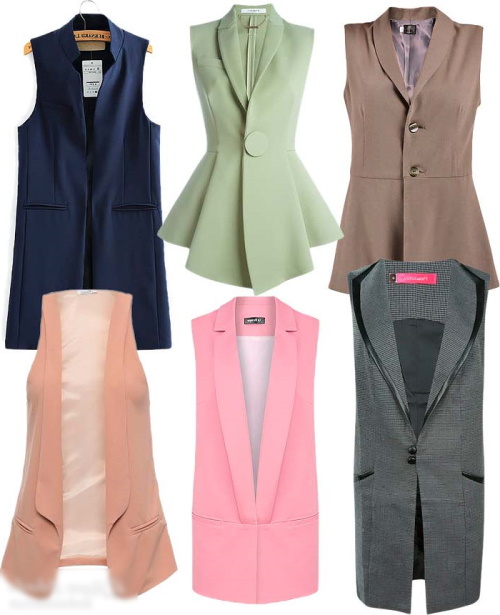
Types of models of women's vests
Vests are very comfortable and, depending on the type of fabric and tailoring, can act as outerwear, a decorative element of a suit, or an everyday addition to an everyday look. There are so many types of vests in the fashion world that it is difficult to settle on just one model.
Conventionally, they can all be divided into groups according to the type of fabric (or material) from which they are made:
| Made of fabric material | Classic, denim, wrap, bolero, cardigan or jacket based, sporty, quilted, casual, knitted. |
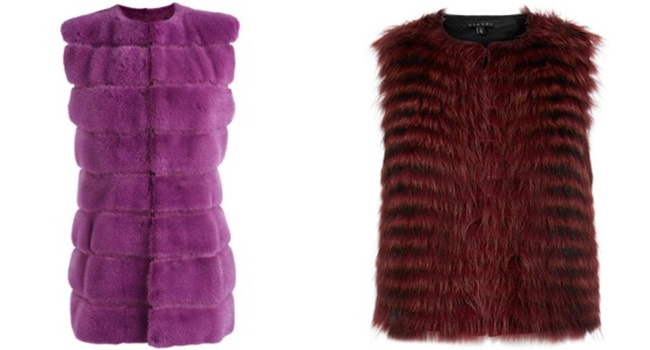
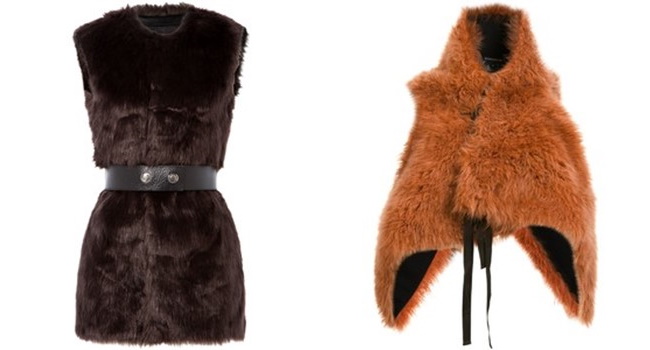
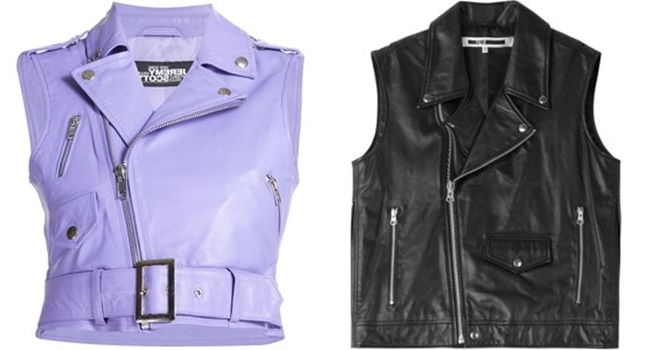
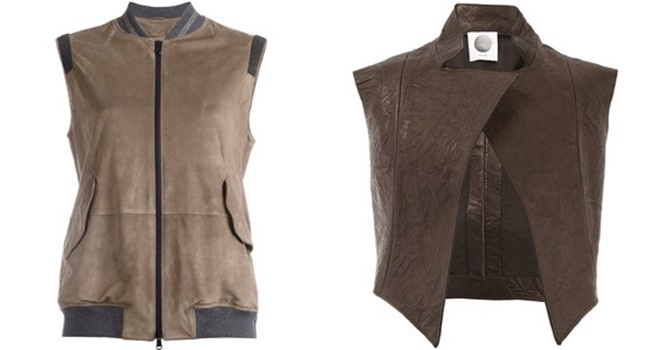
| Made from fur and leather, both artificial and natural | Fur, suede, leather |
| From threads, yarn | Knitted and crocheted |
| Combined | Made from different materials (fur and leather, denim and lace) |
According to stylistic direction, vests can be divided into several categories:
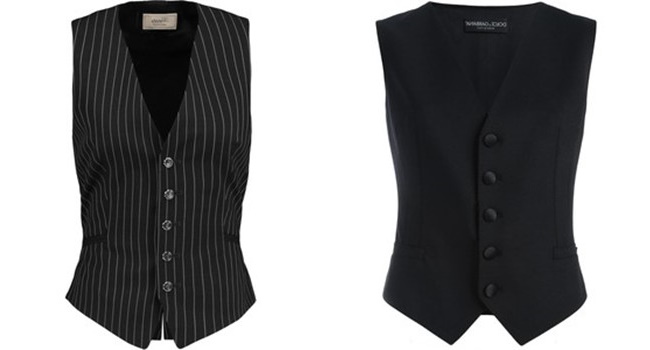
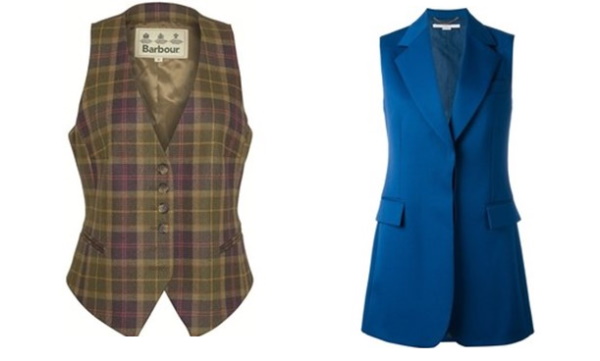
- Classic. They help to create strict and business images. Usually, such materials as wool, tweed, and suit fabric are used for their sewing.
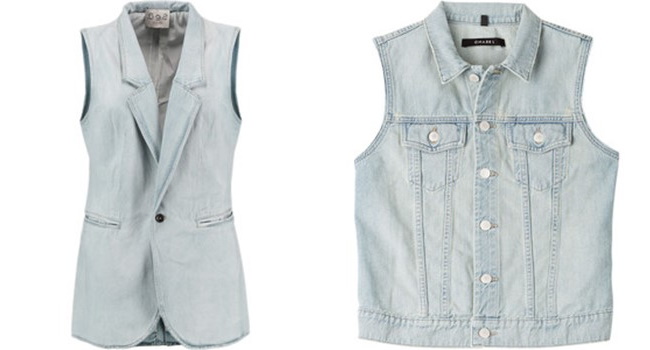
- Denim. They complement images in the hippie, country, and folk styles and go well with a wide variety of fabrics and textures.
- Vests-jackets. They look like jackets (blazers), but have no sleeves. They can be of normal length or extended.
- Bolero vests. These are shortened versions of vests that are suitable for evening or summer outfits.
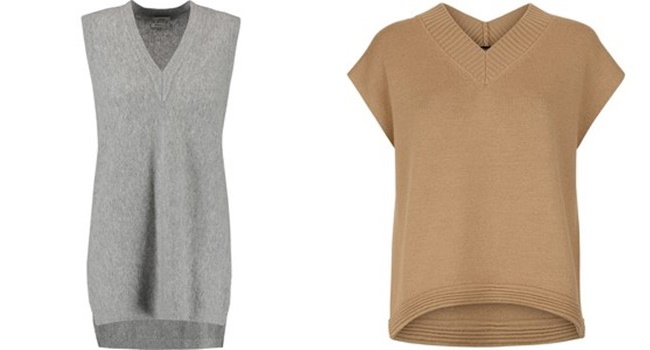
- Cardigan vests. They are sewn from soft knitted fabrics. They warm well in cool weather. Such models are suitable for women and girls who are overweight, as they allow you to hide figure flaws and visually stretch the silhouette, making it slimmer.
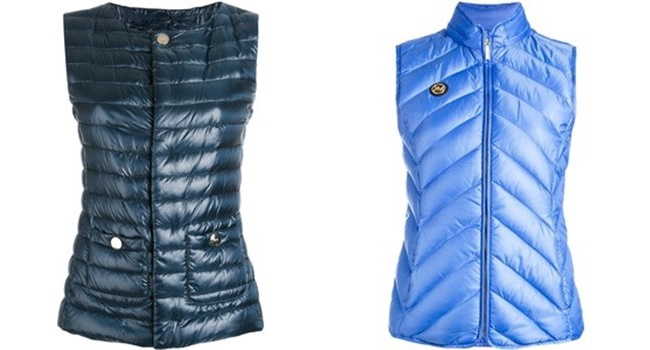
- Sports and quilted vests. They are suitable for sports, leisure, and simply for wearing in cool weather. These models have insulation and are made of waterproof materials, which allows you to keep warm and wear them in the off-season, in the rain and cold.
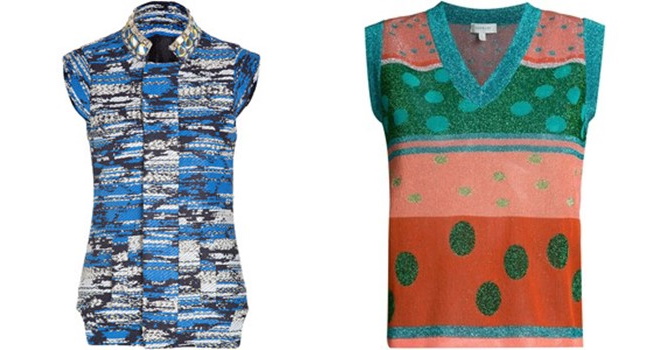
- Knitted. Models made of thin knitwear can complement both everyday and festive looks. Due to the fact that light knitwear is a fairly soft material, you can experiment and sew not only simple models, but also vests with folds and draperies.
What you will need for sewing, choice of fabric depending on the model of the vest
It is not difficult at all to sew a women's vest yourself. To do this, you should decide in advance on the concept of the thing (what style it will be, what fabric) and purchase all the materials and tools necessary for the work.
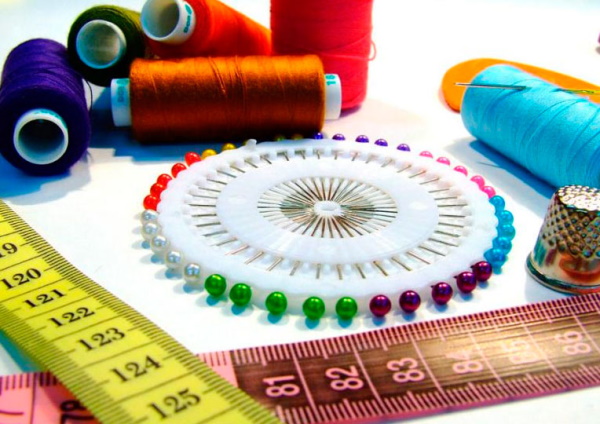
To get started, you will need:
- tailor's scissors;
- fabric marking chalk;
- tailor's ruler-pattern for constructing armholes and armholes.
- measuring tape;
- ruler (at least 20-30 cm in length);
- threads;
- tailor's pins;
- simple needles;
- iron;
- sewing machine.

If you have enough experience, then after cutting out and ironing all the elements of the future vest, you can immediately start sewing the parts together on a sewing machine. If you feel a little unsure, it would be a good idea to baste all the parts by hand and once again visually assess whether everything is even.
The choice of fabric will depend on the intended model. Here you should be guided by your own preferences, exercise moderation and observe appropriateness, especially if 2 or more types of materials are used in sewing.
For example, a combination of fur and light knitwear or some bright printed fabric with a suit material will not look very good. Denim and lace, fur and leather go well together.
When choosing a fabric, you should understand and decide in advance on what occasions the vest will be worn. It is necessary to select a material of the appropriate texture. To sew a vest for sports and walks in cool weather outside, use jacket material and synthetic padding, as well as lining fabric.
To sew vests that will be worn over blouses and sweaters, use:
- tweed;
- wool;
- thick and light knitwear;
- jeans;
- suit fabric;
- skin.
Leather is also used to make vests, which are worn as outerwear. They are sometimes combined with fur, which is used to make vests for both outdoor and indoor use.
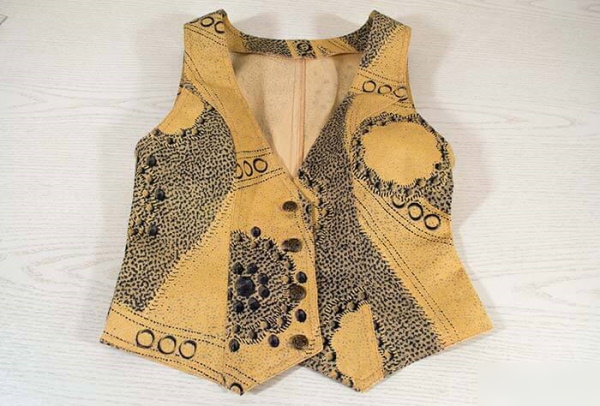
How to sew a simple women's vest with your own hands
It is not difficult to sew a simple model women's vest. In this case, a simple model means a regular classic men's vest without lining. It requires cutting out several parts, but it is easy to do even for a person who has never done this before.
The fabric can be any, but beginners are better off choosing stretch denim of any color. This material is easy to work with even for those who are just starting to sew, as it stretches moderately, which will allow the finished product to fit perfectly, even if minor errors are made during cutting and sewing.
Construction of the pattern
You should approach the construction of the pattern responsibly, especially if you have little experience. You should not try to cut the material "by eye", since in the end the fabric will simply be ruined and the finished item will not fit the figure as you would like.
If you have never had to deal with pattern making before, it is better to first model the parts of the future product on paper (graph paper) and only then transfer them to the fabric.
To cut the fabric correctly, you need to take the following measurements:
- chest circumference;
- neck circumference;
- waist circumference;
- hip circumference;
- chest width (take 2 measurements - one from the top point of the armpits, the other - parallel to the first along the protruding points of the bust);
- back width (along the convexity of the shoulder blades from the top point of one armpit to the other);
- length of the front waist and length of the back waist (from the base of the neck at the shoulder to the waist line through the convex parts of the body - chest and shoulder blades);
- length of the product.
When taking measurements, the tape measure should be held loosely, not pulled too tightly across the body. After all measurements have been taken, begin creating patterns.
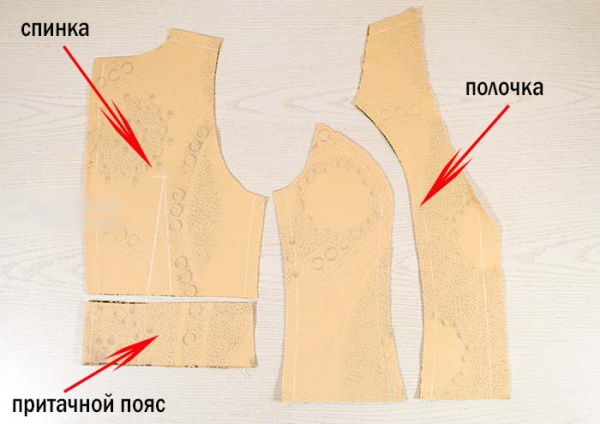
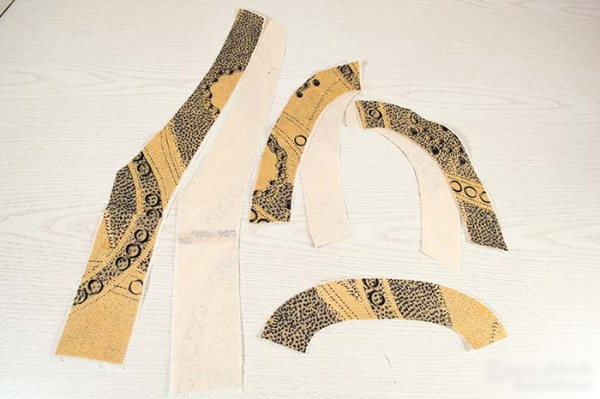
To do this, on paper or fabric, using the data obtained, construct the following components of the future vest:
- back (2 symmetrical parts);
- sewn-on belt (2 pieces);
- shelves (4 parts).
Each element is designed separately, taking into account the specified parameters. This model will consist of a sewn-on belt at the back, 4 front shelves and a back that will be connected to the belt and the front shelves, sewn together in pairs.
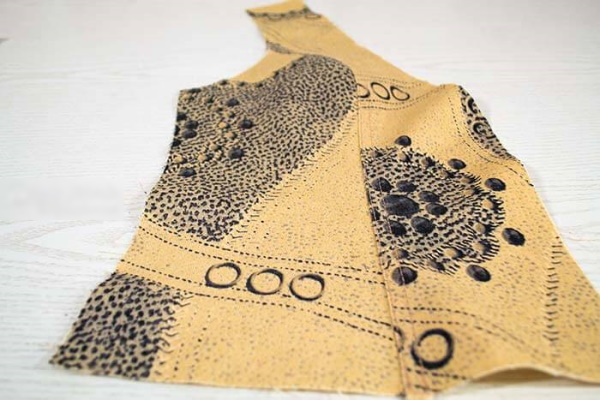
On the canvas or paper, outline the preliminary border of the front and back parts of the product and already on the general element, draw all the bulges, armholes and inserts, using the numbers obtained during the measurement.
If you have any difficulties when designing and transferring dimensions to paper or fabric, you can use ready-made patterns printed from the Internet or contact a seamstress who has more experience in this matter.
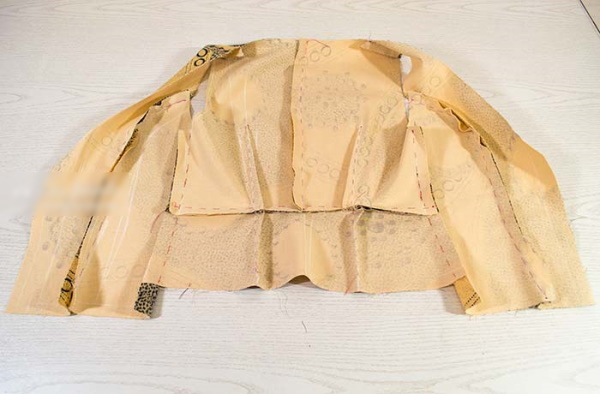
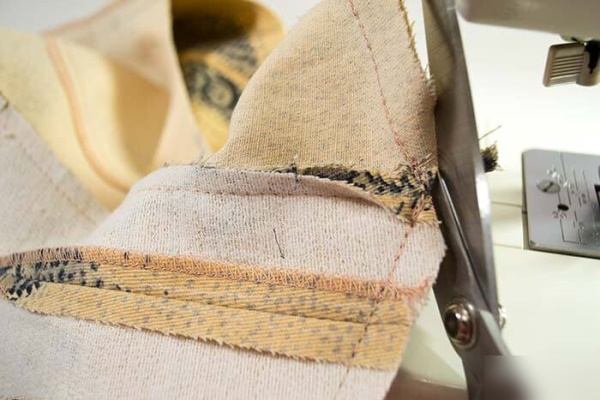
Base of the bottom
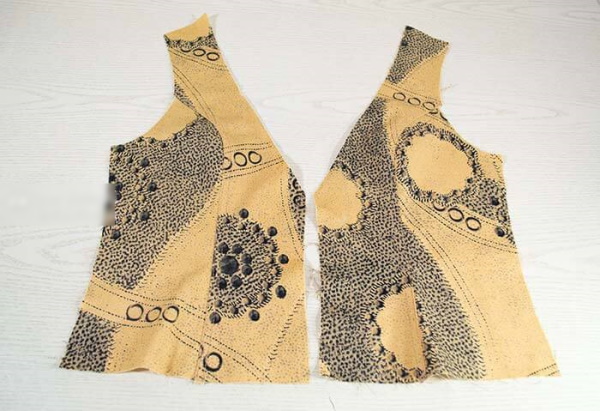
Basic adjustment is the adjustment of cut out elements of the future product to the desired shape by trimming them before sewing. Roughly speaking, basing is the “adjustment” of all the irregularities and imperfections that become visible when the product is pinned or basted by hand.
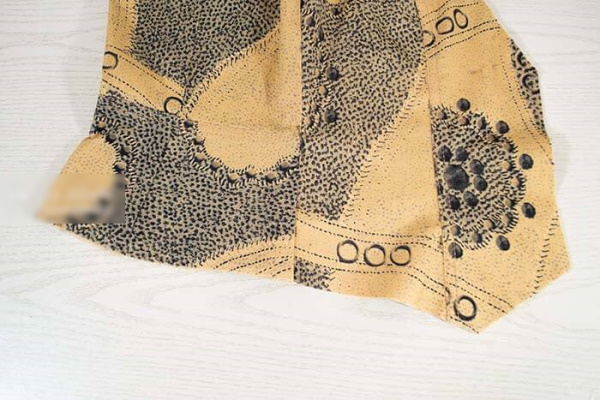
The basing is carried out after the fitting, during which the symmetry of all lines and the need for correction are assessed. These manipulations allow you to correct the shape of the product and trim the bottom of the future item, in this case a vest.
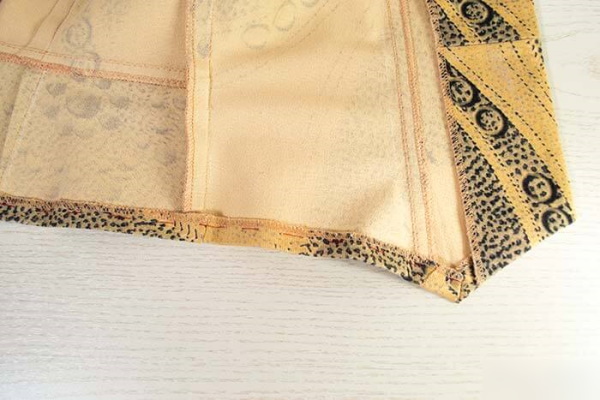
To trim the bottom, the prepared vest patterns are pinned together and the symmetry of the bottom edge of the product is visually assessed. If correction is required, marks are made with chalk on the fabric from the inside. All irregularities and excess allowances are removed along the designated lines using scissors.
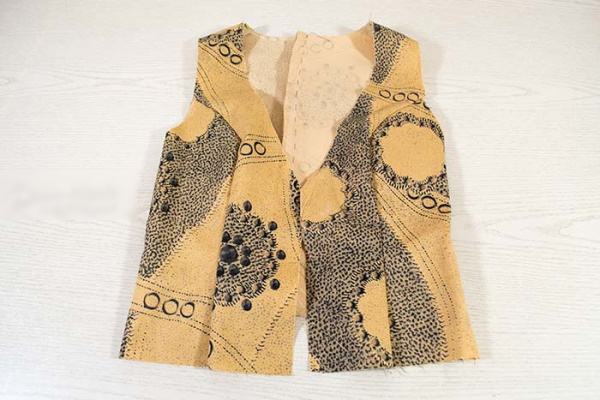
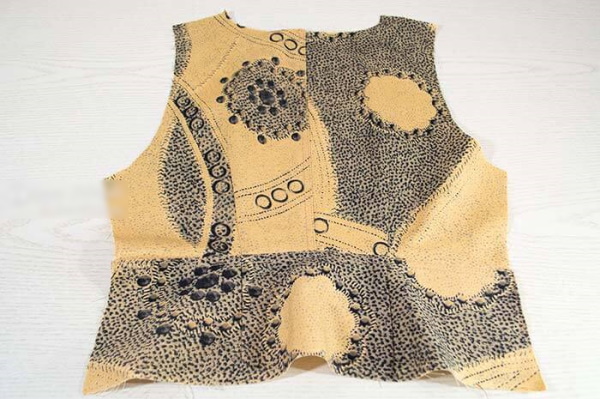
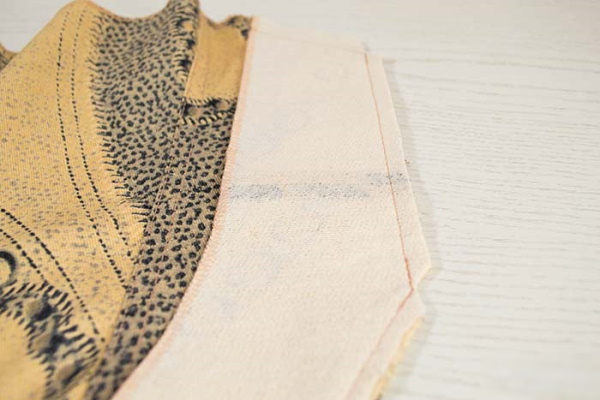
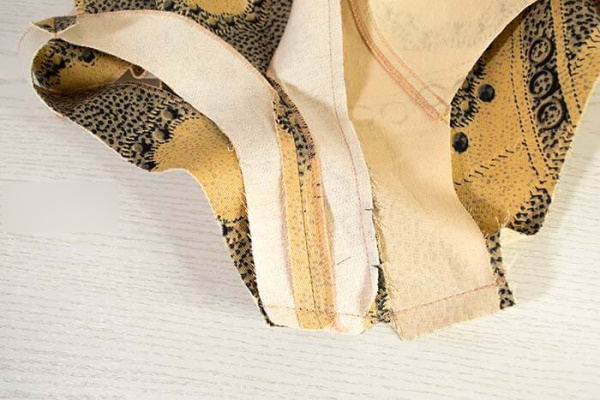
Trimming facings and facings
To carefully process the facings, armholes and neckline, the patch pieces are cut out separately. If you cut a vest using a pattern from a magazine or ready-made patterns, then such finishing details may be included right away.
However, they do not always fit perfectly after the product is sewn, so they also need to be tried on and trimmed before the item is completely sewn.
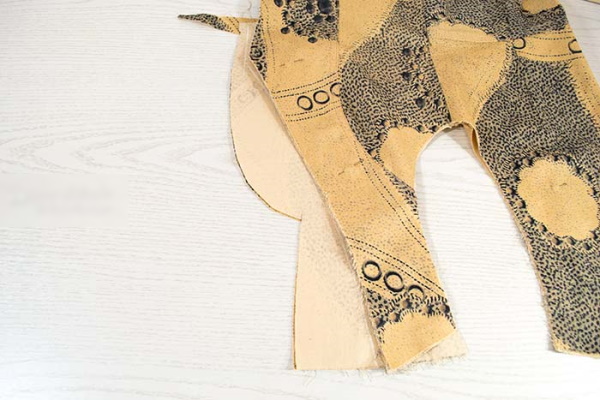

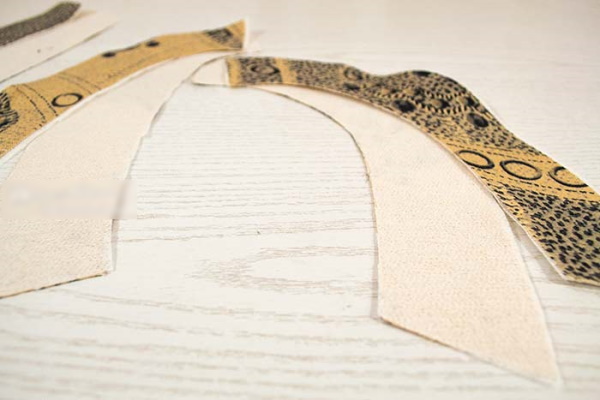

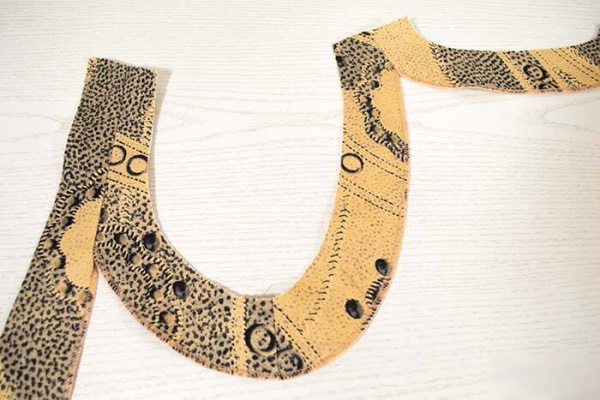
It is better to make the finishing details yourself. After cutting the bottom, do not rush to remove the pins. You should take the vest blank, lay it out on the fabric and trace the armholes, neck and front side to the shoulder seam. The width of the facings can be from 3.5 cm to 5 cm.
It is also necessary to take into account the need to lay allowances for joining the facings along the side seams. If difficulties arise when constructing the facing parts, you can first make templates on paper and then transfer them to the fabric.
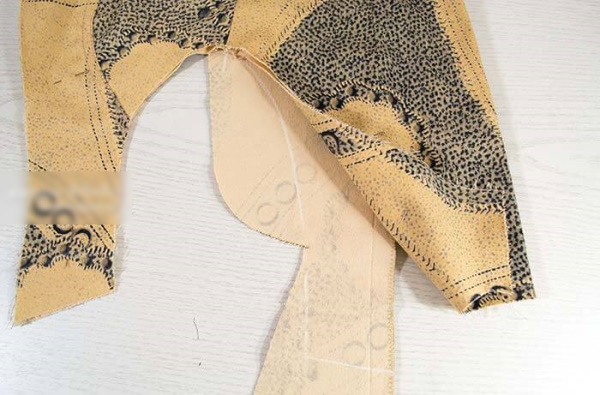
When cutting out and matching the elements to the edges of the product, it is necessary to take into account the direction of the warp thread - it should be located in the same way as in the future vest.
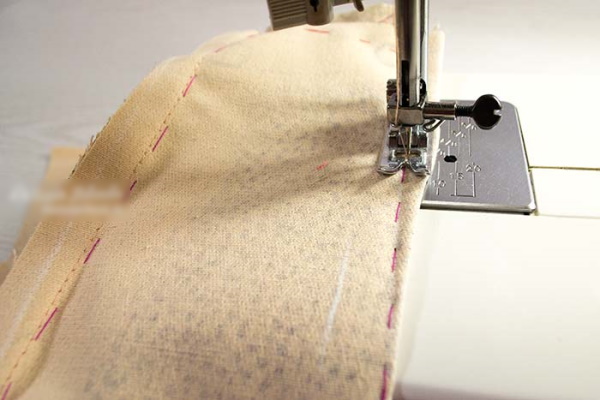
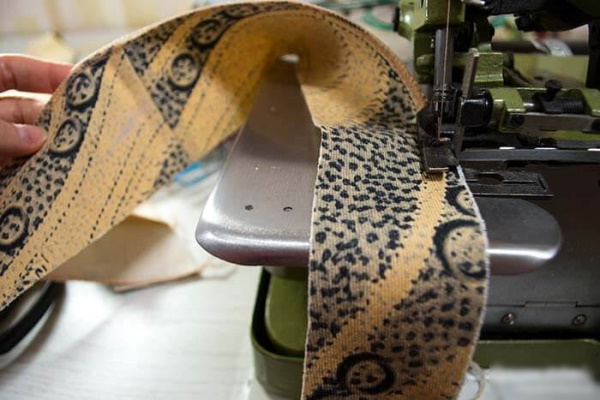
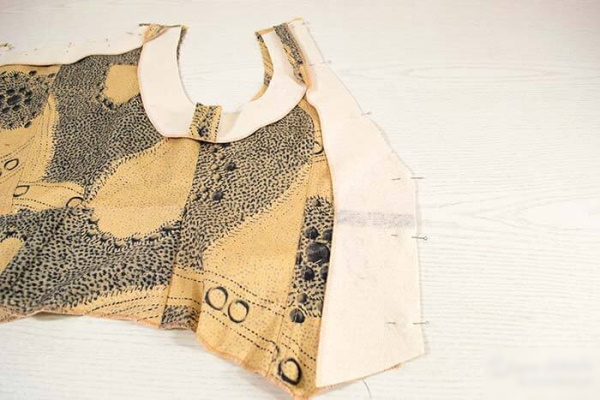
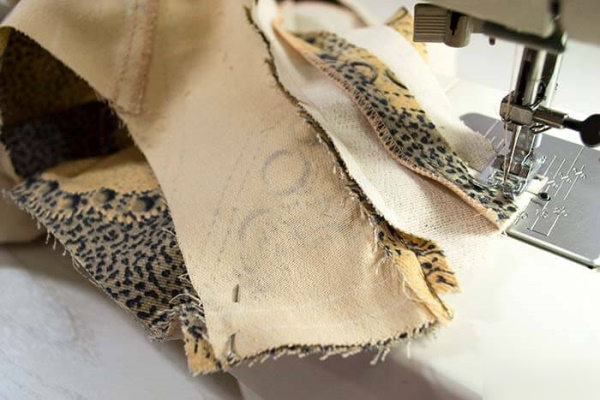
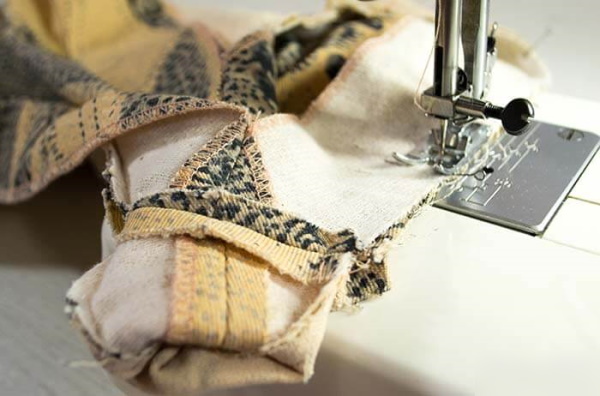
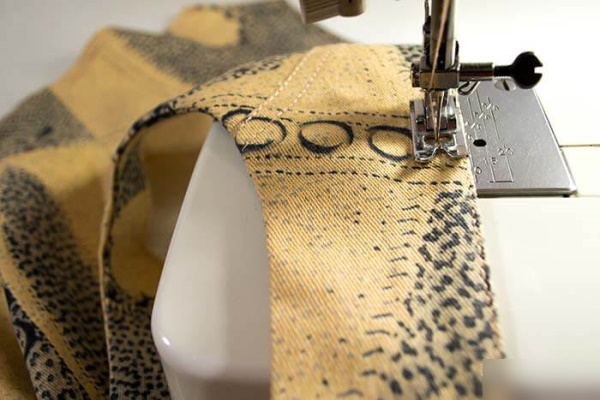
When the size of the parts is adjusted, proceed to stitching the armhole facings along the side seams, followed by overcasting all the outer edges and the bottom on the overlock. Then stitch the facings to the front armholes and the back armholes to the back neckline.
To match all these elements as accurately as possible, the parts are laid out on the future vest and pinned in several places. This will help to avoid shifts and distortions, and when stitching, the parts will perfectly match the main pattern.
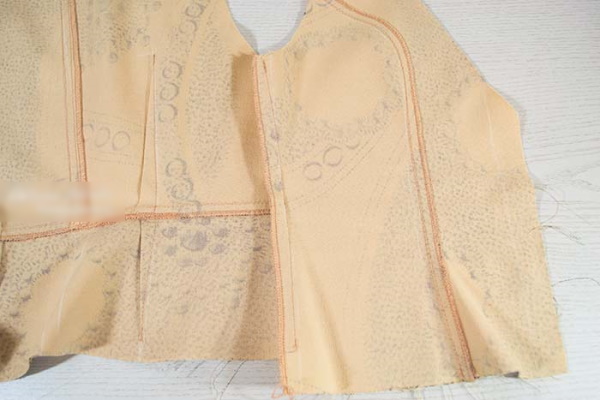
Processing of armholes, necklines and sides
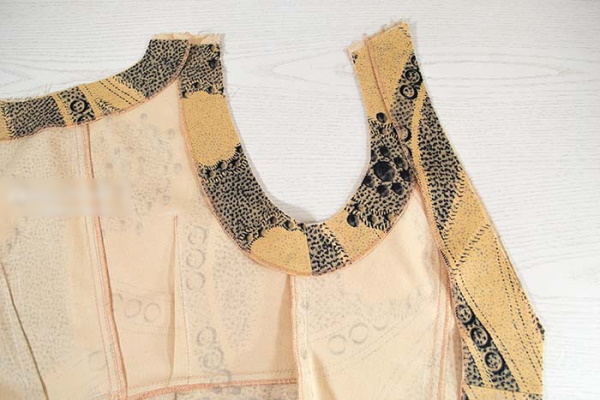
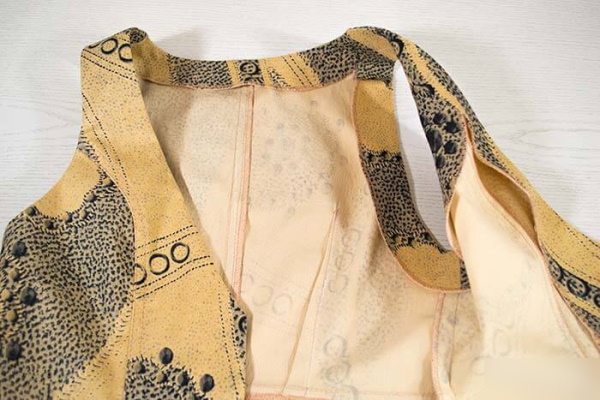
After sewing the lining underbands together, we begin to trim the armholes, neckline and sides to the main part of the garment.
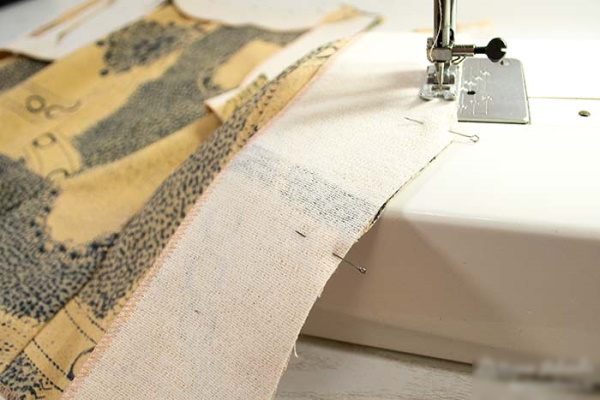

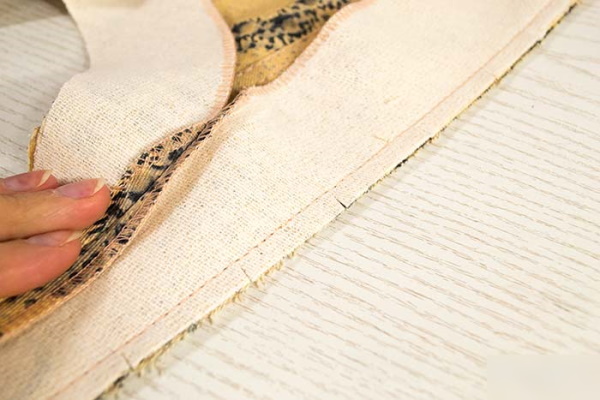
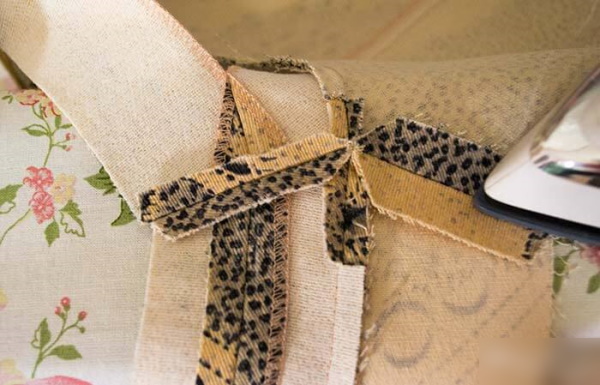
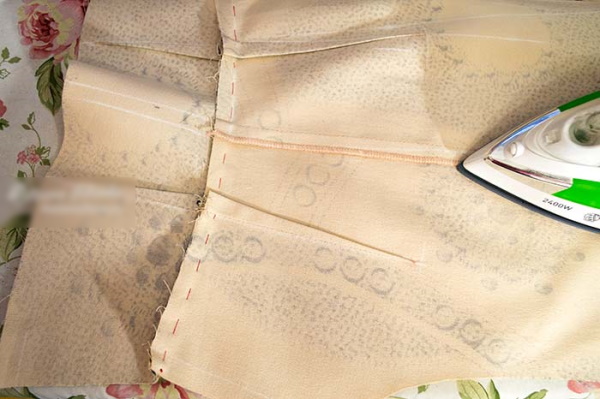
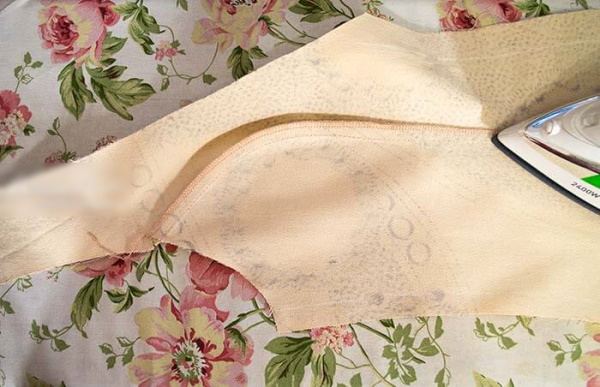
The neckline on the back and the sides with the neckline on the shelves are trimmed with a seam 0.5-0.7 cm wide; in the areas with roundings, carefully make cuts of approximately 1-2 mm with scissors, keeping a gap of at least 3 cm between them. The resulting corners at the joints are carefully cut off. All allowances and facings are ironed well.
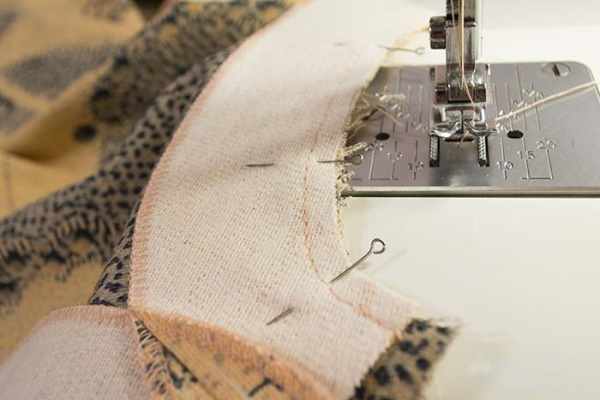
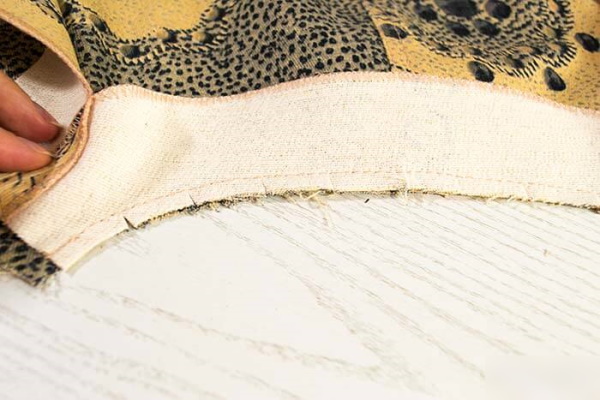
Processing armholes with facings
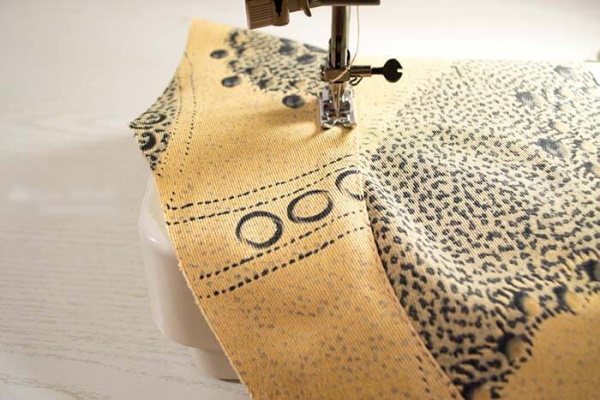
At the final stage, they begin to process the armholes with facings. A seam is laid along all the outer edges of the product - along the neckline, sides, armholes, after which the item is ironed.
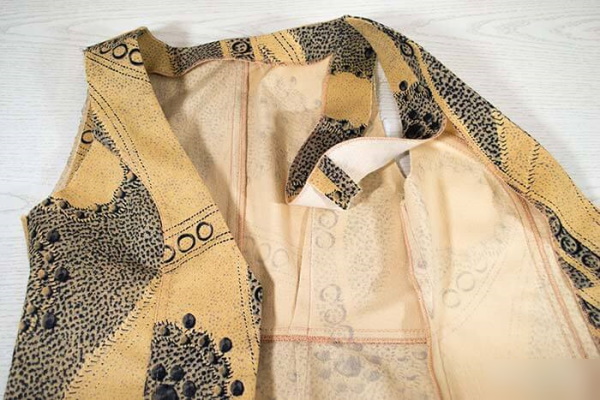

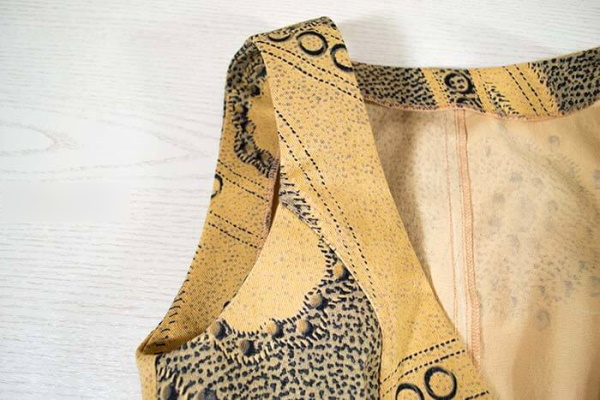
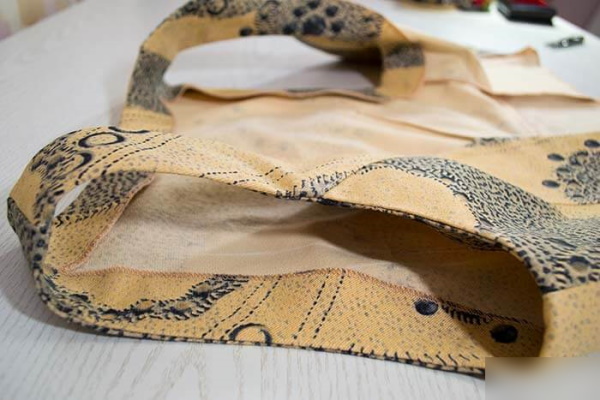
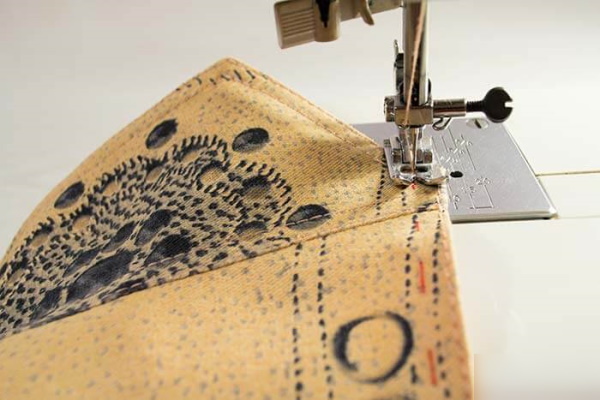
At the end, overcast the bottom and make finishing stitches.
Other master classes on pattern making and sewing vests for women
You can sew a women's vest using other models and patterns, which are also quite simple.
Vest with collar
A vest with a turn-down collar can be sewn not only in a strict business style, but also in a smart or romantic style, if you choose for the product not a dense suit fabric of dark tones, but, for example, bright knitwear, velor or satin.
To create a similar model, cut out:
- 2 shelf parts
- 1 back piece with a fold in the center;
- 2 side pieces that will be sewn to the back at the back;
- 1 piece of top collar with fold;
- 2 lower collar pieces;
- 2 pieces of shelf facing;
- 2 facing details.


The vest is sewn as follows:
- After all the parts have been pre-pinned, the product is ground.
- Next, sew all the internal parts and iron the vest.
- Then they begin framing the edges with facings and trims, and sew on the collar.
The collar parts are first sewn together and then, after pinning it to the garment and assessing the result, they are stitched to it. After this, the vest is ironed again.
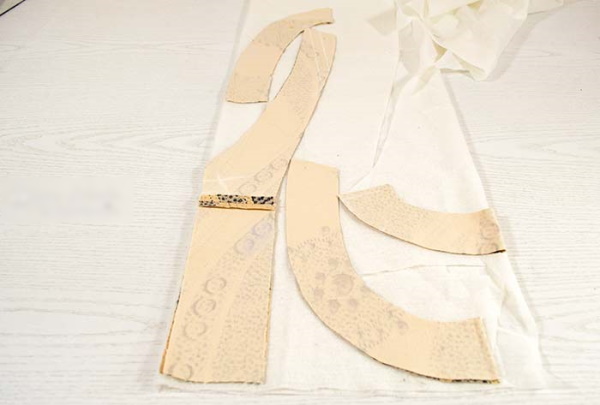
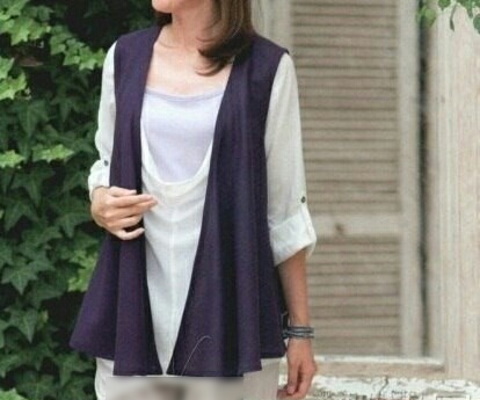
Long vest
You can sew a women's vest yourself not only short, but also elongated. This model is perfect for both slender girls and women, as well as those who would like to hide small figure flaws. A long vest stretches the silhouette and makes the figure visually slimmer and more elegant.
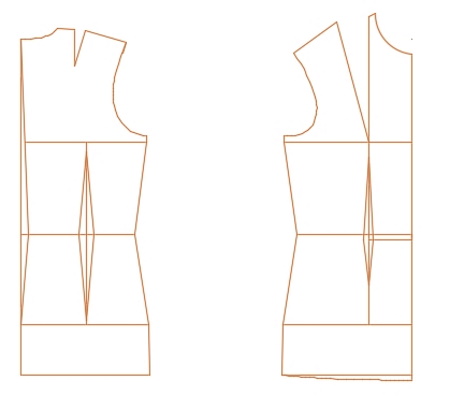


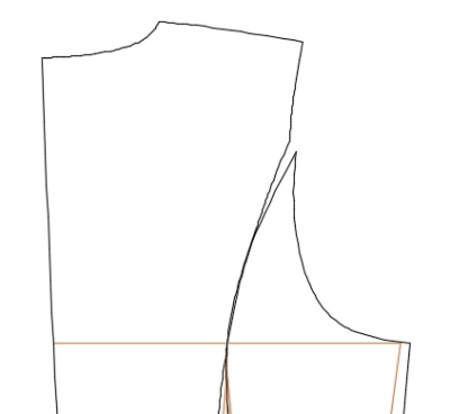
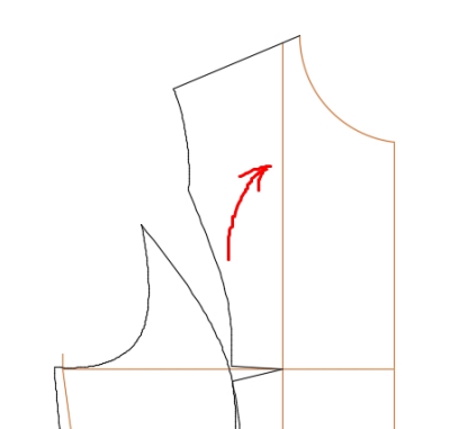

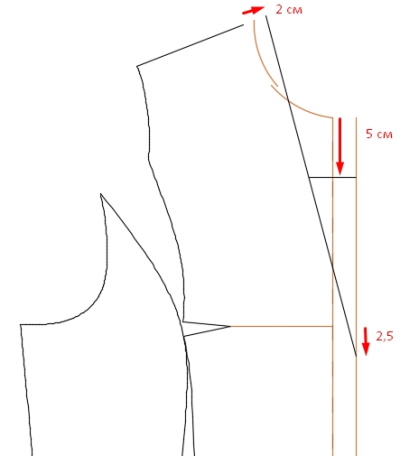
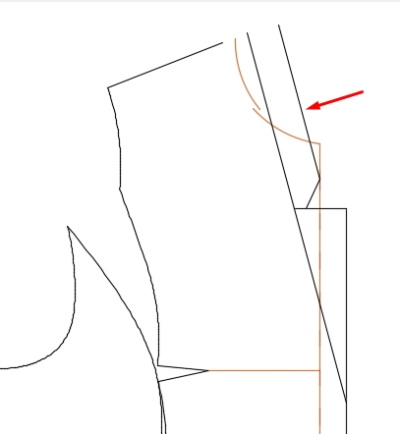
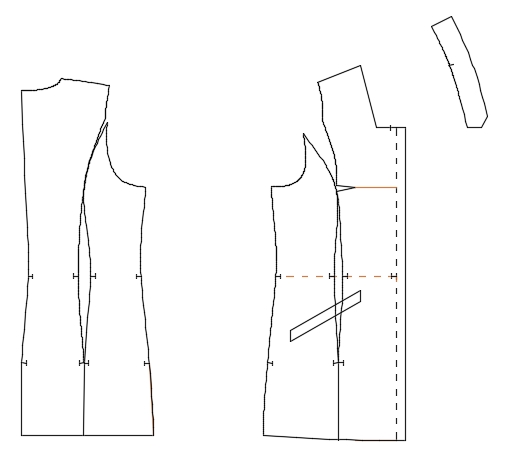
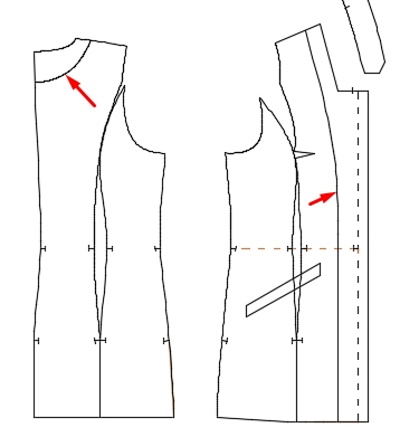
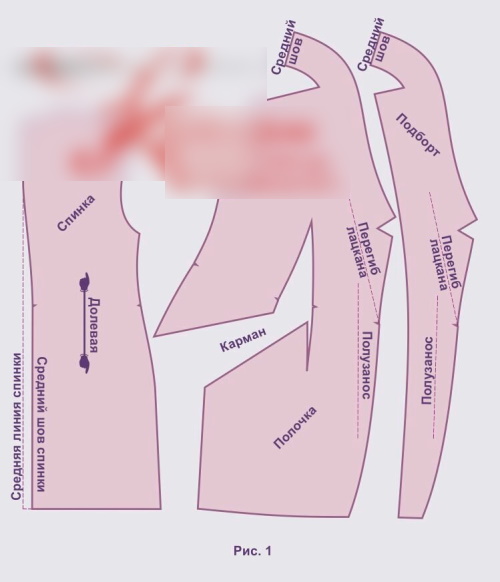
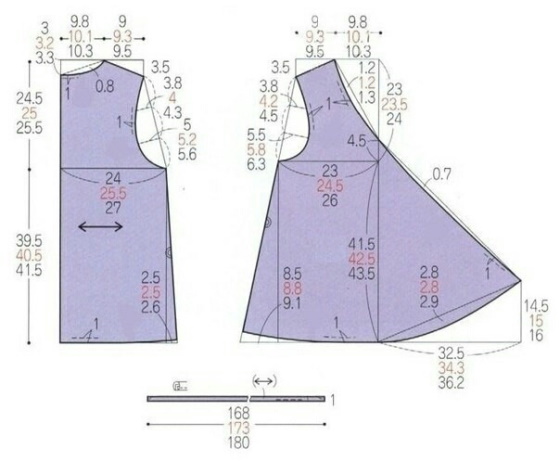
The best materials for vests of this style are thick suiting fabric or drape. To model a long vest, a pattern of a basic straight dress is used, on the basis of which all parts of the future vest are created.
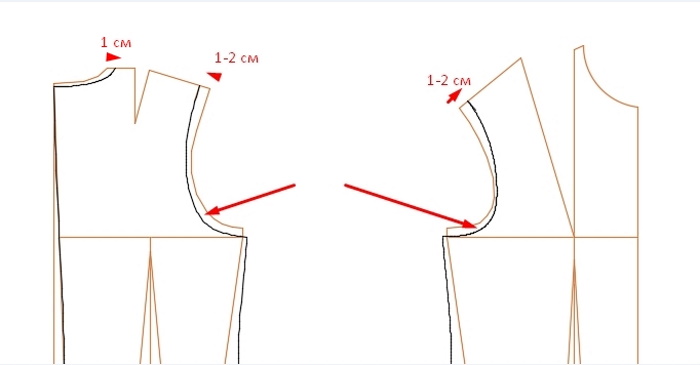
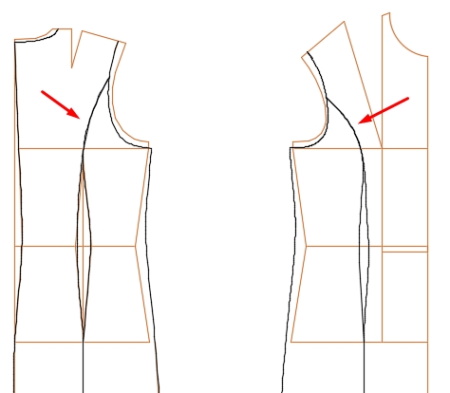
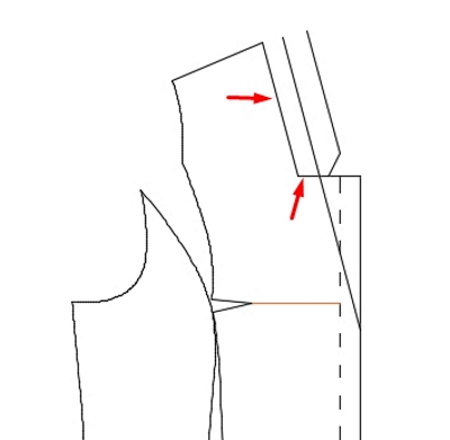
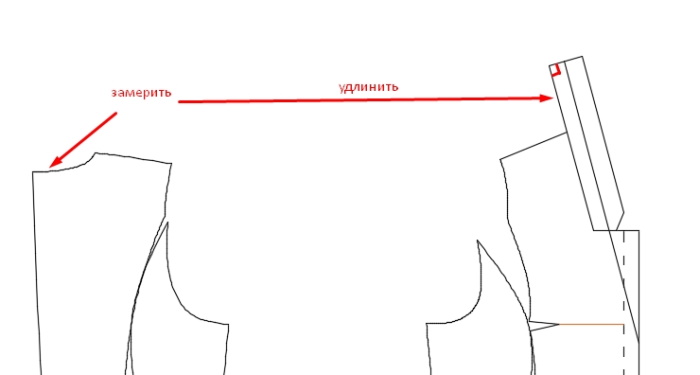
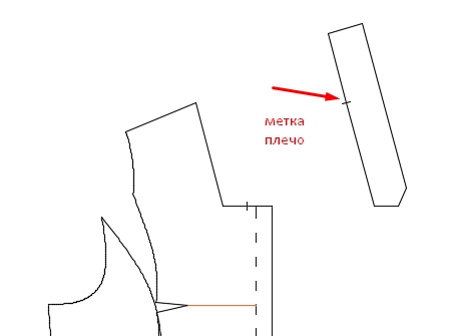
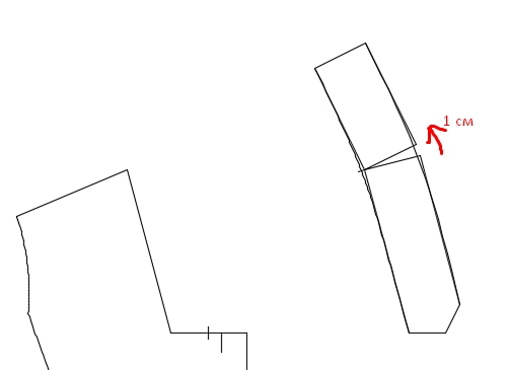
Based on this pattern, all the necessary darts and cutouts are marked on the details so that the vest fits well on the figure, as shown in the picture below. Additionally, facings are cut out. Also in this case, the product is based by pinning all the parts together, after which all the edges are overcast and all the elements are sewn together.
Wrap vest
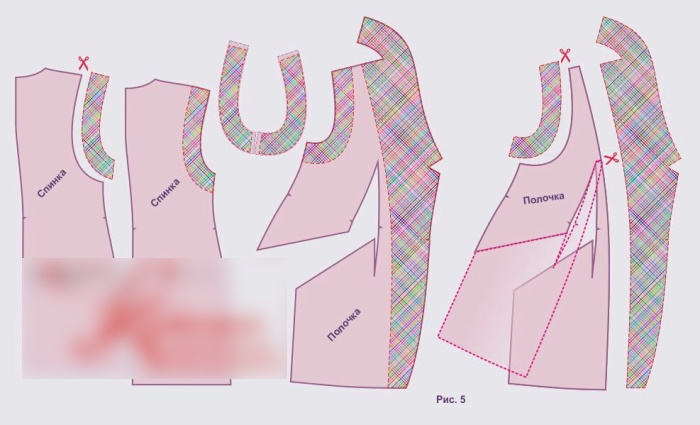
Sewing a wrap vest for women is also not very difficult. This model, like the elongated version, helps to hide extra centimeters at the waist and makes the figure a little slimmer. The back of the vest is cut out in the same way as described in the model with a collar or in the detailed first instruction.
The front part is slightly modified, but is built on the basis of a regular front shelf. If the wrap is located below, then the pattern is modified in this area, having previously taken all the measurements.
As a result, you should get 2 patterns of the front shelf, one of which will partially cover the other in the finished product. As a result, you will get a two-layer, called a wrap.
This type of vest is sewn in the same way as the previous models, with the basing of the parts, overcasting of the seams and finishing of the armholes of all parts of the product. The only difference is that the model may additionally have a belt or be buttoned due to the wrap.
In the first case, the belt is sewn between the front and back pieces when they are sewn together. In the second case, the button holes are processed with a seam and the buttons themselves are sewn on. The vest can also have a hidden button or fastener that will not be visible or simply be complemented with a decorative brooch or a beautiful belt.
Among all the variety of things, there are some that are not mandatory basic wardrobe elements. These include vests. More often, they play a decorative role in the image, although, depending on the fabric from which they are sewn, they can warm you up quite well in the cold.
Women and girls who like to experiment usually have such things in their wardrobe and even sew them themselves. A unique vest that no one else has will perfectly emphasize the figure, will allow you to look spectacular and non-trivial, making the image more interesting as a whole.
Video about sewing
How to sew a women's vest: