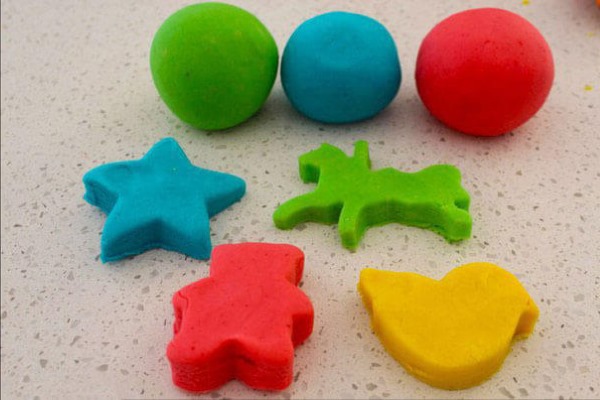
Thanks to a large number of recipes that involve the use of available ingredients, you can quickly and easily make plasticine at home.
Since most often such modeling material is intended for children's creativity, its composition should be as natural as possible, and the creation process should be safe. Knowing various methods, adults will be able to not only find a fascinating hobby for a child, but also increase his perseverance, accuracy, and teach him to appreciate his work and the efforts of others.
Why Homemade Plasticine is Better
Plasticine made at home, like other creative items made independently, has a number of advantages compared to their store counterparts:
- softer and more uniform structure;
- “pliable” consistency (it’s easier for small children to tear off a piece and give it the desired shape);
- safety in use (since most recipes involve the use of natural materials, including dyes, parents do not have to worry if the child bites off a piece or licks his fingers during the sculpting process);
- the ability to independently create the color needed for the craft;
- lower cost of ingredients;
- the opportunity to engage the child not only in the process of modeling itself, but also in preparation for it.
Depending on the child's age, level of development, as well as mental and character characteristics, adults should select an option for preparing working material.
Thermal manufacturing method
The thermal method of making plasticine involves working with high temperatures. This option is not suitable for children under 7-8 years old.
In such circumstances, parents are advised to choose another way of creating the working material or to properly divide the responsibilities with the young assistant (for example, the child mixes the ingredients, the adult bakes and monitors the state of the plasticine inside the oven).
| Method of making plasticine | Algorithm of actions |
| Classic Recipe for Playdough for Kids |
If you plan to obtain colored plasticine as a result of the above manipulations, at the initial stage you must also add food coloring of the desired shade to the other ingredients. 2. Mix thoroughly and put on the fire. Bring the mixture to a boil. 3. In a separate dish, mix about 400 g of flour, 1 tbsp. of citric acid and 200 g of salt (fine iodized salt is best for making plasticine). 4. Mix the 2 consistencies thoroughly, making sure that no lumps remain as a result of the described action. |
| With burnt alum | 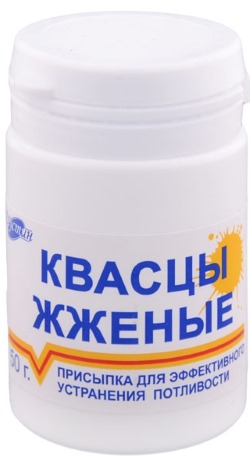
1. Pour 500 ml of water at room temperature into a deep bowl. 2. Add 100 g of salt to the water (in this case, to make the plasticine as soft and homogeneous as possible, coarse sea salt will do). 3. Place the pan on the fire, gradually increasing the temperature of the mixture. 4. Once you are sure that the salt has completely dissolved in the boiling liquid, turn off the heat and let the mixture cool slightly. 5. After 3-4 minutes, add 2 tbsp. of vegetable oil, 2.5 tbsp. of alum, 400 g of wheat flour and food coloring (optional, if you want to get colored plasticine). 6. Mix all ingredients thoroughly and let the plasticine cool on its own. |
| Lazy plasticine | 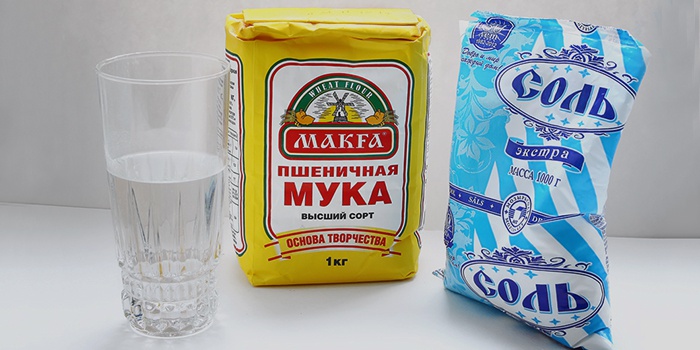
|
| Gluten free play dough | 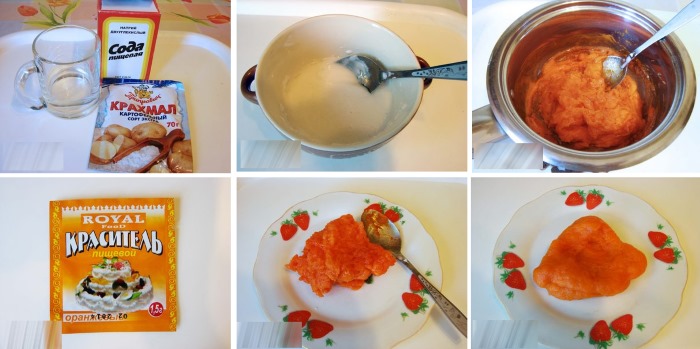 This type of plasticine does not involve the use of flour in its production. This makes the gluten-free type of material accessible even to children prone to allergic reactions.
|
Cold methods
How to make plasticine at home and keep your child busy for a long time without using high temperatures.
Cold production methods are the safest and easiest, but some of them require more ingredients and time spent on the process of creating the material itself.
| Cold method of creating plasticine | Description of the stages of the production process |
| From flour and salt | 
|
| With oatmeal | 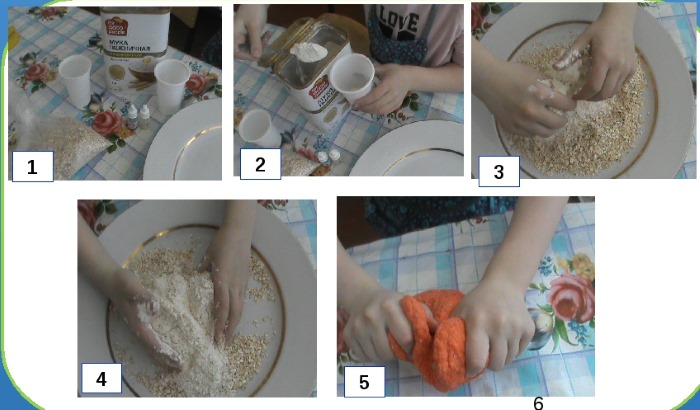
|
| With honey | 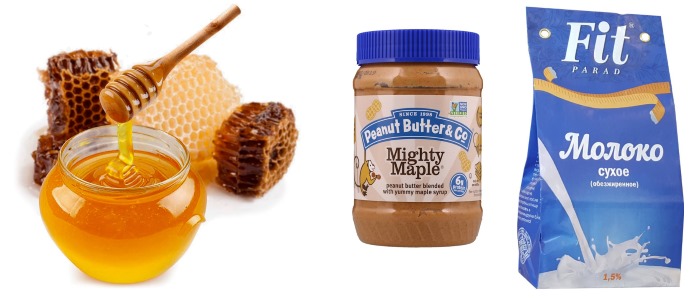
|
Edible plasticine
How to make plasticine at home and feed a child who is picky about food can be done with the help of universal ingredients that are suitable not only for creativity, but also for consumption by the baby.
| How to make edible plasticine | Description of the stages of the production process |
| Marshmallow Play Dough | 
|
| Plasticine from powdered sugar and gelatin | 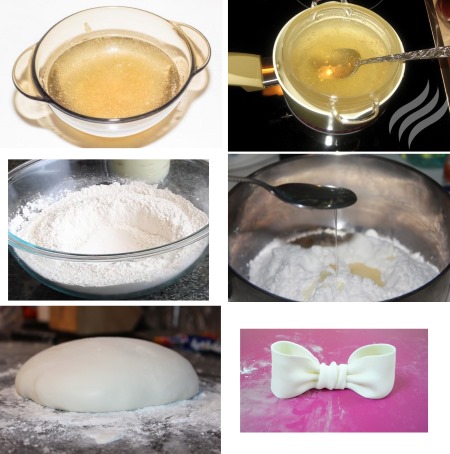
|
| Plasticine from marshmallows | 
|
With citric acid
Stages of creating plasticine:
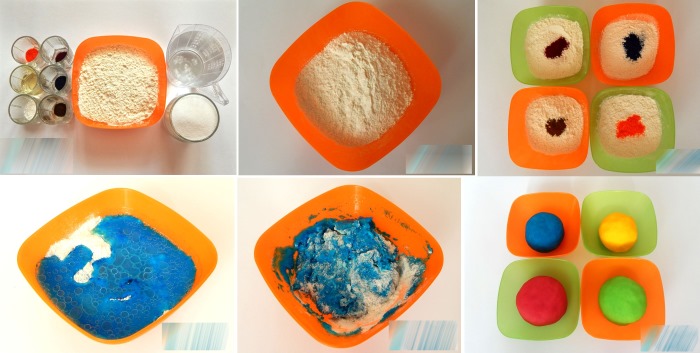
- Mix in a deep container with a non-stick coating 200 g of wheat flour, ½ tbsp. of salt (it is best to take salt in small grains), 2 tsp. of citric acid and, if necessary, to obtain colored plasticine, a few pinches of food coloring powder.
- Mix the dry mixture thoroughly and pour in 1 tbsp of vegetable oil.
- Place the resulting mixture on low heat, gradually increasing the heating temperature and stirring it continuously with a fork.
- Slowly pour in 100 ml of water at room temperature and knead the plasticine until smooth.
- Remove from heat, let cool to room temperature, then place in a plastic bag and refrigerate for 10-12 hours.
From starch and hair conditioner
How to make plasticine at home, and introduce your child to new compositions and personal hygiene items, you can do this by using starch and regular hair conditioner:
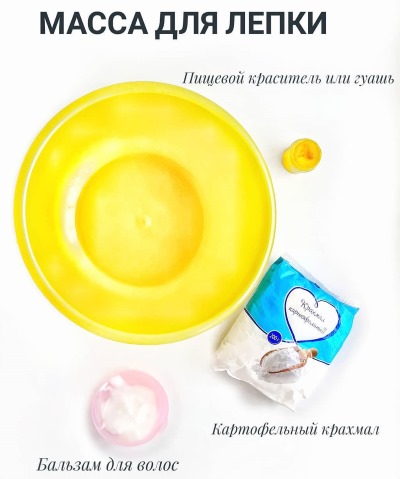
- Pour 200 g of potato or corn starch into a plate and add 50 ml of hair conditioner (if you don’t have conditioner, you can use shampoo, but keep in mind that the proportions will also change).
- Mix the main ingredients and let the plasticine sit for 1-2 hours.
From shaving foam
Step by step process:
- Squeeze 3-4 tablespoons of shaving foam into a deep container (it is advisable to use the mass tamped in a tube, and not mousse compositions).
- Add a few drops of food coloring (if you don't have food coloring, you can change the color of the plasticine using regular watercolors or gouache, added to the foam at the initial stage of the production process).
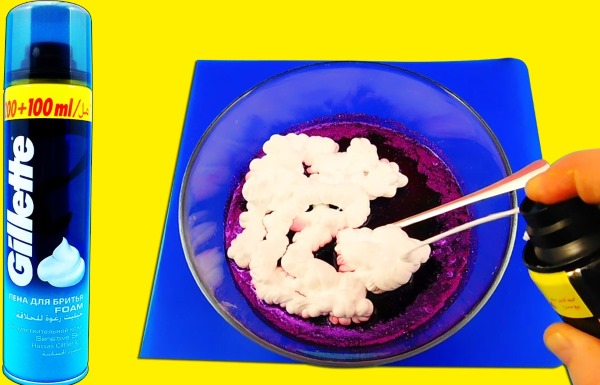
- Gradually add 200 g of potato or corn starch, stirring the mixture continuously.
- Place the plasticine on the table and add 0.5 tsp of vegetable oil to obtain a more homogeneous and plastic mass.
From PVA and starch
Stages of work:
- Pour 100 g of potato or corn starch into a small plastic bag.
- Add a few drops of food coloring and stir until the color is thick.
- Pour ¼ cup of PVA glue into the starch and stir, shaking the bag vigorously.
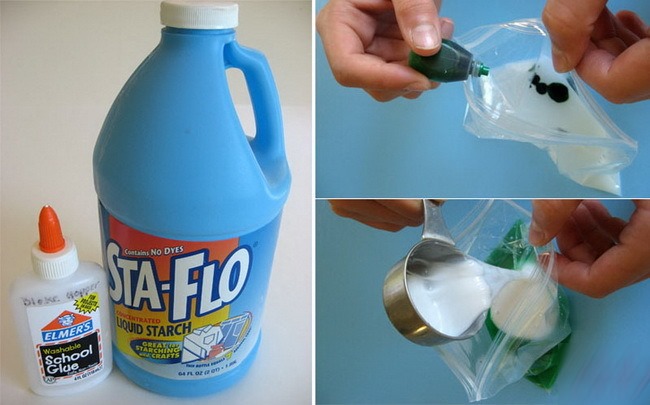
- After a homogeneous lump has formed, place the plasticine on the table and wait until the excess liquid drains off.
- If the mixture sticks to your hands too much, it is recommended to roll it in a small amount of flour or breading mixture.
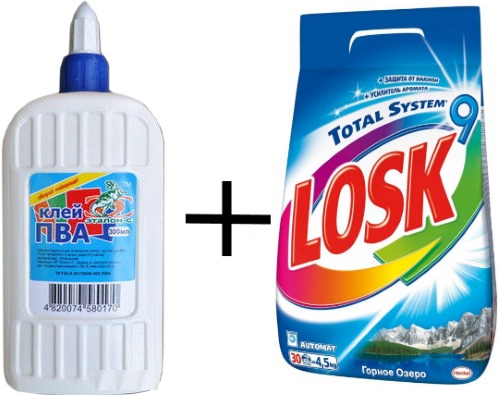
From PVA and soda
Sequence of actions:
- Pour 50 ml of PVA glue into a liter glass jar and, if necessary, add a few drops of food coloring of the desired color.
- Gradually add 2 tablespoons of baking soda, stirring the mixture continuously.
- After 2-3 minutes of constant stirring, place the plasticine in a plastic bag and knead it with vigorous hand movements.

- The finished material should look like a homogeneous lump, resistant to external influences.
- If the mixture turns out to be liquid, it is permissible to add a small amount of flour or starch (corn or potato).
From corn starch
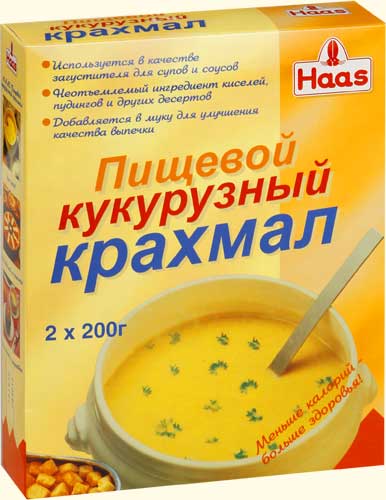
The following steps must be completed:
- Pour 200 ml of slightly warmed water into a deep plate.
- Gradually pour 400 g of corn starch into the bowl and mix the main ingredients thoroughly.
- If necessary, add a few pinches of food coloring (considering that the consistency of such plasticine will be more liquid in comparison with its analogues, it is recommended to color the composition with powdered food colorings).
- Roll the resulting plasticine in flour or powdered sugar.
With washing powder
How to make plasticine at home, and visually introduce your child to household items that can pose a health hazard if ingested, can be used in the creation of washing powder:
- Pour 50 ml of PVA glue into a plastic container.
- Add 5 tablespoons of washing powder to the bowl.
- Mix the main ingredients thoroughly and let the mixture sit for at least 4-5 hours.
- If necessary, the gel-like play dough can be rolled in flour and mixed with a few pinches of powdered food coloring.
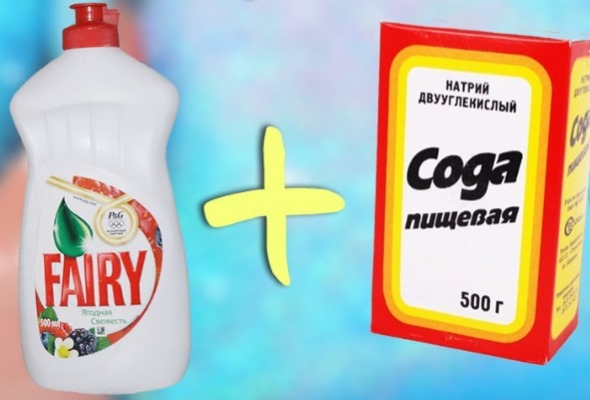
From detergents
Stages of work:
- Place 50 g of baking powder and 100 g of baking soda in a bowl.
- Gradually pour 100 ml of gel-like dishwashing detergent into the mixed dry ingredients (it is recommended to use products approved by pediatricians due to their low toxicity).
- Knead the resulting mixture with your hands to break up all the lumps that formed earlier.
- If the mixture turns out to be liquid, you need to add a small amount of baking powder.
Based on jelly
Sequence of steps:
- Pour 200 ml of PVA glue into a plastic container.
- In a separate container, dissolve food coloring in water and mix with glue.
- Pour 3 bottles of sodium tetraborate (4% composition) into the resulting composition. Stir.
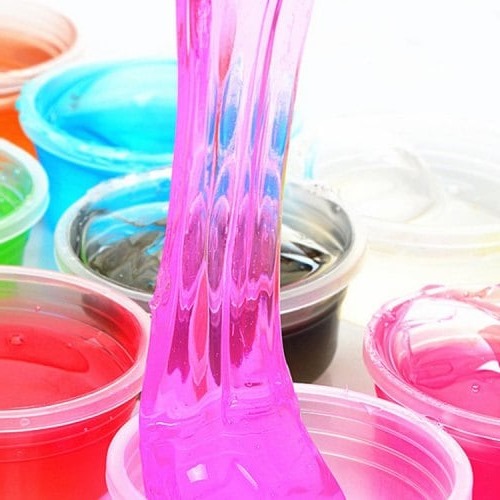
- Using a wooden stick, bring the consistency to maximum homogeneity and, after placing the plasticine in a plastic bag, put it in the refrigerator for 2-3 hours.
- Jelly-based plasticine should stick to your hands moderately, but at the same time not tear, but stretch.
Based on wallpaper glue
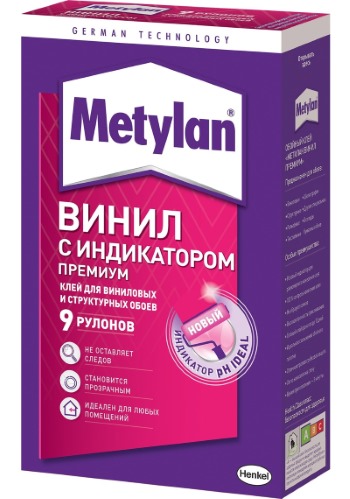
Procedure:
- Pour 100 g of dry wallpaper glue into a deep container.
- Add 200 ml of warm water and mix the main ingredients thoroughly.
- Add 3-5 drops of liquid dye. Stir.
- Pour in 50 ml of regular PVA office glue.
- Add 3 drops of sodium tetraborate and then mix thoroughly.
- Let the mixture sit for an hour (during this time, it is advisable to place the future plasticine in a dry, dark place to minimize the impact of external circumstances on the reaction taking place in the container).
Homemade Plasticine That Glows in the Dark
To obtain a plastic mass it is necessary:
- Crush 2 vitamin B tablets as much as possible.
- Mix it with 400 g of wheat flour, 150 g of iodized salt and 4 tsp of cream of tartar.
- Pour 400 ml of warm water and 2 tbsp of vegetable oil into the main ingredients. Mix thoroughly.
- Place the resulting mass on the fire and, stirring continuously, cook for 10 minutes.
- Remove from heat and let cool to room temperature on its own.
- Check the properties of plasticine by turning off the light and turning on an ultraviolet lamp.
Regardless of the type of production, plasticine prepared at home together with a child will be of particular value to a growing person.
With its help, you can both develop your creative potential and learn to be neat and strictly follow the instructions provided. To maximize the child's enthusiasm for the process, you can offer him to independently choose the method by which he will create working material for further crafts.
Article formatting:Natalie Podolskaya
Video about making homemade plasticine
How to make plasticine at home - watch the video: