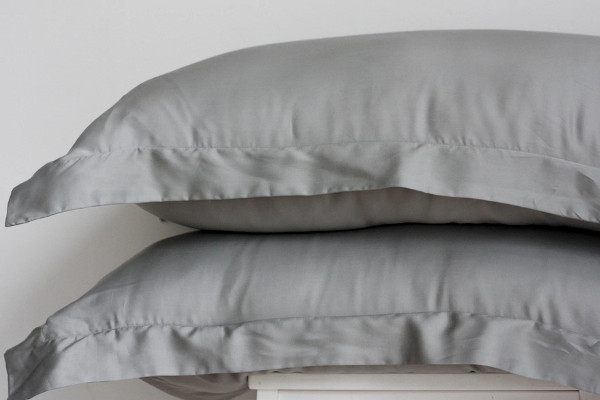
Bed linen can be purchased in a store. However, sometimes it can be problematic to choose a set that will meet all the requirements (for example, the material or size is not suitable).
If you have a sewing machine and desire you can sew it yourself for a pillow, a pillowcase of any size, which can be with a wrap, ears or a zipper. The main thing is to choose the right fabric and correctly calculate the material consumption.
Choosing fabric for sewing pillowcases
You can sew a pillowcase from almost any material. However, when choosing a fabric, you need to consider that each material has both positive and negative qualities.
Selecting fabric for making the product:
| Material | Brief description |
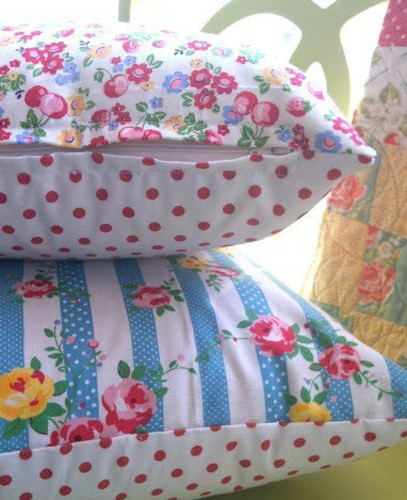
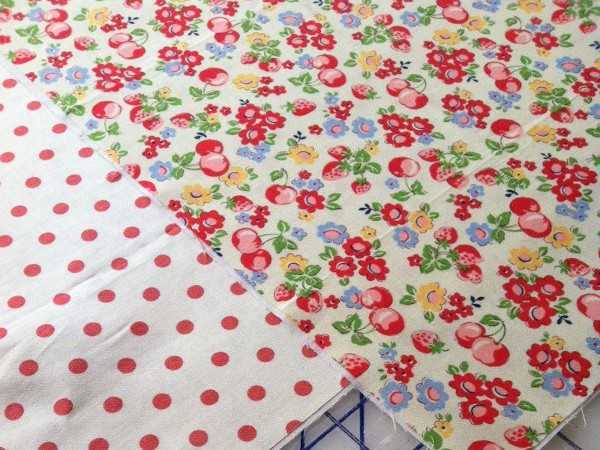
| Calico | This cotton material is durable and completely natural, so it is considered highly durable. At the same time, the fabric can retain its original appearance for a long period of time. Additionally, the material does not shrink after washing, almost does not wrinkle and does not create static electricity. In cold weather, it helps to warm up, and with the onset of heat, it absorbs sweat so that the body feels comfortable. However, after a certain period of use, pellets begin to form on calico due to compactions in the thread fibers. |
| Satin | The material is pleasant to the touch and strong, so it is suitable for making bed linen. At the same time, the composition contains only natural fibers. The fabric is durable, almost does not wrinkle and can be subjected to a large number of washes, after which it will not lose its appearance. Thanks to the matte back side, satin will not slip. The material also helps to retain heat. |
| Chintz | It is a natural cotton material that is delicate, soft to the touch and lightweight. When sewing a pillowcase, the calico fabric will not stretch due to its special weaving. Due to this, the material is almost not subject to shedding during cutting. However, calico is short-lived, so after several washes it can become deformed and lose its original appearance. Additionally, the dyed material begins to fade and can also shrink. |
| Silk | If you like silk underwear, it is recommended to choose natural material because it has useful properties. In this case, the composition contains amino acids that improve the functioning of the circulatory system. Additionally, the material helps repel dust particles, so dust mites will not start in it. At the same time, natural fabric is not subject to fungus and mold, so silk is considered the most useful, soft, and also dense, unlike other natural fabrics. However, the material is expensive and wrinkles. Because of this, you will have to carefully iron the bed linen every time after washing. |
After a certain period of time, the shade of any fabric material can become pale and dull, especially if it has many shades. In this case, it is optimal to choose cotton materials, because they are characterized by good durability.
How to calculate fabric consumption?
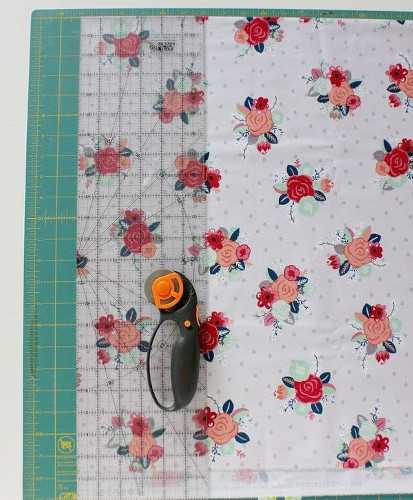
The consumption of fabric material will mainly depend on the pattern on the material. For example, if the pattern is small, then a little fabric will be needed. In this case, you need to take into account the size of the pillow with allowances for stitching.
When choosing a material with a large pattern, the consumption will be higher, because the pattern should be in the middle of the canvas.
The pillowcase can be cut along the grain or crosswise. When choosing the width, you need to consider the width of the pillow. The optimal piece of fabric should be such that little material is spent on trimmings.
The material is mainly sold in rolls of 80, 120, 150 and 220 cm width. Additionally, when sewing a product, you need to take into account that after washing, the fabric material may shrink.
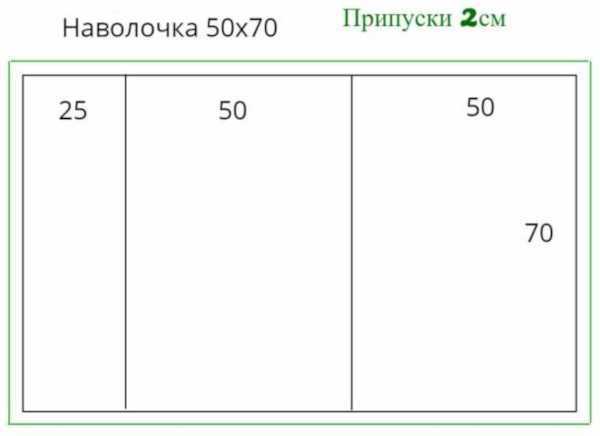
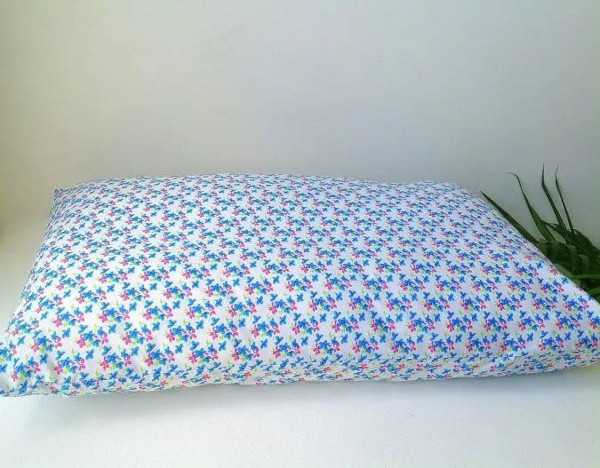
To make a rectangular pillowcase measuring 50x70 cm, you will need at least 170x55 cm of fabric. The allowance for stitching, as well as the fabric consumption for functional elements with decoration in the form of a fastener, ruffles, and ears, should be taken into account in the reserve.
Before creating the product, it is recommended to wash the fabric in warm water and then iron it. Cotton material often shrinks after washing.
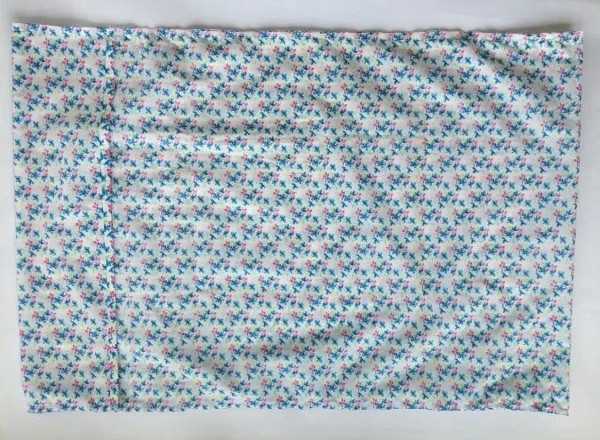
How to sew a simple pillowcase 50x70 cm
If you have no experience in sewing bed linen, it is recommended to choose a simple, unscented pillowcase. The pillow should be inserted from the side, and the edge will always be open. However, due to the large width of the product with a hem of open edges, the pillow will always be firmly held inside.

List of tools and materials:
- ruler with scissors, pins and chalk;
- thread material that matches the fabric in color;
- fabric material;
- sewing machine.
Pattern creation algorithm:
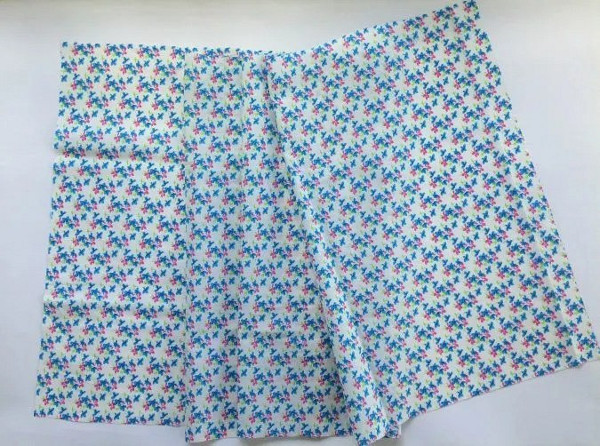
- To cut out the pieces, first measure the length and width of the cushion. One of the pieces should have a fold.
- If the length of the pillow is 50 cm, then multiply this figure by 2, and then add 2.5 cm to the result so that the fit is loose. Additionally add another 2 cm for the seam allowance. As a result, the length of the piece should be 104.5 cm. In this case, add 41 cm to this value. The final result should reach 145.5 cm.
- To the resulting width of 70 cm, add 2.5 cm (for a loose fit), 10 cm (for finishing the edges) and 2 cm (for the allowance). The result should be 84.5 cm.
- Make a pattern of one such detail without adding allowances, because they are already included in the calculation.
Step-by-step description of the work:
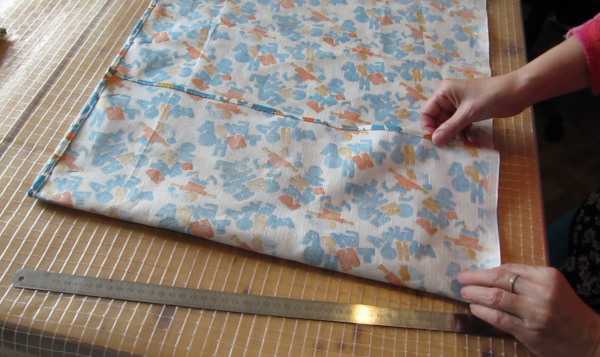
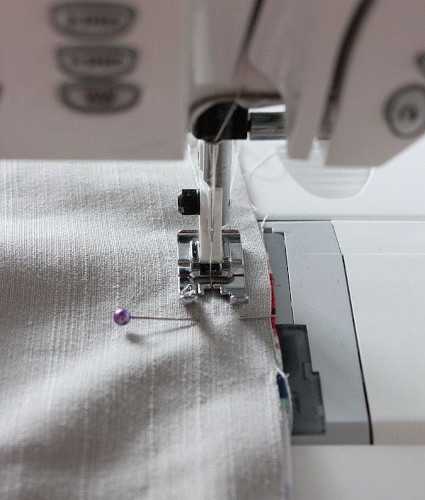
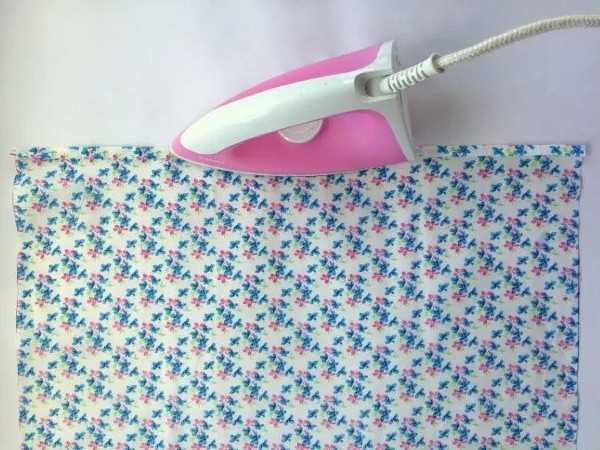
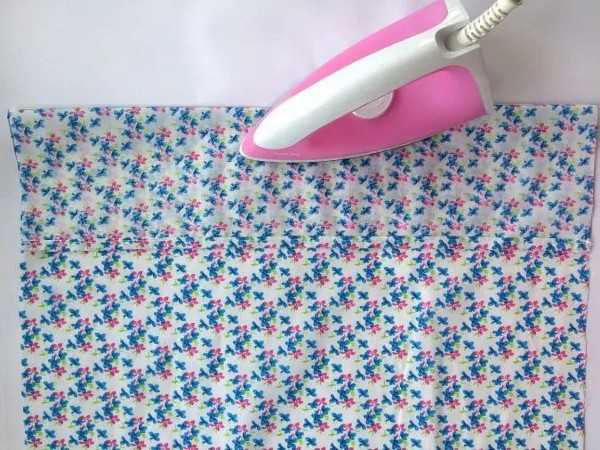
- Place the cut-out piece with the inside facing up, with the long sides on each side. Turn the cut of the extended side on the right inside out by 1 cm and iron.
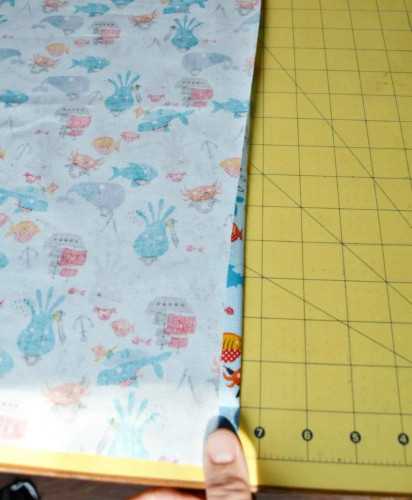
- Again, fold this cut inside out by 9 cm and iron. Use clamps to secure the hem. Moving away from the fold by 2 mm, stitch the hem into the cut.

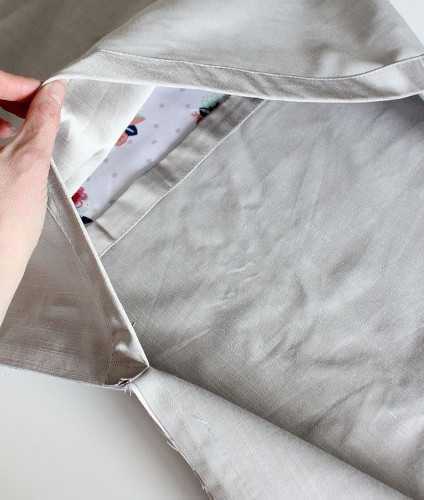
- Fold the workpiece in half so that the back is inside and the short sides are joined together. In this case, the front part of the material should be on the outside, and the processed edge should be on the right.

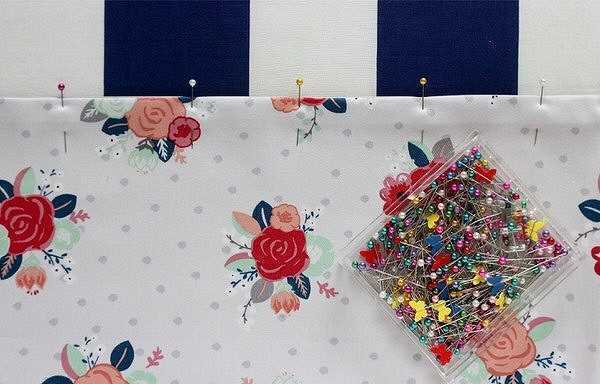
- Join the edges at the top and on the left side using pins. Additionally, stitch with a 7 mm allowance. Iron the seam line with allowances.
- Cut off the corners, leaving 2 mm from the line.
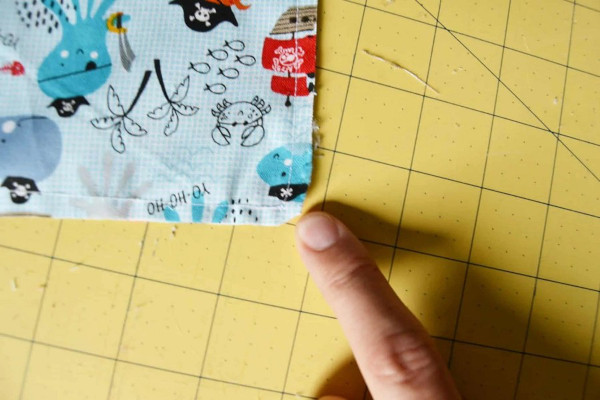
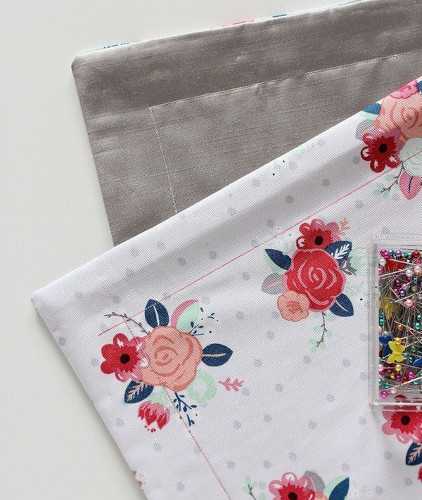
- Turn the workpiece inside out, straightening out the allowances. Iron the folds and secure with pins.

- Sew the long and short sides, leaving a 1.2 cm seam allowance.
- At the end of the work, turn the pillowcase inside out, straightening the corners.
With ears
You can sew a pillowcase with ears. In this case, you don't need to make a pattern. In this case, the wrap will be located at the back. If desired, you can make the top side of the product from colored fabric, and the bottom from a single-color material. You can also simply sew a pillowcase from the same material.

Necessary materials and tools:
- chalk or fabric marker that disappears;
- scissors with a ruler and pins;
- fabric material;
- sewing machine with threads that match the shade of the fabric.
Step-by-step description of the work:
- You can find out the height of the front side, which is represented by the 1st detail, using the formula: (50 cm + 5 cm) x 2 + 2.5 cm. The first value in brackets is the height of the pillow, the second is the width of the ears. The result should be 112.5 cm.
- Formula for calculating the width: (70 cm + 5 cm) x 2 + 2.5 cm. The first value is the width of the pillow, the second is the width of the ears. The result should be 152.5 cm.
- The back side consists of 2 parts. Its height is the same as the height of the front part. To calculate the width, you need to divide 152.5 cm in half. Then add 12 cm to the result. Round the resulting value to a whole number to get 89 cm.
- Make a pattern of the parts.

- The edges of the back elements are processed. The edge of the 1st part on the right is folded inside out by 2.5 cm and ironed. Then do the same manipulations again, fixing the edge with pins.

- Moving 2 mm away from the fold, sew the hem to the edge.

- In the same way, process the left part of the other part from the back.
- Place the front piece with the back side down. Place the back piece on top so that the front side is at the bottom and the finished edges overlap in the middle. Trim the edges and pin them in place.

- Sew the pieces around the perimeter, leaving a 1 cm allowance. Iron the seams and trim the corners.
- Then turn the workpiece inside out.
- After straightening the allowances, iron the product. Secure the edges with pins to prevent the layers of material from shifting.
- Use a marker or chalk to indicate the boundaries of the product, indicating the width of the ears.
- Sew a line along the stripes shown. The seam should be located along the perimeter of the pillowcase.
With lightning
The pillowcase can be sewn with a zipper to securely fix the pillow. At the same time, this option is suitable for making a product for decorative bed linen. The fastener can be regular or hidden.
In the first option, the zipper shade should match the color of the main fabric. In the second case, the fastener will be almost invisible, so it can be 2 or 3 tones lighter or darker than the main color of the fabric. Also, the zipper can match the shade of the pattern if the material is colored.
A pillowcase with a zipper can act as a pillow base, into which you can place the filler without a pillowcase. However, for these purposes, you need to use a dense material that will retain its shape. At the same time, the filler should be light and soft.
Feathers are not suitable for this purpose because 1 layer of fabric will not be enough to hide the feather filling that is showing through.
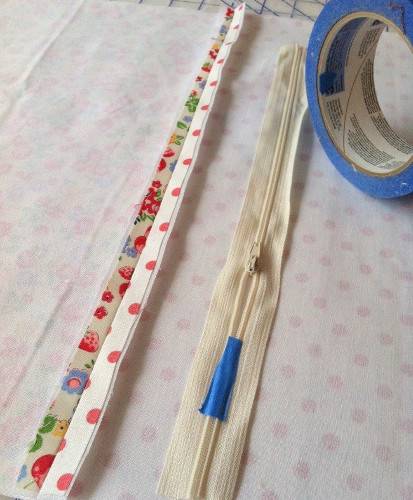
List of materials and tools:
- a zipper, the length of which should be 5 cm shorter than the pillow;
- thread material that matches the shade of the fabric;
- scissors with masking tape, pins, ruler and chalk;
- fabric material;
- sewing machine and foot to sew in the clasp.
Algorithm for making a pillowcase with a regular clasp:
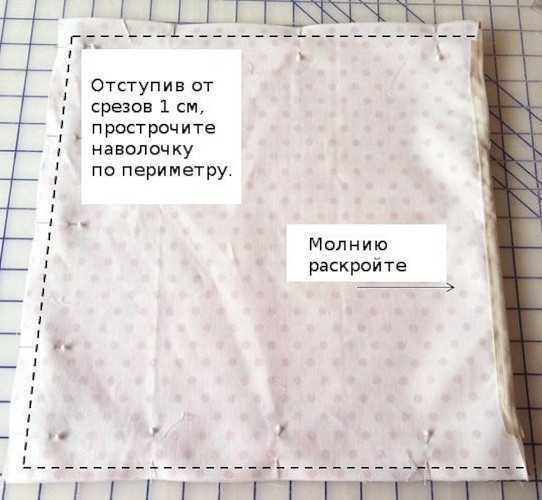
- Make a pattern of the parts, making allowances of 1 cm on each side. Glue the allowances using interlining.
- Place the blanks together with the right sides facing inward, securing one side with clamps. Use chalk to mark a distance of 5 cm at the bottom and top.
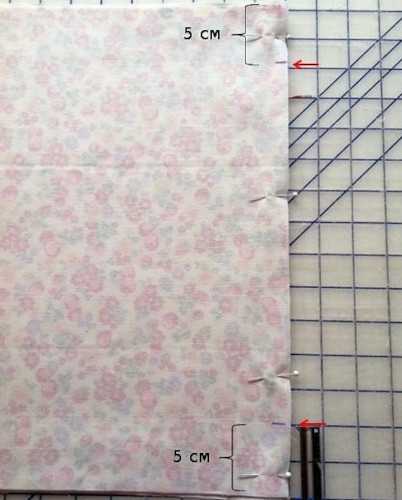
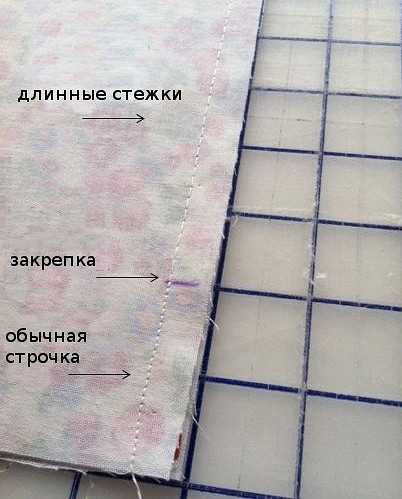
- Make a seam along this line with a normal stitch size. Between the marks made with chalk, make a seam with enlarged stitches to create a basting stitch. Make fastenings near the marks.
- Iron the seam and open the zipper halfway. To prevent the edges of the zipper from slipping, you can use tape.
- Place the fastener in the middle of the line so that the zipper is at the bottom. The teeth of the zipper should go exactly along the seam. The edges of the zipper should be 5 cm below and above the chalk marks. You can use pins or masking tape to secure the fastener.
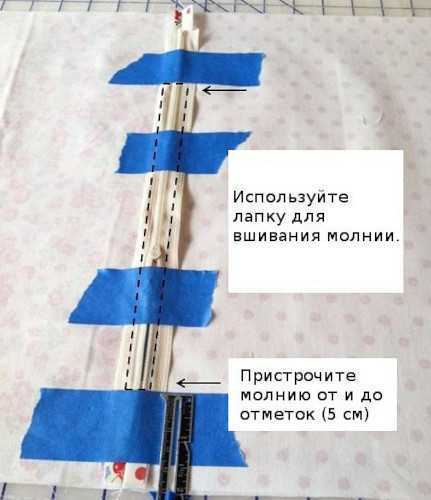
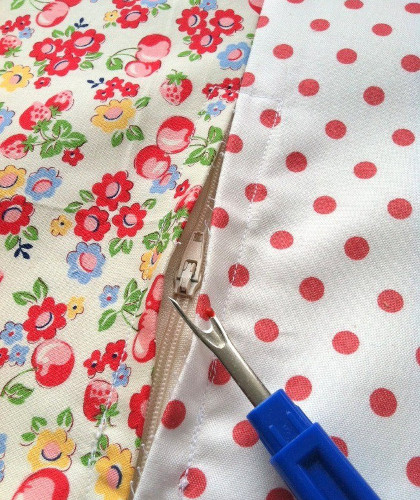
- Using a special foot, sew the fastener to the elements of the product. After sewing in the zipper, remove the basting stitch.
- Fold the garment parts along the length of the sewn-in fastener, securing the edges. The zipper should always be open by 1/2.
- Make a seam from the cuts at a distance of 1 cm.
- Turn the workpiece through the hole in the zipper with the front side out.
Algorithm for creating a pillowcase with a hidden zipper:
- Cut out 2 pillowcase pieces, finishing the top edge with an overlock. If you don't have special equipment, sew a zigzag stitch along the edge.
- Fold the sides of the pattern to the middle of the material. Mark the center of the zipper with a marker or chalk. Attach the zipper to the pattern from the front side, aligning the centers.
- Unfasten the fastener and spread it to the sides. Using pins, fix the edges of the material with the centers of the fastener. To sew the zipper to the edge of the product, lay an additional basting stitch. First sew one side, then the other.
- Using the hidden zipper foot on your sewing machine, sew the sides of the clasp one by one. Then change to the single-horn foot to secure the clasp. Stitch the section from the top and bottom to the hidden clasp.
- Smooth out the lines. Manually make 2 fastenings at the beginning and end of the fastener. This will prevent the stitches from coming apart.
- To create a lapped linen stitch, fold the garment along the front side. As a result, the lock should be located in the center. Pin the edges together.
- When sewing the pieces together, step back from the cut edge by the width of the foot.
- When cutting the edge of the material, step back 3 mm from the seam.
- Turn the fabric inside out and smooth out the stitching so that the fabric does not overlap.
- On the wrong side, sew a second seam to seal the inside raw edge.
With smell
You can sew a pillowcase with a fold on the side so that the pillow does not fall out while you sleep.
List of tools and materials:
- pins, scissors, ruler and marker;
- fabric material and thread material that matches it in shade;
- sewing machine.
Stages of sewing a pillowcase:
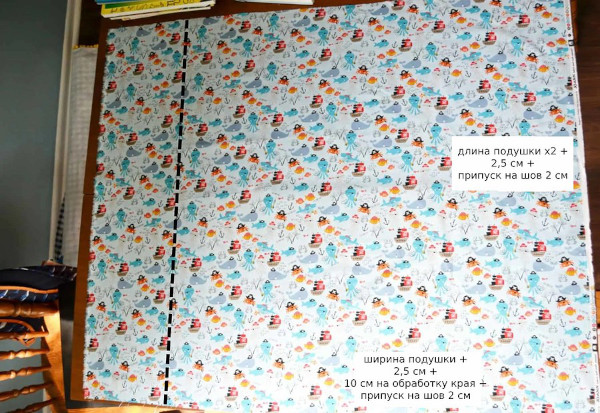
- Initially, calculate the parameters of the parts. To do this, add 2.5 cm (for a loose fit) and 3 cm (for seam allowance) to the length of the pillow of 50 cm. The result should be 55.5 cm.
- To calculate the width of the workpiece, double the width of the 70 cm cushion, then add 25 cm, 2.5 cm and 4 cm to the result. The final result should be 171.5 cm.
- Cut out the resulting piece. Fold the shortened edge 1 cm from the inside and iron. Then repeat the same steps, fixing the hem with clamps and stitching it to the edge.
- Design the second shortened side in the same way.
- Place the piece vertically so that the front side is on top. At a distance of 25 cm, bend the edge down to form the flap and iron the fold.
- Turn the workpiece over so that the back side is on top. Then fold it in half crosswise, joining the edges and securing them with clamps or pins.

- Stitch the part along the two extended sides. The shortened part should always be open. Make allowances of 1 cm for the seams. Then process the allowances with a zigzag stitch.
- Turn the product inside out and evaluate the result of the work.
The sewing process is fascinating and does not take much time. The main thing is to immediately decide what size the future pillowcase will be, as well as what type of fabric it will be made of. At the same time, when constructing a pattern, you must immediately take into account the presence of a zipper, ears or other decor in order to know the exact consumption of material.
Video about sewing a pillowcase 50 by 70
How to sew a 50 x 70 pillowcase with a wrap: