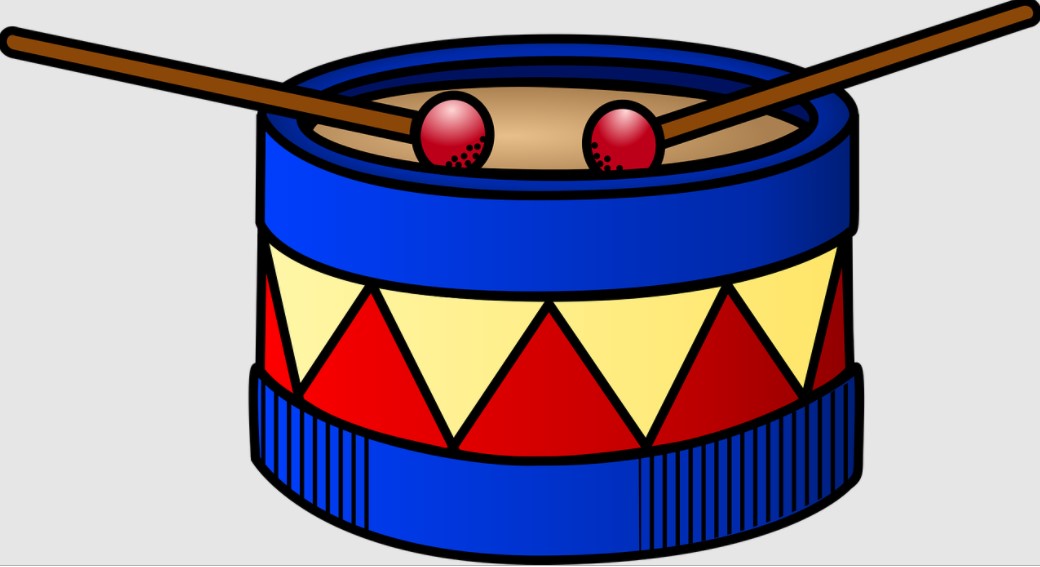
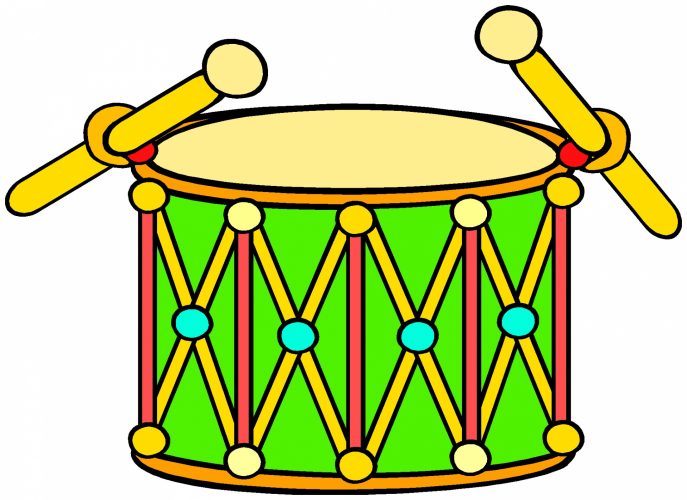
The drum is one of the popular musical instruments, which is often an attribute of old cartoons for children from the USSR. It is believed that it appeared in the 17th century, but ancient drawings show that the "semblance" of a musical instrument appeared much earlier. The sounds that the drum makes were used by ancient people as a way to protect themselves from wild animals.
Pencil drawing
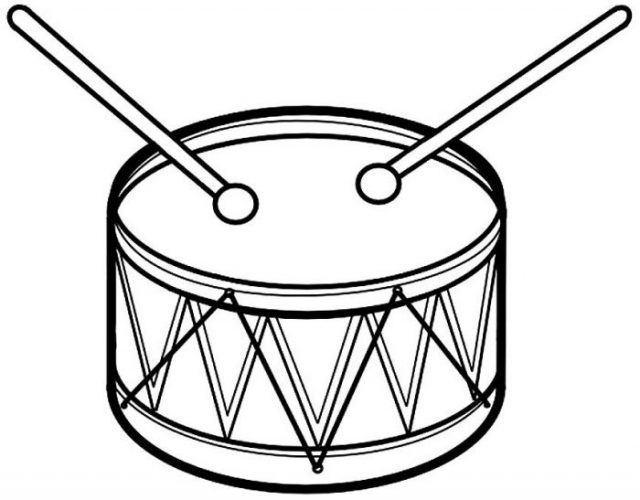
A drum (drawing for children with a simple pencil) is quite easy to depict with the help of geometric shapes.
The drawing of a percussion musical instrument is suitable for children of any age.
Pencils, paper and supplies
To complete the work you will need:
- ruler;
- simple pencil;
- eraser;
- sharpener;
- a sheet of white paper.
You can also draw geometric shapes by hand.
Step by step drawing process bmacawbana geometric figures
Step-by-step process of completing the work:
| Stage | Description of the stage | Image |
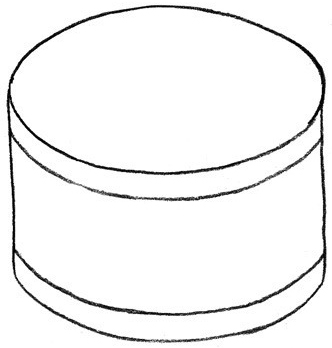
| 1 | First, you need to draw a rectangle. If you look at the drum from the side, you will notice that it has a perfect rectangular shape. From above, the musical instrument is round. | 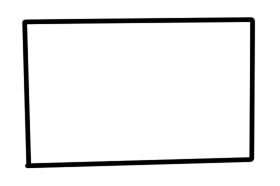 |
| 2 | At the top, you need to draw a wide oval that will be slightly larger than the rectangle. At the bottom, you also need to draw an oval: you can depict a whole figure, or draw only a part at once. | 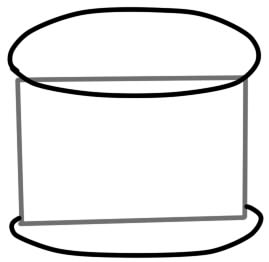 |
| 3 | To make the top and bottom parts voluminous, you need to draw several lines - as shown in the image. | 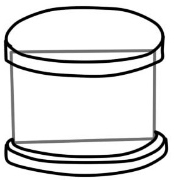 |
| 4 | To make the drawing appear cleaner, it is necessary to remove the internal lines that were needed for drawing. To avoid leaving marks on the paper, it is necessary to press lightly on the pencil. | 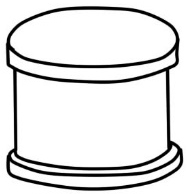 |
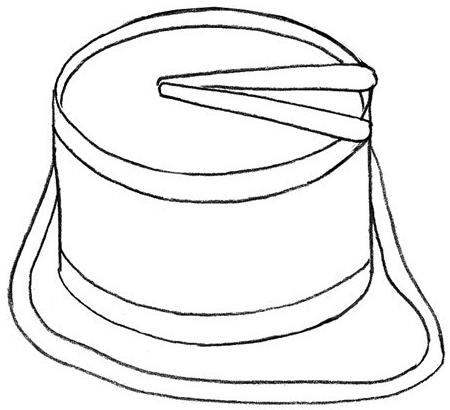
| 5 | On the top of the drum, you need to draw an arc so that the instrument does not seem flat. On the main part, you need to draw pictures: these can be waves or zigzag lines. |  |
| 6 | To play the drum, you will need sticks. They can lie nearby or depict playing the instrument. Drum sticks look like regular sticks with round weights on the end. | 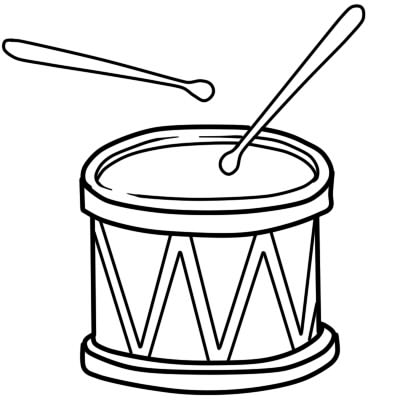 |
| 7 | For more detail, you can apply strokes on the surface of the drum, depicting a shadow. You can also show figures that will represent the sound - small triangles around the musical instrument. | 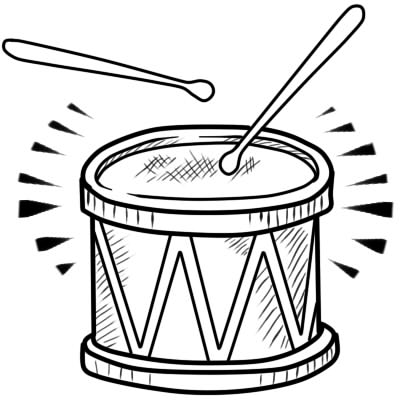 |
Once the design is ready, you can duplicate the main lines of the drum.
Step by step process of making a detailed drum
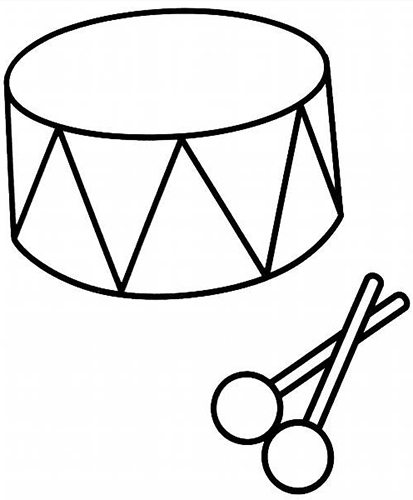
You can also draw a less detailed drum, which is suitable for small children. The following image should be used as a basis:
Step-by-step process of completing the work:
- You need to draw 2 long ovals by hand, one below the other.
- Using a ruler, connect the outer arcs of the figures. At the bottom, erase the "inner" arc using an eraser.
- A pattern must be applied along the perimeter of the main part. These can be waves or zigzags with sharp ends, depending on preference.
- On the side of the sheet, you need to draw 2 lines crossed with each other. At the end of each, you need to depict small, even circles.
- Each stick must be outlined and the line inside must be removed using an eraser.
The finished drawing can be emphasized with shadows, or left as is.
With colored pencils
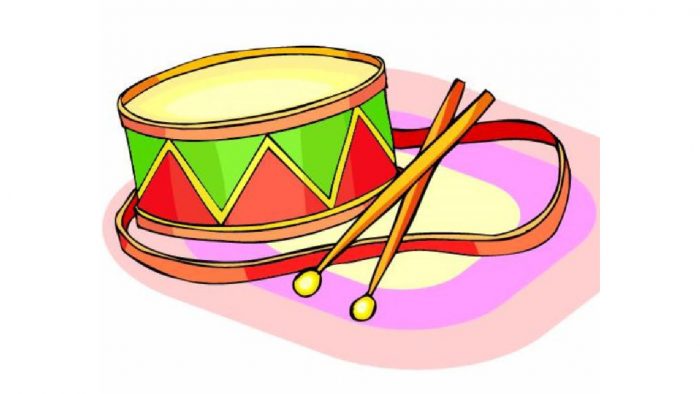
Drum (color pencil drawing for kids) has different shapes. Unusual musical instruments have different patterns and shades.
Pencils, paper and supplies
Tools needed to create the drawing:
- simple pencil;
- set of colored pencils;
- eraser and sharpener;
- a sheet of white paper.
You can also use felt-tip pens and markers to highlight certain elements of the drawing.
Step by step process of execution
The step-by-step process of doing the job is simple:
- First, you need to draw the basic shape of the drum, which resembles a bucket. To make this step easier, you can first draw a tall rectangle, and then, starting from the bottom, expand it a little. The upper lines need to be connected with a smooth arc - as shown in the picture. When the shape is ready, you need to remove unnecessary details.
- The top of the ethnic drum needs to be bent even more with the help of an additional detail. At the bottom, it is necessary to draw a fringe.
- The lower part needs to be made clearer and more noticeable. To do this, it is necessary to sharpen the corners and draw additional lines.
- In the upper part, you need to draw an arc that will separate the main part of the musical instrument. You also need to draw 2 crossed stripes - decoration of the future ethnic drum.
The finished sketch looks like this. First, you need to erase the extra lines with an eraser:

Once the template is ready, you can start coloring the drawing.
Execution process:
- To color, you will need a small set of colored pencils. By pressing the pencil, you can control the intensity of the color, which allows you to make brighter and more saturated drawings without a lot of materials.
- Using a black pencil, lightly pressing on the lead, fill the upper part of the drum. At the same time, you need to highlight the "inner" oval more strongly.
- Use a white or yellow pencil to go over the fringe.
- Using a brown pencil, fill in the lower part of the drawing without touching the stripes.
- The drum decoration can be painted in any colors you like. You can also make the stripes multi-colored.
- Using a thin black marker, you need to outline the outline of each element.
You can also add an oval shadow on either side of the drum. You only need to press lightly on the pencil. You can also use hatching techniques during the process to better convey the texture of the object.
With paints
A drum (watercolor drawing for children) is a musical instrument that is part of a drum kit. Interestingly, the largest kit had about 813 musical instruments.
Pencils, paper and supplies
You can draw and paint the drum using watercolors.
To do this you will need:
- simple pencil;
- thick white paper;
- watercolor;
- brush and water.
You will also need auxiliary tools (sharpeners, erasers and rulers) for convenience. When working with watercolors, it is recommended to use thick paper. The absorbency of water and paint, as well as the immediate result, depend on the thickness of the sheet.
Step by step process of making a drum with paints
First you need to draw a sketch:
- To make the basic shape of the drum, you need to draw 2 large ovals, one under the other. It is important to place the ovals at a fairly large distance, as you need to draw other elements inside.
- Using a ruler, you need to connect the sides as shown in the picture.
- To make the drawing more voluminous, it is necessary to draw 2 stripes in the lower and upper parts, which will show the rim of the striking surface.
- On one side, you need to mark a point that will be located slightly below the upper rim. From this point, you need to draw a long, curved line that does not touch the surface of the drum. The line must be brought to the same point on the other side of the drum - this will be the belt.
- Having marked the approximate width of the belt in the drawing, you need to draw another line that repeats the previous one.
- Drumsticks should be placed on the striking surface of the drum. They can be depicted in a crossed position - if desired. To begin, you will need to draw long ovals that gradually narrow at the point of contact.
- Once the base of the drum is ready, you can begin to detail it.
- At the ends of the sticks, it is necessary to depict small circles, and then smoothly connect them to the surface of the sticks. Excess elements must be removed with an eraser.
- On the rim, you need to depict another uneven oval, which is held by the rim with the help of "rings". They can be seen in the proposed drawing.
- On the lower rim you can also see the elements that hold the thread, located over the area of the drum.
- It is also necessary to show the thread itself.
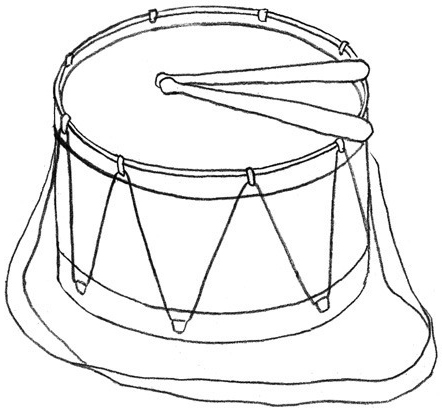
- It is also necessary to decorate the drum shell (the wide side surface of the musical instrument. Most often, triangles are depicted on it, but other figures can be used.
Once the sketch is ready, you can begin adding color to the drawing.
Step by step process:
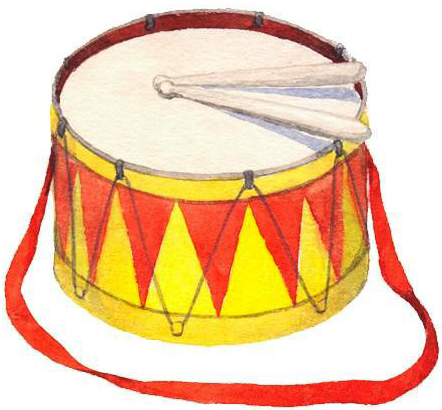
- First, you need to apply a light base coat of paint so that the colors appear more saturated and vibrant later.
- On the palette, you need to mix a large amount of white and a drop of brown. Using a medium-sized brush, you need to stir the paint and fill all the elements of the drawing with it.
- When the paint dries, you need to add a little more brownish paint to the resulting shade. Using a thin brush, you need to paint the drumsticks with the resulting shade.
- The far side of the top rim needs to be painted with red paint mixed with a small amount of black.
- The outer part and part of the triangles must be filled with yellow.
- Once the paint has been absorbed, you need to paint the remaining part of the design on the side surface and the belt with red paint.
- Once the drawing has dried, you can work with black paint. It is necessary to fill the thread with it, as well as the elements that hold it.
- Mix white and black paint and draw an oval shadow under the drumsticks.
If desired, other combinations of colors and shades can be used during the work process.
Step by step process of making a drum with gouache
The drum (a drawing for children can also be painted with gouache), when applied to paper, must be done taking into account certain rules.
Step-by-step process of completing the work:
- First, you need to draw an oval. If you look at the musical instrument from the side, you can see its oval shape.
- Under the oval, you need to draw another one - the same shape and size. It is important that the far part of the lower oval intersects with the upper one.
- The part of the lower oval that overlaps the surface of the upper one needs to be erased. Also, half of the lower oval needs to be removed so that an arc resembling a smile remains.
- The edges of the remaining lines and the sides of the upper oval should be connected with straight lines. For convenience, you can use a ruler.
- To make the drawing more voluminous, it is necessary to draw the rims of the drum, separating the side surface from the membrane.
- The main part of the drawing is ready, now you can start drawing on the side surface. In children's cartoons and fairy tales, multi-colored triangles are often depicted.
- On the upper rim you need to draw 2 small circles. Inside the lower rim you need to draw 3-4 circles so that they are not under the upper ones - these are the darts that hold the drum together. Between them you need to place broken lines - up and down.
- On both sides of the striking surface, you need to draw small circles. From the sides of the circles, you need to draw long rectangles that will form the drumsticks.
The finished sketch should look like this:
Once the template is ready, you can start adding color:
- First, you need to prepare the paints and tools. Gouache should be diluted to a creamy consistency and the shades should be checked on a piece of paper. The paint should be applied in a thin layer so that it does not fall off when dry.
- On the palette, mix white and a drop of black. The resulting light gray shade should be used to paint the entire striking surface. It is important to paint the surface first with horizontal strokes, and then continue in a vertical state.
- Drumsticks can be painted a brown shade. To make them more natural, you need to put a small highlight on each circle using white paint.
- When working with gouache, it is important to thoroughly wash your brushes or use clean ones.
- The surface of the rims should be painted with a light blue shade, without touching the darts that hold the drum together.
- The triangles can be colored as you wish. The most common combination is yellow and red.
If desired, you can paint the perimeter of the main elements with black paint using a thin brush. You can also draw a shadow for the drum. It is also important to remember that when drying, gouache can become lighter or darker, which will affect the overall picture.
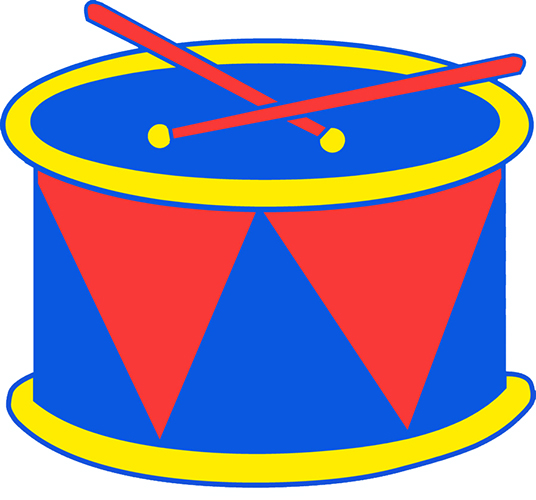
With felt-tip pens
You can draw a drum using felt-tip pens. Children prefer felt-tip pens to pencils because of their richer color, which allows you to create a bright picture. It is also much easier to work with felt-tip pens.
Pencils, paper and supplies
What you will need to create the drawing:
- set of markers;
- simple pencil;
- eraser;
- a sheet of white paper.
In the process, you can use only felt-tip pens, but you need to work carefully, without unnecessary lines and shapes.
Step by step process of execution
During the work process, you need to be guided by this image:
Step-by-step process of completing the work:
- At the top of the sheet you need to draw an oval, inside which you need to duplicate the figure, stepping back a little.
- From the inner oval, you need to draw a rectangle that will form the side surface. The bottom of the rectangle should be slightly arched.
- The lower part of the rectangle must be “wrapped” with a voluminous arched line, which will be the lower rim of the drum.
- On the side surface it is necessary to depict any figures - decoration of the future drum.
- Small circles should be placed on the striking surface. From each circle, lines should be drawn to form the drumsticks.
- Drumsticks can be crossed or facing in different directions.
- Once the template is ready, you can start filling it with different colors.
- Use a yellow marker to color the drum rims and the circles on the drum sticks.
- The lower part of the side surface of the drum should be filled with a blue felt-tip pen. The striking surface should also be drawn with a blue shade.
- The upper part of the side surface needs to be painted over with a red marker.
- If desired, you can create the outline of the drawing with a black marker.
You can choose any colors for the drawing.
The drum is a percussion instrument because it makes noise when struck. The body of the musical instrument is made of wood, and the membrane is made of leather. It is believed that drums are the children of Africa, because there this musical instrument is the main source of music, as well as a means of conversation.
In many of the pictures you can see classic drums and drum kits, but in fact there is a whole caste of ethnic drums that have different shapes.
Video about drawing
Master class on painting a drum with paints: