The Eternal Flame is often used as a patriotic symbol in children's drawing competitions dedicated to the Great Patriotic War, the preservation of peace on earth, and the memory of the victims of genocide, which are held at the local and federal levels. Therefore, it will be useful to master it pencil drawing, which can become the basis for watercolor drawings and images made in other techniques.
Easy drawing with a simple pencil
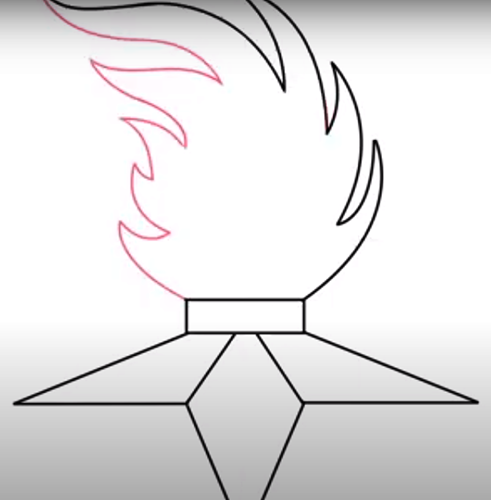
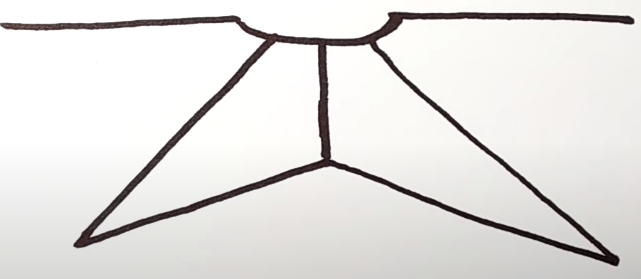
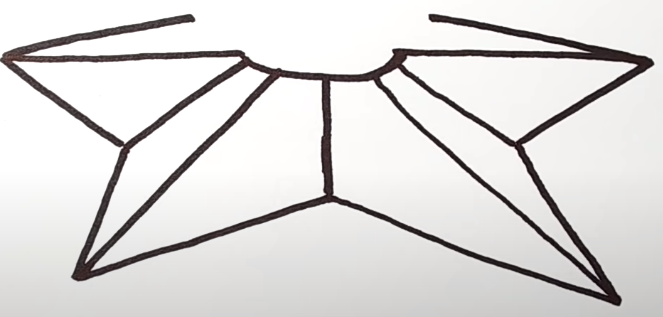
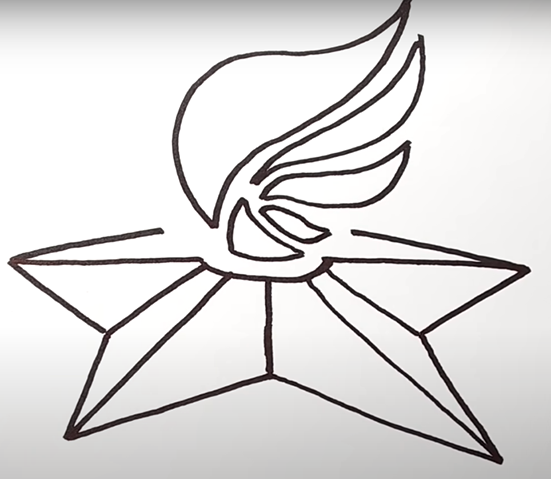
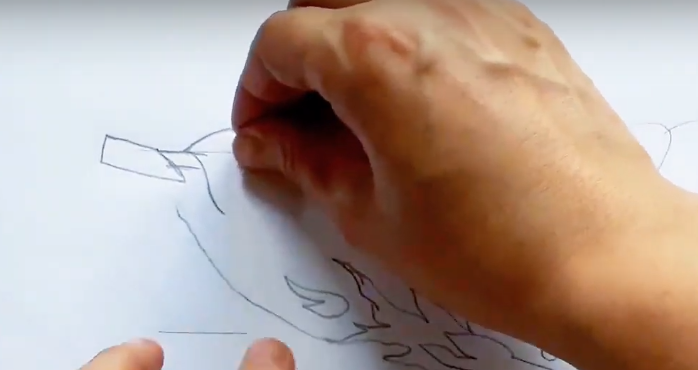
The Eternal Flame (a pencil drawing can be made by constructing simple geometric figures) has a five-pointed star at its base, which must be depicted from the side. For this drawing you will need a simple pencil, an eraser and a ruler.
Detailed step by step drawing process:
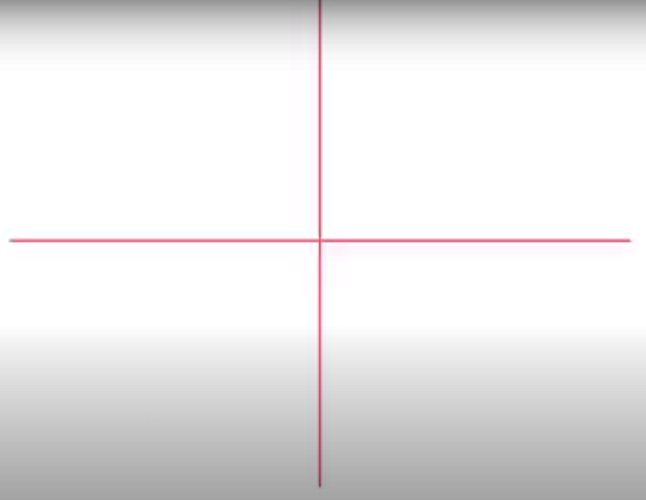
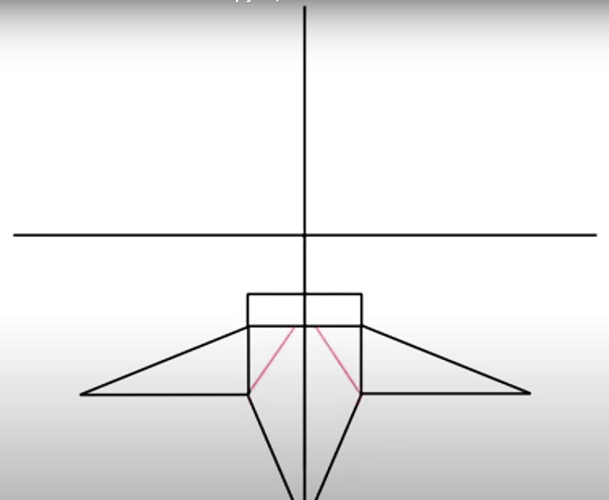
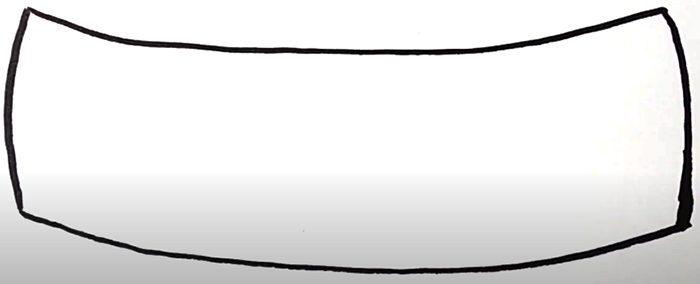
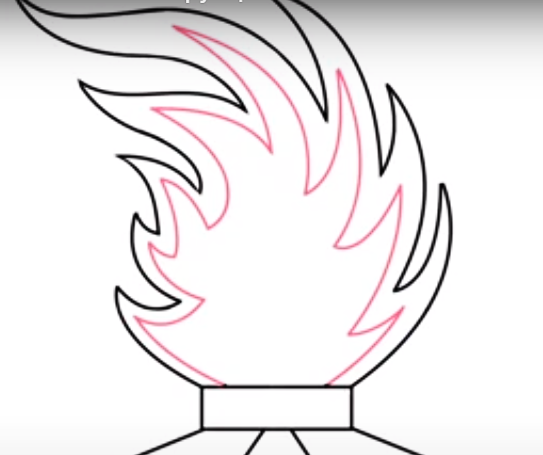
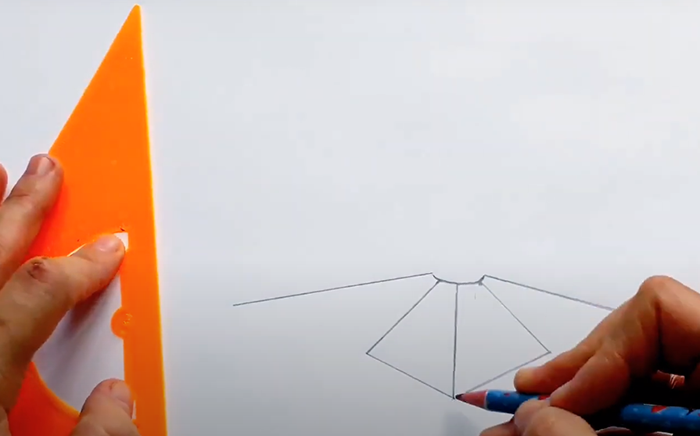
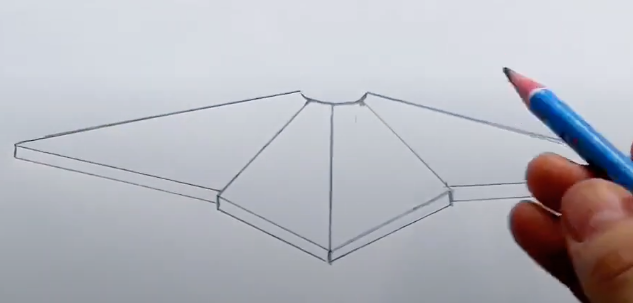
- In order for the fire structure to be symmetrical and even, you need to draw horizontal and vertical lines that divide the album sheet into 4 equal parts. For clarity, new elements that are added to this drawing are shown in pink.
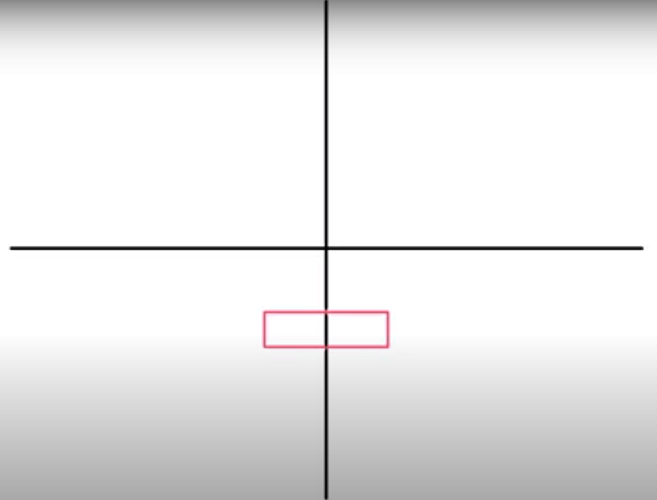
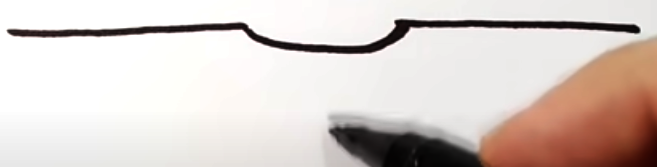
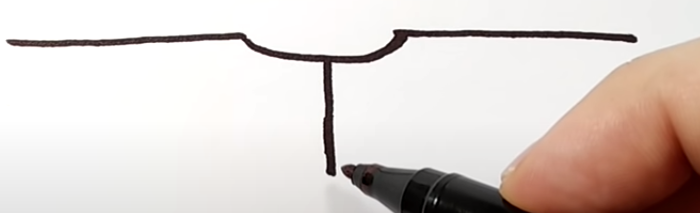
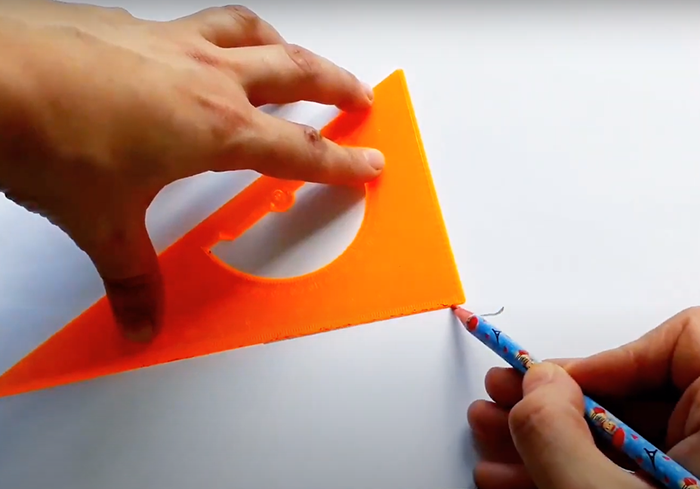
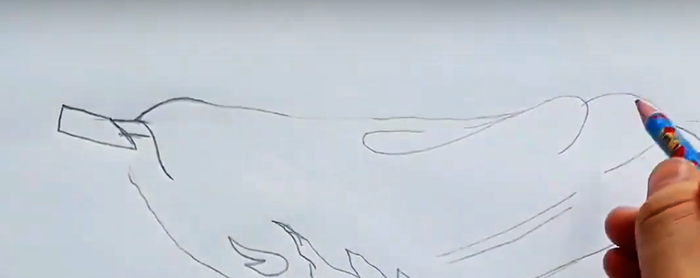
- Now, at the bottom of the sheet, under its center, you need to draw a small narrow rectangle with a ruler, which will represent the burner of the eternal flame. The real eternal flame in its upper part is protected from wind and rain by a metal cylinder, which looks like a rectangle from the side. Thanks to it, the flame, which is maintained by a continuous supply of gas through the pipes, never goes out even in bad weather.
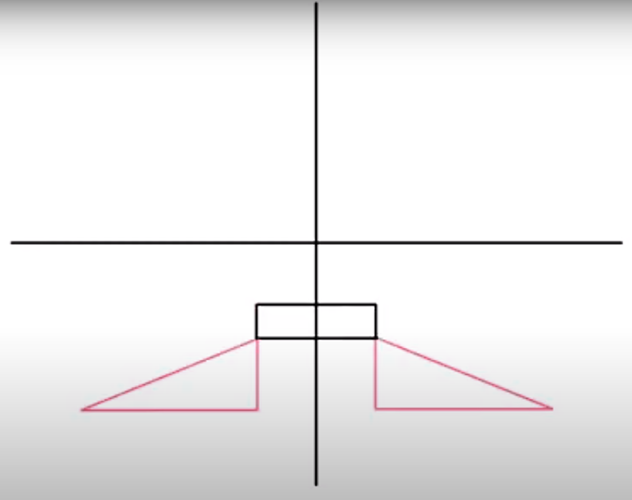
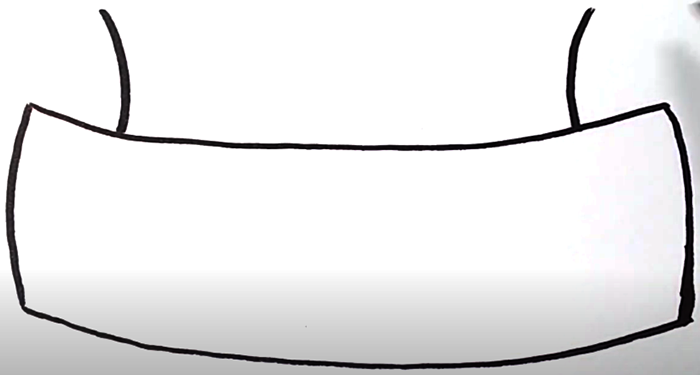
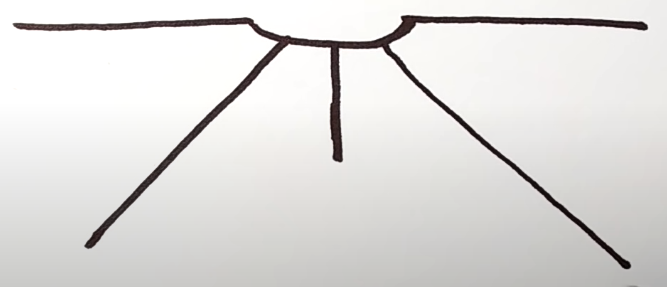
- Next, you need to draw the base of the eternal flame in the form of a star. To do this, draw 2 right-angled triangles to the left and right of the burner, the lower side of which is longer than the side. They should also be located symmetrically.
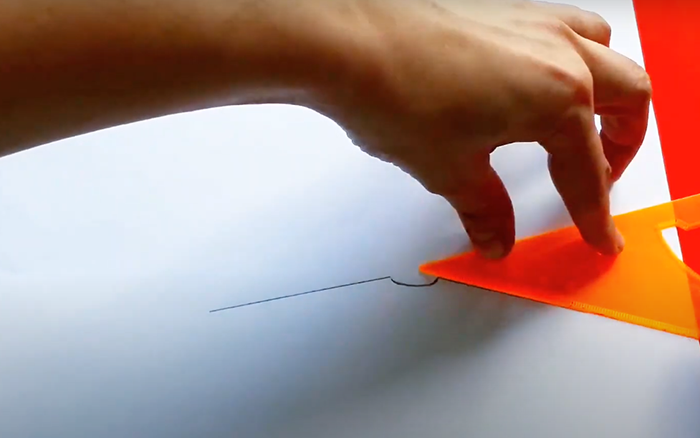
- Next, you should draw the third ray of the star at the base, which is directed towards the viewer. To do this, from the side rays drawn in the previous step, you need to draw 2 symmetrical lines down to their intersection with the vertical axis.

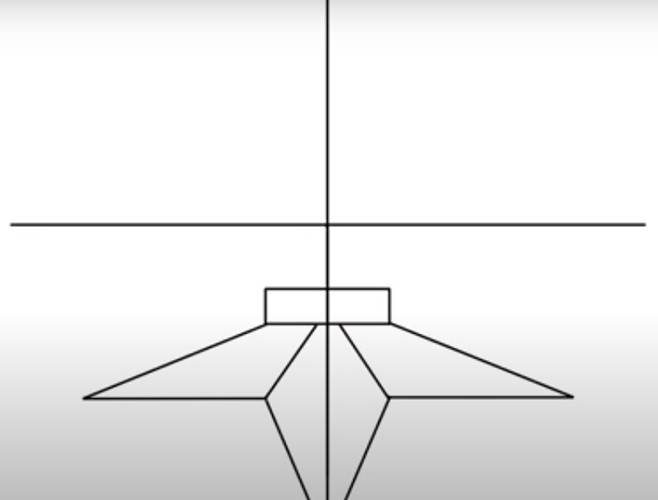
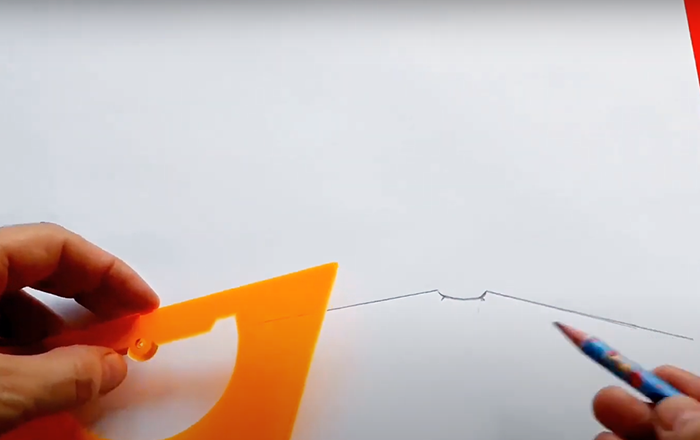
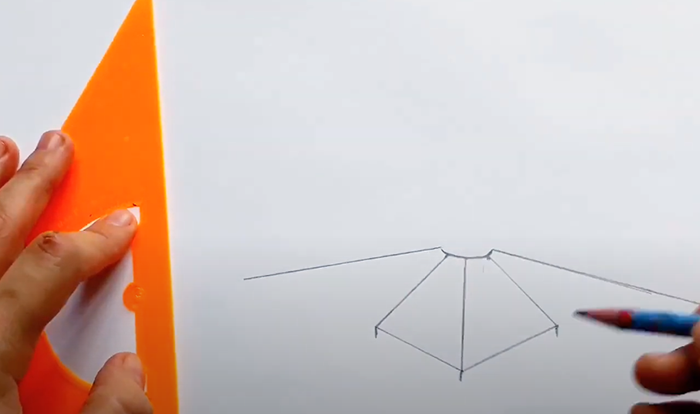
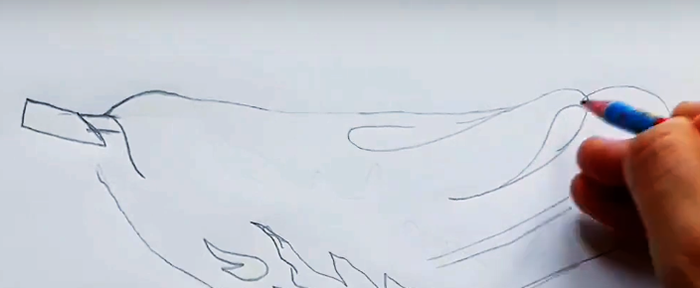
- Now let's add some detail to the drawing: on the lower ray of the star, you need to draw two short lines, as shown below. This way, the star will look more voluminous and relief.
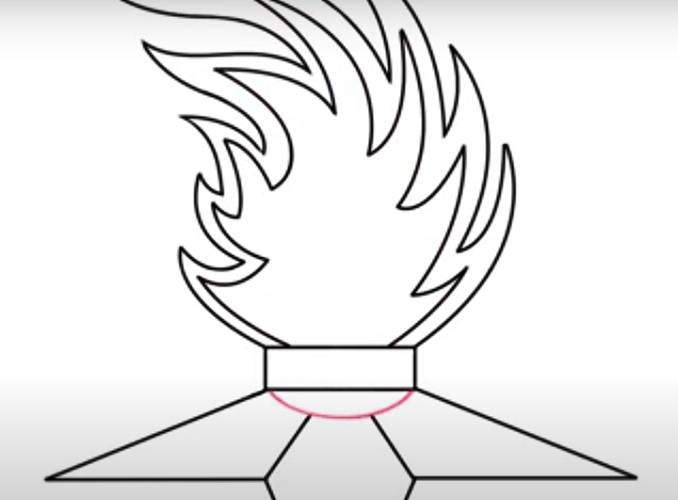
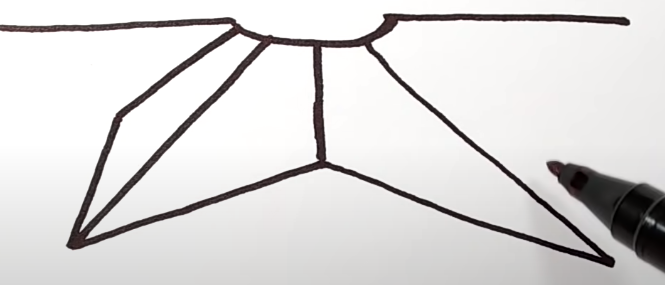
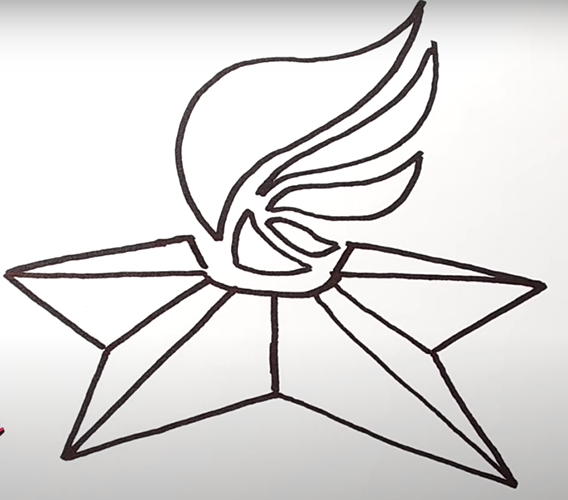
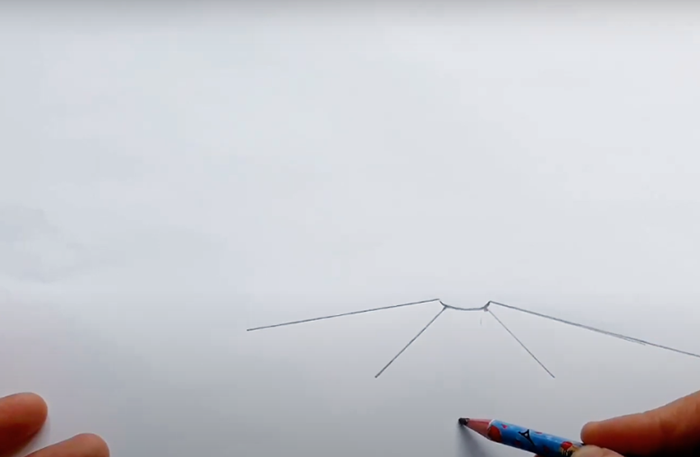
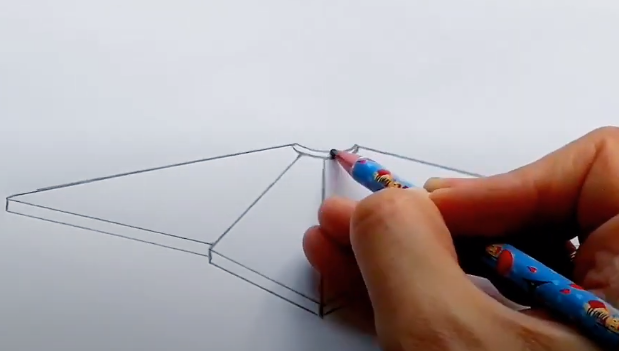
- After this, erase the extra auxiliary lines with an eraser.
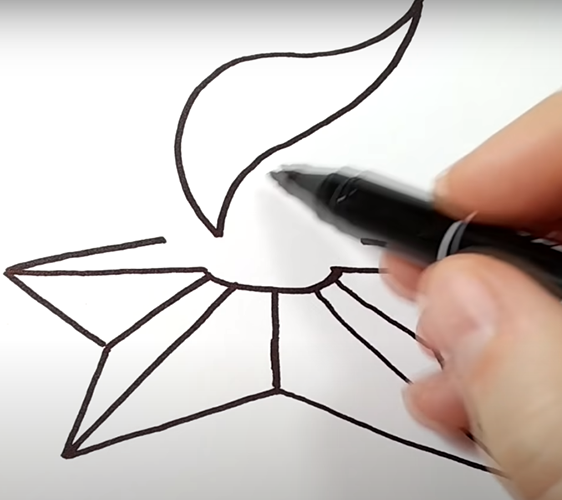
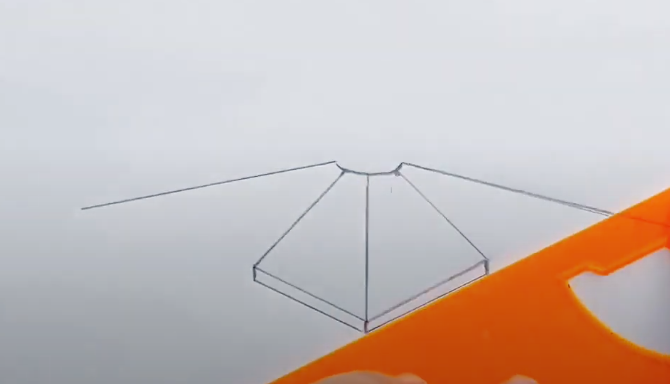
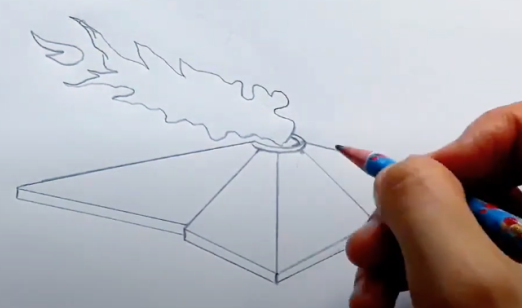
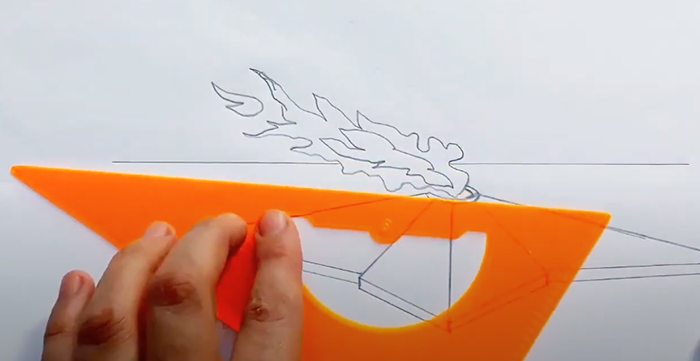
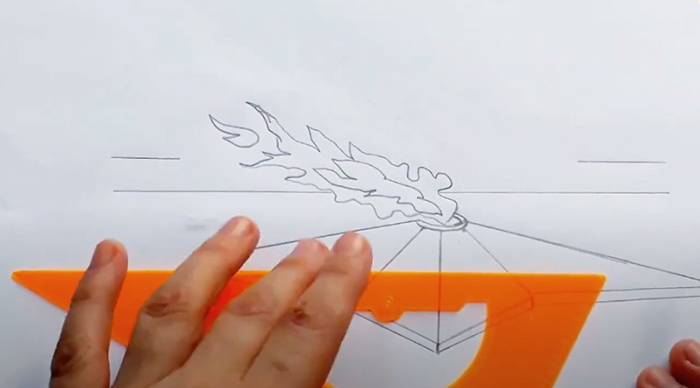
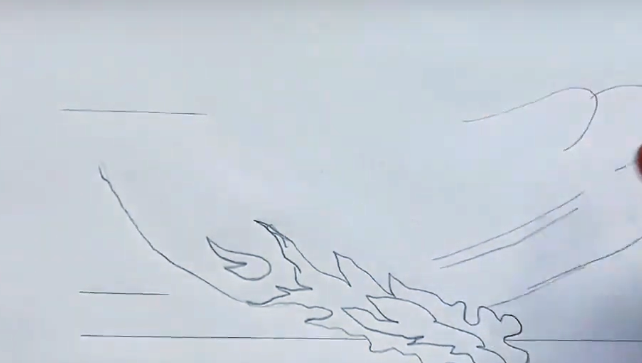
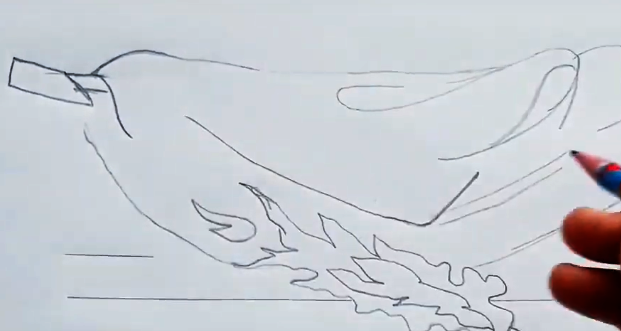
- Now you can start drawing the fire itself. To do this, you need to draw the flames in the form of arcs that are sharpened upwards. If they do not turn out as smooth and even as in the picture, then this is not a problem, since real flames have an irregular shape.
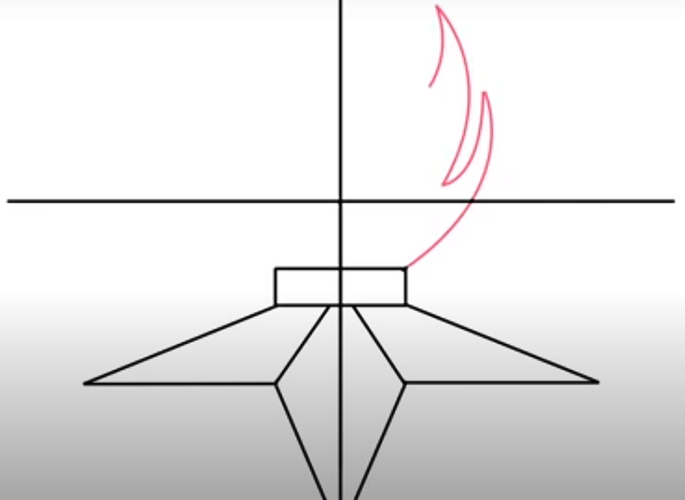
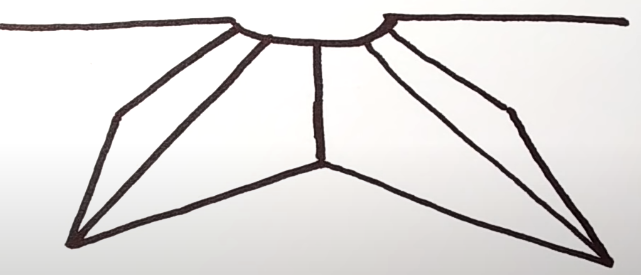
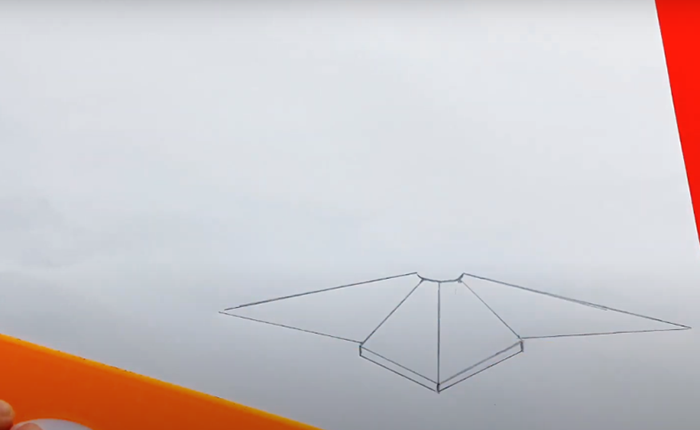
- Next, you need to draw the central part of the flame. In this example, it will be skewed to the left, as if the fire is blown to the side by the wind. But you can also direct the flames strictly along the center of the sheet.
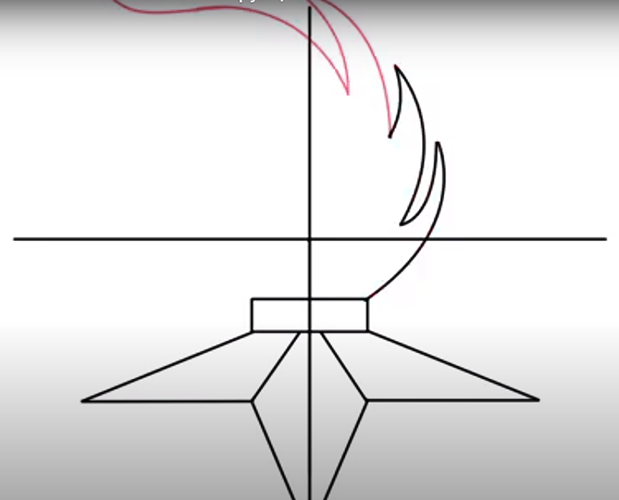
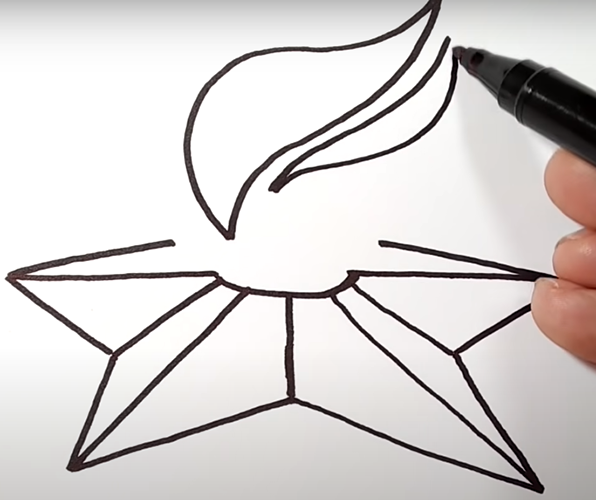
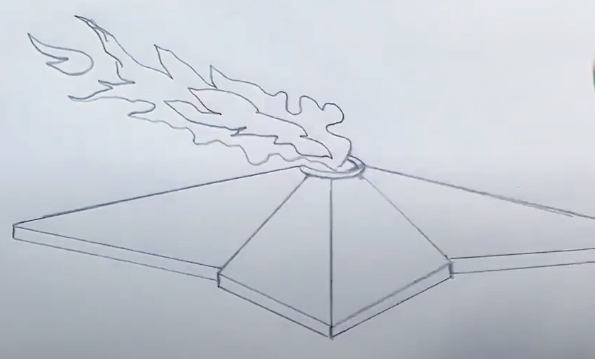
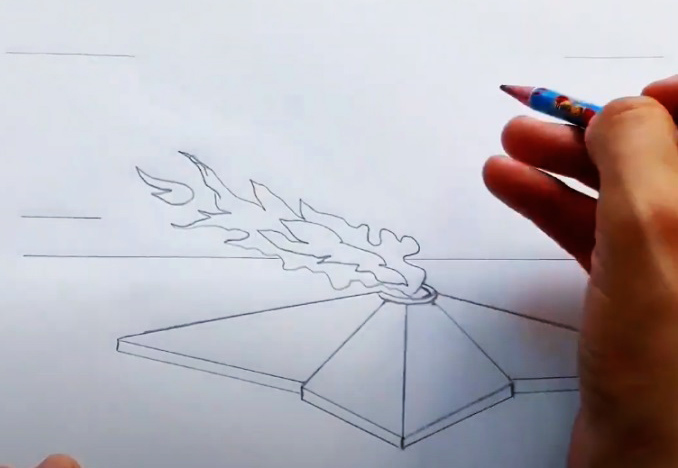
- The final step is to add flames on the other side. Now the drawing has acquired recognizable contours and shape.
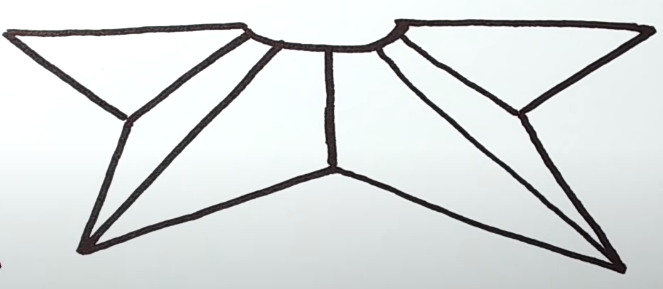
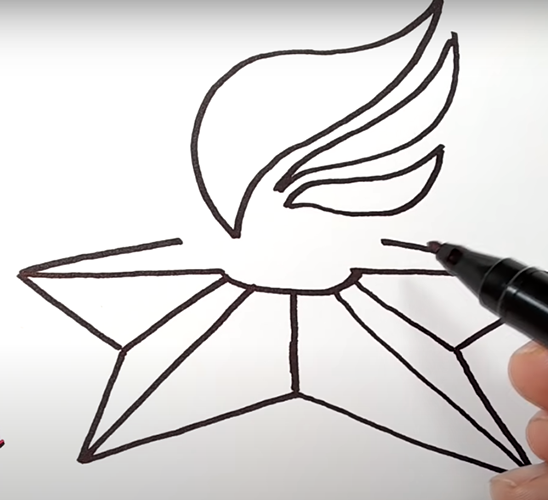
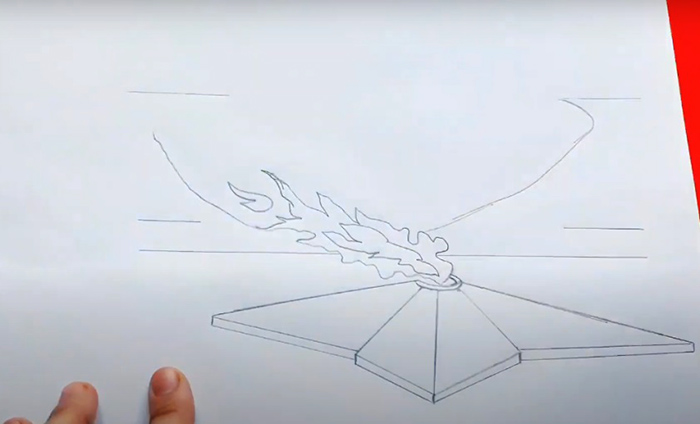
This pencil drawing can be used as a basis for coloring. You can add other elements and details to the image, making it more complex.
For children of primary and preschool age, drawing geometric shapes can be difficult, so a ruler-stencil with cut-out contours is used for this.
With the St. George ribbon
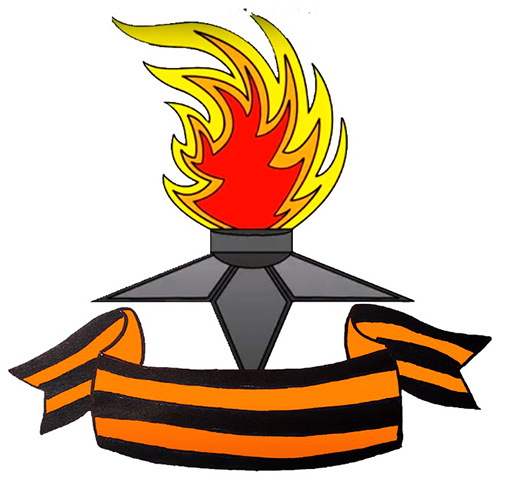
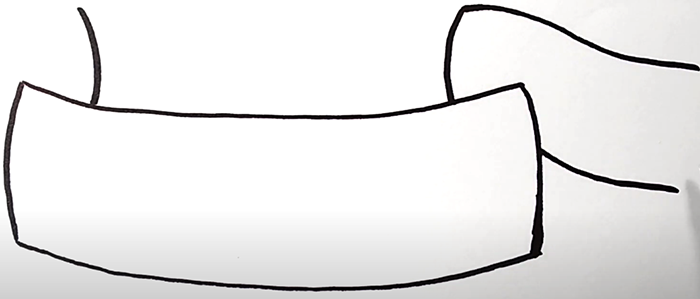
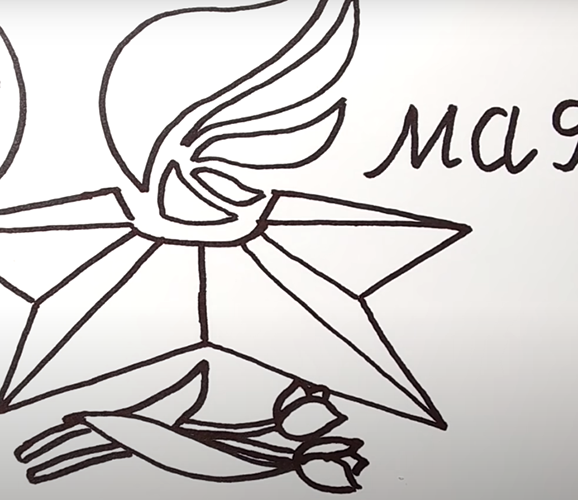
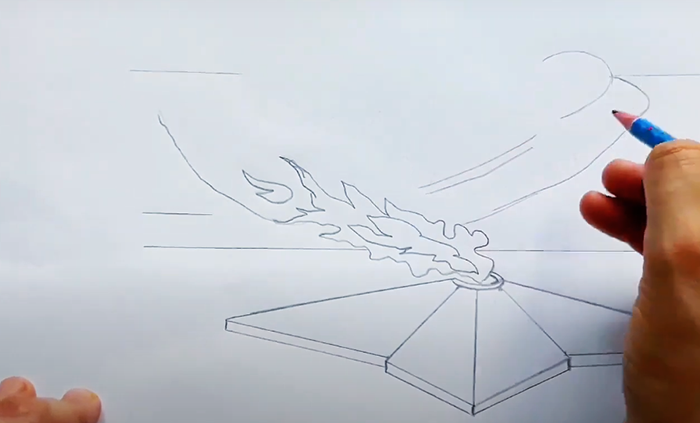
The eternal flame (a pencil drawing with a St. George ribbon will be made based on the previous illustration) is made in stages. First, the process of making the St. George ribbon is considered, and then details are added to the eternal flame. The final result looks like this:
The step-by-step drawing process consists of following these recommendations:
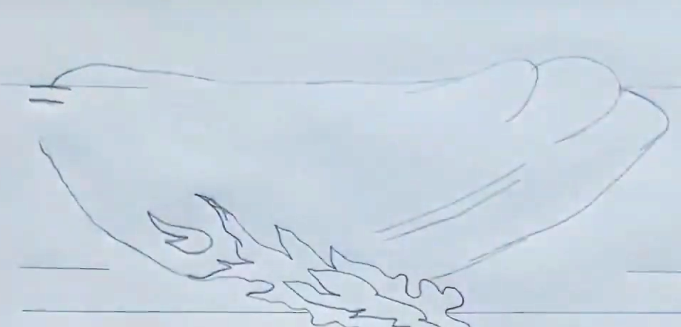
- At the bottom, in the center of the drawing, under the eternal flame, you need to draw a long arc, which is directed with its convexity downwards.
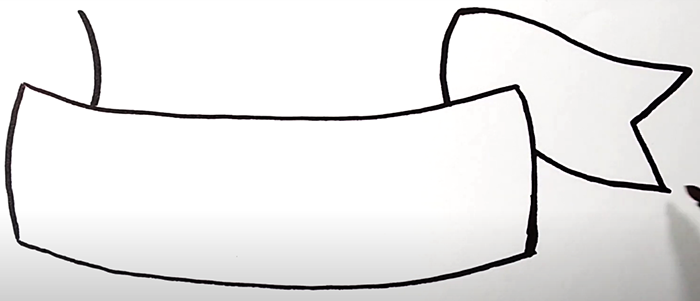
- Then you need to add short arcs on the right and left, the length of which corresponds to the width of the St. George ribbon.
- After this, we draw the lower edge of the ribbon, which should be parallel to the upper arc.
- Next, to the left and right of the center of the drawing, you need to add arcs, which are the bends of the St. George ribbon, located in the background.
- Then you need to draw a “continuation” of the right part of the tape, bending the lines slightly downwards as shown in the photo.
- The edge of the ribbon should be shaped into a triangular cutout using two pieces.
- Now you need to add another arc on the right, and the ribbon will become flat.
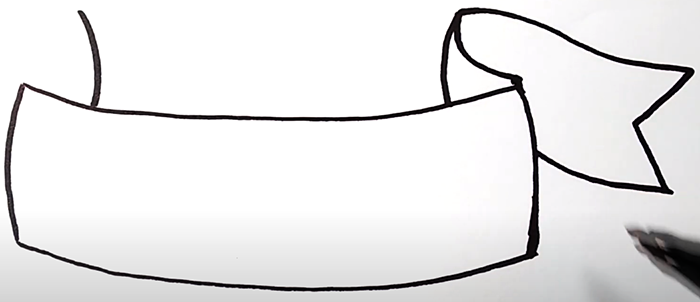
- The same thing, from step 5 to 7, needs to be done for the left side. The drawing should be symmetrical. To simplify, you can draw horizontal guides along the ruler, and mark the necessary points on them and connect them.
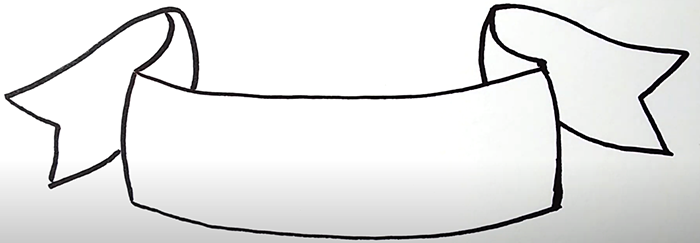
- Now it remains to draw stripes on the ribbon. There will be 3 of them - at the top, bottom and center. The lines of the black stripes are almost horizontal, and on the side bends - they are inclined downwards. There is no need to paint the St. George ribbon on the back side.
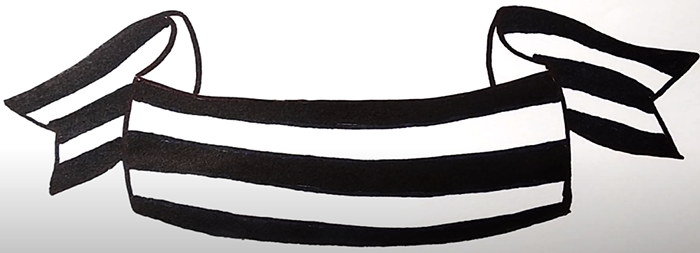
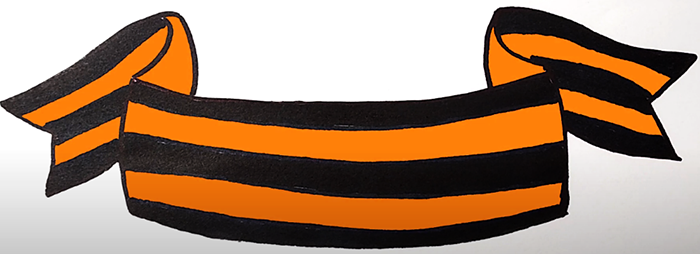
- The white areas of the ribbon are painted orange. The St. George ribbon is only made in two colors. The interpretation of these colors is as follows: black symbolizes smoke, and orange symbolizes flame. These colors are also used in St. George the Victorious on the Russian state coat of arms. The ribbon itself is a symbol of Victory.
- Next, you need to add details to the eternal flame: draw the same outline of the flames inside, but smaller in size.
- Draw a small arc near the burner and erase the extra lines with an eraser.
- Next you need to add another outline inside the flame and the star, the lines should be located close to the main outline that was drawn earlier.
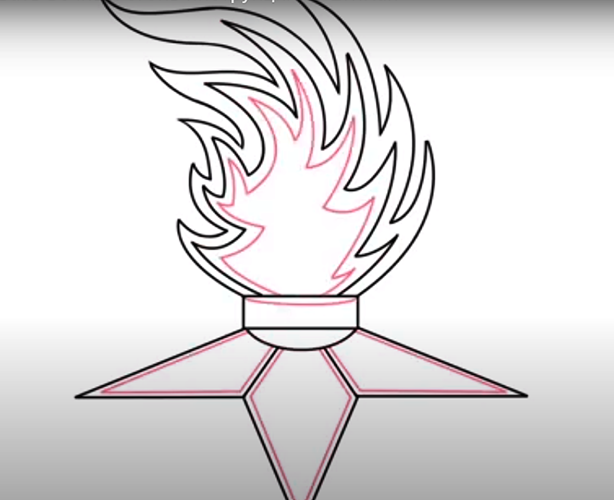
- Now you can move on to coloring the eternal flame. For this, use red, orange and yellow pencils for the flame, a simple (graphite) or black pencil for the metal star at the base and the burner.
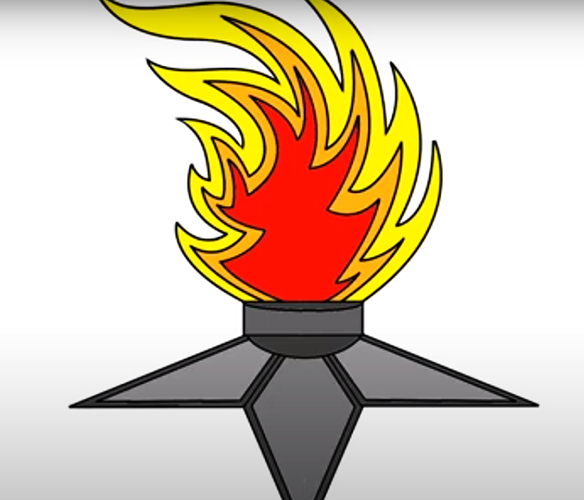
The eternal flame depicted in this picture can be supplemented with the inscription “Happy Victory Day”, “May 9” or “1941-1945”, then it will be more complete and harmonious.
Such a composition can be drawn with a pencil or paints, or made using mixed techniques, for example, painting the background with watercolors or gouache.
With flowers
The eternal flame, a pencil drawing of which can be done from a different angle, can be viewed from above. This method is more difficult, so it is better to practice first on the simpler techniques described above. This illustration is also supplemented with an inscription and an image of flowers, and the flame of the eternal flame is made in a stylized, simplified form.
To make such a drawing, you need to do the following:
- Drawing, as in the previous examples, begins with the outline of the eternal flame. First, you need to draw 2 identical segments, which are the central edges of the five-pointed star at the base.
- These segments are connected in the middle by a curved arc.
- Now you need to draw a short vertical line in the middle.
- Next, on the right and left, you need to draw the side edges of the star's rays. They should be slightly longer than the top ones and located symmetrically relative to the middle.
- Now you need to connect the ends of the front rays to the middle as shown below.
- The front edges are obtained, which need to be "duplicated", since each star beam has 2 edges. To do this, first mark a point approximately in the middle between the front and side beam and draw 2 segments (they are shown on the left in the figure).
- The same manipulation is done with the right ray of the star.
- Now you can draw the edges of the side rays by drawing one segment for each of them.
- Then draw the side edges of the other two rays. They should be narrower than the front ones, as they are located further from the viewer.
- Now you need to draw the fire using two curved lines. It is difficult to do them the first time, so it is better to practice on a separate sheet of paper to achieve a smooth curve. The tongue of flame should not be located in the center of the eternal fire, but to the left, since other tongues will be drawn on the right.
- Now draw a second tongue of flame, which is narrower than the first and is located, as it were, inside the fire.
- The third tongue of flame will be even smaller and lower.
- The fourth and fifth flames should be depicted as a small triangle and an oval-shaped figure. In general, the lower part of the fire contour will be rounded. The flames should be located at a small distance from each other.
- The last touch remains - to draw the edges of the star rays in the center, connecting the dots with segments, as shown in the figure below.
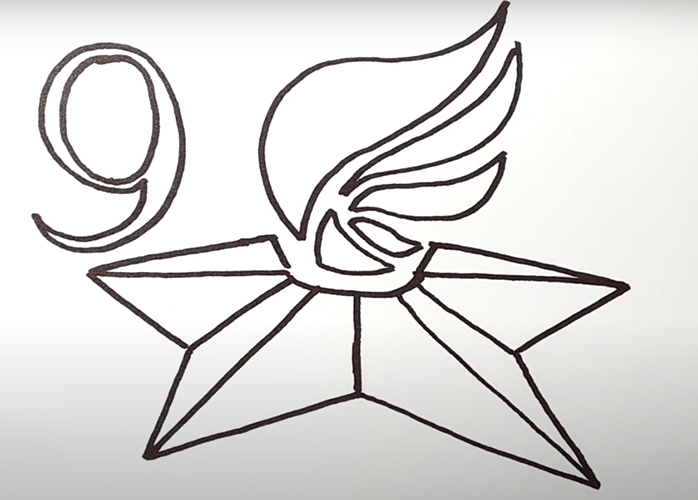
- To the left of the eternal flame you need to write the number 9, it should be large enough.
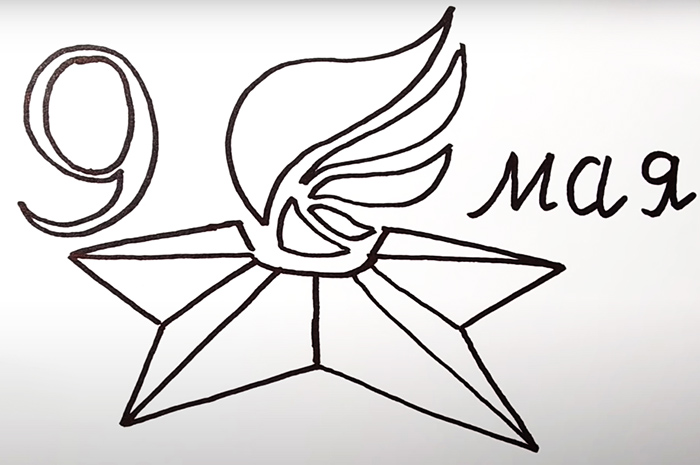
- Next, to the right of the eternal flame in the upper part of the image, write the word “Maya” in printed or handwritten font.
- Next, you need to draw a tulip leaf with two curved lines, connecting them at the tops.

- After this, draw the narrow stems of two tulips.
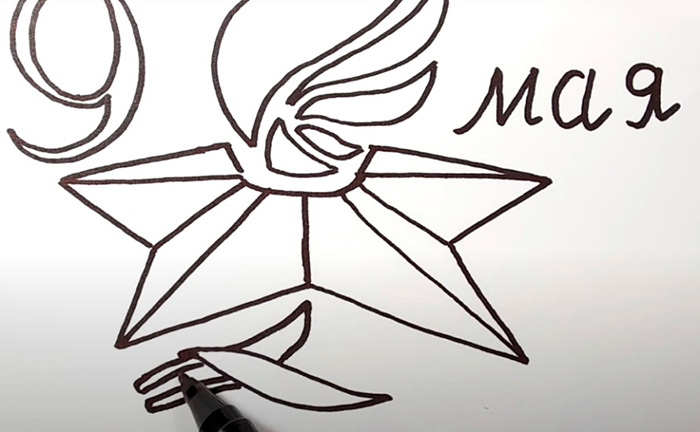
- Tulip flowers are depicted in a simplified manner, in the form of small curved ovals, as shown below.

- After that, you can start coloring. It is worth noting that you can make stripes under the rays of the star with a gray pencil, which will give them additional volume. In the drawing, only the right edges of the rays are colored, as if the lighting falls from the left side.
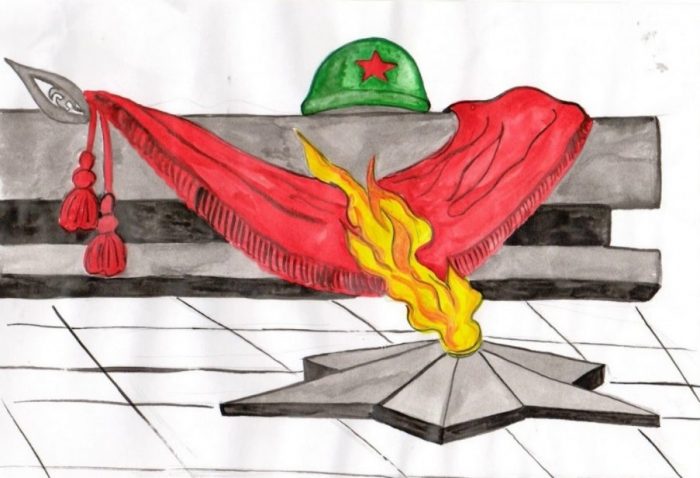
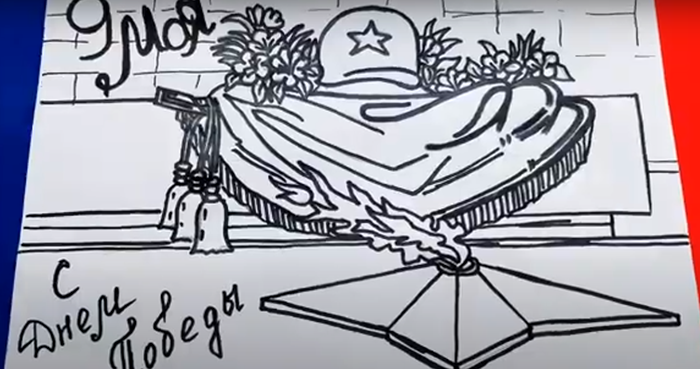
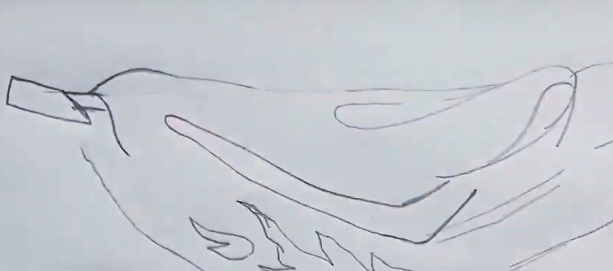
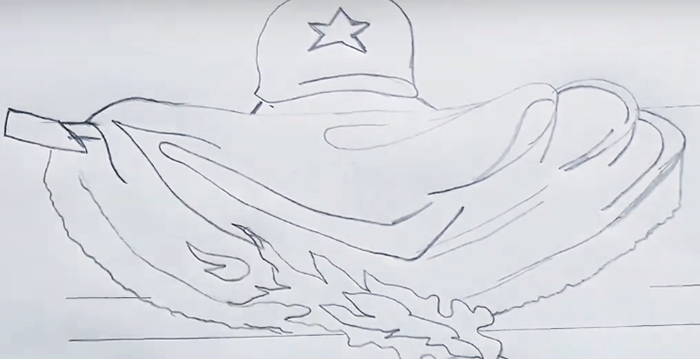
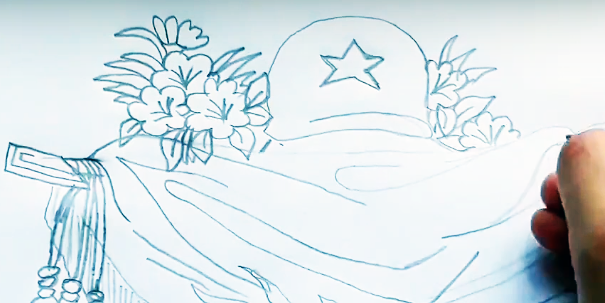
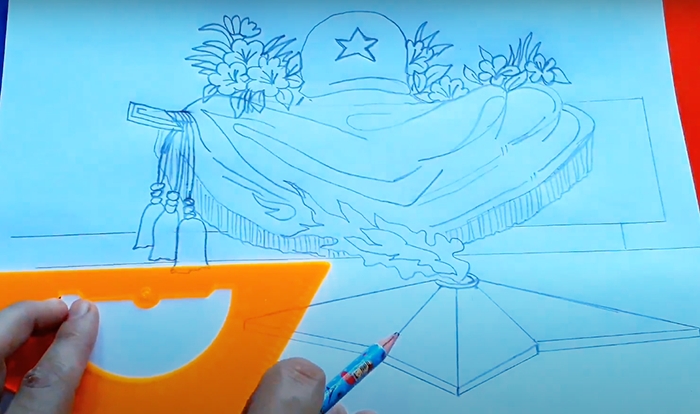
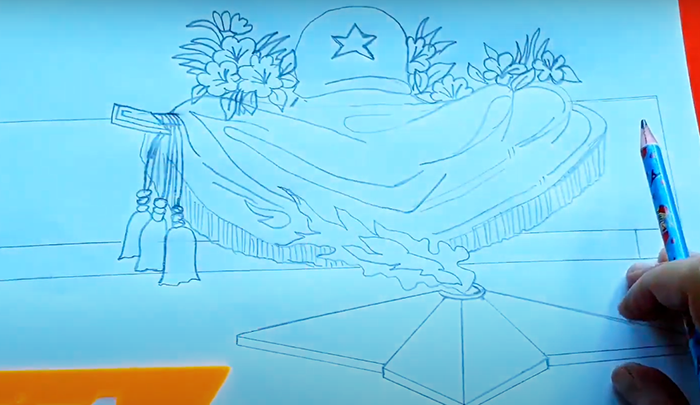
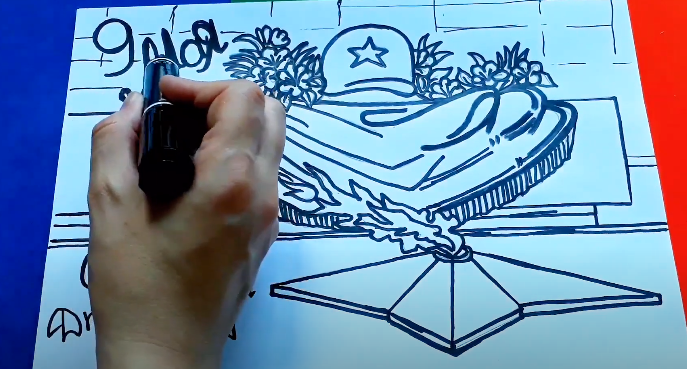
Eternal flame with flag, flowers and helmet
The Eternal Flame (a pencil drawing can be complicated with additional elements) in this example is drawn with the addition of several objects at once - a flag, a helmet and flowers. It is very detailed, so its execution is recommended for children of middle and high school age.
The step-by-step process for creating such an image is as follows:
- Drawing begins with the most important element - the eternal flame. In this drawing, it will not be in the middle, but slightly to the right. In this area, you need to draw a small arc, concave downwards.
- Now you need to draw the lines of the star using a ruler. They should be directed downwards.
- Then you need to make 2 notches on the arc below these segments.
- From them you also need to draw lines that should be shorter.


- Next, you need to mark the middle of the lower ray of the star with a dot.
- Through this point, 3 segments are drawn, as shown in the figure below.
- Next, from the lower points, draw 3 short segments directed vertically downwards. Their length should be the same.
- After this they are connected to each other.
- Then connect the side rays of the star.
- After this, you need to make a downward protrusion, similar to how it was for the first ray of the star.
- In the “mouth” of the eternal flame, a parallel line is drawn so that a narrow strip is formed.
- Fire is depicted as a randomly curved line, which is located at an angle to the star.
- Inside the fire outline, you need to draw another line, which is painted in a lighter color.
- Next, the drawing of the flag begins. To do this, first you need to draw a thin horizontal line approximately in the middle of the flame, which will be part of the monument. The flag will lie on it.
- Then, slightly above this line, you should draw two shorter segments on the left and right, between which the flag itself will be located.
- Similarly, above, you need to draw 2 segments that will limit the upper part of the monument.
- Next, you should draw the line of the flag in the form of curved arcs, as shown below.
- Then you need to draw 3 more arcs, parallel to the first one. They will depict the folds of the flag.
- At the top right, draw another "wave" in the form of a more steeply curved arc. These arcs are also needed to depict the folds of the flag.
- After this, draw the upper outline of the flag, which should be slightly raised upwards on the left side. You also need to mark the flagpole (the stick on which it is fixed) in the form of two short parallel segments on the left side of the drawing.
- At the end of the flagpole, its top is drawn, under which tassels will be attached. The flag itself will be depicted with drapery in the form of fringe. In the picture below, the top is highlighted as a beveled rectangle.
- Then you need to draw a wavy run of the flag fabric from the pole, and erase the auxiliary horizontal line with an eraser.
- After this, you need to draw the folds of the flag using arbitrary curved lines, as shown in the photo below.
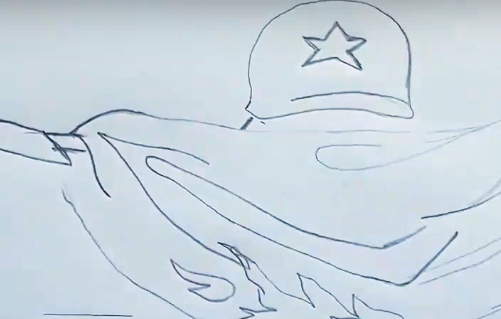
- Next, start drawing the helmet that will lie on the flag. To do this, draw a short segment and a curved edge of the helmet in the upper part.
- The top of the helmet is depicted as a large semicircle.

- Next, you need to draw a five-pointed star on the helmet.
- Then they begin to depict the fringe of the flag in the form of a parallel line with an uneven bottom edge.
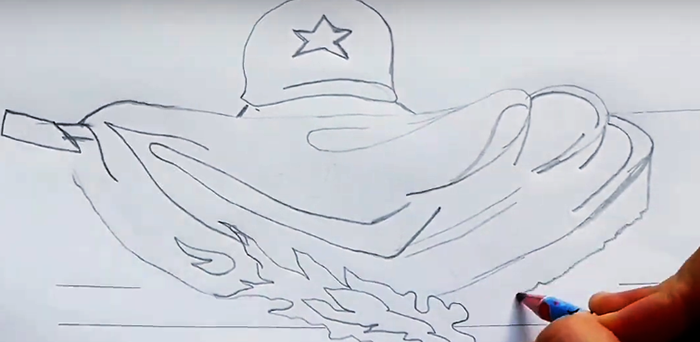
- The fringe needs to be drawn along the entire bottom of the flag.
- On the left side of the flagpole, 2-3 tassels are drawn on ropes.
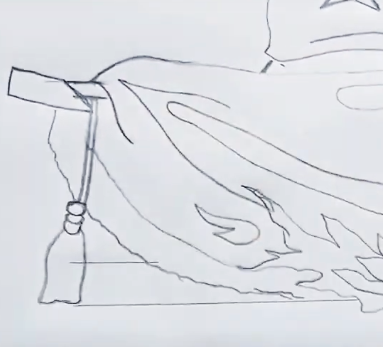
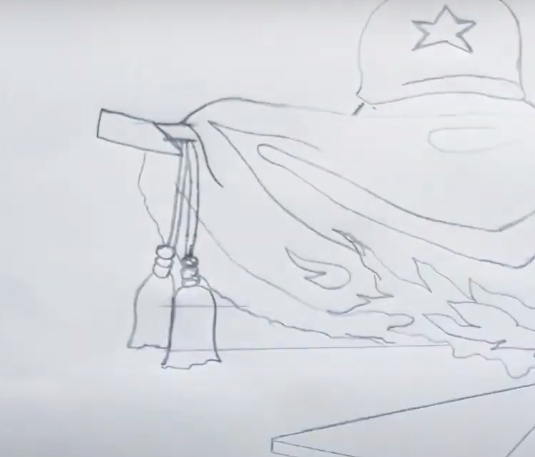
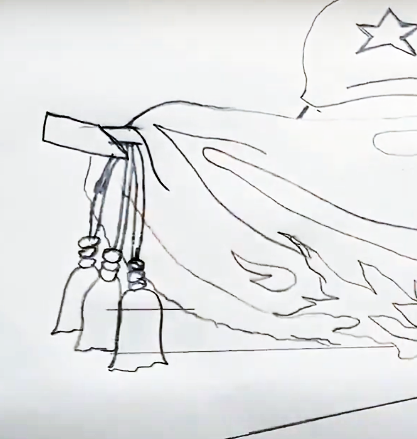
- Next, you need to make vertical hatching along the fringe of the flag.
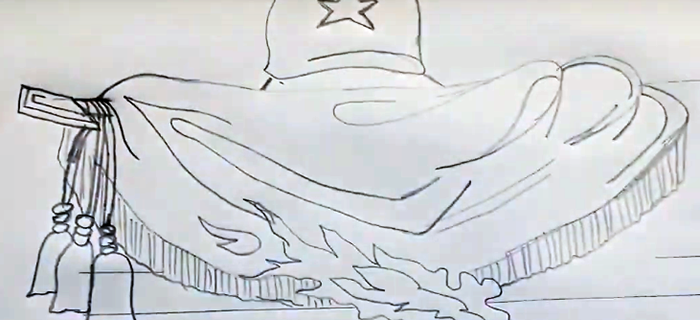
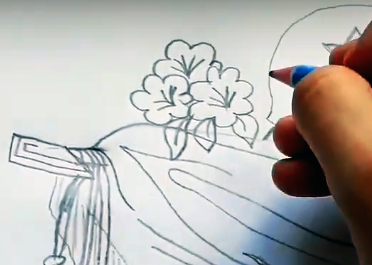
- After this, flowers are depicted in the upper part of the drawing. This can be done in a simplified way - first draw the stamens, and then the petals around them in semi-arcs.
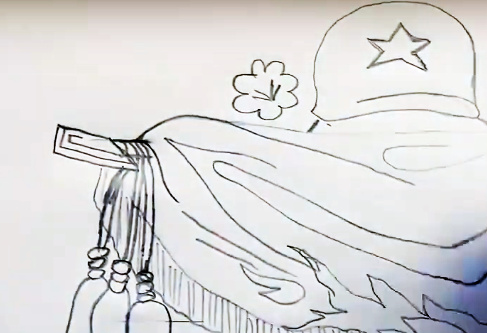
- The leaves of the flowers are also drawn in a simplified manner. If desired, this composition can be worked out in more detail, adding more leaves and flowers from different angles.
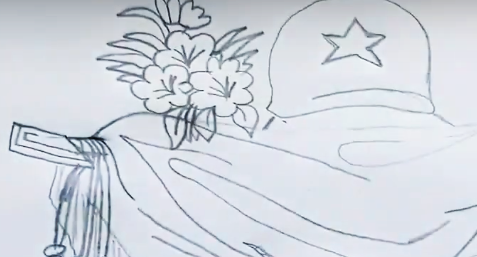
- On the right, flowers drawn using the same technique will also protrude from behind the helmet.
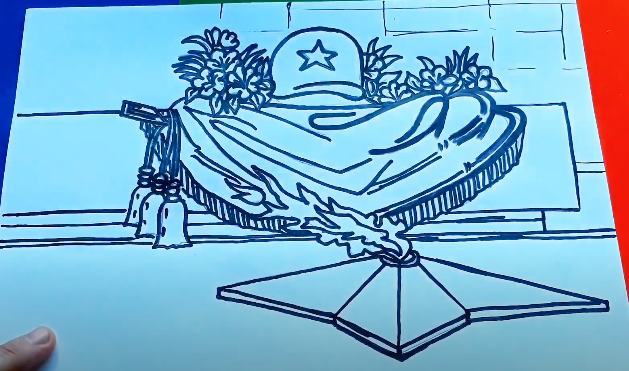
- Thanks to the detailed elaboration, the drawing takes on a more finished look.
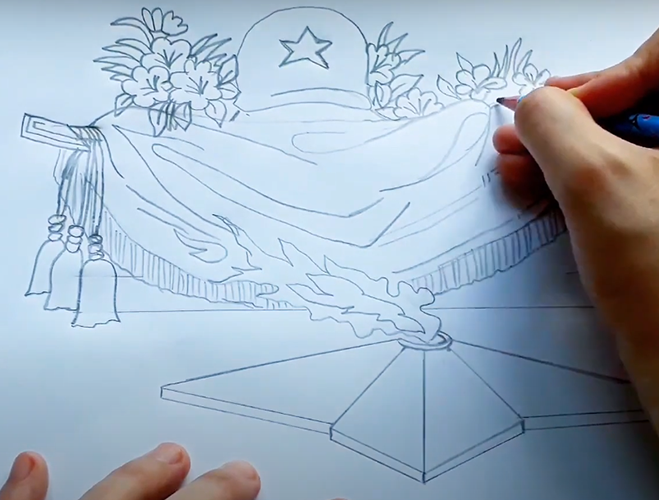
- Next, you need to draw the monument on which the flag, helmet and flowers lie more clearly. To do this, horizontal lines are connected with vertical ones using a ruler, resulting in a rectangular shape.

- On the left side of the drawing, you need to continue the horizontal lines (top and bottom) to make the monument more massive. The lines should be in the background, behind the flag.
- After that, you can start outlining the drawing with brighter pencils or make it monochrome, working on the details with only black or simple pencil. Outlining starts with the main details - the flag, the helmet, then move on to the eternal flame, the monument and the flowers that are on top of the flag.
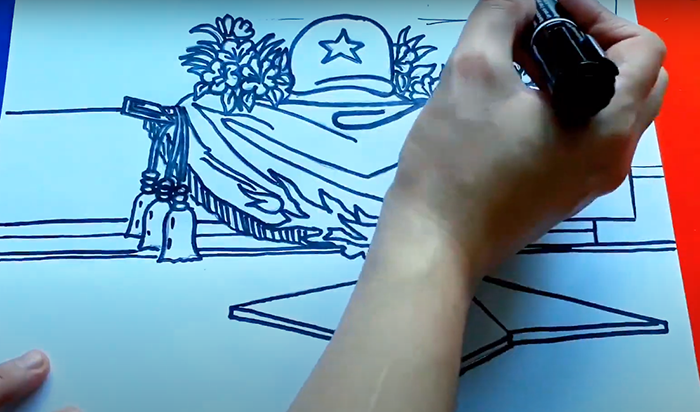
- At the final stage, in the background on the right side of the drawing, you need to fill the empty space. Here, thin horizontal and vertical lines will be drawn, imitating the stonework of the monument. It is not recommended to make them too bright, so that they do not draw the viewer's attention. The main composition is the eternal flame and the flag, which is located in the foreground.
- On the left side of the empty space of the drawing you can write the inscription “May 9”, and add “Happy Victory Day” at the bottom.
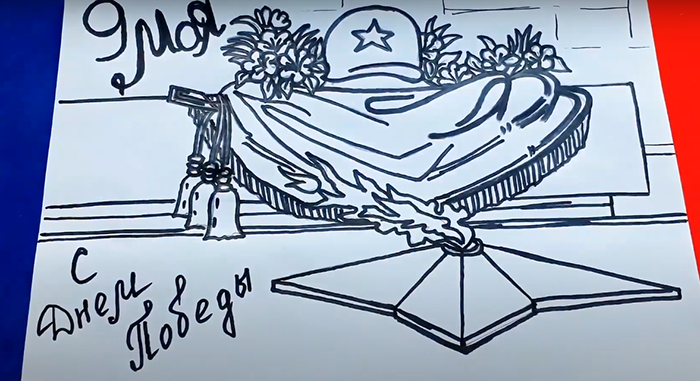
- At the end, thin lines of stonework are drawn behind the inscription “May 9”.
In the background, you can draw not stonework, but a blue sky with clouds, a dove with a twig as a symbol of peace on earth, or a salute as a symbol of Victory in the Great Patriotic War. A bouquet of flowers can be moved to the foreground, drawing them near the eternal flame.
You can also arrange this composition a little differently - depict the eternal flame with a high monument-stele in a reduced size against the background of modern houses and trees.
The resulting drawing can be colored with colored pencils, paints, gel pens. Other objects can be added to the eternal flame, for example, a soldier, a St. George ribbon, a master class for drawing which is discussed above in this article.
The object drawing skills described here will enable you to create your own individual illustration for the Victory Day over Fascism holiday.
Video about drawing
Master class on drawing an eternal flame: