Drawings by cells have a positive effect on the state of the nervous system, develop physical skills and reveal the artistic talent of a person, regardless of his age.
For experienced adults, image options with the maximum number of small details that require painstaking work and concentration from the artist are suitable. Children and beginners are recommended to work on creating large drawings of simple shapes.
What do you need for drawing by cells?
Drawings on cells (it is recommended to place large images separately on one sheet of paper) require the following to be created:
- a clean sheet of paper or thick cardboard (it is acceptable to use a colored surface if the final image will be part of a complete composition);
- soft pencil (the initial lines should be made with a soft pencil, since, if it becomes necessary to correct the drawing with an eraser, such a working tool will not leave marks, unlike pencils of medium and high hardness);
- eraser (necessary for correcting errors that arise during the work process);
- the original image or template (relevant if the artist plans to copy the image cell by cell, rather than create it from scratch following instructions).
How to draw by cells in large format
To create drawings on cells in a large format, it is additionally necessary to purchase millimeter paper, not smaller than A4 size. To make it convenient to navigate in the working plane, beginners, when copying pictures, are recommended to transfer images in a scale of 1:1.
As an alternative to millimeter sheets already drawn by the manufacturer, you can use clean paper of the required format, having previously drawn a large cell on it with a pen. It is not advisable to draw a sheet with a pencil, since if it is necessary to correct an error during the work process, the artist can erase with an eraser not only the drawing itself, but also the cell itself.
Easy grid drawings for beginners. Step-by-step instructions
Drawings by cells (large images can be created in black and white or color) can be used not only as separate compositions, but also for creative congratulations to loved ones on significant dates.
Minecraft style drawings
Minecraft fans will be more passionate about creating images in their favorite style than in any other.
In large format it is appropriate to draw:
| Minecraft style drawing | Instructions for its creation |
 |
|
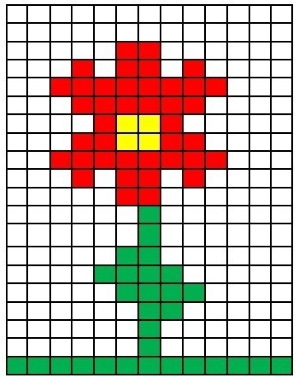
Flowers
Drawings by cells (large images can even be used as decorative items for a living room or commercial premises), depicting flowers, may look like this:
| Black and white flower drawing | Instructions for its creation |
 |
|
 |
|
Original Happy Birthday Greetings
To turn an ordinary sheet of paper into a birthday greeting card, you need to:
- Draw an oval closer to the upper left corner so that its upper part is wider than the lower one. At the bottom point, outline 1 cell (balloon).
- Find the middle of the left side surface of the first balloon and draw a semicircle from it, similar in shape to the figure drawn earlier (part of the second balloon).
Large grid drawings: greeting card - Connect the bottom point of the second ball with an arbitrary point on the left edge of the first. Draw a square at the bottom, the size of 1 cell.
- Repeat the steps described in step 2, mirroring them to create the third balloon on the right side of the first.
- Inside the first and second balls, closer to the left edge, draw 2 small semicircles connected to each other (glare).
- From the squares drawn at the bottom of each of the balls, draw curved lines that connect at one point, approximately in the middle of the working plane.
- Step back 3 cells to the left of the third ball and write the phrase “Happy Birthday”, placing each word on a separate line.
- Next to the bottom line, draw 3 rectangles located vertically, the length of which is 1 cell and the width is 0.5 cells.
- From the upper edge of the rectangles, draw a short vertical line (candle wick).
- Outline the candles in an oval without crossing their borders.
- From the lower semicircle, which forms an oval, draw 2 vertical lines downwards, 3 cells long, and then connect them with a horizontal line (cake).
Beautiful large drawings in A4 notebook. Step-by-step description
Drawings on cells (large images should take up at least half of the sheet, A4 format) for children's creativity, it is recommended to choose taking into account the interests of the younger generation.
For boys
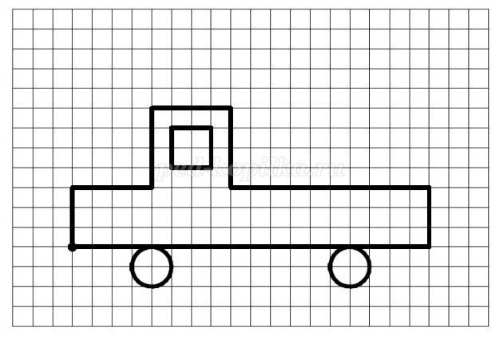
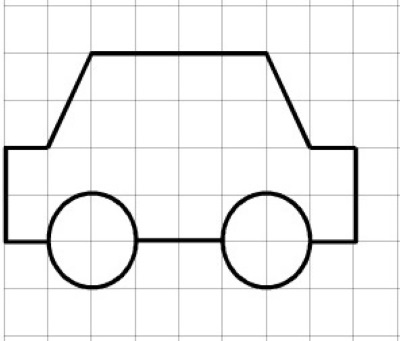
For boys, the topics of air, sea transport and cars are relevant.
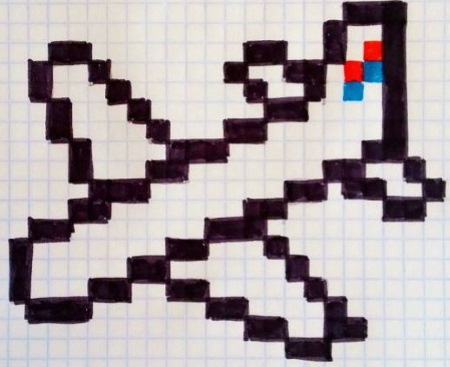
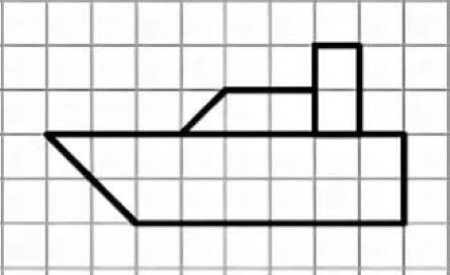
Air and sea transport
Examples of drawings on the cells on the topic under consideration can be:
| Image of transport | Instructions |
 |
|
 |
|
Cars
Examples of drawings on the cells on the topic under consideration can be:
| Image of the car | Instructions |
 |
|
 |
|
For girls
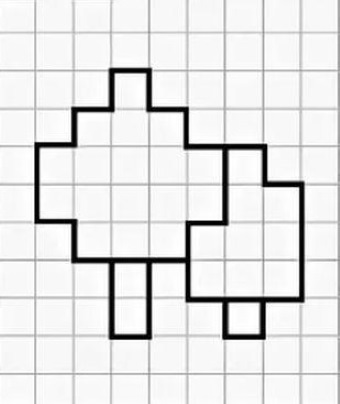
Girls usually choose drawings of trees or abstract cute pictures that do not carry any deep meaning.
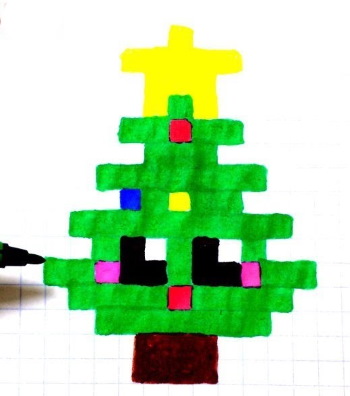
Trees
Examples of drawings on the cells on the topic under consideration can be:
| Image of a tree | Instructions |
 |
|
 |
|
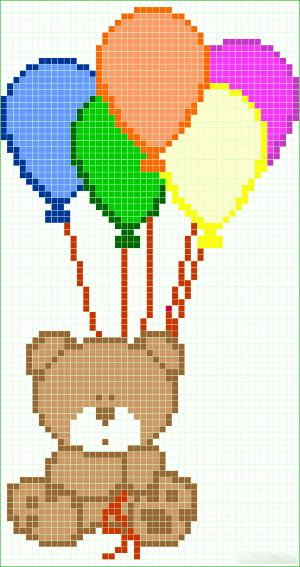
Cute drawings
| Example of a cute picture | Instructions |
 |
|
 |
|
Large and complex drawings step by step
Grid drawings created on large format sheets can be complex compositions consisting of many details.
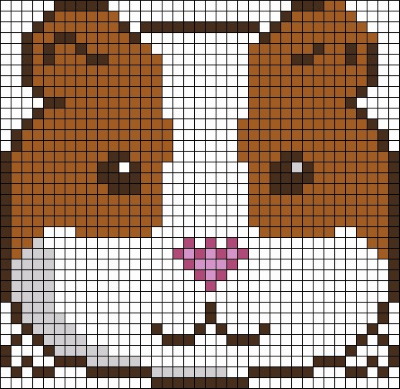
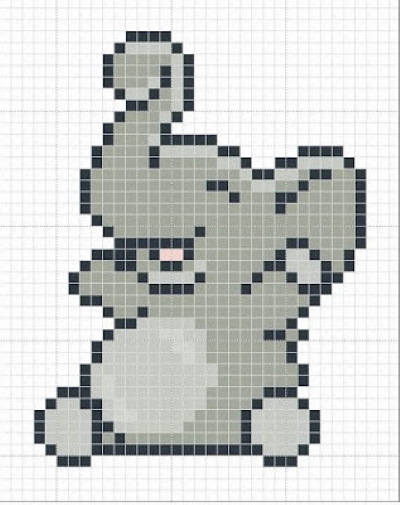
Animals
Examples of images of animals drawn in cells in large format:
| Animal drawing example | Instructions |
 |
|
 |
|
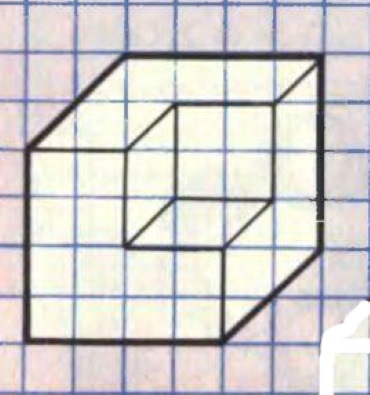
3D drawings
Examples of three-dimensional images drawn by cells, which can be used when drawing multi-component objects:
| Example of a volumetric figure | Instructions |
 |
|
 |
|
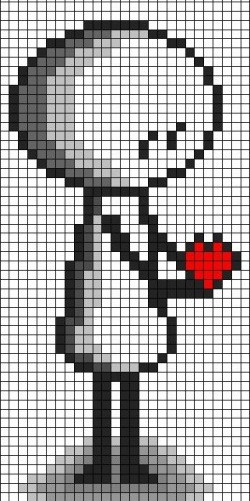
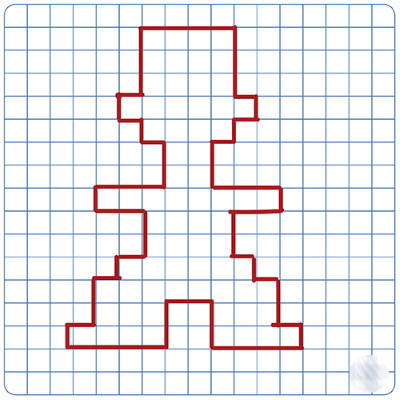
People
People are usually drawn in cells like this:
| An example of a drawing of a person by cells | Instructions |
 |
|
 |
|
The large format of grid drawings allows not only to create more complex compositions, but also to draw pictures in detail. By organizing the work process correctly, a person will be able to get rid of nervous tension, abstract from depressive thoughts, while creating an image on lined paper, which can later be used in the interior of his apartment.
Video about drawing by cells
Large drawings by cells: