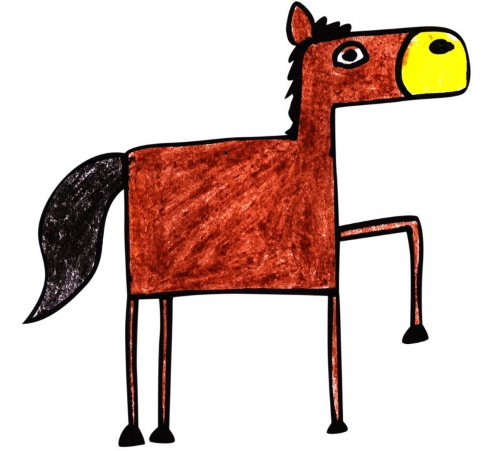
Both children and adults enjoy drawing animals. Some representatives of the fauna are easy to depict, but with others you have to work hard to make the image realistic. One such animal is the horse. The difficulty lies in the need to accurately maintain the proportions of this beautiful and graceful odd-toed ungulate. However, if you follow the instructions, even a young preschooler can cope with the task.
How to draw a horse easily
Horse (a drawing for children can be created in a cartoon style) fairy-tale and cartoon is depicted in 4 main stages:
| No. | Stage | Description |
| 1 | Drawing the head | This horse's head will have the shape of a large, slightly rounded drop. It is also necessary to highlight the nose, depict the ears with a couple of loops, and mark 2 eyes at the top and 2 nostrils at the bottom with dots. |
| 2 | Drawing the neck | To depict the neck, you need to draw 2 lines down from the head and use short strokes to indicate the mane. |
| 3 | Image of the torso | The body is represented by an incomplete oval. Two legs are drawn to it at the bottom, in front and behind. Each leg, like the ears, is represented by a loop, but more elongated. |
| 4 | Detailing the drawing | An attractive smile is drawn on the horse's face, and a tail is drawn at the back, represented by several wavy lines. |
Horse step by step with pencil
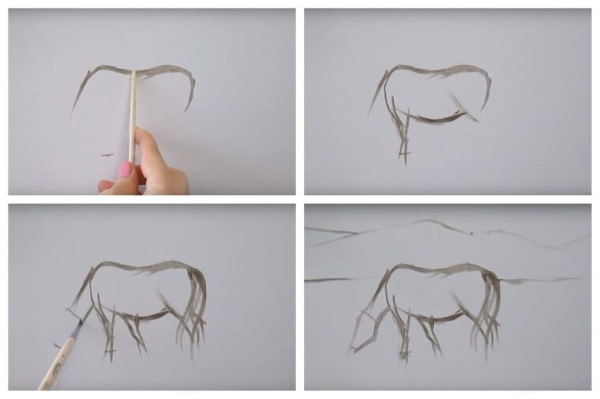
A horse (a drawing for children who have skills in fine arts, will be a little more difficult than for toddlers), standing on 4 legs - this is one of the stages in the transition to complex paintings.
The hardest part is drawing the back pair of hooves and the head. These details deserve special attention. If they turn out well, then there will be no difficulties with the rest.
To work you will need:
- sheet of paper;
- simple pencil;
- eraser.
The drawing process takes place in the following stages:
| No. | Stage | Description |
| 1 | Make a sketch | It will consist of 3 circles and the same number of straight lines:
Once all 3 circles are drawn, you can move on to drawing lines:
|
| 2 | Add leg contours | The steps for drawing legs are as follows:
When drawing the contours of the hind legs, the artist must remember:
|
| 3 | Drawing the general outline of the animal | To do this, it is necessary to carefully check whether all proportions are observed;
Once you are sure that all proportions are met, you can begin drawing the general outline. You should smoothly outline all the previously made sketches, keeping in mind the following features:
|
| 4 | Image adjustment | To do this, you need to use an eraser to remove the extra geometric shapes and lines that were made in the early stages. Only a smooth general outline is left. |
| 5 | Detail the head | 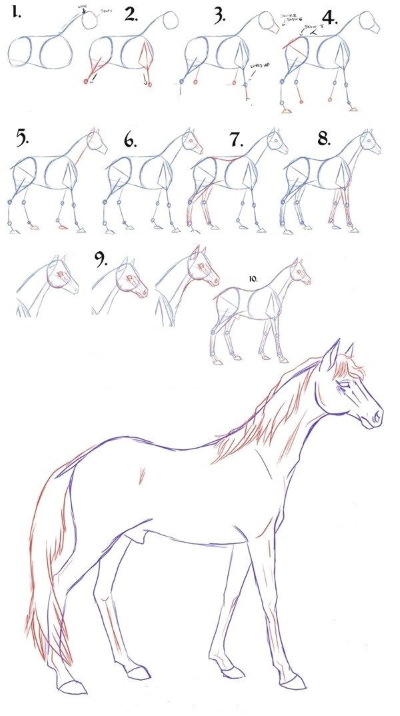 Draw the eyes, nostrils, ears. Before work, be sure to sharpen the pencil well. The lead should be very thin. The stages of drawing are as follows:
|
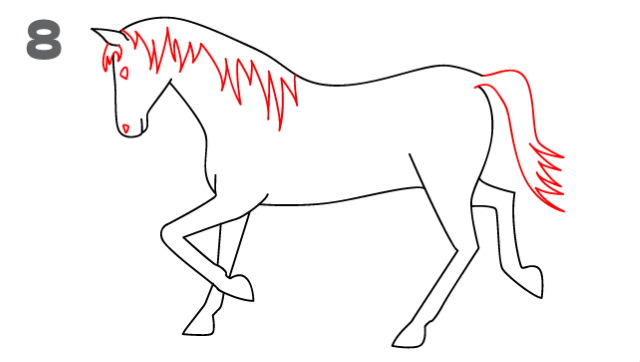
| 6 | Finish drawing the tail | The tail is a series of wavy lines that start from the back of the body and go down almost to the hooves. |
| 7 | Apply shadows | This is a complex technique. Here you need to apply the rule of lighting the object. If the light hits the object from the right side, then the areas of the body located on the left will be darkened. Accordingly, the right areas in this case should be lighter. |
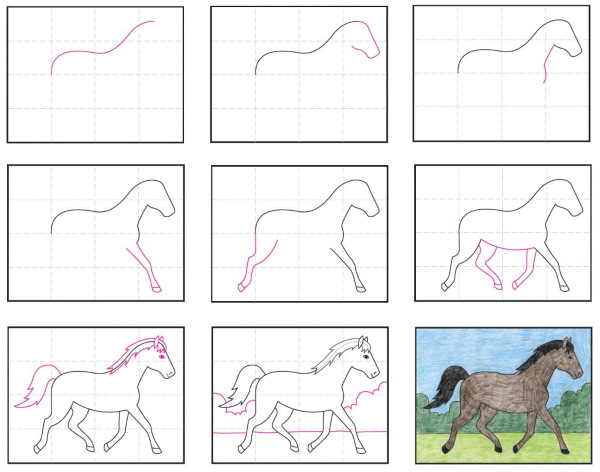
Horse in motion
A horse that is not just standing but moving is easy for children to copy from a ready-made image. You can take, for example, a drawing by another artist or just a photo of a horse. In this case, the previous lesson on drawing a horse standing on 4 legs can be used as a basic material.
The stages of creating such a horse will be as follows:
- Indicate the boundaries of the future drawing by drawing smooth, neat lines. The result should be something like a thin frame.
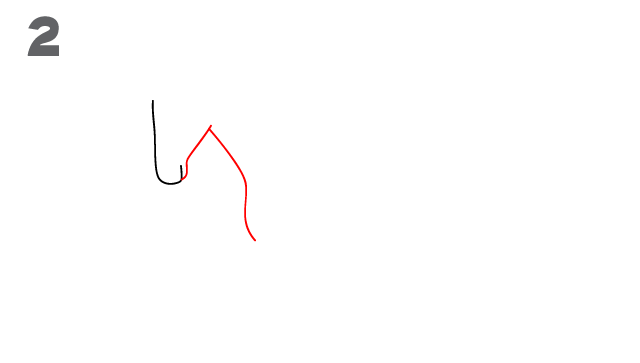
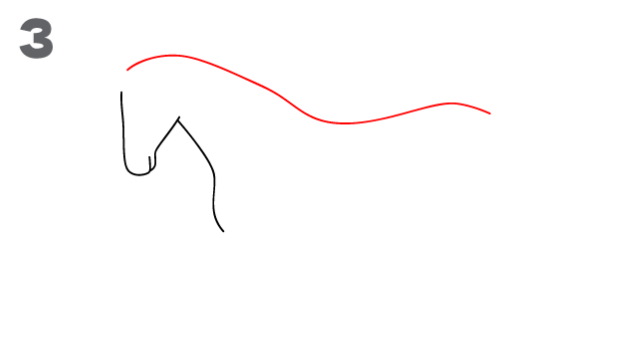
- Draw the head. It should be located in the upper left corner of the resulting square. The horse's head can be represented as a figure similar to a triangle, but it should have rounded edges.

- Sketch the front and back parts of the body. Both should be represented by an oval. One oval, which is located closer to the head, will become the chest, and the other - the croup.
- Draw an oval that connects the two previously drawn ones. It should be the largest. This will be the horse's belly.
- Work with the limbs. They are drawn using straight lines and many dots. This stage should be given special attention, because it is the position of the legs that will indicate that the horse is not standing still, but running. Each of the 4 legs should be represented by 3 dots and 3 lines.
- The front legs start from the oval that represents the animal's chest. First, put 2 dots. The left front leg - the one that is closer to the artist and the future viewer - should protrude slightly forward. To do this, draw a line directed from the chest both downwards and to the left.
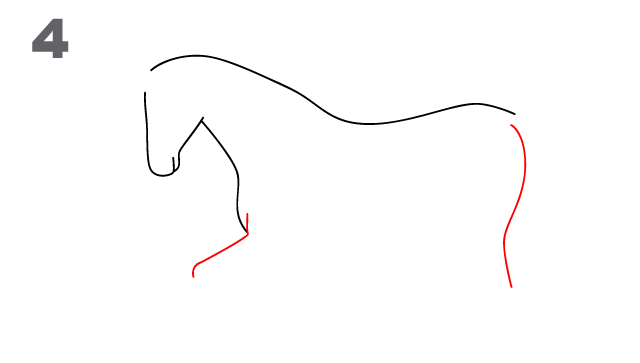
- Place a dot indicating the joint. Then continue the line, but now more downwards than to the left.
- Place another dot and a very short line below it, which will become the hoof.
- Direct the right front leg down and slightly to the right. There are no bends here, it can be represented by 1 straight line, but it is necessary to indicate the location of the joints with dots.
- Draw the right hind leg. To do this, first put a point approximately in the middle of the stomach. From it, a straight line extends, directed to the right and down.
After marking the first joint with a dot, the direction changes - the lower part of this leg should be directed downwards and to the left. After marking the 2nd joint with a dot, a short line is drawn going downwards.
- Add the left hind limb. It starts with a dot at the bottom of the croup. The line goes down at a slight angle to the right. After marking both joints with dots, its direction hardly changes.
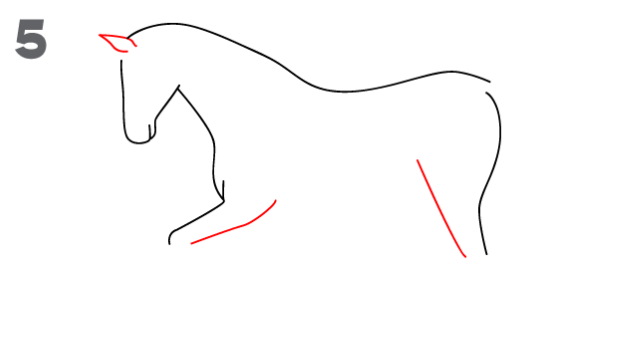
- Start drawing the contours of the legs. First, you need to outline the front legs with smooth lines. It is important to mark the hooves at the bottom of each of them, which should be represented by small quadrangles with sides of different sizes.
- Similarly, draw a pair of hind limbs. The hooves at their ends should be marked with trapezoids.
- Draw the neck. It should be powerful, thick and strong. However, at the same time, you should try to make it graceful and not too massive.
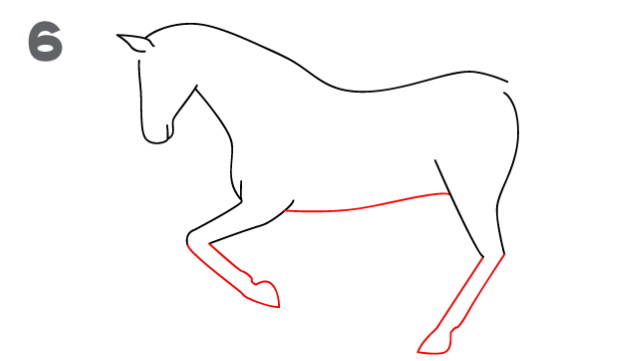
- Remove all unnecessary lines using the eraser.
- Draw the details of the head. It should be remembered that the horse has large, expressive eyes. Its nostrils are also large
- Draw the tail. It can be long and flowing.
- Erase any unnecessary lines that have appeared recently, and then use a few short, smooth, wavy lines located above the legs to draw the muscles that will give the horse strength and significance.
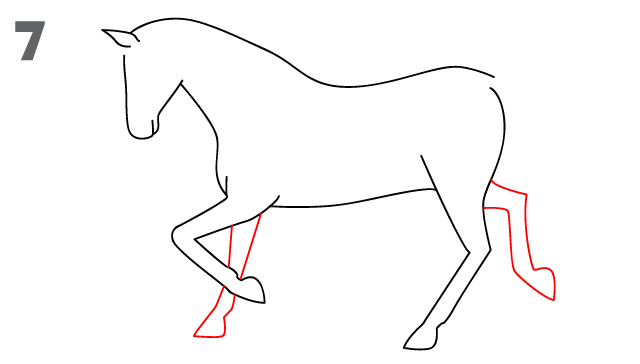
- Add a mane above the head, conveying its volume immediately, rather than carefully drawing each hair.
- Carefully add strokes, thereby indicating the bending lines of the joints on the limbs.
- To give the drawing volume. For this, a hard-soft pencil and a shading technique are used.
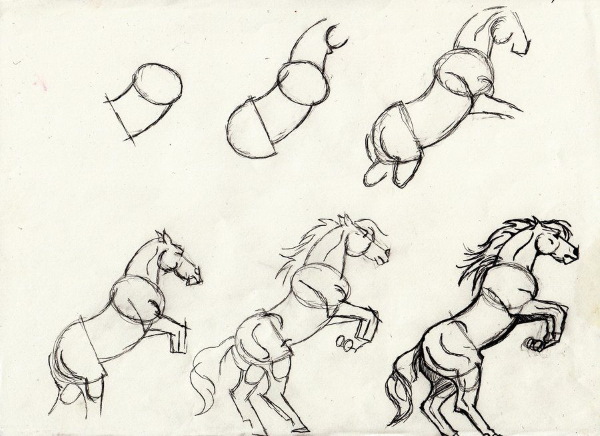
To draw a horse standing on its hind legs with a simple pencil and a black pen, you need to do the following:
- Outline the boundaries of the drawing and mark the horse's skeleton, determining the dimensions of the body, head, neck, and legs.
- Draw the outline of the image taking into account the details. Outline the mane, tail, eyes, nostrils.
- Use a black pen to shade the dark areas of the drawing. Outline the shadow under the horse.
- Detail the muzzle and tail.
- Use a soft pencil to outline the shadows.
- Strengthen the shadows and blend.
- Add highlights to the image using the eraser.
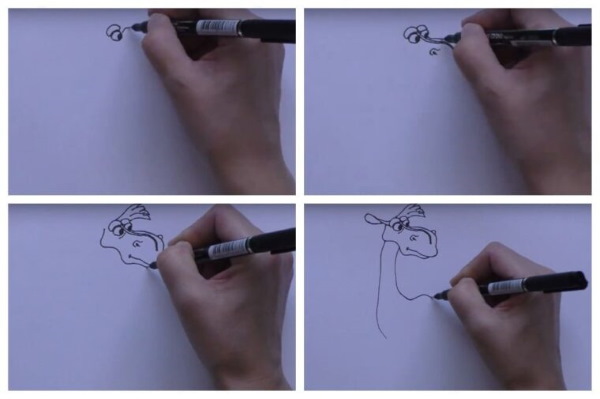
Julius the heroic horse from the cartoon
The horse (a drawing for children can be in the form of the heroic horse Yuliy) from the fairy tale about three heroes is distinguished by the ability to speak. It also has many features inherent in a person.
Before drawing Yuli, you need to carefully look at the screenshot of the cartoon, where he is clearly visible, and then do it the following stages:
- Draw the head. It is elongated and of medium size.
- Draw the eyes, trying to depict all the wisdom of this cartoon character.
- Finish drawing the nostrils, each of which should be represented by a pair of arced lines.
- Draw the ears using semi-ovals.
- Mark Julius' mane with a few smooth lines.
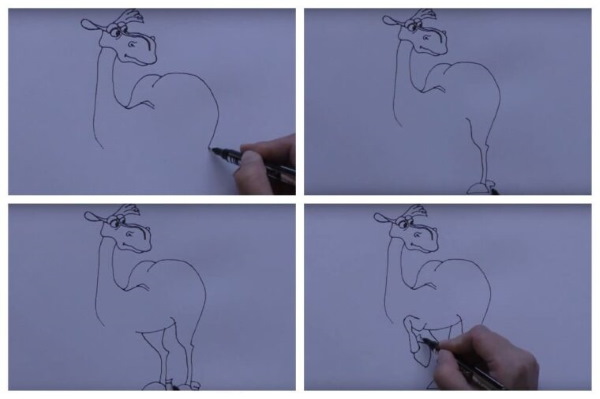
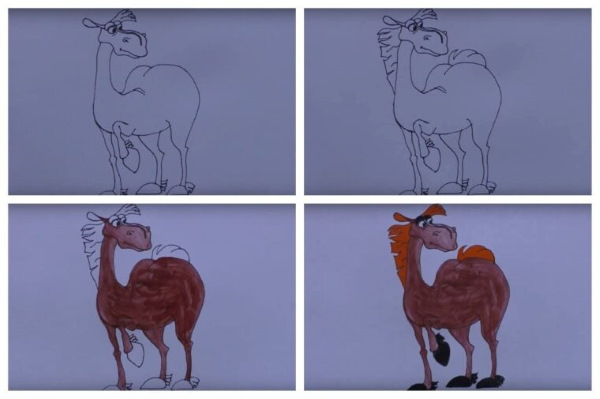
- Draw an elongated, slender neck.
- To indicate a massive body, especially its back part.
- Draw thin legs. At their ends there should be not quite ordinary hooves, more like boots. The ovals should be slightly flattened and stretched in the toe area.
- Remove all unnecessary elements using an eraser.
- Color the finished drawing.
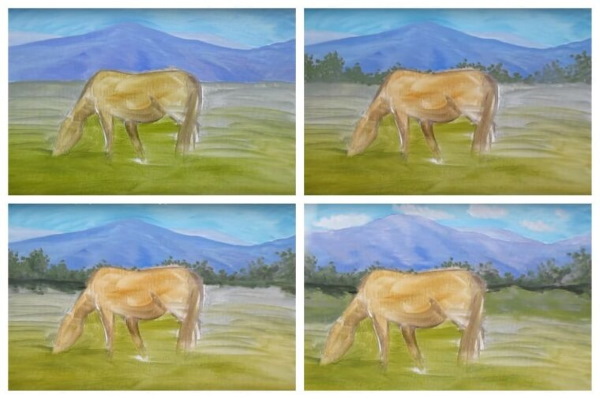
Horse in the meadow
To make the picture complete, you need to add a background. The best option is a beautiful blooming spring or summer meadow with an animal grazing on it.
The horse itself can be drawn in any of the above ways. It can simply stand on the grass or run. The style can be any - cartoonish or more realistic. To complete the picture, it remains to draw the meadow.
By following these steps, both adults and children can cope with this task:
- Draw an arc line to indicate the outline of the hill. This will be the foreground.
- In the background, draw another curved line, indicating the 2nd hill. This hill should seem higher, which is facilitated by the peculiarities of perspective. The viewer sees everything that is located further away as if from above.
- In the background, draw a third hill, drawing another curved line for this. It should connect the 2 previously drawn arcs. This will be the horizon line.
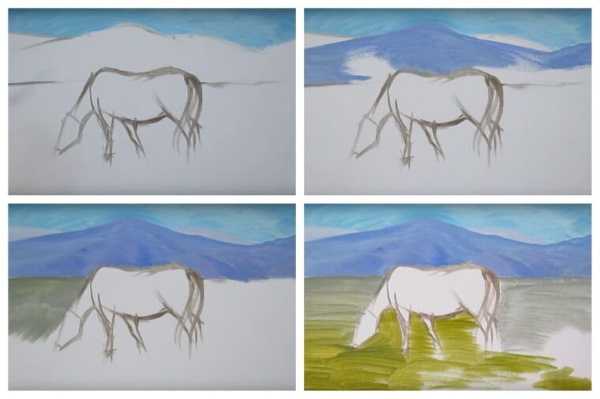
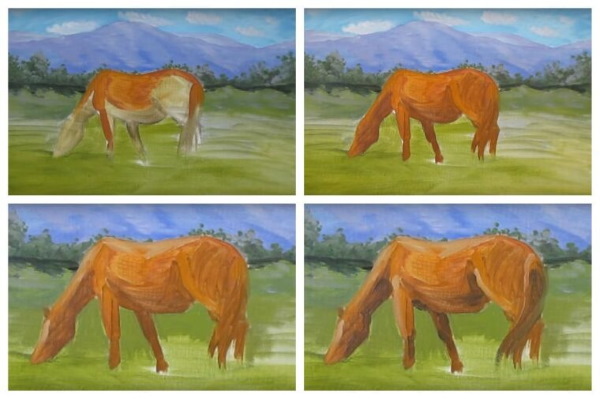
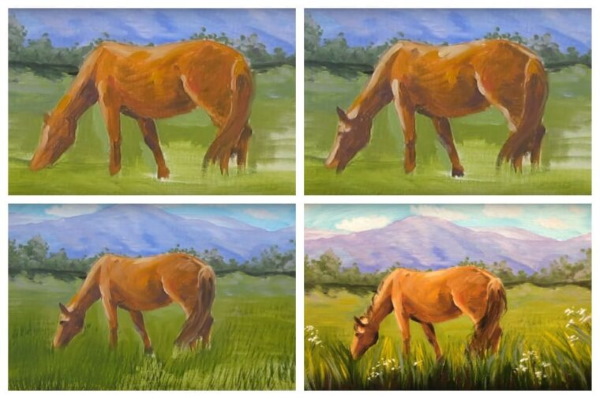
- Draw the sun in the sky, which is best drawn with a compass or any solid, round object of the appropriate size that is at hand. If the sun sets behind the horizon or, on the contrary, just appears, illuminating everything around with morning rays, you need to remove some part of the circle.
- Color the resulting meadow, and also add clouds in the sky and rays of light coming from the sun. The meadow itself is green, and there may be multi-colored flowers on it.
More examples of drawing a horse with a pencil
The horse (a drawing for children can be made in different versions) is great for developing artistic skills in a preschool child.
From the letter "N"
If a young budding artist is somewhat familiar with the alphabet, you can suggest that he or she draw a horse based on the letter "H".
To do this, you should follow these steps:
- Connect the top points with one straight line, which will indicate the back.
- Extend the side part slightly higher, thus creating the lower part of the head.
- Round off the front of the muzzle.
- Draw the top line of the head and round the back of the head, then draw a line to the back.
- The end of the muzzle is marked with a semicircle, the nostril is marked with an oval.
- On the head, draw a white eye and a black pupil, and in the place where the line turns, an ear.
- All paired organs are depicted in a single copy, since the horse is presented in profile.
- Draw 2 limbs, make the lower part wider and mark the hooves. On the neck, use strokes to draw a mane, and at the back of the body, a tail.
Horse head
If it is too difficult for a child, you can simplify the work for him by reducing the drawing to one head. In addition, the horse's head can become part of some picture. For example, it can appear from a barn in a rural yard.

As a basis, you can use a trapezoid-shaped template made of thick cardboard. After tracing the template, the child will have to add the missing details: mane, ears, nostrils, eyes.
When imagining a horse, everyone sees a large, strong animal, which is a symbol of speed and quickness. It is not without reason that the engine power of vehicles is measured in horsepower. The horse is often the hero of many artists' paintings, because it is a very eloquent image.
The horse has a complex body anatomy, even children who are not professional artists will be able to draw it on their own. Such work will be within the power of a preschooler. Moreover, you can use one tool for this - a simple pencil. The main thing is to follow the instructions and try to follow all the recommendations.
Video about drawing
Horse drawing for children: