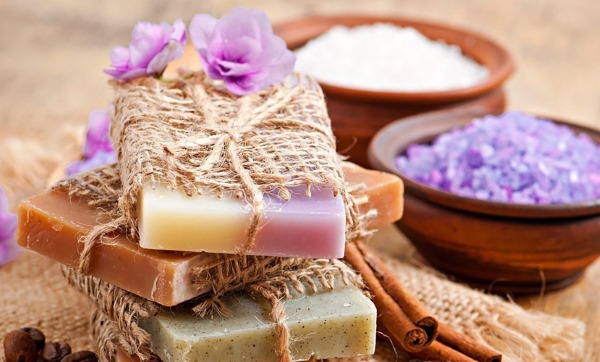
Making soap at home is of interest to most beginning soap makers, as this is a useful, interesting activity that does not take much time.
Pros and cons of soap making at home
Making soap at home is attractive for beginning soap makers due to a number of advantages:
- minimal investment to purchase cheap equipment;
- accessible technology for manufacturing the product;
- opportunities to enjoy the creative process;
- the ability to create an environmentally friendly and natural product, unique in content and form;
- an unlimited circle of consumers of the finished product (adults and children, men and women of any profession and status in society);
- opportunities to experiment, to create something new;
- the likelihood of receiving income from the sale of their products;
- lack of competition due to the uniqueness of each product.
Disadvantages of homemade soap making:
- the need to invest one's own resources at the initial stage of work;
- search for sales points and buyers;
- risk of allergies (soap making involves working with essential oils and chemicals, so it is not suitable for people with sensitive mucous membranes and skin).
Materials and accessories
Making soap at home for beginners at the initial stage of work involves costs for materials, devices and tools. Their choice depends on the intended technology of production of the product.
Warp
As a base for soap you can use:
- a self-prepared mixture (the most labor-intensive method, which requires compliance with safety precautions and knowledge of chemistry);
- factory-made soap base;
- unscented baby soap;
- soap scraps and leftovers from regular soap (the most economical method).
The bases from different industries differ in a number of characteristics:
- cost;
- hardness;
- cooling speed;
- degrees of naturalness (there are completely natural base masses for creating an environmentally friendly, safe product).
Most bases sold in specialized stores are glycerin, without alkalis in the composition, which is how they compare favorably with ready-made soap made in a factory. Glycerin base has a softer effect on the skin, forms a large amount of foam.
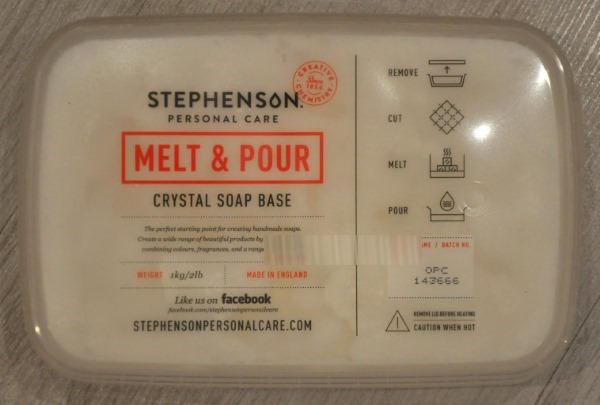
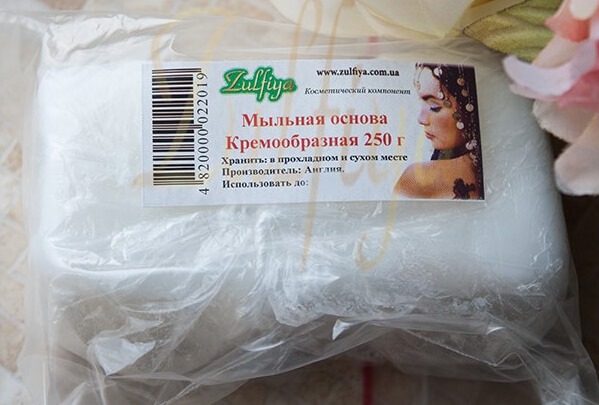
English soap base is of high quality, but it is expensive and hardens very quickly after melting., therefore it is inferior in popularity to Russian raw materials. In addition to them, soap bases from Belarus, Germany, China, and Bulgaria are present on the market.
The “SLS-free” mark on raw materials guarantees the absence of surface-active substances (SAS), which have a negative effect on the skin and mucous membranes.
For soap with a water-soluble image, it is advisable to choose an English base, the Belarusian product "Ideal" or the Russian base "Myloff" for the top layer, since this way you can achieve maximum transparency of the product. The thinner the top layer, the clearer the image underneath is visible.
There are 4 types of soap bases:
- Solid soap base. The most popular are classic white (including matte) and transparent base. The white base contains titanium dioxide pigment. If necessary, you can buy it separately to create white soap from transparent.
A transparent base allows you to create brightly colored soap, a white base will give any dye a pastel tone. Vegetable oils, milk (goat or cow), mango butter can also be added to solid bases. There are also bases made only from natural raw materials on sale.
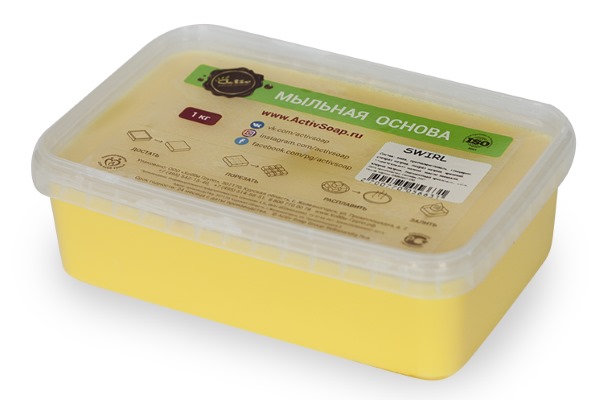
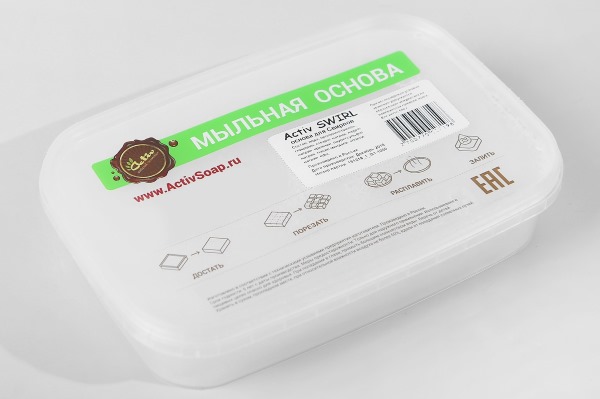
- The basis for creating "swirls". When heated, it acquires a viscous structure without turning into liquid. Due to this property, it is possible to create soap with unique patterns and inclusions.
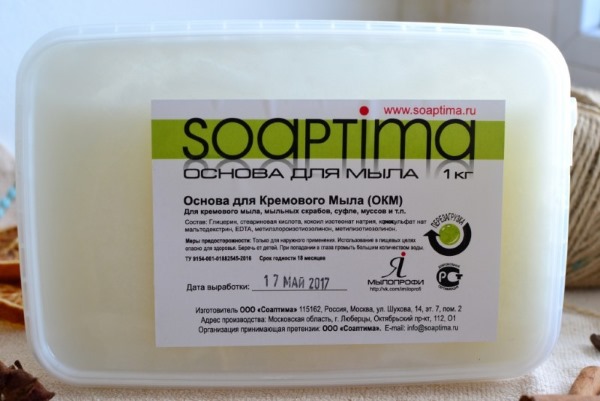
- Soft base. It is used for making scrub soap and soft soap (a product with a pleasant texture, reminiscent of ice cream).
- Liquid foundation. It is ready for use in everyday life and also serves as a basis for creating new hygiene products.
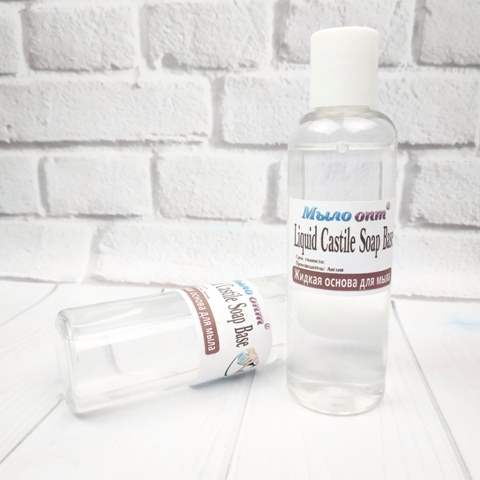
The liquid foundation from England, “Liquid Crystal Concentrate”, is especially popular. It cannot be used in its pure form due to the high concentrations of active substances in the composition.
Making soap “from scratch” by creating the base yourself is a labor-intensive and harmful process due to the use of caustic alkalis, so it is advisable for novice soap makers to use a ready-made soap base at home.
To cook transparent soap, you need a transparent base, to cook a matte product, you should choose matte raw materials. The average cost of 1 kg of base mass is 300 rubles.
If you choose baby soap as a base, it is worth buying fragrance-free options, since it will be impossible to get rid of its original aroma.
To make your own soap base, you will need 3 ingredients:
- alkaline base;
- liquid (herbal infusions, milk, purified water);
- special oils for saponification.
Caustic soda is essential for obtaining solid soap. The alkali ensures the saponification of fat, in this case the base oil (any vegetable oil, in rare cases lard).
The liquid is necessary for preliminary dissolution of the alkali and preparation for mixing it with fat. If milk or decoctions of useful herbs are used as liquid, the finished soap will become useful, will be colored naturally and will have a natural smell.
Base oils
Base oils enrich the soap, giving it the necessary properties (moisturizing the skin, softening it, nourishing it). Soap without base oils will dry out the skin, create a feeling of "shrinkage", lead to cracking and peeling. To enrich the product, you can also add cream, body lotion, boiled milk and cream.
The main thing is not to get carried away with enriching substances, otherwise the soap will not foam well.
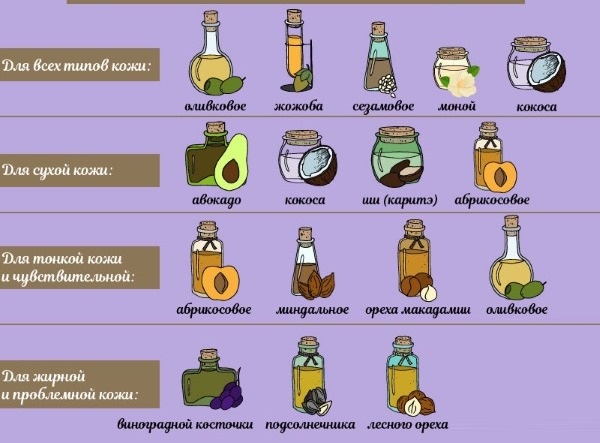
The most commonly used base oils are:
- for hands: cocoa butter, shea butter, olive butter, palm butter, walnut butter, jojoba butter;
- for normal skin: cocoa and avocado oils, olive and almond;
- for dry skin: shea butter, evening primrose, wheat germ, rose hip, avocado, almond, castor;
- for oily skin: apricot and peach kernel oil, sweet almond and hazelnut;
- for problem areas of the skin: sea buckthorn or olive;
- for the body: sesame, shea, almond, coconut, cocoa, olive oils.
Oil is often chosen based on its effect on the skin:
- for aging - wrinkle-smoothing geranium oil;
- for dryness - peppermint oil;
- for vitamin saturation – juniper oil;
- for rough, dry skin – lanolin oil;
- to combat cellulite and add elasticity – orange oil, loofah, seaweed in combination with pieces of ground coffee.
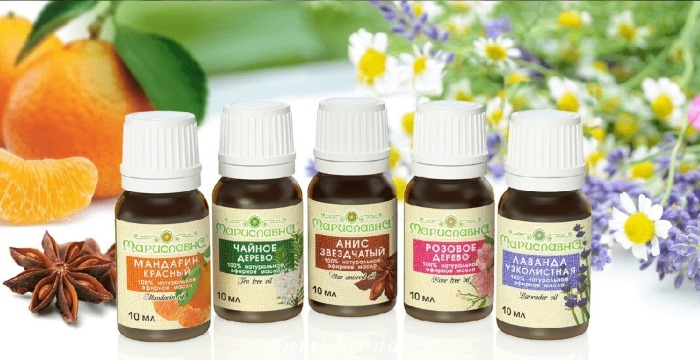
Essential oils
Essential oils are used to give homemade soap a pleasant aroma. Instead of them, confectionery and cosmetic flavors, coffee, chocolate, honey, dried fruit zest, and parts of dried flowers are also used. The downside of essential oils is that they evaporate quickly. Therefore, they are added to soap at the end of preparation.
The choice of a particular oil depends on the healing effect that needs to be achieved. For example, lavender relieves headaches and has a calming effect; jasmine invigorates and improves mood; tea tree oil is effective in fighting bacteria.
The necessary raw materials can be selected depending on the area of application of the soap:
- Any essential oil can be used for the skin of the hands.
- For normal skin, chamomile, jasmine, geranium, and lavender oils are best.
- Dry skin can be helped by essential oils of lavender, mint, jasmine, palmarosa and neroli.
- Lemon, rosemary, cypress and geranium oils can reduce skin oiliness.
- Essential oils of eucalyptus, tea tree, juniper, sandalwood and fir are effective in the fight against problem skin.
- Tea tree oil, eucalyptus oil, orange oil, and grapefruit oil are good for the body.
Dyes
Using dyes, you can color homemade soap in the desired shade.
The main features of using coloring pigments:
- in a transparent base the colours are rich, in a white base they are delicate and muted (the exception is neon dyes);
- Several colors can be mixed to obtain the desired shade.
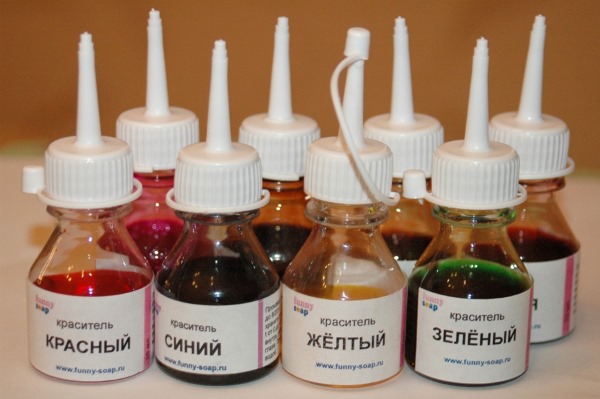
All dyes are divided into food and pigments:
- Food colorings leave the soap transparent, do not add turbidity to its base and color it in rich bright shades. However, it is impossible to create multi-colored soap with their help, since the colors easily transfer to other layers.
They are produced in the form of powders, gels and oils. They are distinguished by their high concentration. Dosage of food coloring: from 1 to 5 drops for 100 g of base.
Liquid dyes are easier to use. They are divided into classic colors and neon (more saturated and bright shades). Neon pigment allows you to get bright soap even when using a matte white soap base. The disadvantage of liquid dyes is that the base becomes cloudy. The dosage of liquid pigments is from 5 to 7 drops per 100 g of base.
Ready-made dyes sold in specialty stores will color the soap in brighter colors than its natural counterparts.
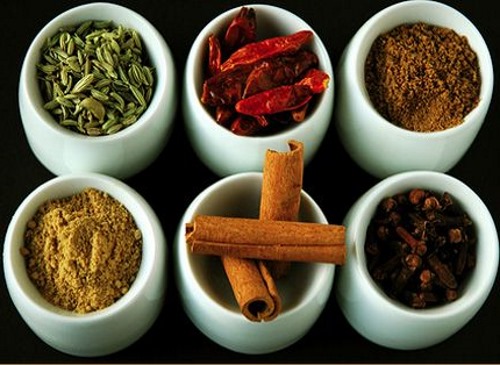
However, natural dyes are safer:
- For red soap you need red pepper or red sandalwood powder.
- The green color is obtained by adding chlorophyllipt (easily available at the pharmacy) or dried herbs to the soap.
- To give the product an orange color, you should use turmeric powder.
- To get a brown tint, add chocolate, coffee or cinnamon to the soap.
- Pigments are more popular due to their versatility and wide range of colors. The main advantage of artificial dyes is the absence of color migration when making a multi-layered multi-colored product.
Dry pigments are presented as powders. They are not suitable for making soap, as they often settle in it without dissolving. They can only be used if the soap base is prepared independently, as alkali does not corrode such a dye. They also make a transparent base cloudy.
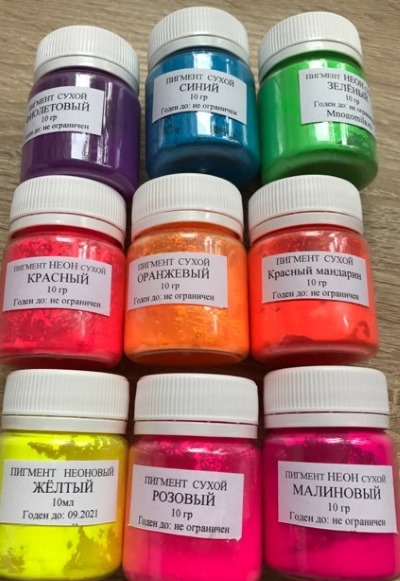
For 100 g of soap you need 1/3 teaspoon of dry pigment, pre-mixed with alcohol, oil or glycerin.
Pearlescent pigment (mickey) is available in powder form. It does not need to be mixed with anything before use. Mother of pearl can only be used on a transparent soap base, as it will not be noticeable on a white surface. It is often used to decorate finished soap using fingers or brushes. It can also deprive the soap of transparency. For 100 g of raw material, you need from 1/3 to 1/2 teaspoon of pigment.
The pigments "Zenikolor", produced in the form of a paste, are of high quality. They do not penetrate into different layers of soap and preserve its transparency.
Regular titanium dioxide, a white pigment, will allow you to convert a transparent base into a matte one if necessary. It is also necessary for making a white base for swirls. For 100 g of soap base, you need to take 1/3 teaspoon of titanium dioxide mixed with oil, alcohol or glycerin.
Decorative ornaments, useful additives
For decorative purposes, the following are used in soap:
- glitters (large multi-colored sparkles added to transparent soap);
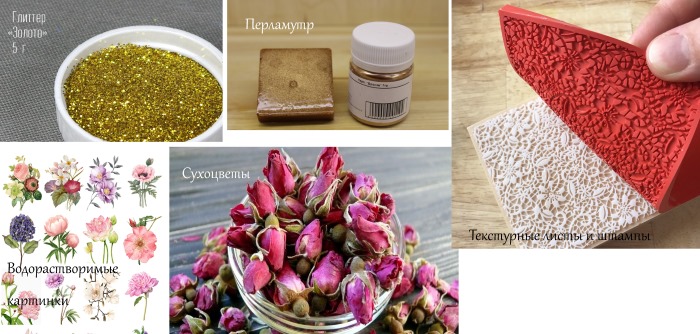
- mother-of-pearl (a pigment with an iridescent color, used both for coloring soap and for decorating it after production);
- water-soluble pictures (for making soap with pictures and inscriptions);
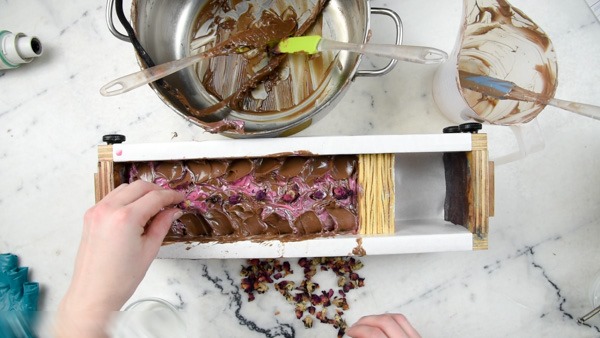
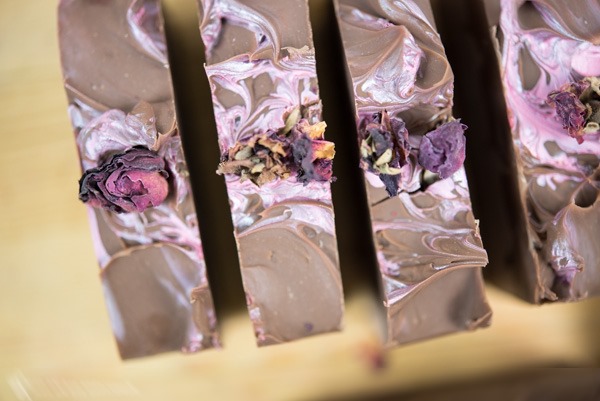
- dried flowers and plants;
- texture sheets and stamps (for creating patterns and relief on the surface of soap).
Soap is also supplemented with caring components to give it certain properties:
- to make scrub soap: oatmeal, poppy seeds, chopped herbs, sugar, nutshell crumbs, ground coffee or coffee beans;
- for a therapeutic effect: parts of medicinal plants and herbs;
- for a tonic effect: fruit zest, honey;
- for gentle skin care: skin milk, creams, milk, propolis tincture;
- for nutrition and moisturizing: vegetable oil, honey, herbal decoction, glycerin.
It is advisable to choose fillers based on the characteristics of the skin:
- Lanolin, wax and glycerin are beneficial for the skin of your hands.
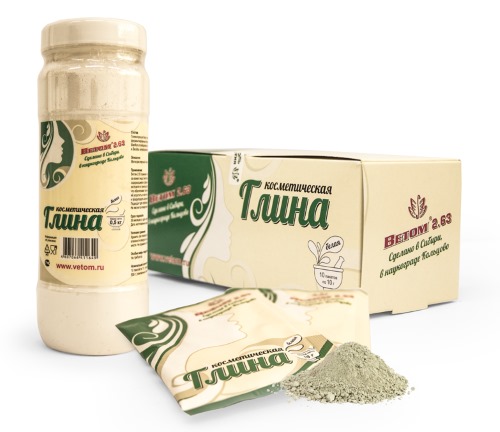
- Cosmetic clay, ground coffee and herbs, and milk will help maintain the health of normal facial skin.
- Milk, glycerin, cosmetic clay, and herbal infusions will help reduce dry skin.
- Activated carbon, cosmetic clay, camphor alcohol, calendula extract, chamomile, and propolis will reduce the sebum production of oily facial skin.
- With the help of cosmetic clay, eucalyptus leaves, activated charcoal, and herbal infusions, you can reduce the number of skin rashes.
- Ground coffee, sea salt, clay, honey and tar can be used to maintain the beauty of your skin.
To improve the quality of soap, the following ingredients are used:
| Useful substances | Properties | Examples of substances |
| Plasticizers | For plasticity and foam formation. | Honey, glucose, sugar, sorbitol. |
| Acids | For product hardness and antibacterial effect. | Citric, lactic, succinic acids. |
| Lanolin | For a softening effect. | Lanolin. |
| Glycerol | Moisturizing. | Glycerol. |
| Oil | Enrichment. | Shea butter, avocado. |
Fresh fruits, berries, vegetables, plants cannot be used as useful components, as they will quickly rot and spoil the soap. Instead, it is better to use dried fruits, leaves, herbs, petals, flowers, ginger powder.
Molds, alcohol and additional accessories
To improve the appearance of soap, rubbing alcohol is often used.: it prevents air bubbles from appearing on the surface of the product, and allows layers of multi-colored soap to be bonded. For this purpose, it is sprayed onto the soap after it has been poured into molds.
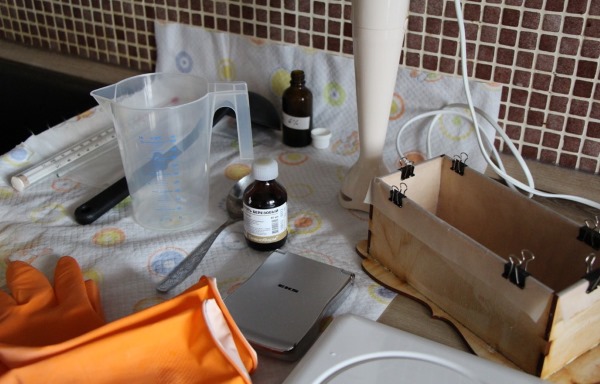
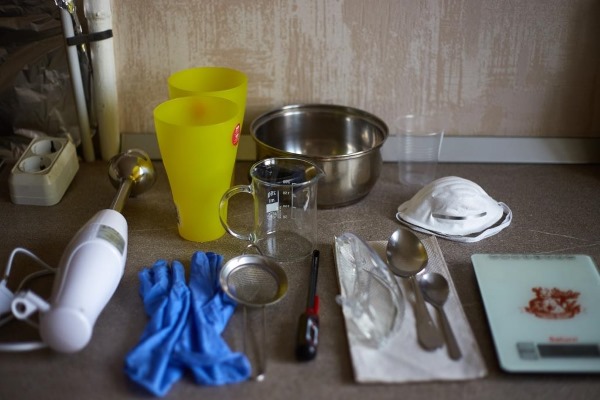
Making soap at home for beginners and experienced soap makers is impossible without the appropriate equipment:
- enameled and steel pans;
- saucepan for melting the soap base;
- plastic and glass containers for microwave ovens;
- spoons;
- corolla;
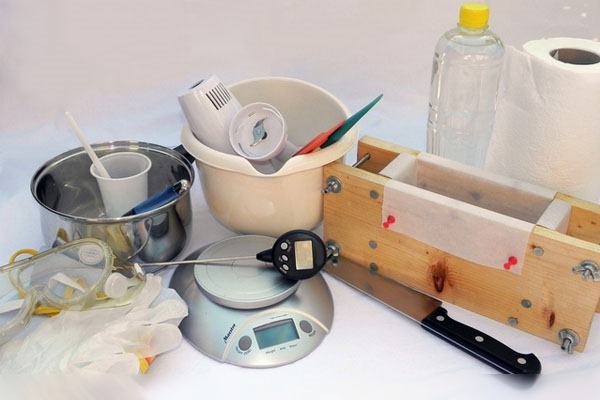
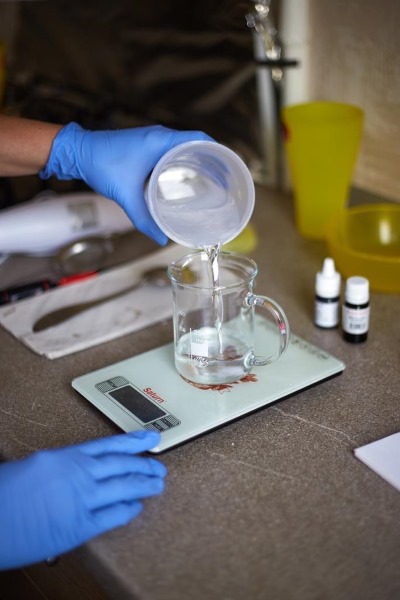
- measuring cups;
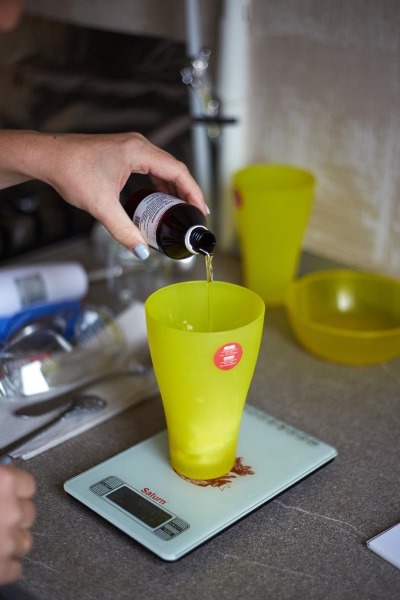
- kitchen electronic scales;
- a small spray bottle for dispensing alcohol;
- soap molds.
The following forms can be used:
- special soap molds;
- silicone baking molds;
- plastic forms for sandbox games;
- plastic containers from fermented milk products;
- small plastic elastic containers.
The most convenient are flexible silicone molds, as it is easier to remove hardened soap from them.Containers and tools used in soap making should not be used for food preparation.
General tips and advice on homemade soap making
Tips from home soap makers:
- When you start making soap, you need to prepare all the ingredients and tools: the product hardens quickly, and you need to work quickly.
- Dyes, additional components, and flavors must be selected before production begins, and not during the process itself.
- Pigments and fragrances should be used sparingly to avoid creating too strong a scent or soap that stains the body.
- Baby soap will melt faster if you add sugar or honey to it.
- You can remove air bubbles from the surface of the product by spraying alcohol on it.
- 1 teaspoon of glycerin added to 100 g of soap base will prevent the soap from becoming too brittle.
- It is advisable to grease the molds with oil: then it will be easier to remove the soap from them.
- If the product turns out to be too soft, next time it is worth adding less liquid when preparing it.
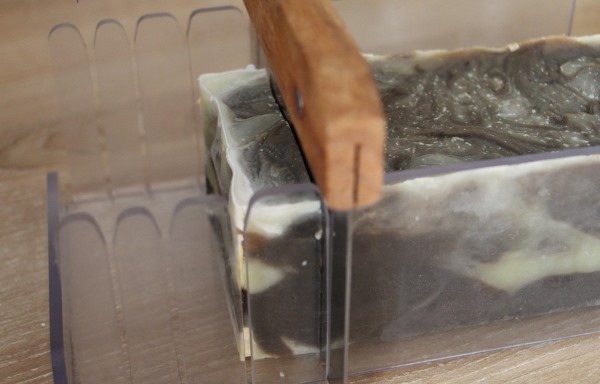
- The soap can be easily cut with any knife that has been previously soaked in hot water and dried thoroughly.
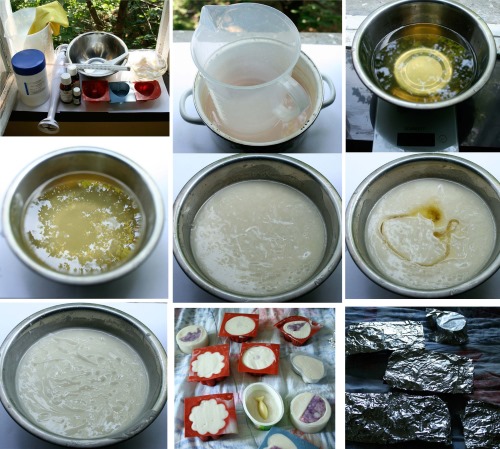
A Quick Way to Make Soap for Beginners
How to make soap with your own hands at home - for beginners it is advisable to practice with the easiest recipes: this way you can understand the features of the cooking technology, the methods of work.

Recipe:
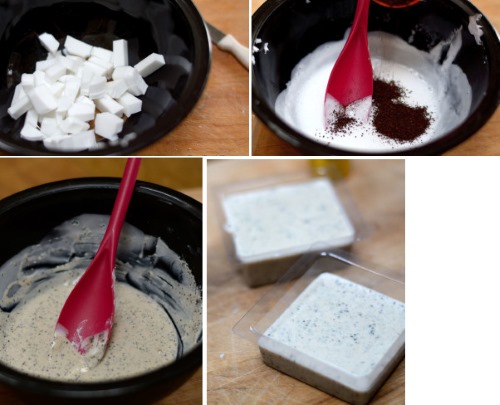
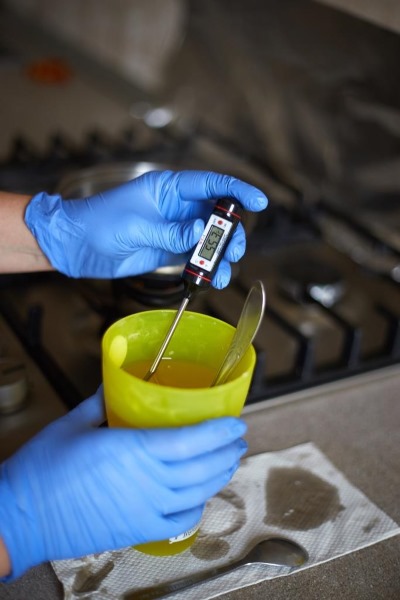
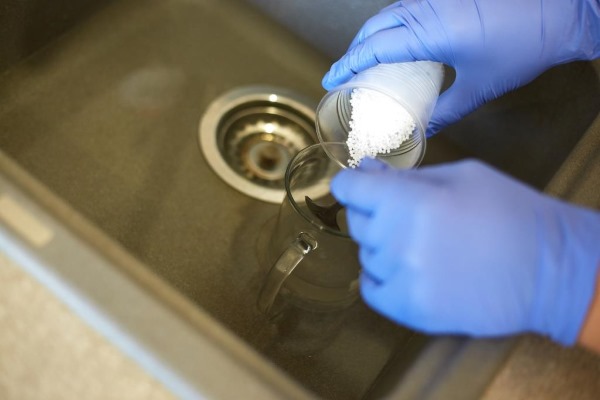
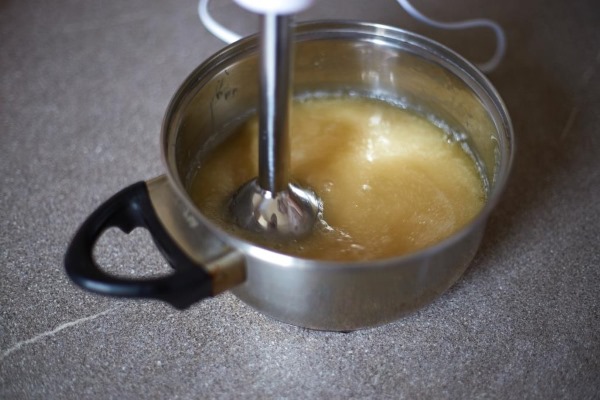
- The finely chopped base must be melted in a water bath.
- Base oil is added to the liquid hot mass at a dosage of 3 teaspoons per 100 g of product.
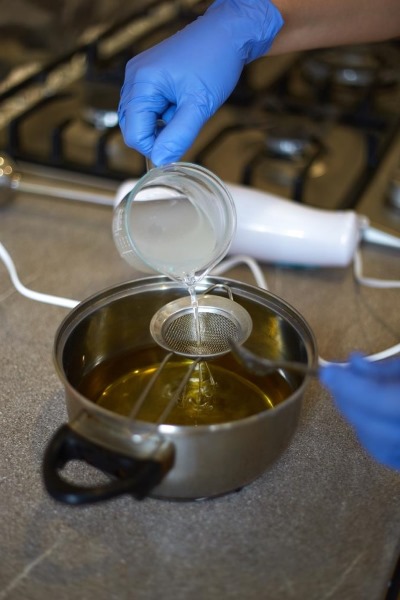
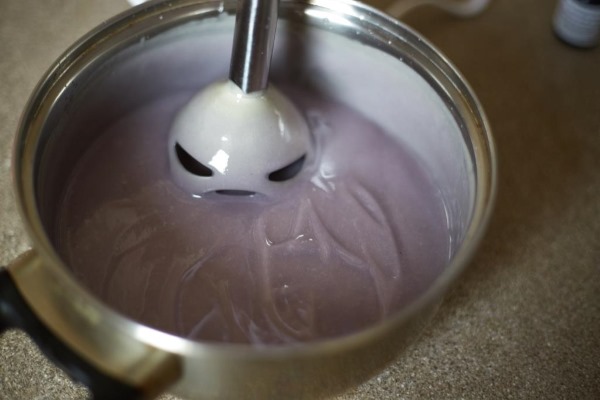
- Next, you need to add milk to the mixture to create the consistency of thick sour cream.
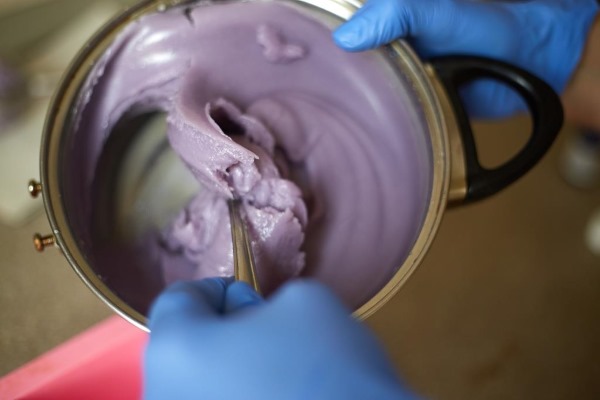
- After the liquid has completely melted, remove it from the heat. Add essential oil (2-3 drops), 1 teaspoon of glycerin, pigments, flavors, and useful components.
- After adding all the components, the soap must be poured into molds, treated with alcohol and left until the mass hardens.
- After 2 days the soap will harden. You can take it out of the container and start using it.
Honey soap
Components:
- base (matte or white) – 100 g;
- liquid honey - 2 tbsp;
- Honey flavoring - 5 drops;
- yellow dye – 3 drops.
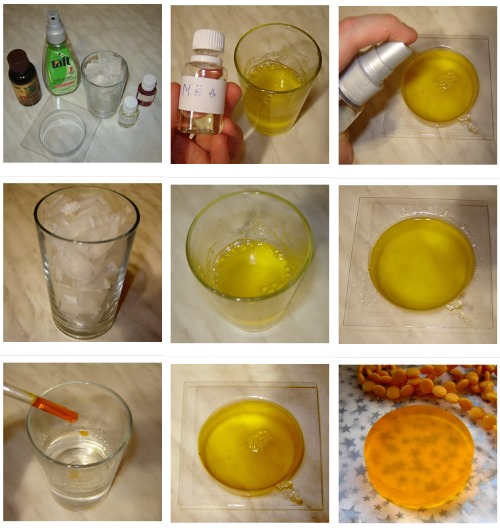
Preparation:
- The crushed base must be melted.
- After melting, pigment is added to it.
- Then you need to cool the product a little and pour honey and flavoring into it. You shouldn't add them to the hot mixture to preserve their beneficial properties.
- The resulting mass must be quickly poured into a container. The product hardens within 1 hour.
Coconut
Components:
- soap base – 125 g;
- coconut oil – 1 tsp;
- coconut flakes – 12 g;
- almond oil – 7-8 g;
- sugar – ¾ tsp;
- lavender essential oil – 3 drops.
Only white ingredients are used for the product so that it looks like coconut.
Preparation:
- It is necessary to melt the crushed soap base.
- Coconut oil must be added to the melted mixture.
- Almond oil, essential oil, and coconut flakes are added to the mixture.
- At the end of the process, sugar is added, then everything must be quickly mixed and poured into molds.
- The spilled soap will harden within 3 hours, after which it is ready for use.
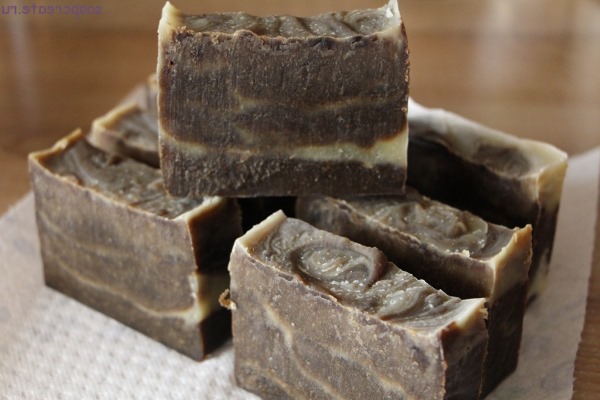
Chocolate
Components:
- base – 100 g;
- ground coffee (not brewed) – 1 tsp;
- cocoa or chocolate – 1 tsp;
- milk - 1 tsp;
- avocado oil – 3-4 drops;
- fragrances – optional.
The soap will be three-layered: for this, each layer must be poured separately. The first layer will be coffee, the second - chocolate, the third - milk. The form for pouring should be simple - in the form of a circle, square, triangle.

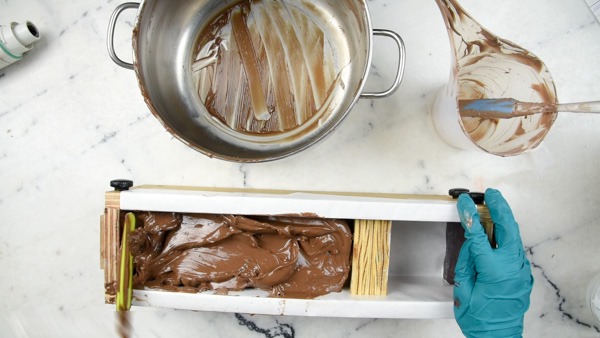
Preparation:
- Melt the base in a water bath.
- You need to add oil to it and mix until smooth.
- Divide the resulting liquid into three equal parts, pouring into separate containers.
- In the first bowl (the bottom layer of soap) you need to pour coffee, add coffee or vanilla flavoring. After thorough mixing, pour into the container. The soap needs to harden a little for 5-10 minutes.
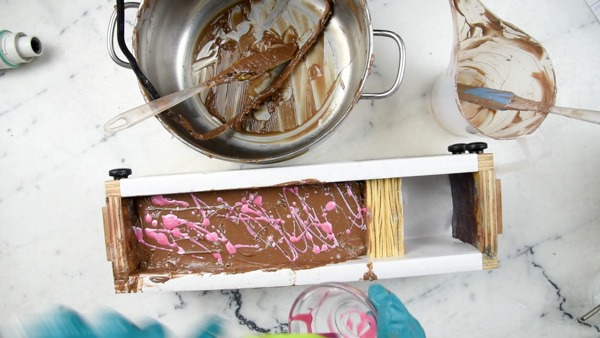
- In the second bowl, add cocoa and chocolate flavoring, stirring. After that, sprinkle the first layer of soap with alcohol and pour the second layer of soap mass.
- The top milk layer is prepared in a similar way. It is possible to add flavors such as "Fresh milk", "Vanilla", "Caramel" or "Coconut".
Coffee soap scrub
Components:
- base – 100 g;
- ground coffee – 1 tsp;
- fragrance “Vanilla” – 3 drops.
Preparation:
- The crushed base is melted in a water bath.
- You need to add coffee to the liquid mass and stir.
- After removing from heat, add fragrance.
- Pour the soap and sprinkle some alcohol on top.
- The soap will harden in 3 hours, after which it is ready.
Coniferous
Components:
- base – 100 g;
- spruce essential oil – 6 drops;
- green pigment – 3 drops;
- chamomile or pine needles ground to a powder - 1 tsp;
- fir oil – 1 drop;
- alcohol.
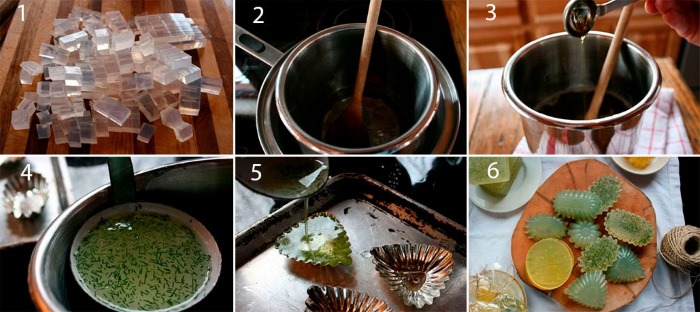
Preparation:
- The base needs to be melted.
- After melting, add chamomile or pine needles and mix until smooth.
- Next, you need to remove the soap from the heat, add dye, essential oils and stir.
- The soap can be poured into molds by spraying their surface with alcohol.
- After 3 hours the product is ready for use.
Lemon
Components:
- base – 100 g;
- lemon essential oil – 5-6 drops;
- dried lemon zest - 1 tbsp.

Preparation:
- The crushed base must be melted in a water bath.
- Add lemon zest to the liquid mass and mix thoroughly. Do not mix quickly to avoid bubbles.
- Remove the mixture from heat and add essential oil.
- Next, you need to pour the product into the container and let it harden for 4 hours.
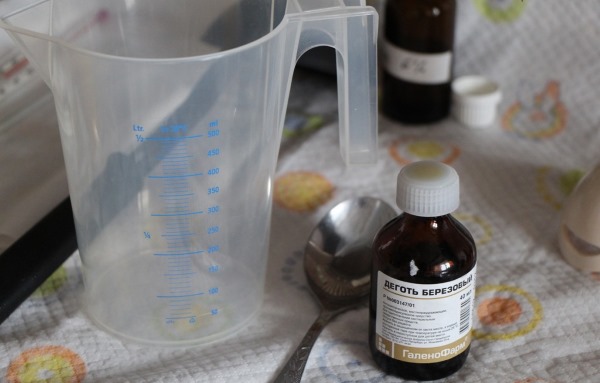
Tar
Components:
- natural base – 100 g;
- calendula oil extract – 1/3 tsp;
- birch tar (sold in any pharmacy) – 1.5 tsp;
- essential mint oil – 5-8 drops;
- formic alcohol (for spraying).
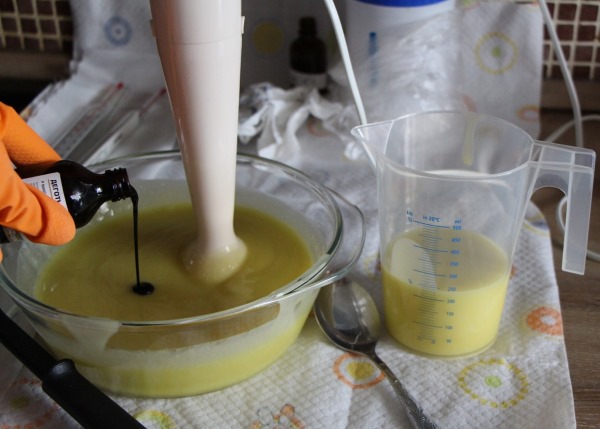
Preparation:
- The base is crushed and melted in a water bath.
- Calendula extract is added to the liquid mass. The mixture should not be hot, otherwise the beneficial properties of calendula will disappear.
- Tar is added, and the mixture must then be thoroughly mixed until smooth.
- After the mixture has cooled, you need to add peppermint essential oil to it to soften the sharp smell of tar.
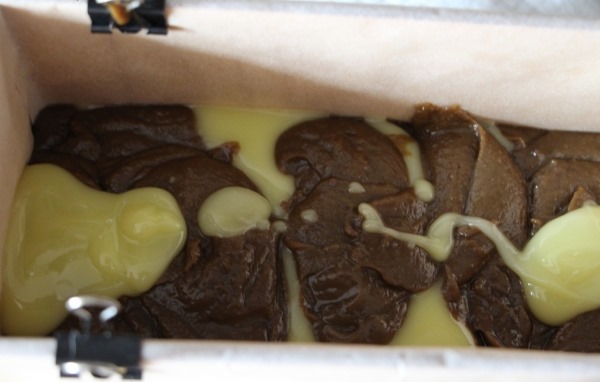
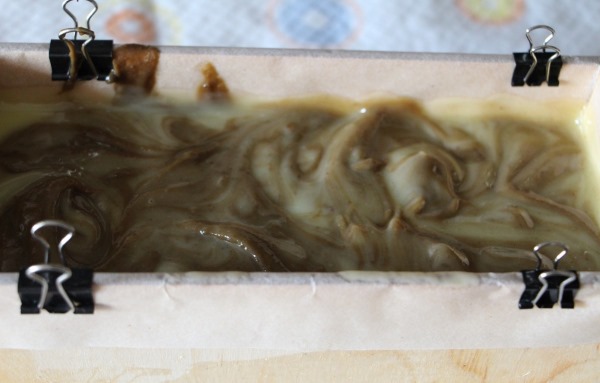
- The finished mixture is poured into molds and sprayed with alcohol to remove bubbles from the surface.
- Tar soap takes a long time to cool, so you can keep it in the refrigerator for 20 minutes to speed up the process.
Lavender
Components:
- soap base – 100 g;
- lavender essential oil – 4-6 drops;
- dried lavender flowers – 1 tbsp.
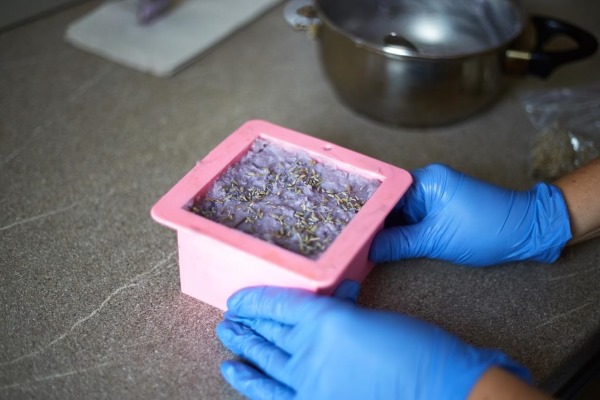
Preparation:
- The base is melted in a water bath.
- When the base becomes liquid, essential oil is added to it – 4-6 drops and dried flowers.
- The product is placed in a container for 4 hours until it hardens.
Soap making is a fascinating process that results in a beautiful and useful product that is always in demand. Therefore, beginning soap makers, even those who make soap at home, should think about how to turn this hobby into an exciting project that brings in income.
Author: Julia Rakipova
Article formatting:Natalie Podolskaya
Video about homemade soap making
How to make soap with your own hands: