The word "decoupage" appeared in France, translated as "cutting, tearing off". The skill of decoupage lies in the ability of a person to select a picture for printing, cut it out and stick it on the selected item.
In this case, the border of the sticker should be invisible on the decorated surface. After finishing the work, the drawing looks like a painting or an ornament. And the object looks like a finished, beautiful souvenir.
Types and styles of decoupage
There are 5 main types of decoupage, united by the technique of execution, but completely different and dissimilar to each other.
Reverse decoupage
Reverse decoupage is used to decorate glass surfaces. A selected design in the form of a napkin or paper is glued to the back of the decorated item. And all the decoration work is done in reverse order. This technique is used to decorate plates and mugs because the side used remains clean. Reverse decoupage allows for drawing contours, elements and background of the picture.
Artistic (smoky)
This decoupage imitates a professional artist's painting. This is achieved by using a variety of effects and techniques that allow the sticker and the background of the object to be transformed into a single painting surface.
Deco Patch
The type of decoupage is known as patchwork. The word is translated from English as "a canvas made of scraps of fabric." A fragment of a picture is not glued to the selected item, as usual.
It is completely filled with pieces of multi-colored paper, which resembles a patchwork quilt. For decoupage, special paper napkins are used that imitate fabric or fur. But experienced needlewomen can decorate the thing with the help of the simplest decoupage materials.
Volumetric (3D)
Creating volumetric decoupage is a special technique for performing work. The working surface is voluminous and convex, similar to a bas-relief.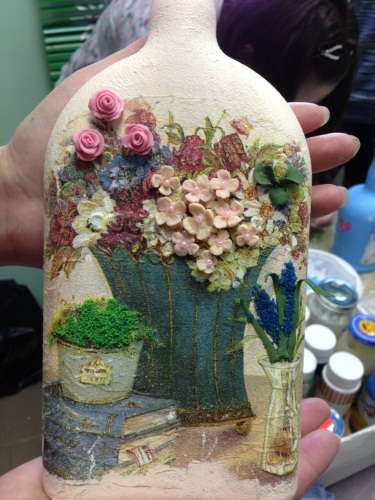 Volume is achieved using a special paste, thick fabric, eggshells or small shells.
Straight (classic)
The cut-out picture or fragment is glued evenly to any surface. It is fixed qualitatively by wet, dry or hot method. It depends on the material used: napkins, thin paper or decoupage cards.
Then the subject is varnished and sanded until a smooth surface is obtained. At the end of the process, the item is processed as desired: an additional tone is applied, bulges are made, artificially aged.
Popular decoupage styles are:
Provence
The style symbolizes the provincial south of France. Characteristic features: invisibility, simplicity, unobtrusiveness of aged wooden things. The main decoupage motifs are plants, flower arrangements and ornaments. There are images of grapes, herbs, seascapes. Olive, gray, lavender, malachite colors prevail.
Shabby chic
Delicate, feminine, romantic Shabby chic style is similar to Provence with pale, artificially aged wood. However, there are differences: beige and pale pink colors dominate. Roses, gardenias, and romantic period themes are usually used as pictures.
Victorian
The style appeared in England during the reign of Queen Victoria. It is characterized by rich, luxurious, ornate features. 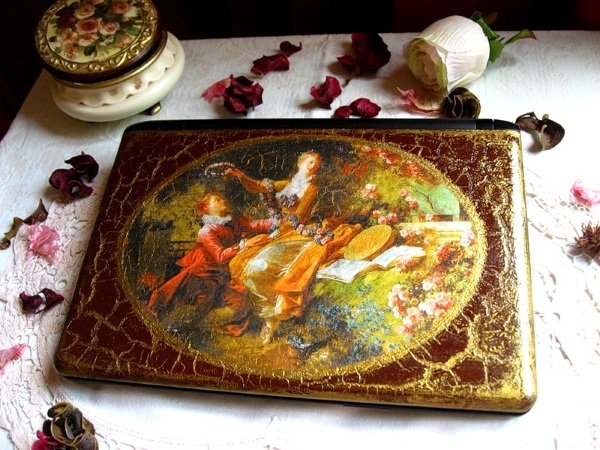 Dark wooden furniture is chosen as decoration. The pasted images are decorated and decorated with gilded paint. The main colors of this style are bronze, gold, black, burgundy, green. The main subjects of the pictures are girls, bright still lifes, religious scenes.
Simplecity
The most simple, simplified decoupage. For work, newspaper and magazine articles, drawings, photographs are used. Moreover, they are not cut out, but carefully torn off. This gives the decorated object an old, vintage look. White, gray, brown colors dominate. The plot uses curls, lace, ruffles.
Stylistic features of black and white decoupage
Decoupage (pictures for printing in black and white) remains a familiar and accessible method of decorating objects. A successful combination of black and white colors gives decoupage a romantic mystery and tenderness.
The design in black and white has the following rules:
- pictures should be monochrome, with a small number of elements and details;
- when decorating a bottle, take a plot with objects located in the center of the composition;
- when decorating furniture, choose pictures that emphasize the space of the drawing;
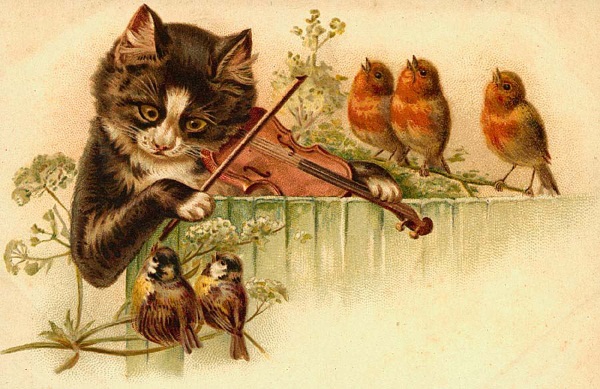
- if black and white decoupage complements another type of decoupage, complex pictures are used: violin, saxophone, chandelier, ornament;
- to transfer the selected design, purchase the thinnest paper;
- the black and white picture should be clear, not blurry;
- When printing, set the tone intensity level to 550-610 dots per inch.
List of tools and materials
To work you need to prepare:
- base - a jar, a box, a bottle, a board;
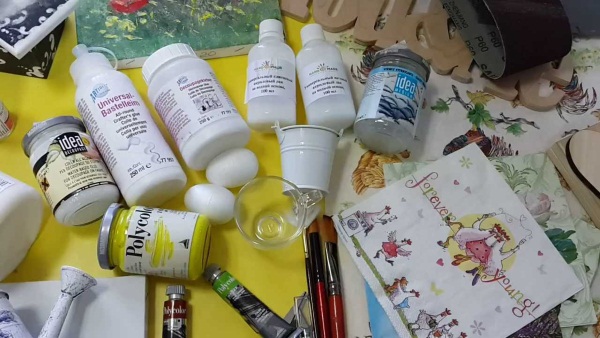
- synthetic brushes - flat, round, thin;
- spatula – small, rubber;
- sandpaper - several sheets of fine and coarse grain;
- foam sponges - take factory-made ones, or cut them out of a household sponge;
- palette - buy a special one or use small plastic plates;
- decoration motifs – napkins, rice paper, decoupage map;
- universal acrylic primer, glue varnish;
- acrylic paints - small jars;
- additional tools – scissors, dishes for washing brushes and rags for wiping them, files for storing pictures.
Methods of gluing
Decoupage (pictures for printing or ready-made napkins) are decorated with different gluing options:
- Plot and PVA glue. Dilute the glue to the desired consistency, apply generously to the center of the napkin to be glued. Then, starting from the center of the napkin, smooth it with your fingers and carefully, gently move to the edges. In this case, the edges are slightly raised so that folds do not form. Excess glue is removed with table napkins or a soft cloth.
- Polyvinyl acetate glue (PVA), glue stick, hot iron. The method is used to decorate flat, large-sized things. The surface is carefully smeared with glue. Dry with a household hair dryer. After that, cover with a napkin, carefully smoothing it out. Baking paper is laid out on top of the picture. Iron with a heated iron, remove the paper. The finished picture is covered with glue again.
- Transparent file for storing papers and a picture - napkin. The prepared napkin is placed on the file with the front side up. A little water is poured on top. The napkin is straightened with hands. Excess water is drained. The napkin that has stuck to the decorated side of the object is coated with household PVA glue.
Beginner needlewomen are advised to choose a small, simple-shaped item for work. Then the glue can be applied with fingers or a brush. The picture is smoothed out with hands or a brush. Any brush is used, usually a flat one.
The decoupage technique allows applying glue both to the item itself and to the napkin. Each master chooses his own convenient way of gluing the motif.
How to make a thing using decoupage technique
Decoupage (pictures for printing are offered by specialized leisure sites) is considered a budget and affordable type of handicraft. Popular works:
On wood
Decorating wooden items gives things a unique, inimitable look. An old box, a scratched nightstand, a cutting board will become new, decorate your home.
Decorating wood is easy:
- Putty the wooden surface to hide the cracks. Then sand it, removing bumps and roughness.
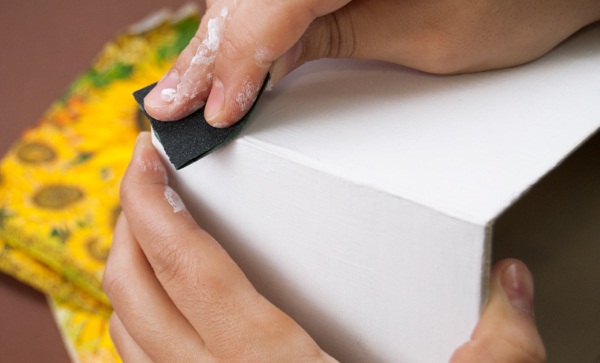
- Paint the item to be decorated.
- Glue the plot with glue for decoupage of wooden products.
- Carefully straighten the pattern from the center to the edges.
- Cover with varnish, leave for 24 hours. Re-varnish.
On glass
Decoupage on glass products is considered the most difficult and labor-intensive type of decoration. The surface of glass items is super smooth and has no roughness. Because of this, paper motifs and glue do not stick well to it. But experienced decorators often choose decoupage on glass.
A vase, a fancy bottle, a Christmas tree ball, a figurine – a great gift, decorated with your own hands:
- Clean the surface from dust and dirt. Degrease with alcohol solution or acetone. Put on gloves to avoid leaving stains on the glass.
- Prime with glass primer or universal primer.
- Leave to dry.
- Glue the napkin with decoupage glue and dry again.
- If desired, paint the work with special paints using a stencil. Dry.
- Cover the item with acrylic varnish, decorating it at the same time (antique elements, gilding).
- Varnish the product with finishing varnish 2-3 times, thoroughly dry each layer.
For metal
Decoupage on metal is a fascinating form of creativity.
In addition to pictures for printing, decoupage sheets and table napkins are used in the work:
- Remove rust to prevent the image from peeling off in the future.
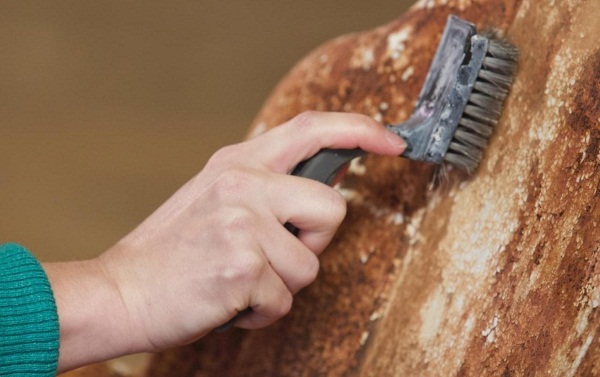
- Sand the item, excluding the polished surface.
- Degrease the product with alcohol.
- Prime with a special primer for metal objects.
- Glue the motif with urethane varnish.
- When adding or painting on the composition, mix acrylic paints or gouache with enamel on rust.
- Sand it down.
- Apply top coat.
- Do not use water-based products.
When decorating electrical appliances (lamp, kettle, hair dryer), it is advisable to use heat-resistant varnishes and paints.
On plastic
Decoupage design turns a faceless, dull plastic item into something new, bright and unusual.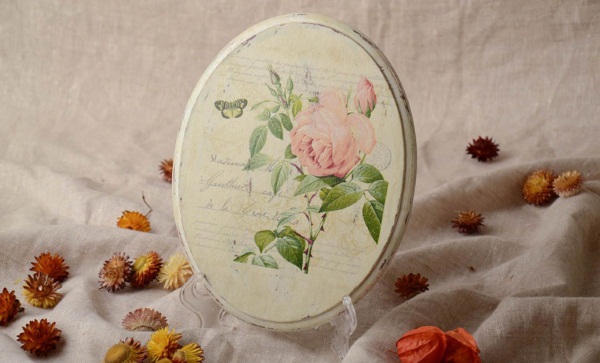
Working with plastic is as follows:
- Degrease the item with an alcohol solution.
- Sand with sandpaper until rough.
- Apply a primer to the work surface to ensure further adhesion of the base to the coating.
- Cover the item with light-colored acrylic paint. When using dense images, it is permissible to paint the surface with dark colors.
- Leave to dry.
- Glue paper plots.
- Napkins are glued with diluted glue; for thick pictures, concentrated PVA glue is used.
- Apply an additional layer of glue over the entire motif.
- Dry.
- Cover with varnish. It is recommended to varnish the item 2-3 times to protect the composition from water and sun.
To decorate things using decoupage technique, it is common to use pictures, ornaments on thin paper, cut out from napkins. It often happens that you don’t have the right napkin at hand.
Creative people are saved by a printer and a computer:
- print the plot on glossy paper;
- apply acrylic spray varnish to the picture;
- dry;
- repeat application of varnish up to 4 times;
- soak the sheet of paper with the picture in clean water for 10-15 minutes;
- take the sheet out of the water and turn it inside out;
- carefully rub off the paper layer with your fingers;
- a thin film of varnish with an image will remain in your hands;
- cut out the picture, put it under the press;
- prepare the base and glue the picture.
Varnishing
Decoupage (pictures for printing, output through a printer) will last longer after coating with varnish. The varnish will protect the item from moisture and friction, make it glossy and attractive.
There are basic rules for varnishing a decorated item:
- The varnish is applied with different brushes. It is recommended not to use a large roller or sponges. They leave stains on the surface and make it unevenly painted. Usually, flat brushes with long bristles are purchased. Professionals prefer to work with brushes with soft bristles made of synthetic materials. Hard brushes do not varnish the surface well and leave varnish streaks. Soft natural brushes break quickly. Synthetic brushes distribute the varnish evenly. They do not leave stains or streaks.
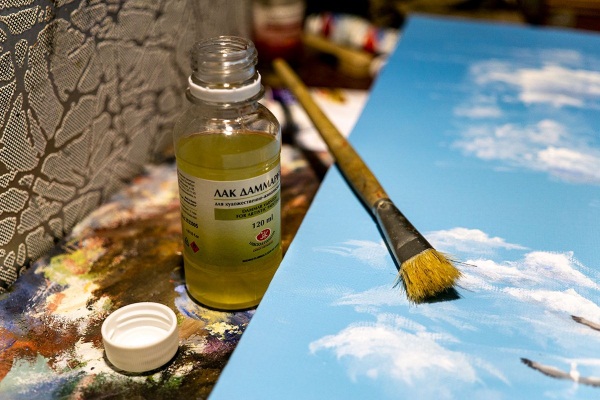
To work with varnishes, you should have a separate set of several brushes that are not used for painting objects.
Correctly selected varnish is the key to successful completion of decoupage. First, you need to decide what kind of surface the object will have: glossy - shiny or muted - matte. Gloss varnish makes the drawings bright and juicy. Matte varnish slightly reduces the brightness of the color of the plot. Many people prefer an intermediate varnish - semi-matte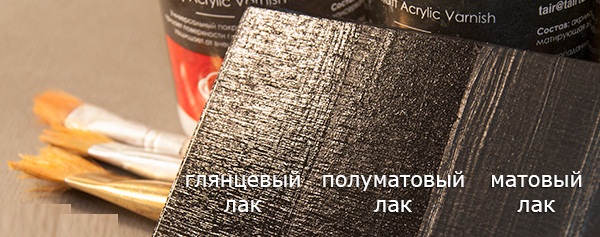
The varnish is chosen depending on the style of the decorated souvenir. The chosen plot is covered with a certain type of polyvinyl acetate. Shabby chic, vintage, country (rustic) "prefer" a pale, dull surface. Pop art and classics "love" glossy varnish.
- Adherence to the varnishing process is an important stage of decoupage. Practitioners and experienced craftsmen advise applying 4-5 thin layers of varnish rather than 1-2 thick ones. Before starting to varnish, it is necessary to pour some varnish into a separate container. This will help to keep the varnish in the factory can from drying out or mixing with undried paint.
It is advisable to dip the brush into the container up to the middle of the bristles. The first layers should be applied quickly and not to smear the same area several times. This is explained by the absorbent property of the surface being treated.
The varnish dries instantly, forming bumps and unevenness. When the product is completely covered with a film of varnish, it is necessary to smooth out the varnish with calm movements from one edge of the plot to the other.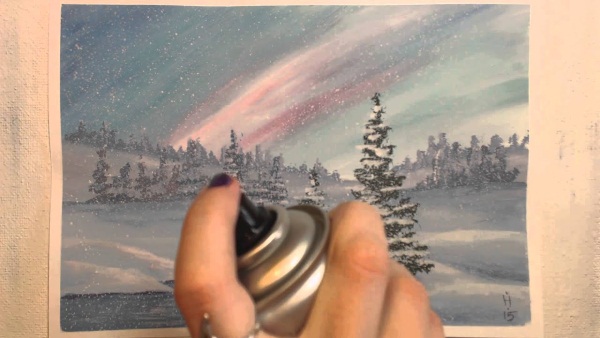
Since acrylic-based varnish is white until completely dry, this makes varnishing easier – you can see what part of the object has already been covered.
When the varnish thickens, dilute it with water.
- Classic decoupage requires a large number of varnish layers. Sometimes specialists apply 70-90 layers. Multilayer coating is recommended for items that are constantly used in the household. Many layers are made when working in some decorative techniques: imitation of enamel, faience or 3D decor.
Souvenirs and items made in other decoupage styles are varnished 5 to 6 times.
Examples of decoupage
Beginner craftsmen choose pictures for decoration that they print themselves on a printer.
This has its own advantages and features:
- a huge selection of images and styles on Internet sites;
- the ability to change and edit drawings;
- removing and painting over unnecessary elements;
- adding invented inscriptions to the plot;
- Possibility of multiple printing of the design.
When printing, it is important to pay attention to the quality and parameters of the image. They must have a high resolution so that the image does not blur and remains clear when enlarged.
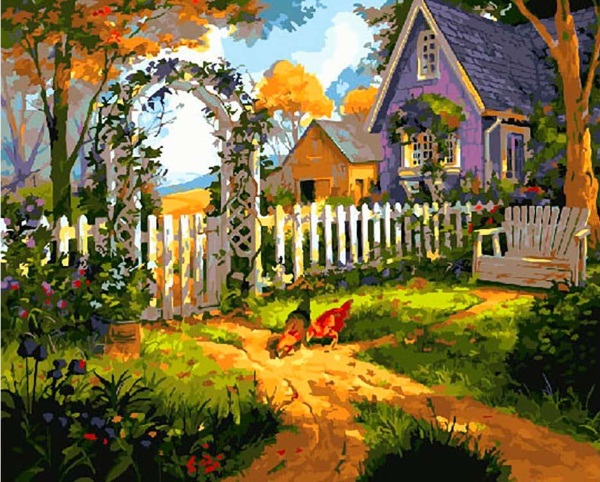
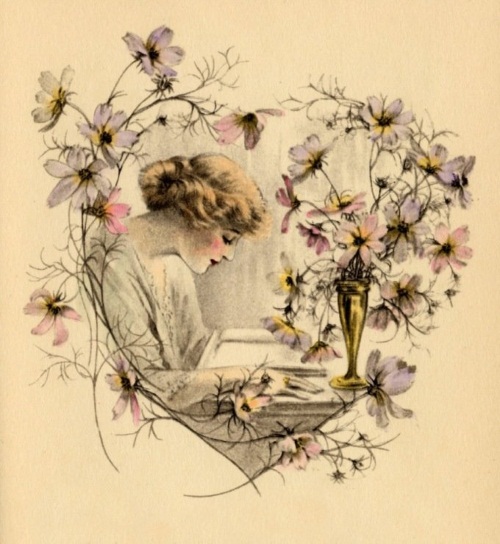
There are no barriers to creativity, so you can choose a design, style, direction to your taste: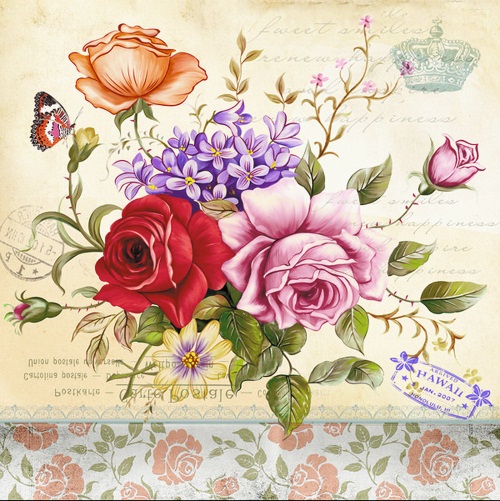
The quality and appearance of the decorated item depend on the correctly found, saved and printed picture for decoupage. Modern office equipment, the required paper density, the ability to work with a program for processing drawings are the necessary conditions for obtaining good pictures.
Article formatting: Vladimir the Great
Video about decoupage
Simple decoupage master class for beginners: