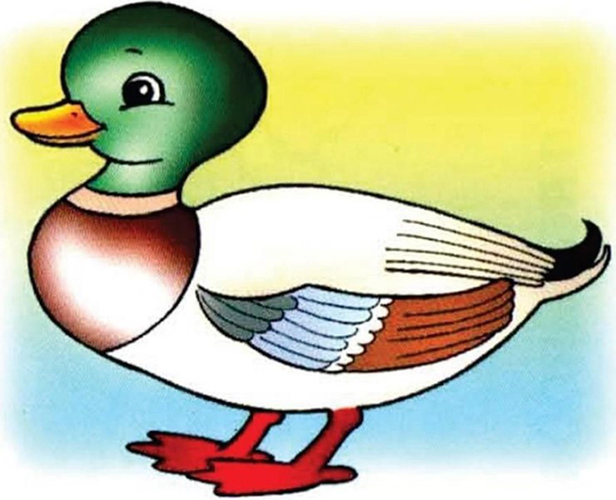
Ducks and ducklings are one of the favorite "children's" characters, which are used both in classic fairy tales ("The Tale of the Ugly Duckling", "The Gray Neck", "The Brave Duckling", "The Duckling and the Chicken") and in modern cartoons.
Drawing for children can be done in a simplified technique, depicting body parts in the form of ovals. A characteristic feature of these birds is a wide, elongated body on short legs. If you take this into account when drawing, you can easily give recognition to the external contours of the animal.
Simple drawing
The duck (drawing for younger children) is made using geometric shapes – circles and ovals. It can be difficult for little ones to draw them evenly and symmetrically, so you can use stencils or parents can sketch them out in advance with a simple pencil.
For this work you will need a simple (graphite) pencil, an eraser, yellow pencils of light and dark shades, an orange (red) pencil for the beak, black for the eyes and outline, and an album sheet.
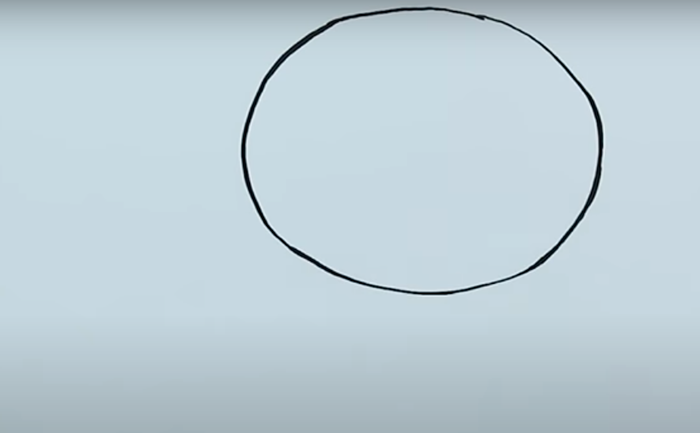
Let's start drawing step by step:
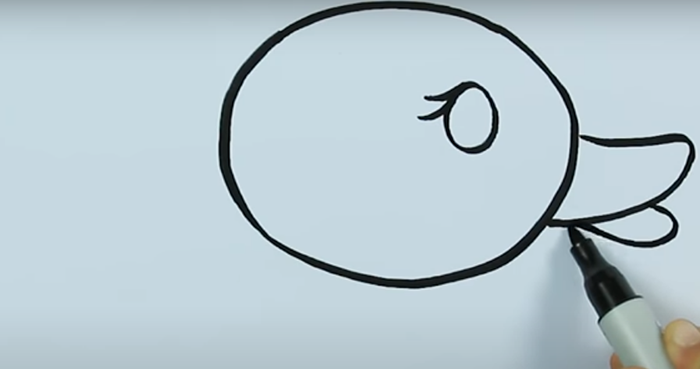
- In the upper half of the sheet, you need to draw a large oval. The duck should take up most of the sheet. It is recommended to teach the child to correctly compose the drawing right away, since many children draw too small, leaving a lot of empty space around the main object.
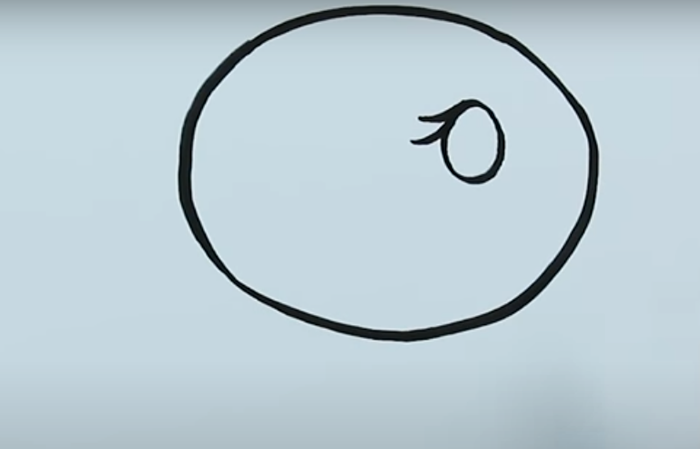
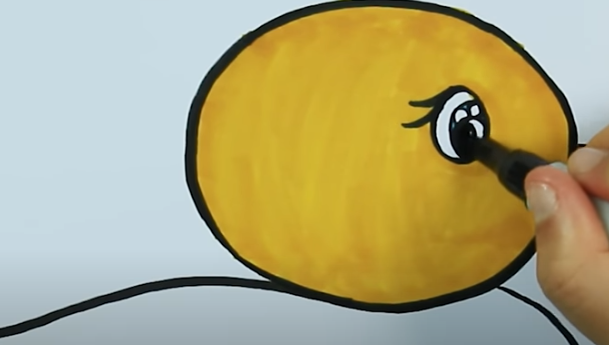
- Next, on the left, inside this figure, draw a small oval, which will be the animal's eye. On the left, draw eyelashes in the form of small arcs - one above and one below.
- The beak is drawn from two triangles with a rounded corner. The first half should be larger and curved upwards.
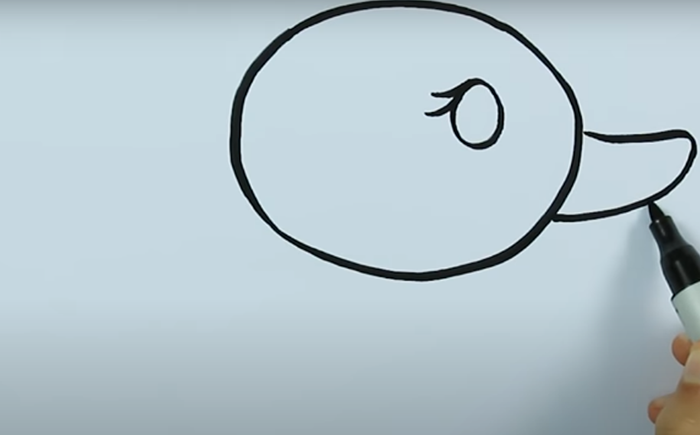
- The second, lower half of the beak is smaller in size and directed downwards.
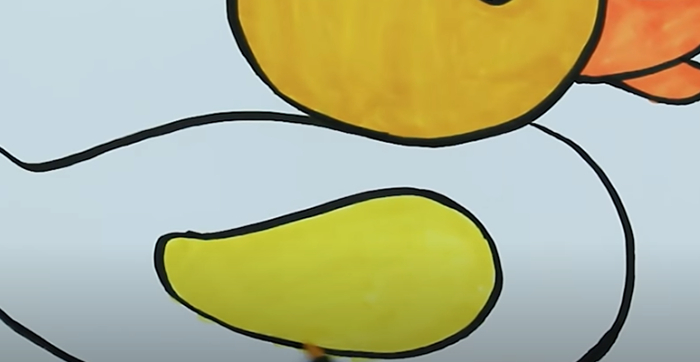
- Then a large oval body is added at the bottom, with a raised tip on the left to represent the duck's tail.
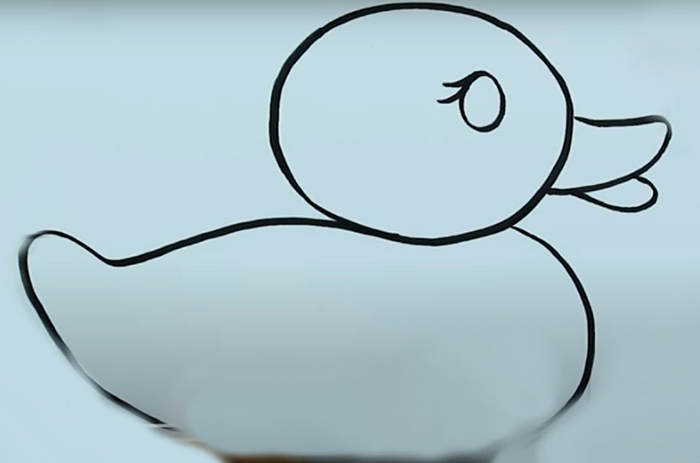
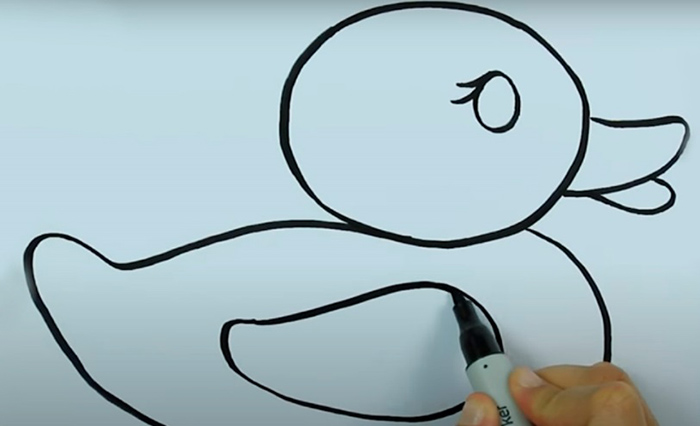
- In the center of the body, draw a wing, the contours of which resemble the body of a duck - it should taper on the left.
- At the bottom of the eye you need to draw a small circle – the pupil.
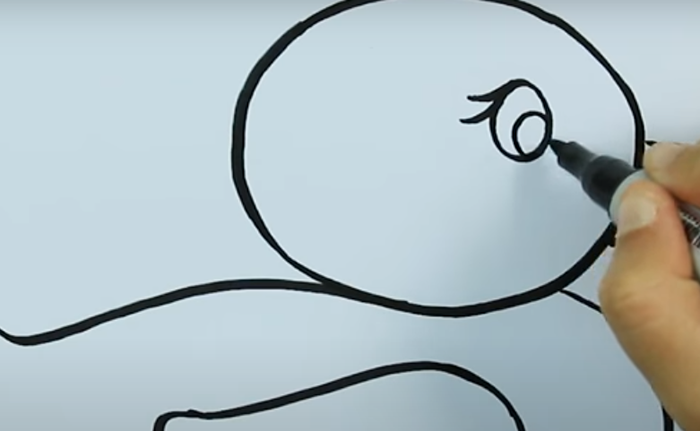
- Parallel to it, a little higher, draw an additional arc, and inside it - 2 small circles, which will be highlights.

- Now we begin coloring. The duck's head is colored with a yellow pencil, and the beak with a red one.
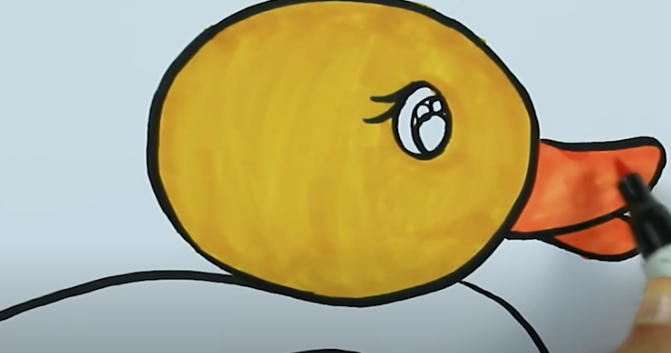
- The duck's pupil should be painted black, and the small circles should be left unpainted.
- Next, you need to color the bird's wing with a light yellow pencil.
- The duck's body is painted with a dark yellow pencil.
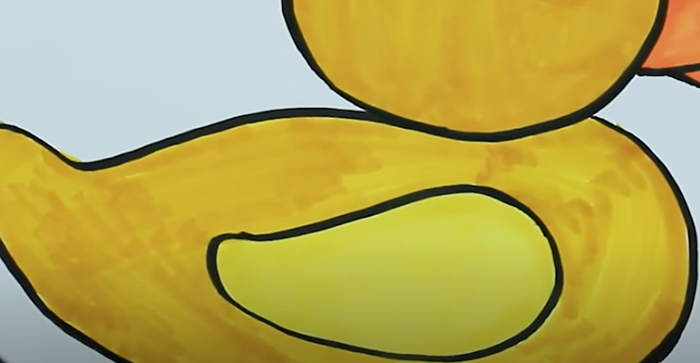
- Then, using a dark yellow or orange pencil, draw 3 small arcs on the wing to represent feathers.

- The result will be a drawing like this:

Drawing for children Duck
Real adult birds are not yellow, but most often gray or gray-brown. But this example is well suited for small children, for them to study the basic colors and drawing techniques. The drawing can also be done with felt-tip pens.
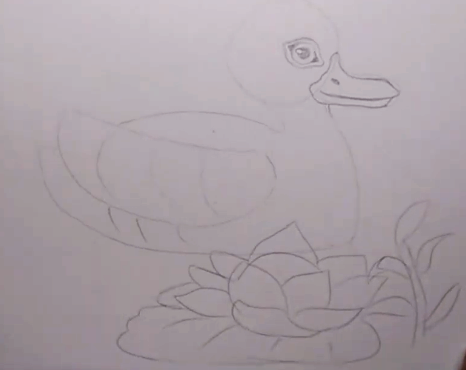
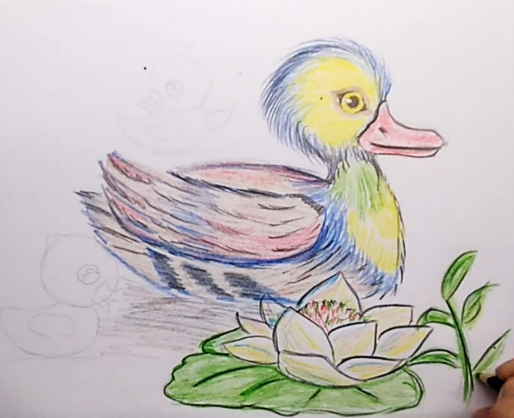
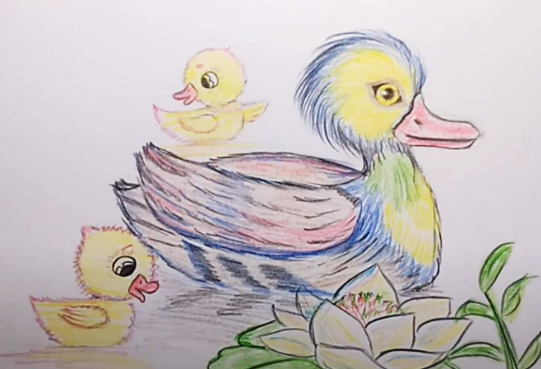
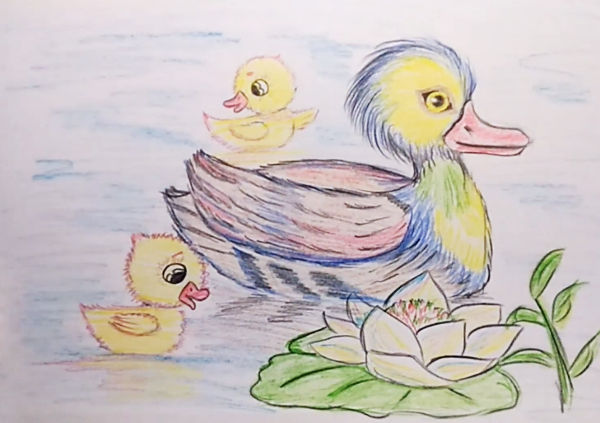
Duck with ducklings
The duck (a drawing for older children can be done using a more complex technique) in this example will be drawn with ducklings, and it will be of an unusual appearance - a mandarin duck, distinguished by its brightly colored plumage.
To work you will need a simple pencil for drawing contours and a set of colored pencils for coloring, as well as a sheet of paper. It will take a lot of time to draw this illustration.
The step by step drawing process is as follows:
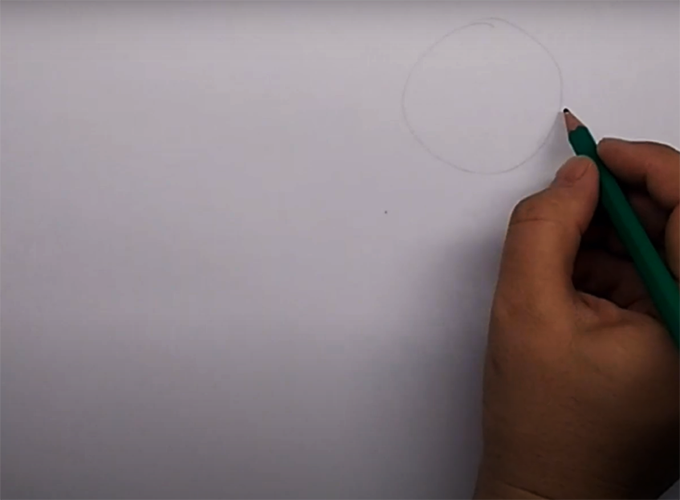
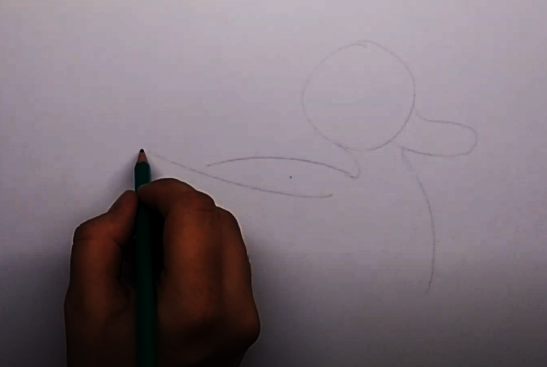
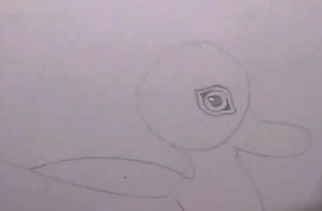
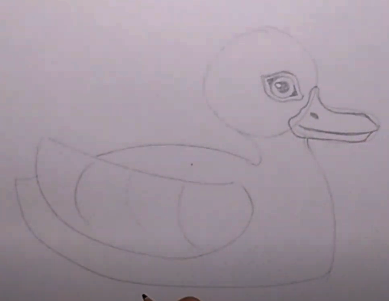
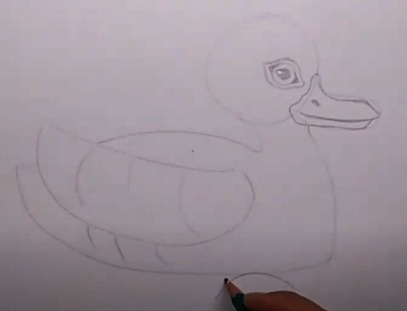
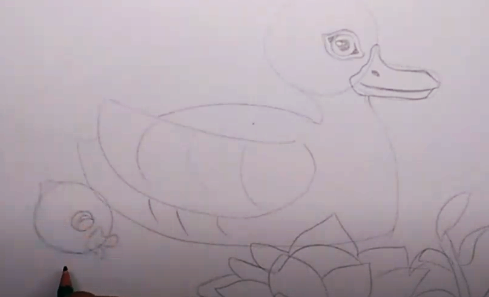
- First, draw a round head on the right side of the sheet. The duck's body will be to the left.
- Then, on the right side, you need to draw the upper part of the beak, which is depicted as massive and rounded in shape.
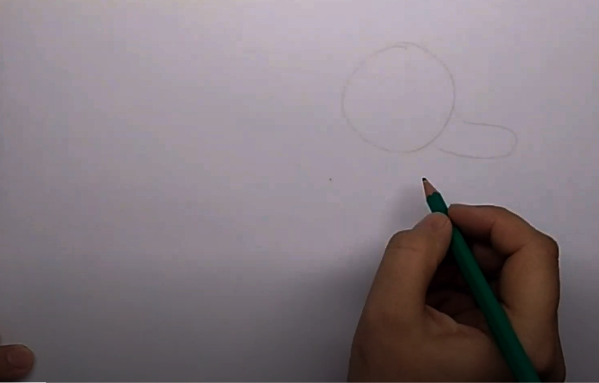
- The bird's neck is depicted with two curved lines, the left one being shorter and the right one gradually turning into the chest. The ducks' chest is located very low, and their awkward gait is due to the fact that these animals have short legs and a horizontally placed body. Because of this, they cannot run quickly, as they fall onto their chest. However, this body shape allows them to swim well in water and dive. These anatomical features must be taken into account when drawing.
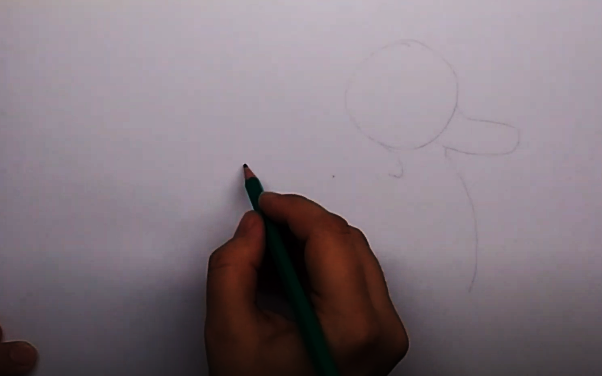
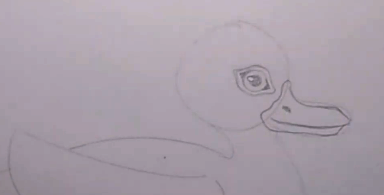
- The upper part of the body is depicted as an arc from above. It also has a convex shape.
- Next, just below the neck, you need to draw a long concave arc; this will be the wing.
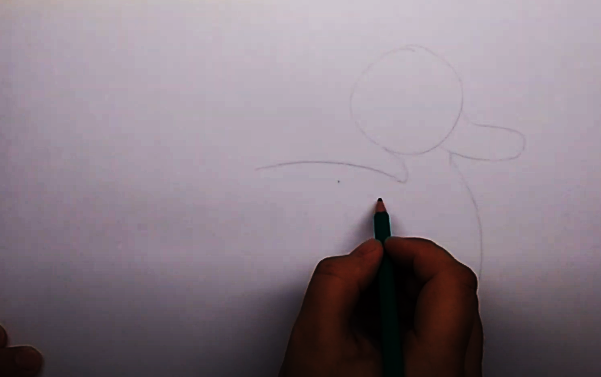
- Then, a more curved part of the wing is drawn at the bottom.
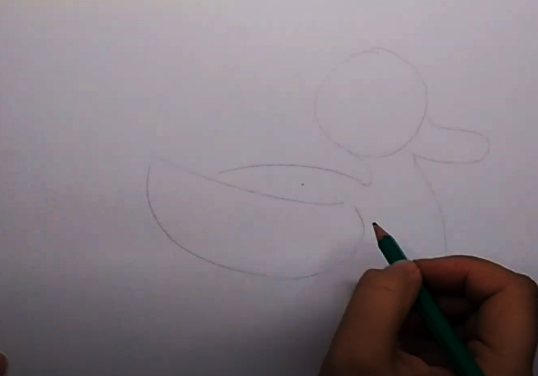
- On the left, you need to continue the top line with a slight upward sharpening (the duck's tail) and draw the body at the bottom. This figure should be slightly flattened, since part of the body will be under water and not visible.
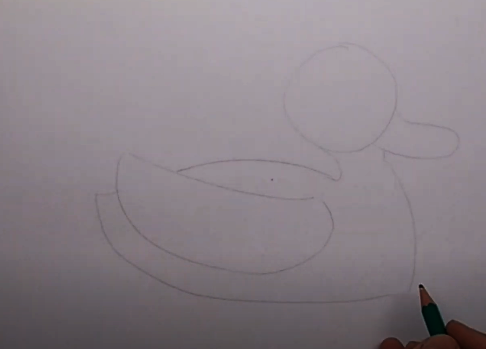
- After this, you need to draw the bird's eye in the form of a circle, add a pupil and a round highlight on the left.

- We will also draw an almond-shaped figure near the eye to give it more expressiveness.
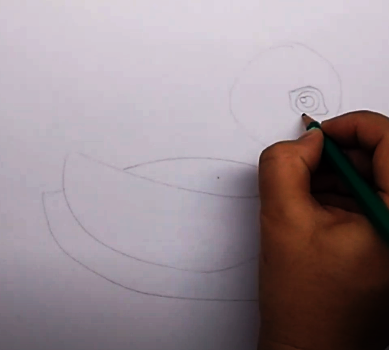
- Next, you can paint over the corners of the eye and its pupil.
- The place where the beak passes into the head is marked with a wavy line.
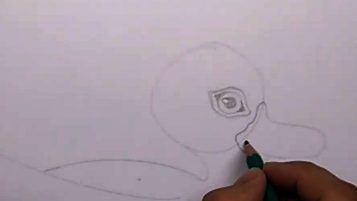
- After that, we draw the duck's "smile", dividing the beak in two with a curved line. The lower part of the beak should be narrower.
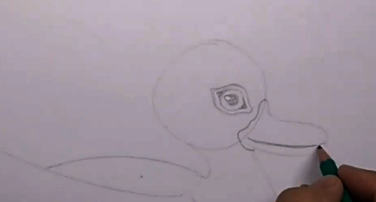
- At the top of the beak, make a point and draw an oval nostril, as shown below.
- After this, the duck's wing is divided into 3 parts by two arcs located across.
- Now we begin drawing the water lily, which will be located to the right of the duck. To do this, first draw a semicircle, and then add wide petals with pointed ends to it.
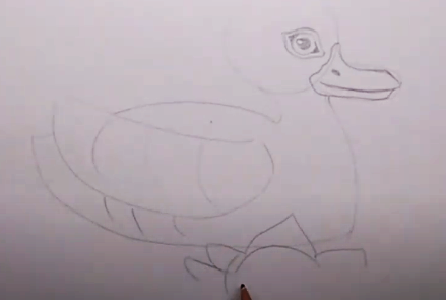
- The petals in the foreground should be depicted as round in shape, in 2 rows.
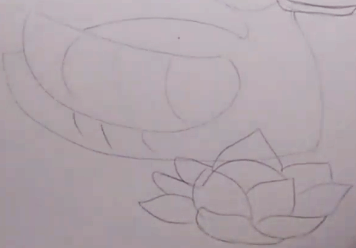
- To the right of the water lily we will also depict a branch with several leaves.

- Below, to the left of the water lily, you need to draw an oval shape with uneven edges. This will be its leaf. Four short arcs mark the veins of the leaf.
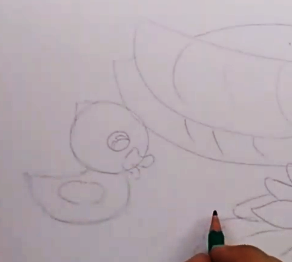
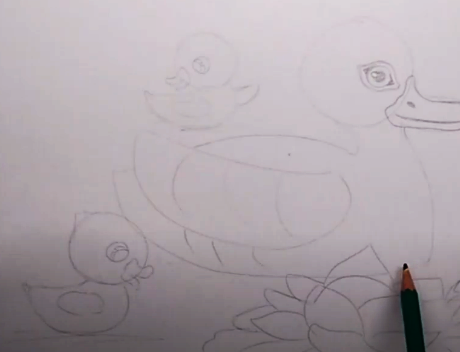
- To the left of the duck, draw a duckling. First, draw its round head. Its size should be smaller than that of an adult duck.
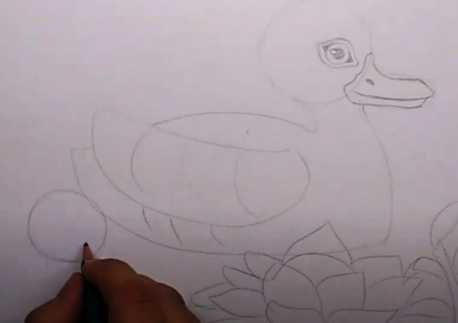
- The duckling's beak will be slightly open. It has a blunter, shorter shape than a duck's, and an upturned tip.
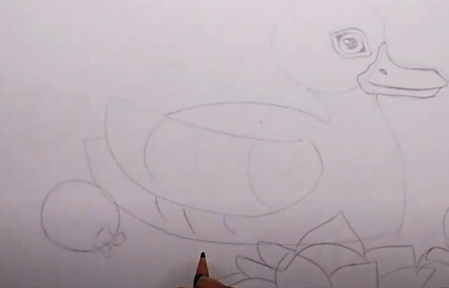
- We will make the duckling's eye large, add a triangular cutout inside (a highlight), and on the left you can draw "eyelashes" to give it a more "childish" look.
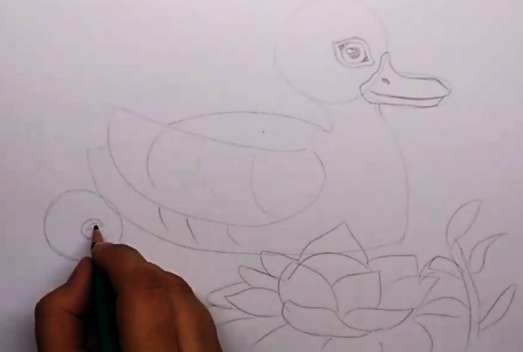
- On the left, on the back of his head, we will also draw several protruding feathers in the shape of a small triangle.
- Just below the head, you need to add a small oval-shaped wing.
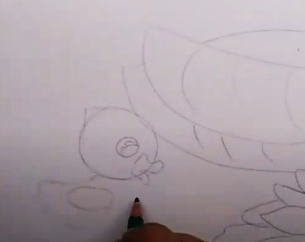
- We will draw the duckling's body smaller in size than its head (such proportions are typical for baby animals), in the form of a teardrop-shaped figure.
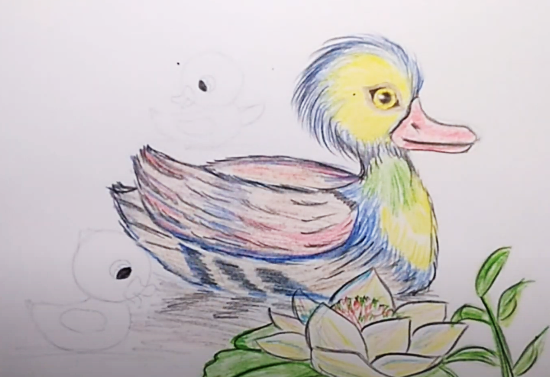
- Above the duck, we will depict the second duckling, which should be drawn similarly to the first. We will “turn” its head to the left, and draw the right wing straightened, moving it to the side. We also need to draw arcs under the ducklings and the duck, which indicate the surface of the water on which they are swimming.
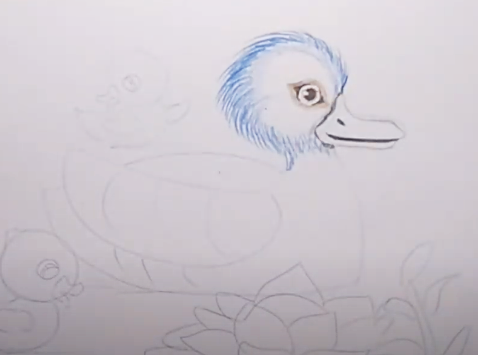
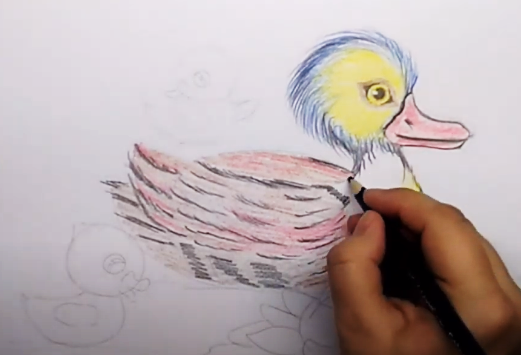
- Now you can start coloring. First, you need to draw the contours with a black soft pencil, starting with the duck's head. On its head, draw protruding feathers in the form of lines that are located around the circumference of the head. Near the beak, they should be shorter, and on the back of the head - longer. Then add the same lines with a blue pencil. Color with light pressure the smooth transition from the feathers to the head.
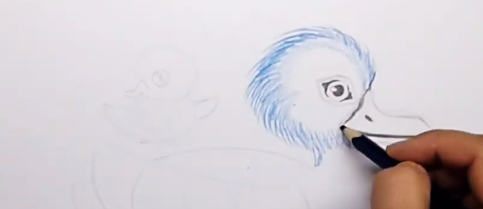
- Using a brown pencil, color the almond-shaped spot around the eye.
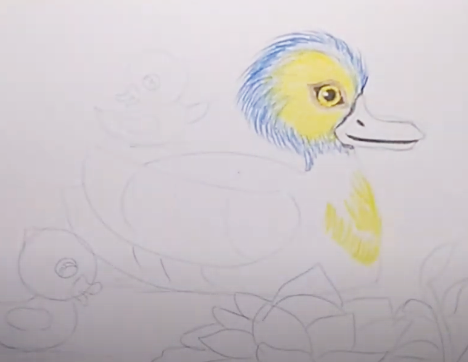
- Using a yellow pencil, color the iris around the pupil, the head and the chest of the duck.
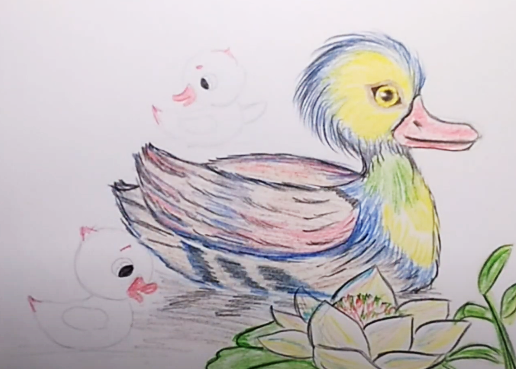
- With a black pencil, draw lines in the form of "herringbones" on the wing, belly and tail. They should be "fluffy", so the bird's plumage will be conveyed. It is also necessary to outline the beak more brightly.
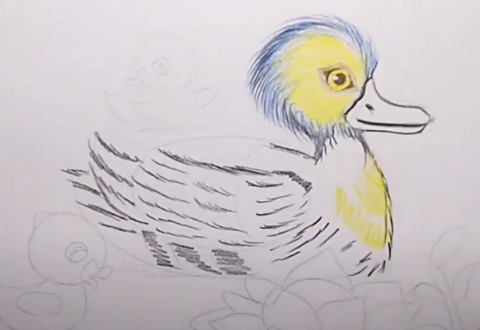
- The bird's beak is painted red, and a few red strokes are added to the wing and body of the bird. The rest is painted brown.
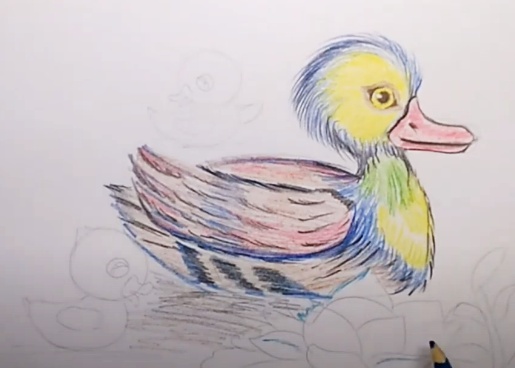
- Let's also add some blue strokes, placing them next to the black color. Let's draw blue plumage on the bird's chest.
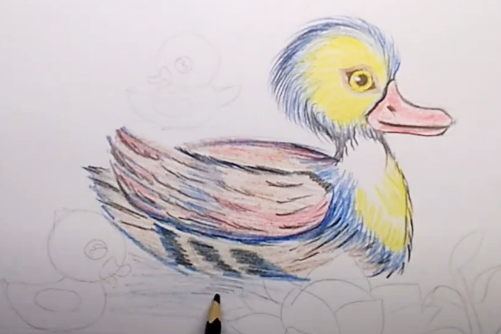
- The remaining white area on the bird's chest needs to be colored with a green pencil.
- We will paint the water lily yellow, adding strokes in the center with red and green pencil. The leaf and branch on the right should be painted green, and the veins should be made a darker color.
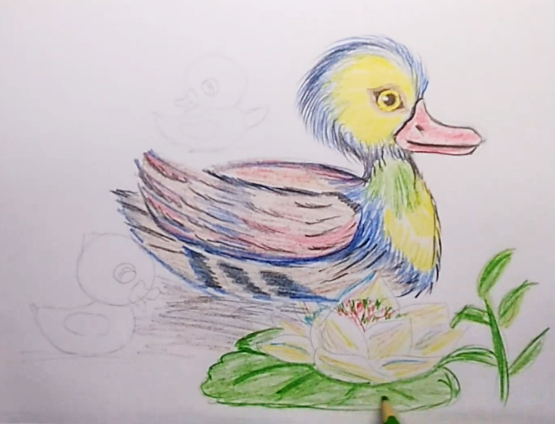
- After this, you need to use a black pencil to more clearly work out the contours of the plants.
- Next, paint the ducklings' eyes black.
- We will paint their beaks with red color, and also add strokes on the tail, the back of the head, and draw raised “eyebrows”.
- The ducklings' body and head should be painted yellow. It is also necessary to add yellow strokes under the ducklings, this will be their reflection in the water. These color spots should be paler.
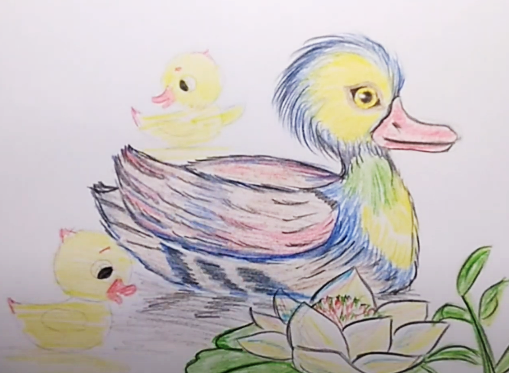
- After this, the outlines of the ducklings are drawn with a dark brown pencil, “fluffiness” is given to them using strokes, and small ovals are drawn on the beak to represent the nostrils.
- The water should be drawn with large horizontal strokes using a blue pencil. The end of the pencil should be sharpened to a sufficient length and it should be held very close, parallel to the paper.
The duck shown in this drawing allows you to master the technique of shading with a pencil. The strokes are applied with short, jerky movements of the hand, lifting the pencil from the paper.
The advantage of drawing with pencils is that coloring can be done in many layers, giving the necessary tone and realism. However, this technique is difficult for small children, requires certain skills and time.
The drawing can be simplified by leaving only the basic outline of the duck and coloring it in traditional gray and brown shades.
Duck on the water
The duck (the drawing for children in this example is made in a simpler way) will be located in the center of the sheet. Using some techniques, we will give it a "cartoon" image. For work you will need a simple (or black) pencil and paper. The finished drawing can be colored.
Step by step process of drawing a duck on water:
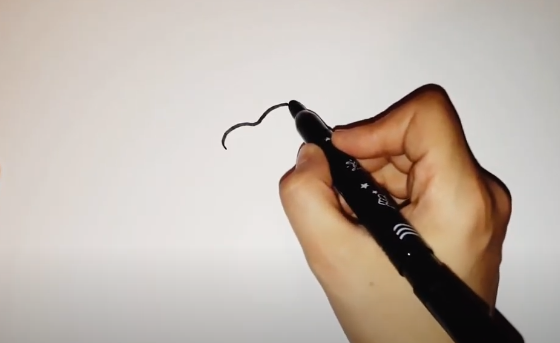
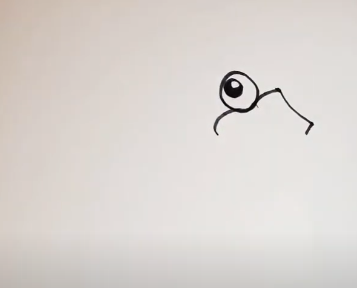
- Let's start drawing from the head, namely, first we'll depict the base of the beak in the form of a wavy line.
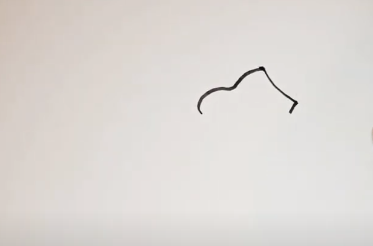
- After this, add 2 segments that will indicate the bend of the front part of the beak.
- Now you need to draw the duck's eye, it should be adjacent to the beak. It is depicted using 3 circles, in the center of the pupil an unpainted circle is left, which is a glare.
- Next, you need to draw a round head, making a “Christmas tree” of protruding feathers on top.
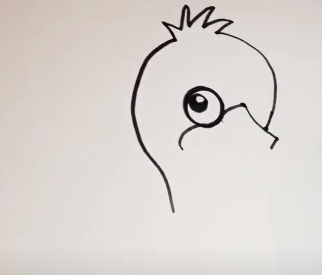
- Then you need to draw the second eye in the same way as the first.
- Then draw the rest of the beak with curved lines. It will be half-open, so the lines diverge at the end.
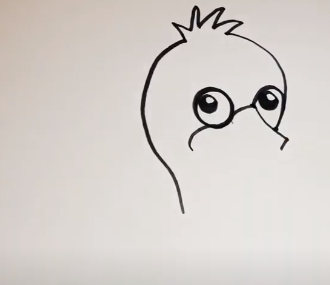
- Now you need to draw the cartoon duck's "smile" and add the lower part of the beak.
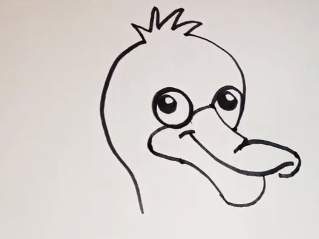
- Inside the beak, add a tongue as shown in the picture below.
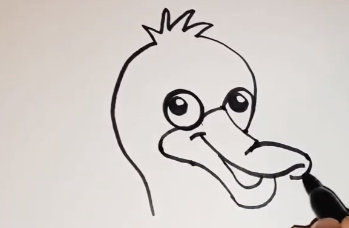
- Now you need to draw the neck and chest of the bird.
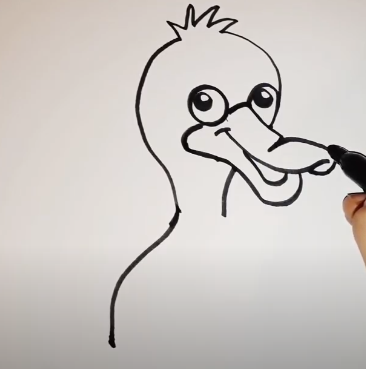
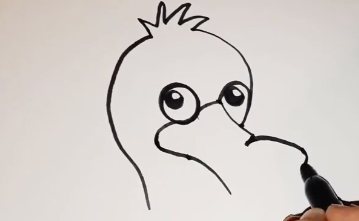
- Then add the tail to the right of the head and finish drawing the body, which, as in the previous example, should be flattened, since the duck is swimming in the water.
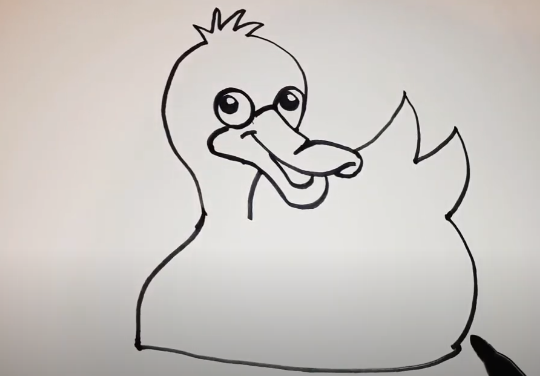
- After this, draw a wing that resembles the shape of a flower petal.
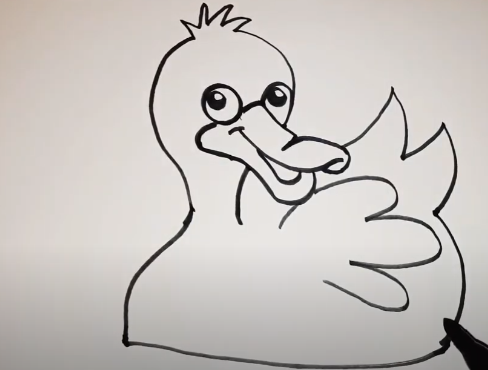
- Then add a stripe on the lower part of the neck, which is common in drakes. The lines can be drawn arbitrarily, with sharp corners.
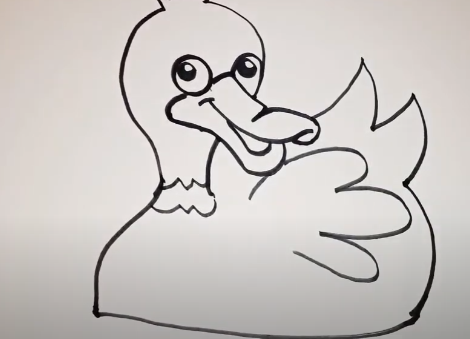
- To give the duck a more mischievous look, let's draw raised eyebrows above the eyes.
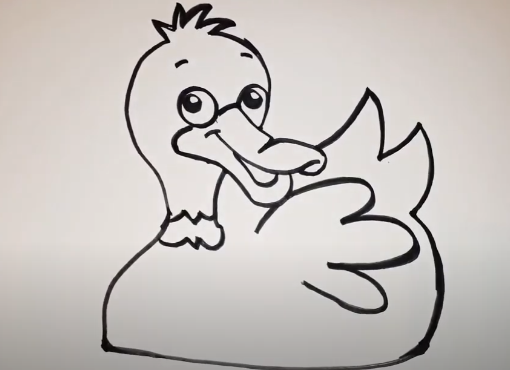
- The water under the duck can be drawn in the form of diverging circles, and a horizontal line should also be drawn in the background to indicate the water level. The circles on the water should be parallel to each other.
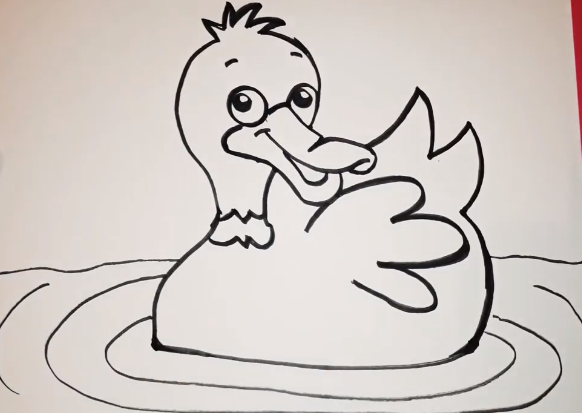
- Next, on the left side of the sheet, in the empty space, we draw tall grass and reeds.
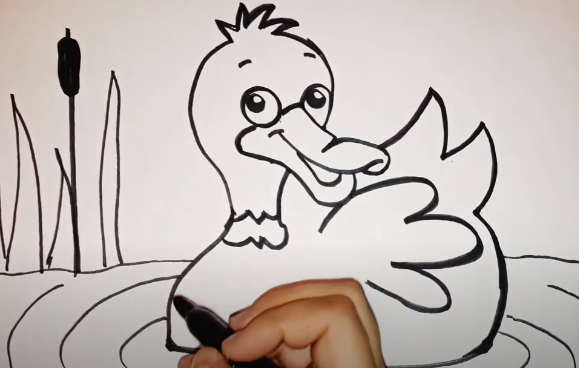
- We will continue drawing the grass and reeds to the right edge of the sheet, without going over the figure of the duck.
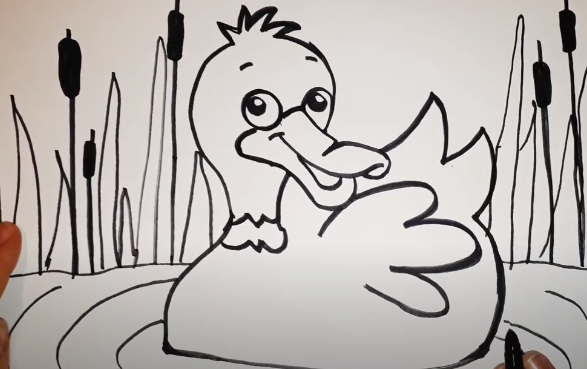
As additional touches, you can draw clouds in the background.
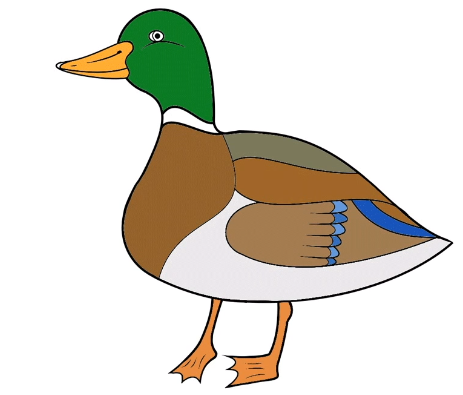
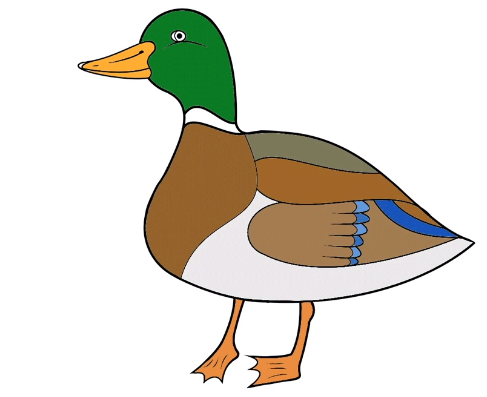
Drake
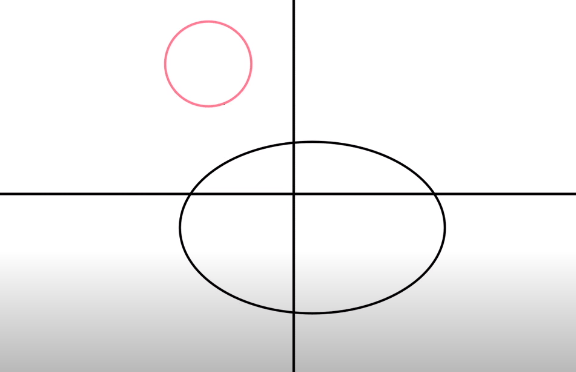
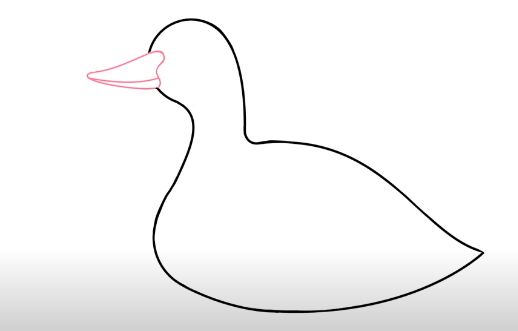
The duck (the drawing for children in the example described below is depicted using simple geometric shapes) will be depicted walking on the ground. This time we will draw a male duck - a drake walking on the ground. New elements in the drawing will be shown with pink lines. First, we will draw the contours with a simple pencil, and then color the drawing.
Now let's start drawing:
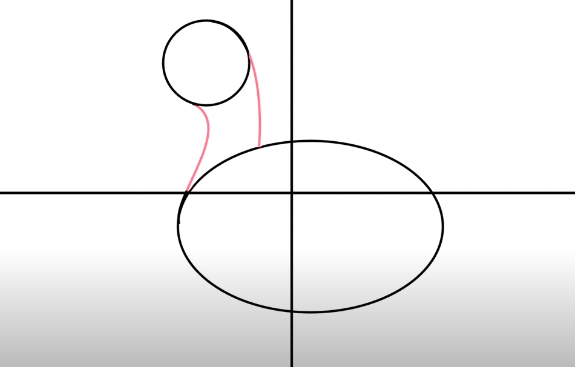
- First, you need to mark the album sheet into 4 parts with horizontal and vertical axes. We will draw the body in the form of an oval, slightly shifted to the right and down.

- On the left side you need to draw a circle, which will be the bird's head.
- The neck should be depicted as two parallel curved lines. The lower one should be more concave.
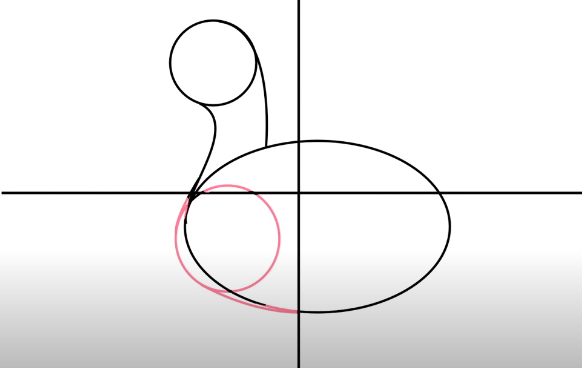
- Next, draw a circle larger than the head. It is needed to depict the bird's chest. It needs to be shifted down a little. Connect the neck, chest and stomach with two tangent arcs. This method allows you to get beautiful smooth transitions between the elements.
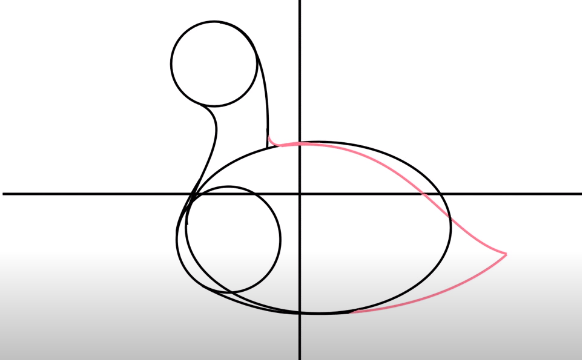
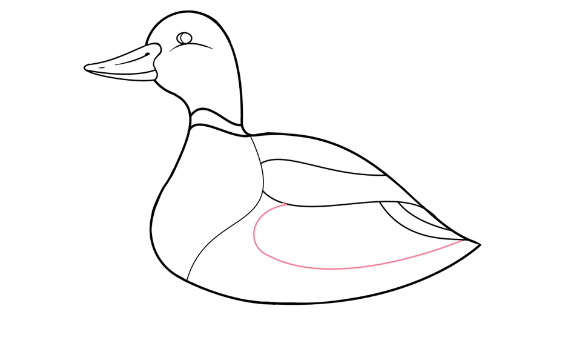
- Then you need to draw the back of the duck's body. To do this, use the previously drawn large oval in the center as a base, sharpen it on the right, you will get the bird's tail. At the base of the neck, draw a small rounding.
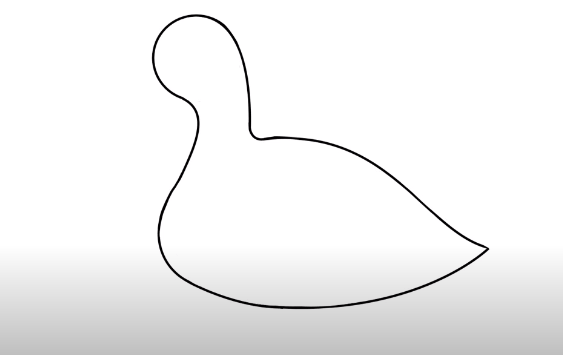
- The extra lines need to be erased with an eraser. You will get this outline:
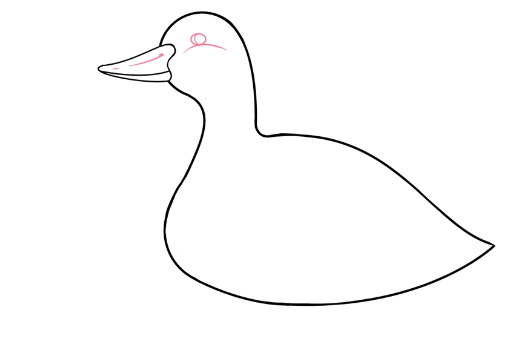
- Now let's add a beak to the left. Its outer contour is an elongated triangle with a rounded top. In the middle, you need to draw an arc dividing the beak in half. The upper part of the beak is more protruding than the lower part.
- Now let's add details to the beak - draw a groove and a nostril, and also make an eye. We'll depict the duck's plump "cheek" as a convex arc just below the eye.
- Next, we'll draw a stripe on the neck that drakes have. Their plumage is brighter than that of female ducks.
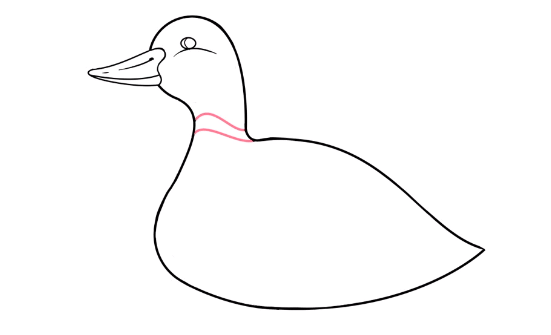
- We will also add wavy lines on the bird's body (on the chest, back and tail area), which divide it into several stripes. They are then painted in different colors.
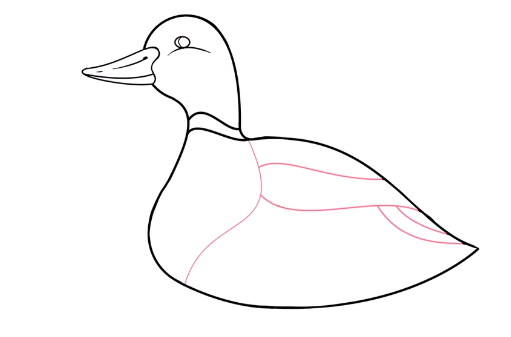
- In the next step, we will draw the bird's wing, rounded on the left and pointed on the right.
- Next, under the body, you need to draw a paw with webs. In its upper part, which passes into the body, you can make a thickening that depicts a bending joint.
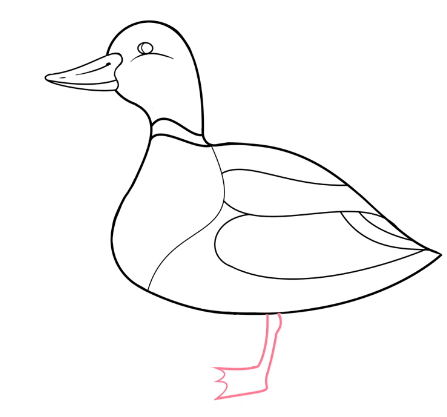
- Then we add the second paw, slightly turned at an angle.
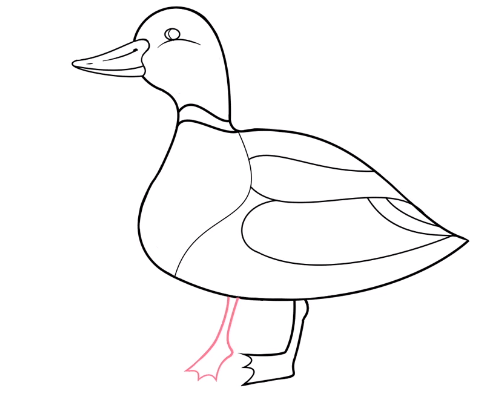
- On the wing, you need to draw two rows of feathers in the form of open elongated ovals, and on the paws - 3 segments depicting fingers. We will also draw the pupil of the eye.
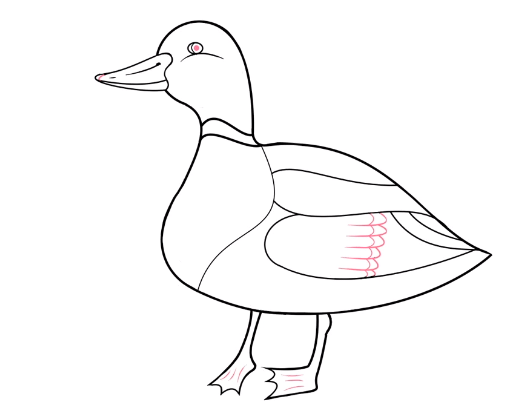
- At the last stage, we paint the drake: the beak and paws are light orange, the head is green, the stripe on the neck is left white, the body and wing are in gray and brown tones, and the prominent feathers are in blue and light blue.
A brighter drawing can be obtained if you use watercolor pencils in your work. In appearance, they are no different from ordinary ones. But instead of kaolin, a water-soluble composition is added to the lead, which lies on the paper brighter. It can be washed with a wet brush, like ordinary watercolor.
The outlines of the ducks in the drawings discussed in this article can be used to draw the bird's feathers in more detail.
Children can also be offered other interesting composition options to complete their work - a duck sitting on eggs in a nest, an ugly duckling, a duckling hatching from an egg. Such drawings can participate in competitions dedicated to illustrations of popular fairy tales.
Video about drawing
Master class on drawing a simple duck for kids: